How to Refinish a Dresser Without Stripping It
If the dresser’s finish is sound, start by cleaning it, then use light abrasion or a liquid deglosser. Strip it only when the coating is peeling, uneven, or failing. Rushing to strip can damage veneer, blur edges, and waste time on wood that did not need it. This guide shows how to judge the finish, choose cleaning, scuff sanding, painting, or topcoating, and decide when stripping is the last resort.
Why skip stripping?


Stripping is not the first move for most dressers. A no-strip approach can save significant time compared with chemical stripping, and it can preserve original character and patina. That matters most on older pieces with good structure but dull color, light scratches, or a tired clear coat.
The limit is simple: if the finish has only surface wear, you can often revive it. If the coating is peeling, soft, or failing in patches, the safer path shifts toward more aggressive sanding or a full removal job. Valuable antiques should be reviewed before work begins because original finishes and patina are often part of the piece’s value and historical integrity.
What you’ll need
- Dish soap and water for the first cleaning
- Clean rags or microfiber cloths
- Mineral spirits for a non-damaging finish test
- Screwdriver or drill for removing hardware
- 220 grit sandpaper for light scuff-sanding
- 0000 steel wool for restorers on suitable finishes
- Howard’s Restor-A-Finish or a similar restorer, in a matching shade such as Golden Oak
- Epoxy putty or wood filler for chips, missing veneer, and damaged corners
- Tack cloth for dust removal after sanding
- Wipe-on polyurethane for a thin protective topcoat
- Painter’s tape, drop cloths, gloves, and ventilation for floor and air protection
How do you check the finish?
Clean first, then test the coating, then decide whether the surface can be revived. A finish that reacts badly to mineral spirits, peels under light rubbing, or shows raw wood at the edges usually needs a more invasive path. If it stays intact, you may only need light prep and a new topcoat.
Clean off grime first
Mix mild dish soap with water, wipe the dresser, then rinse with clean water and dry it fully. This step removes decades of dirt and hand oils that can hide the real finish condition. Remove hardware before you start so you can clean and later work around pulls, knobs, and hinges without gumming them up.
Test with mineral spirits
Wipe a small, hidden area with mineral spirits. This is a non-damaging test step that temporarily saturates the finish and helps predict how the dresser will look under clear coat. If the color deepens evenly and the surface still looks solid, the finish is often a candidate for refresh work rather than stripping. Consumer guidance from restoration sources also uses this test to distinguish a stable finish from one that is too compromised to revive.
Identify solid wood, veneer, laminate, or paint
Solid wood can usually handle more sanding depth than veneer. Veneer needs caution at edges, corners, and any spot where the layer already looks thin. Laminate should not be treated like bare wood; it needs adhesion-focused prep, not aggressive sanding. Painted finishes need separate compatibility checks before you decide whether to repaint, scuff-sand, or stop.
Which no-strip refinishing method should you use?
Choose the least invasive method that still fits the material and the damage. A dresser with dull but intact stain may only need a restorer and topcoat. One with chipped edges, soft veneer, or finish that wipes off onto the cloth needs repair or a different plan. If the piece is antique-value or the veneer is peeling, stop and get an expert opinion before you go further.
| Surface type | Damage level | Visible failure signs | Recommended method | Tools | Estimated time | Red flags | Do not proceed if… |
|---|---|---|---|---|---|---|---|
| Solid wood, stained or clear-coated | Light wear | Dull sheen, small scratches, dry-looking areas | Clean, test with mineral spirits, refresh with Restor-A-Finish, then add wipe-on polyurethane if needed | Dish soap, mineral spirits, 0000 steel wool, restorer, wipe-on polyurethane | Under 30 minutes in ideal conditions for a refresh step; longer if topcoating in multiple coats | Peeling finish, deep gouges, water rings that stay visible after testing | the finish is peeling, the wood is soft, or the color failure is deeper than the surface |
| Solid wood, stained or clear-coated | Moderate | Light checking, worn corners, uneven sheen | Scuff-sand with 220 grit, clean dust, restain or topcoat | 220 grit sandpaper, tack cloth, stain or polyurethane | Half a day for prep and first coat | Soft grain that blots heavily, finish lifting under sanding | the coating lifts when sanded, or the piece is valuable enough that altering the original surface is a concern |
| Veneer | Light to moderate | Thin edges, small chips, isolated dullness | Spot repair with epoxy putty or wood filler, then light scuff-sanding only | Filler, putty knife, 220 grit sandpaper, tack cloth | Several hours including drying | Soft veneer edges, bubbles, lifting corners, missing sections | the veneer is lifting, bubbled, or too thin to sand without breakthrough |
| Laminate | Light wear | Scuffs, dirt, faded sheen | Clean, scuff-sand lightly if the coating accepts it, then use a compatible adhesion primer or paint system | Soap, 220 grit sandpaper, dust cloth, primer, paint | Half to one day, depending on dry time | Swollen seams, peeling laminate, any exposed particleboard | seams are swollen, the laminate is separating, or sanding would expose particleboard |
| Painted finish | Stable paint film | Chalky surface, light scuffs, worn edges | Clean, degloss or scuff-sand, then repaint; use a razor blade modified with masking tape only for stubborn paint edge cleanup | Dish soap, 220 grit sandpaper, tack cloth, primer, paint | One to two days with drying between coats | Chalking that wipes off heavily, peeling layers, unknown old coatings | the paint is actively peeling, chalking heavily, or the underlying coating is unknown and unstable |
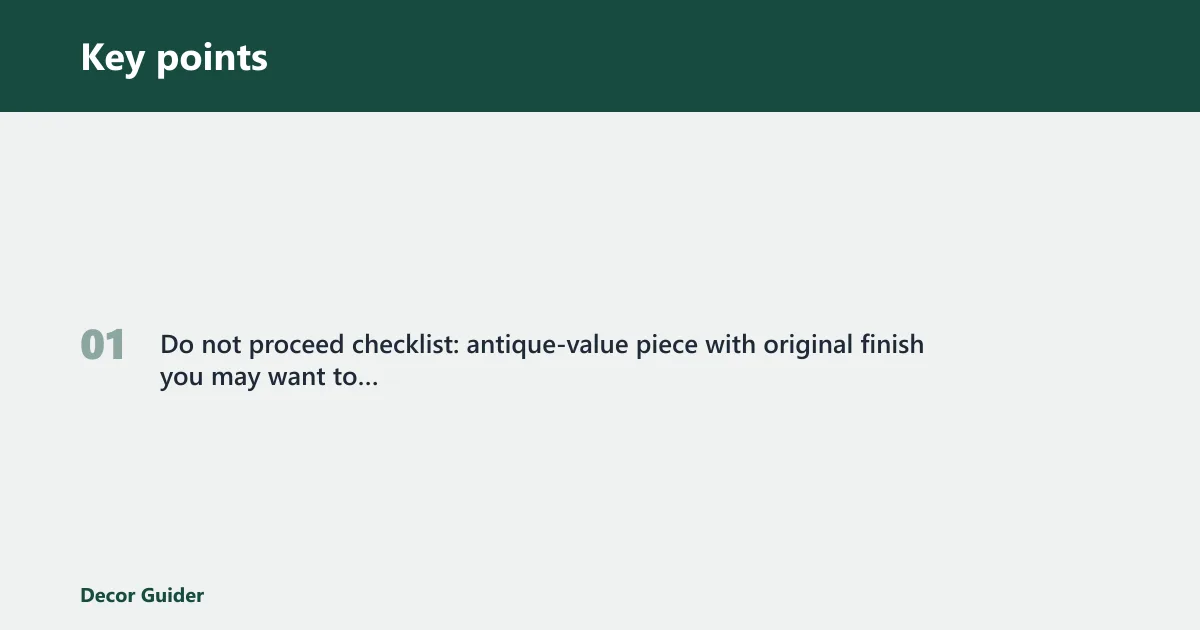
Do not proceed checklist: antique-value piece with original finish you may want to preserve; peeling veneer, bubbles, or lifted corners across a large area; swelling from water damage or soft, crumbling wood; finish that wipes off onto the cloth in repeated passes; mixed materials that include thin veneer over particleboard and a damaged top.
How do you prep the dresser for the new finish?
Prep is the part that makes the finish stick and look even. Remove hardware, repair damage, then scuff-sand only as far as the surface can safely take it. After sanding, remove every trace of dust with a tack cloth so stain, paint, or topcoat does not telegraph scratches and grit. When veneer or chip damage is involved, route the repair to the right material first; see the dresser and drawer repair guide for chip repair and veneer patch guidance for dressers.
Remove hardware
Take off pulls, knobs, plates, and any hinge hardware you can remove cleanly. Bag the parts by drawer so reassembly stays simple. This keeps finish materials off metal and lets you work cleanly around edges that would be hard to coat evenly.
Repair chips and missing veneer
Fill chips, missing veneer, and damaged molding with epoxy putty or wood filler. Shape it before it fully hardens if the product allows that, then sand it level once cured. Use filler when the damage is shallow and the repair needs to blend with the surrounding wood. Use epoxy putty when a corner, edge, or missing section needs a stronger, shapeable rebuild. On corners and veneer edges, stop sanding as soon as the repair blends; veneer breaks through quickly if you chase perfection too hard.
Scuff-sand and remove dust
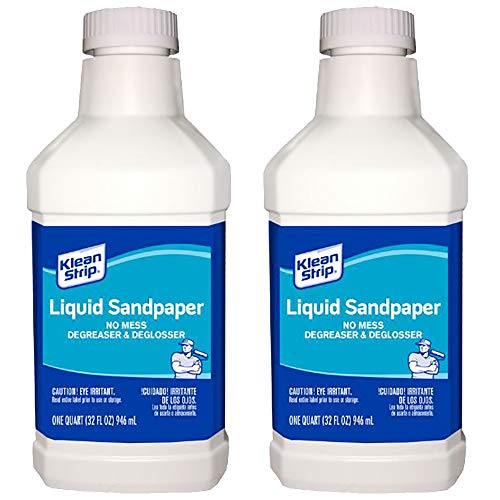
Use 220 grit sandpaper for a dresser for a light scuff, not a deep cut. On veneer and laminate, keep pressure light and stop if the surface starts to fuzz, peel, or expose a lower layer. Vacuum or wipe, then use a tack cloth to pick up fine dust before any stain or seal coat goes on. If the finish only needs adhesion, deglosser can be preferable to sanding because it reduces abrasion on thin veneer, molded edges, and fragile old paint films.
What are the step-by-step refinishing paths?
Pick one path and stay with it. A finish that only needs renewal should not be treated like bare wood. A painted dresser that still holds paint can often be repainted without stripping, while a stained surface with fading may need a restorer, a stain adjustment, or a thin protective coat.
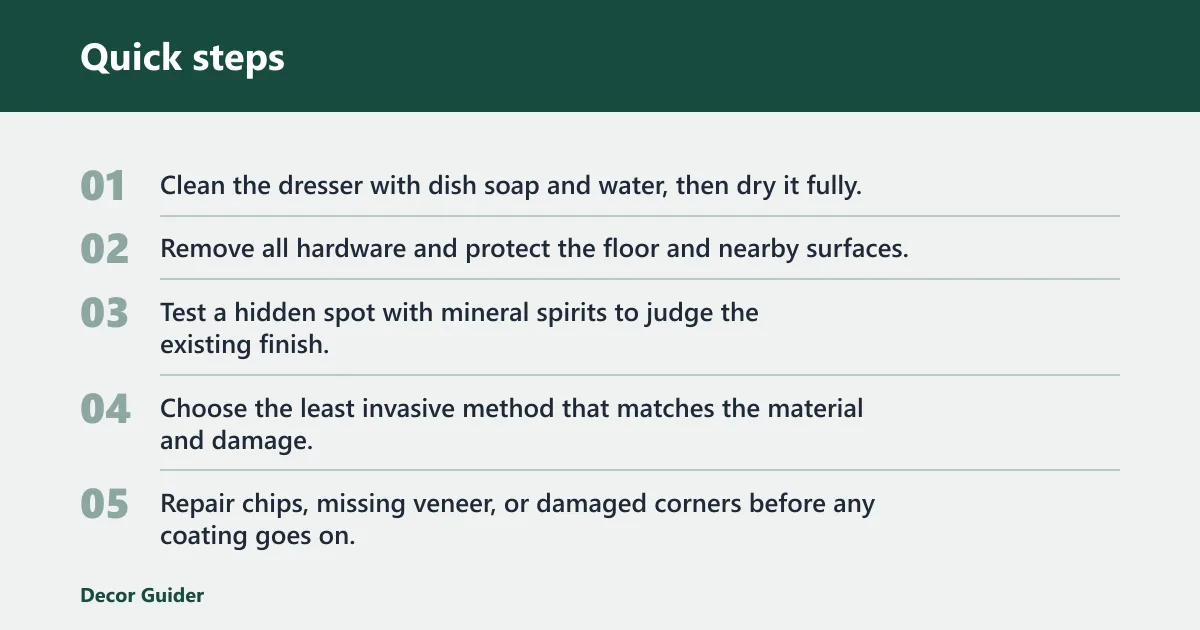
- Clean the dresser with dish soap and water, then dry it fully.
- Remove all hardware and protect the floor and nearby surfaces.
- Test a hidden spot with mineral spirits to judge the existing finish.
- Choose the least invasive method that matches the material and damage.
- Repair chips, missing veneer, or damaged corners before any coating goes on.
- Scuff-sand with 220 grit where adhesion needs help, then remove dust with a tack cloth.
- If the finish is stable and stained, apply Howard’s Restor-A-Finish with 0000 steel wool in light circles and minimal pressure; a shade such as Golden Oak can help match the tone.
- If more protection is needed, apply wipe-on polyurethane in thin coats and let each coat dry fully in warm, dry conditions.
- For paint, use a bonding primer or scuff-sanded base, then repaint and let the coat cure before reassembly.
- Add another coat only after the prior coat is dry; for wipe-on polyurethane, apply the next thin layer after the surface no longer feels tacky.
Refresh an existing stained finish
Use this path when the dresser is structurally sound and the finish is dull, not failing. Howard’s Restor-A-Finish is a restoration product made with solvents and wood stain, and Popular Mechanics recommends 0000 steel wool for applying it. Used lightly, it can revive color and help blend wear without sanding to bare wood.
Do not use Restor-A-Finish on surfaces with loose veneer, peeling finish, active water damage, or a coating that already wipes off in repeated passes. It is a refresh product, not a fix for structural finish failure.
Paint a dresser without full stripping
Repainting without stripping is realistic when the old paint is still attached and the surface can be cleaned and scuff-sanded. If the paint is peeling in sheets or the coating under it is uncertain, stop and reassess. A common first-timer mistake is painting over grime; the new coat then chips at the drawer edges first.
For difficult edges, a deglosser can be a better choice than sanding because it reduces the risk of cutting through thin old paint. That is especially useful on trim, curved details, and veneered drawer fronts where the goal is adhesion, not surface removal.
Apply stain or wipe-on polyurethane
Use stain only when the substrate can accept it evenly; veneer, laminate, and unknown old coatings often do not. For a clear protective layer, wipe-on polyurethane is a thin finish that can be built in multiple coats and often adds an amber tone along with protection. Dry conditions help it cure faster and more evenly. Thin coats work better than heavy ones because wipe-on polyurethane levels itself gradually; flooding the surface can leave runs, soft spots, and longer dry times. Manufacturer guidance from Minwax and other finish makers emphasizes multiple thin applications with full dry time between coats.
Common mistakes
Most problems come from forcing the wrong method onto the wrong surface. Thin veneer, old paint, and laminate each fail differently, so pressure and product choice matter as much as color.
- Using too much pressure on veneer: Keep sanding light and stop at the first sign of breakthrough.
- Skipping a compatibility check: Test with mineral spirits before choosing stain, restorer, or clear coat.
- Sealing over damage: Fill chips, corners, and missing veneer before applying any topcoat.
- Leaving dust behind: Use a tack cloth after sanding so grit does not show under the finish.
- Assuming all finishes behave the same: Solid wood, veneer, laminate, and painted surfaces need different prep depths.
Suppose a 6-drawer oak dresser has a dull top, a few white rings, and intact drawers. Cleaning, mineral spirits, and a restorer may be enough. If the top is laminate instead and the edge is swollen, a refresh is the wrong path; you need a paint-compatible repair approach, or you may need to stop.
Wipe spills quickly and keep water away from unfinished edges and veneer seams. That reduces the chance of swelling, peeling, and finish breakdown that later forces more invasive work. Antique pieces with original finish should be preserved whenever possible, and aggressive refinishing should be avoided unless the surface is already beyond repair.
Frequently asked questions
How do you refinish a dresser without stripping it?
Start with dish soap and water, dry the piece fully, then test the finish with mineral spirits. If the coating is sound, use light scuff-sanding, a restorer on suitable stained wood, or a compatible primer and paint system. Only move to stripping when the finish is peeling or unstable.
How do you refinish a dresser for beginners?
Begin with the safest path: clean, remove hardware, test a hidden spot, and repair damage before any color work. For a first project, a refresh with Restor-A-Finish or a simple repaint on stable paint is easier than a full stain change. Keep sanding light and use a tack cloth before coating.
How do you refinish a wood dresser without sanding to bare wood?
Use mineral spirits to see whether the current finish can be revived, then decide between a restorer, a scuff-sand, or a thin topcoat. On solid wood with intact finish, 0000 steel wool and a product such as Restor-A-Finish can improve color without taking the surface back to raw wood.
How do you refinish a dresser with paint?
If the paint film is solid, wash it, scuff-sand lightly, and prime with a bonding primer before repainting. If it is peeling or chalking heavily, the bond is not reliable. Repair the surface first, then paint in thin coats and let each one dry before adding the next.
How do you refinish an antique dresser without damaging it?
Do not start with aggressive sanding or chemical stripping. Clean it, test a hidden area with mineral spirits, and keep any abrasion very light. If the piece has original finish, value, or fragile veneer, stop before repair work and get an expert opinion on whether the patina should be preserved.
How do you repaint a dresser without sanding?
You can skip heavy sanding only when the old coating is stable and clean enough for a bonding system. Wash thoroughly, dry the surface, use a deglosser or very light scuff-sanding if allowed by the product, then prime and paint. If adhesion is uncertain, sanding is safer than hoping the paint will stick.
Products related to this article
Sponsored / affiliate links. As an Amazon Associate I earn from qualifying purchases. I may earn additional commission from eligible campaigns.