How to Fix a Chipped Corner on a Dresser
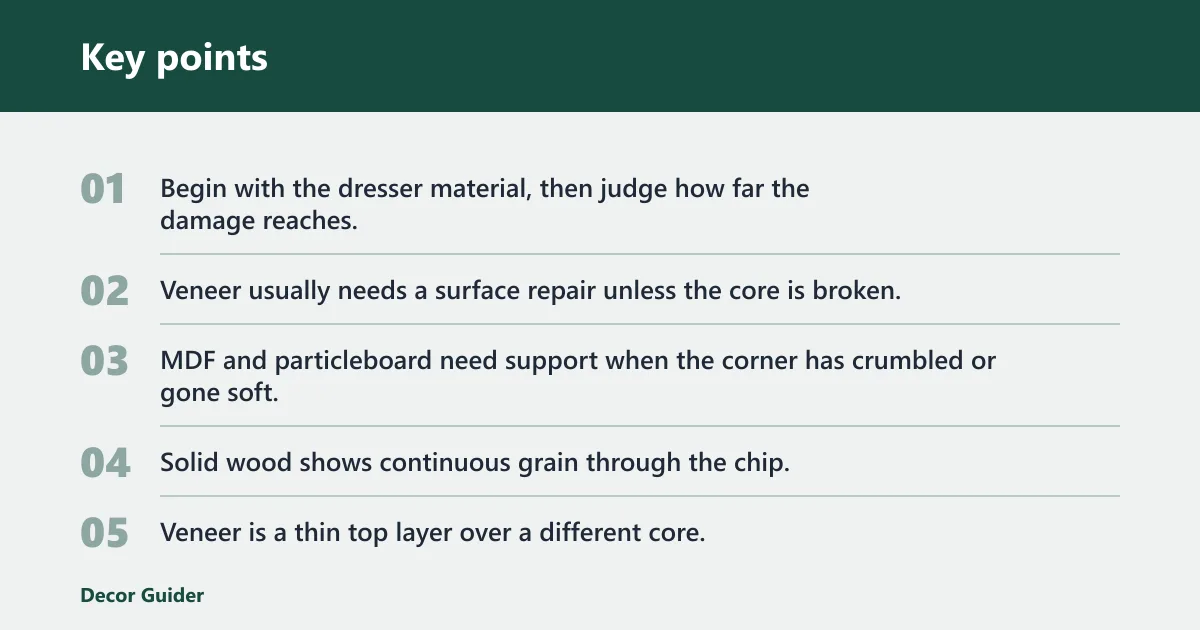
Begin with the dresser material, then judge how far the damage reaches. Solid wood can take a stronger rebuild. Veneer usually needs a surface repair unless the core is broken. MDF and particleboard need support when the corner has crumbled or gone soft, because filler alone will not hold a load-bearing edge.
Fix a chipped dresser corner by matching the repair to the material: use wood filler for raw wood or MDF, epoxy putty for larger missing chunks, and veneer repair for thin surface chips. The wrong filler can leave the corner weak, crack under paint, or show through after finishing. This guide shows how to identify the dresser material, choose the right repair method, rebuild the corner, and prep it for paint or sale.
What to know first


Identify the dresser material
Check the exposed edge. Solid wood shows continuous grain through the chip. Veneer is a thin top layer over a different core. MDF and particleboard look uniform and crumbly at the break. That difference tells you whether you can fill, patch, or need structural help first.
Judge the damage severity
A chip is a cosmetic loss at the edge. A missing chunk removes a visible section of the corner. A structural break means the corner flexes, splits, or keeps shedding material. If the corner moves, reinforce it before any filler goes in.
Decide whether the finish can stay stained or should be painted
Stain matching is hardest on repaired corners. Wood filler can be sanded smooth, and some brands cure in under 30 minutes, but stain blend is limited. Bondo body filler is a two-part filler that sets in minutes and sands after curing; it works best when painted, though it can be tinted with stain in some cases. (Wikihow)
Corner repair decision matrix
Use this table before you buy filler. It separates the material, the size of the loss, and the finish path so you do not force one repair method onto the wrong substrate.
| Material | Damage severity | Recommended filler method | Stainable or paint-only | Cure or sand timing | Reinforce first? |
|---|---|---|---|---|---|
| Solid wood | Chip | Wood filler for small losses; epoxy putty if the chip is larger | Wood filler is the better stain-matching path | Some wood fillers cure in under 30 minutes; sand when firm | No, unless the corner is split or loose |
| Solid wood | Missing chunk | Build up with wood filler in layers or use a mold plus epoxy putty | Paint path is safer if the repair is visible | Let each added layer firm before shaping | Yes, if the corner has a crack or weak grain |
| Solid wood | Structural break | Reinforce first, then fill | Paint path is usually easier | Allow the reinforcement to hold before sanding | Yes |
| Veneer | Chip | Veneer patch or wood filler for tiny edge losses | Stain match only if the repair is tiny and color is close | Sand lightly after it sets | No, unless the substrate is soft |
| Veneer | Missing chunk | Repair the substrate first, then patch the veneer edge | Paint is usually safer | Shape after the base repair hardens | Yes |
| Veneer | Structural break | Rebuild support before any cosmetic fill | Paint path usually wins | Wait for the support repair to cure | Yes |
| MDF or particleboard | Chip | Wood filler for small losses; Bondo for paint-only corners | Paint-only is the practical choice for larger repairs | Bondo sets in minutes; sand after curing | Maybe, if the edge is soft or crumbling |
| MDF or particleboard | Missing chunk | Bondo body filler or epoxy putty with reinforcement | Paint-only | Shape after full cure, then sand | Yes |
| MDF or particleboard | Structural break | Reinforce first, then rebuild with filler | Paint-only | Do not sand until the support is stable | Yes |
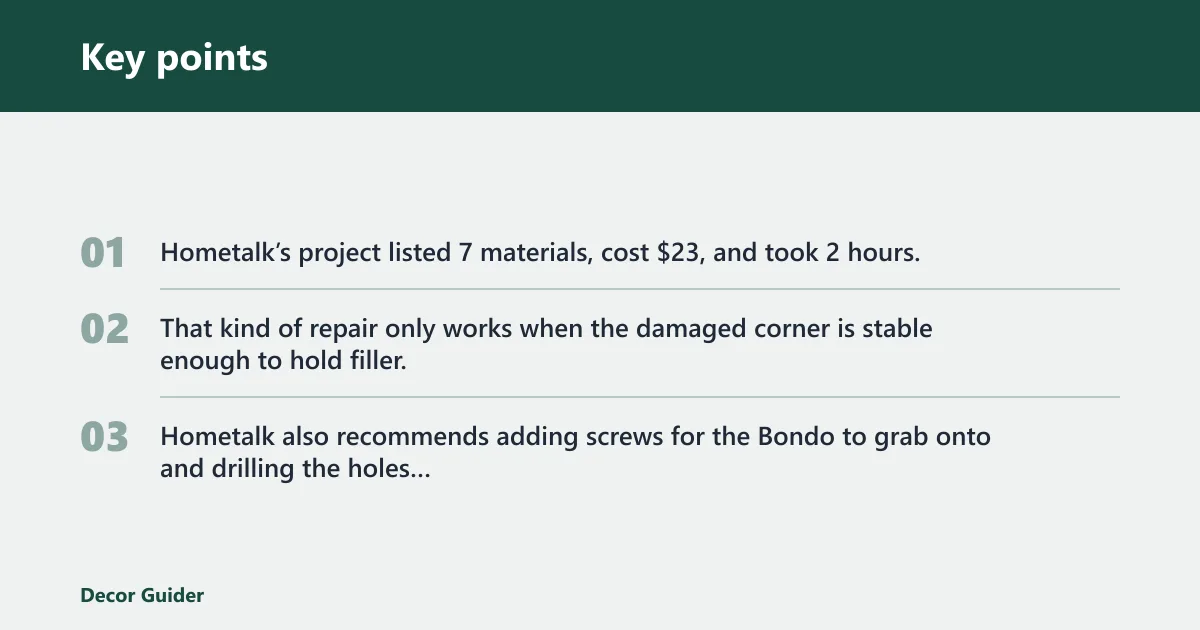
Hometalk’s project listed 7 materials, cost $23, and took 2 hours. That kind of repair only works when the damaged corner is stable enough to hold filler. Hometalk also recommends adding screws for the Bondo to grab onto and drilling the holes first to avoid breaking the wood.
What you’ll need
- Utility knife
- Cleaning cloth and vacuum or brush
- Wood filler, Bondo body filler, or epoxy putty
- Hot glue gun or mold putty for profile copying
- Vaseline or cooking spray release agent
- Cardboard or a straight edge
- 80 grit sandpaper
- 120 grit sandpaper
- 220 grit sandpaper
- Primer and paint, if the repaired corner will be painted
What filler should you use?
Choose the filler by both material and finish. Wood filler is the better choice for smaller chips and scratches, especially when stain-matching matters. Bondo body filler is better for paint-only rebuilds, larger missing corners, and shape work on solid wood, veneer, or MDF that will not be stained.
- Use wood filler for small chips on solid wood or MDF when the repair must stay close to the original color.
- Use Bondo when the corner will be painted and the missing section needs a harder rebuild.
- Use epoxy putty when the missing chunk is larger and the shape needs more body before sanding.
- Pick stainable filler only when the repaired area is small enough that color match can still be controlled.
Little House of Four used Minwax High-Performance Wood Filler, and that filler is described as drying in less than 30 minutes. The same repair used 80 and 120 grit sanding paper and a 2 1/2 inch angled paint brush for detail work.
How do you prep the broken corner?
Cut away the loose fibers and dust first, so the filler bonds to sound wood or a sound substrate. A utility knife gives you a clean edge for adhesion. If the corner is hollow, soft, or missing structure, stop and reinforce before you fill. Otherwise, the repair may crumble under sanding.
- Cut away loose wood, veneer, and crumbly substrate with a utility knife.
- Square the edge where possible, because filler grips better on a firm boundary than on fuzz.
- Brush or vacuum out dust so the patch sits against clean material.
- Set a cardboard or straight-edge support behind the corner to hold a right angle while the filler cures.
Suppose a dresser corner is missing a 1-inch triangle of MDF and the edge keeps shedding dust. That is not a cosmetic chip. Add support first, then rebuild the edge, or the corner may collapse again when you sand it.
How do you rebuild the corner shape?
Copy the profile from the undamaged side if the corner has molding or a rounded detail. For plain square corners, a straight edge is enough. Hot glue molds work well when you need to match a profile closely. Use a release agent like Vaseline or cooking spray on the good corner and inside the mold first.
- Mark the good side and plan the mirrored corner shape.
- Apply a release agent to the undamaged corner and the inside of the mold area.
- Make a hot glue mold from the matching corner, or use mold putty for finer detail.
- Let the hot glue cool completely before removing it.
- Pack the filler into the missing area.
- Add filler in about 1/4 inch layers if the void is deep, then recheck the shape before the next addition.
A Ray of Sunlight used Bondo to repair broken drawer corners, says Bondo dries in about 30 minutes, and recommends 80 grit to 220 grit sandpaper. That same source suggests the mold should be 1 to 2 inches bigger than the damaged area, which gives enough room to form the full corner profile.
How do you make a chipped corner square again?
Use a flat guide while the filler is still workable. Cardboard or a straight edge helps hold the 90-degree form so you do not sand away too much material later. This is especially useful on painted corners, where a clean angle matters more than a perfect grain match.
- Press the filler into the corner and overfill slightly so you have sanding room.
- Set a straight edge or cardboard guide against the adjacent faces.
- Shape the wet or workable filler against the guide to form the angle.
- Check both faces from above and from the side before it hardens.
Shape and sand the repair
Wait until the repair is fully cured before final shaping. Sand too soon and the edge will tear or smear. The finer grits remove the scratches left by the coarser paper.
- Use 80 grit to knock down excess filler and establish the corner line.
- Switch to 120 grit to smooth the transitions between filler and original material.
- Finish with 220 grit so primer or paint does not telegraph sanding marks.
How long does Bondo take to dry on furniture? It sets in minutes and is commonly ready for sanding after curing; A Ray of Sunlight gives about 30 minutes. For a wood filler option, Little House of Four notes a product that dries in less than 30 minutes. In either case, test firmness before sanding.
Can you repair it without repainting it?
Yes, but only when the repair stays small and the finish can be matched closely. Stainable wood filler is the better route for tiny chips on solid wood. Veneer repairs can stay natural if the substrate is stable and the replacement edge blends. Large fills and MDF repairs usually need paint.
When stain-matching can work
Use stain-matching when the chip is shallow, the color difference is minor, and the filler accepts stain evenly. Even then, a repair at a front corner may still read as a patch because grain and porosity do not match perfectly.
When paint is the better finish
Paint is the better path for Bondo repairs, MDF corners, and larger rebuilt edges. Primer hides the filler transition and gives the paint something uniform to bond to. Once the shape is correct, primer and paint let you correct color after the repair is sanded.
Common first-timer mistake: trying to stain a big Bondo repair on a visible front corner. The color usually sits differently on filler than on wood, so the edge often remains obvious after finishing. Paint that corner instead.
Common mistakes
- Sanding too early: wait until the filler is firm through the whole repair, not just on the surface.
- Using the wrong filler on veneer or MDF: veneer often needs substrate repair first, and MDF needs a stronger rebuild when the edge is soft.
- Skipping reinforcement on a weak corner: if the corner flexes or crumbles, add support before filling.
- Trying to stain a repair that will not blend: switch to primer and paint when color match is unrealistic.
- Leaving the edge irregular: trim loose fibers with a utility knife before filler goes in.
For ornate corners, a mold helps preserve trim lines. For plain square corners, a straight edge is faster and cleaner. The more detailed the profile, the more important the mold becomes.
Frequently asked questions
What is the best filler for a chipped dresser corner?
Wood filler is the better pick for small chips that may stay stained. Bondo body filler is the better choice for painted corners and larger rebuilds. For deep losses, use reinforcement first and then build the shape in layers so the repair does not sink or crack.
Can I repair a dresser corner without repainting it?
Yes, if the chip is small and the color match is close. Use a stainable wood filler, sand it smooth, and test the finish on a hidden spot first. Large rebuilt corners usually need paint because filler rarely matches wood grain well enough on a visible edge.
How do I rebuild a missing dresser corner shape?
Make a profile guide from the intact corner, using a hot glue mold or a simple straight edge for square corners. Apply a release agent first so the mold will release cleanly. Pack filler in layers, let it cure, then sand the shape to the guide.
Should I use wood filler or Bondo for a dresser chip?
Use wood filler for a smaller chip when you want a stainable repair. Use Bondo when the dresser corner will be painted and the missing section needs a firmer rebuild. Bondo sets in minutes and sands after curing, which helps on larger corner rebuilds.
What grit sandpaper should I use after filling a dresser corner?
If you start finer than 80, you may leave high spots in place. If you stop before 220, scratches can show through the finish.
Products related to this article
Sponsored / affiliate links. As an Amazon Associate I earn from qualifying purchases. I may earn additional commission from eligible campaigns.