How to Fix a Warped Dresser Drawer
Fix a warped dresser drawer by finding where the twist starts: bottom panel, side panel, or slide track. If the drawer still fits square when empty, start with the easiest repair before you replace parts. Skip the cause, and the drawer can bind, scrape finish, spill contents, or keep warping. This guide shows how to identify each failure mode and choose the least invasive repair for wooden and particleboard drawers.
What you’ll need


- Screwdriver
- Power drill
- Sandpaper
- Saw
- Putty knife
- Staple gun
- Mallet
- Measuring tape or ruler
- Wood glue
- Clamps with soft pads
- Bondo or KwikWood for minor rebuilds
- Replacement panel stock if the bottom must be replaced
- Dremel or flexible screwdriver bit for tight hardware access
Warped drawer decision matrix
| Symptom | Likely cause | Best fix | Tools needed | Time estimate | Replace-vs-repair threshold |
|---|---|---|---|---|---|
| Uneven gaps around the drawer face | Warped body or misaligned slides | Check slides first, then clamp or re-glue the body | Screwdriver, clamps, wood glue, measuring tools | 1 to 2 hours plus cure time | Replace if the frame is cracked through or the twist returns after clamping |
| Scraping or noise during movement | Bent, loose, or misaligned tracks | Tighten, realign, or replace the slide hardware | Screwdriver, power drill, Dremel or flexible bit | 30 minutes to 1 hour | Replace if the track is bent beyond alignment or stripped at every fastener point |
| Soft, swollen, or bowed bottom panel | Moisture damage or thin panel failure | Replace the bottom with matching stock and fit | Saw, staple gun, mallet, measuring tools | 1 to 2 hours | Replace if the panel is cracked, delaminated, or soaked through |
| Missing corner, chipped edge, or small split | Impact or repeated heavy loading | Rebuild with Bondo or KwikWood, then sand to shape | Putty knife, sandpaper | 30 to 90 minutes | Replace if the damage reaches a joint, runner, or large load-bearing edge |
| Drawer front pulls crooked but box looks intact | Hardware issue or racked slide mounting | Realign slides before touching the drawer body | Screwdriver, measuring tools, power drill | 30 to 60 minutes | Replace if the cabinet mounting points are stripped or broken out |
How do you fix a warped dresser drawer?
Remove the drawer, inspect the front, sides, bottom, and slides one by one, then repair only the part that is actually out of shape. If the drawer still sticks after the hardware checks, re-glue open joints and clamp the warped section flat. Use filler only for missing wood, not for worn slide surfaces.
Start with the drawer body
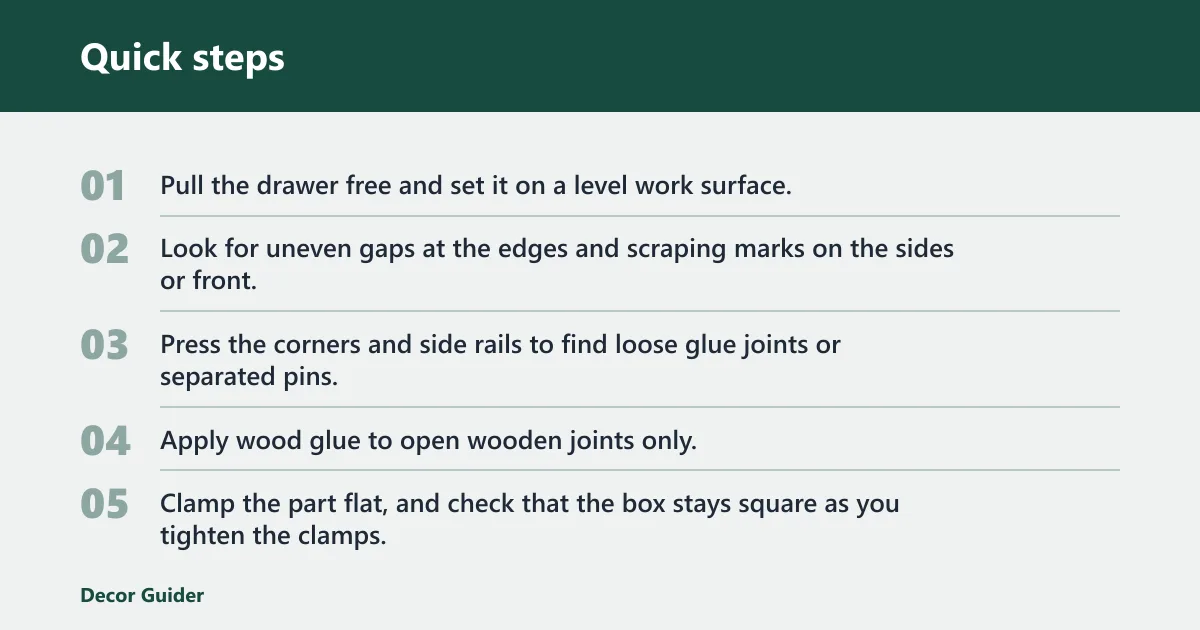
- Pull the drawer free and set it on a level work surface.
- Look for uneven gaps at the edges and scraping marks on the sides or front.
- Press the corners and side rails to find loose glue joints or separated pins.
- Apply wood glue to open wooden joints only.
- Clamp the part flat, and check that the box stays square as you tighten the clamps, with soft pads between the clamp and wood.
- Leave it clamped for at least 24 hours before reassembly.
Shape only what can be saved
Use Bondo or KwikWood when a corner is missing, an edge is chipped, or a small section needs rebuilding. A common first-timer mistake is putting filler on a runner or slide surface that must take wear, where it usually fails early. After cure, shape the repair with sandpaper until the drawer fits back into its opening without changing the fit of the drawer sides if the real problem is the slides.
If that didn’t work, try this next
Suppose a 24-inch drawer still scrapes after the side is glued and clamped. Check the slide pair next, not the face frame. If the hardware is straight and tight, the body may be too far out of square to recover without replacement.
How do you fix a warped dresser drawer bottom?
Check the bottom for swelling, bowing, cracks, or separation from the frame before you touch the sides. If the panel is only loose, reset it. If it is badly swollen or cracked, replacement is usually the cleaner fix. Match the original thickness and groove, not a guess.
Replace a damaged panel
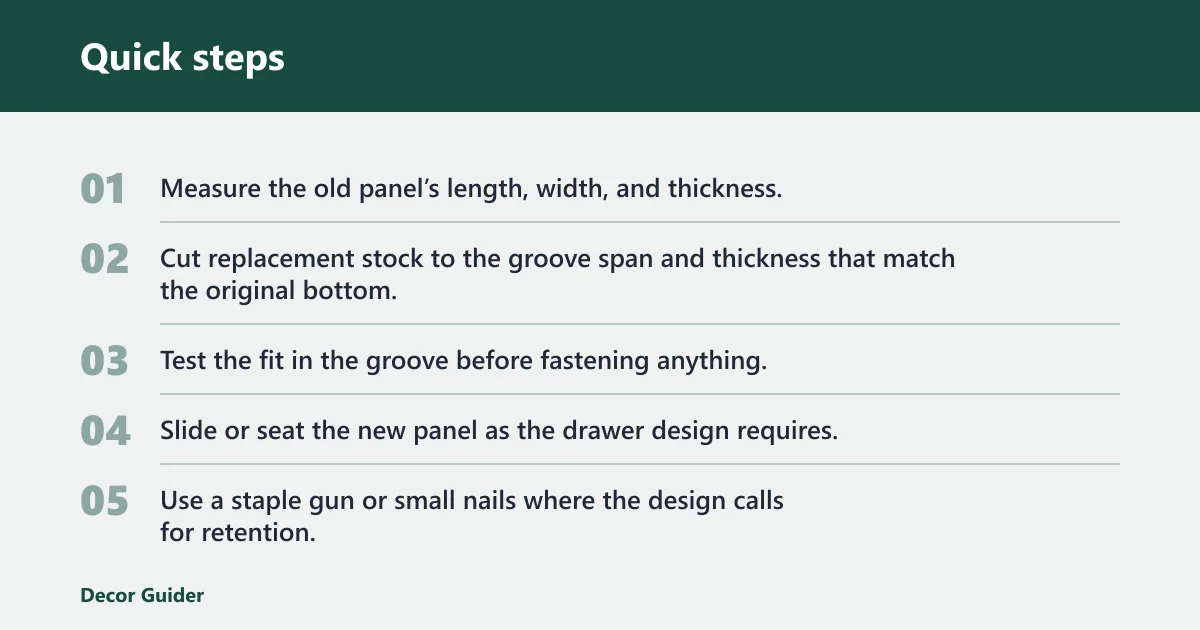
- Measure the old panel’s length, width, and thickness.
- Cut replacement stock to the groove span and thickness that match the original bottom, not the outside drawer dimensions.
- Test the fit in the groove before fastening anything.
- Slide or seat the new panel as the drawer design requires.
- Use a staple gun or small nails where the design calls for retention, and use the saw only if the panel must be trimmed to fit the groove span.
- Check that the bottom sits flat and does not bind the box.
Choose the right stock
Many replacement bottoms use 1/8-inch plywood, but that is not universal. Match the original groove and panel thickness first. If the drawer was built for a thicker panel, forcing a thinner one can let the bottom rattle; forcing a thicker one can split the groove or rack the box.
When replacement beats repair
Replace the bottom if the panel is badly bowed, cracked through, or separated from the frame in more than one area. A repair patch on a bottom that flexes every time you load it is temporary. Heavy socks are one thing; a stack of books or tools is another.
How do you fix a crooked dresser drawer?
Check the slides or tracks first, because bent, loose, or misaligned hardware can make a sound drawer look warped. Tighten or realign the slide system before sanding the drawer body. If the drawer still sits crooked after hardware correction, inspect the box for twist, racking, or a loose bottom.
Check the hardware path first
- Pull the drawer and inspect wooden or metal tracks for bends or gaps.
- Tighten loose screws with a screwdriver or power drill.
- Realign the track so both sides sit at the same height and depth.
- Reinstall the drawer and close it slowly.
- Repeat the fit check until the gaps around the face look even.
Correct the body only after the slides pass
If the drawer still tracks crooked, a small square error in the box may be the cause. Use clamps to pull the body true while the glue cures if joints have opened. A hairdryer on low or medium heat can help in some wood-warp cases, but do not rely on heat alone for swollen particleboard.
Post-repair adjustment
If the drawer binds only at one corner, a common fix is to loosen the slide screws by one turn, shift the track by about 1 to 2 millimeters, then retighten and retest. That small change often corrects a face that sits slightly off without forcing the body back out of square.
Should I reshape, brace, or replace a warped drawer?
Reshape when the drawer is solid wood, the twist is mild, and the joints are still sound. Brace or re-glue when the box is square enough to recover but has open seams. Replace when the bottom is crumbled, the track is destroyed, or the sides are too swollen or broken to hold a stable fit.
Look at the material first
Solid wood can sometimes be brought back into alignment with clamps and re-gluing. Particleboard behaves differently; once it swells, crumbles, or loses edge strength, reshaping usually does not last. In that case, a new bottom or a new drawer body is the better use of time.
Use a simple rule
If the drawer keeps twisting after clamping, or if the slide surface is worn through, stop repairing the damaged area and move to replacement. The cheapest fix is the one that lasts through daily use, not the one that looks finished for one week.
What causes a dresser drawer to warp in the first place?
Moisture and heat are common causes, and heavy loads, poor-quality wood, and installation problems can make the damage worse. Warping can show up at the front, sides, or bottom, so inspect each section separately. A drawer with uneven gaps around the edges or scraping during movement usually has more than one stress point.
Reduce repeat damage
Keep the drawer away from steady humidity swings, heaters, and wet cleaning habits that soak the panel edges. Do not overload it with dense items. If the drawer front is fine but the bottom keeps sagging, spread weight more evenly or move heavy storage to a stronger compartment.
Common preventable causes
- Moisture from a damp room or spills that reached the panel edges
- Heat from a vent, radiator, or sun exposure near the dresser
- Too much weight in one drawer
- Soft or poor-quality wood that moved more than the hardware could tolerate
- Misaligned tracks installed at the wrong height or angle
Common mistakes
- Using filler on a worn runner or slide surface that needs real hardware repair.
- Replacing a bottom with the wrong thickness instead of matching the original groove.
- Skipping the slide check and fixing the drawer body first.
- Clamping with bare metal pads that leave marks on the wood.
- Pulling the drawer back into service before glue has cured for about 24 hours.
- Overloading the drawer after repair, which can reopen joints or sag the bottom again.
Frequently asked questions
How do I fix a bowed dresser drawer?
Check whether the bow is in the sides or the bottom panel. Re-glue open joints and clamp the body flat if the structure is still sound. If the bottom is the bowed part and it no longer sits true, replace it with matching panel stock rather than forcing it flat.
How do I fix a bowed chest of drawers?
Check the cabinet slides and the drawer box together, because a crooked runner can make several drawers look bowed. Tighten the hardware, then repair the individual drawer that is actually out of shape. If the cabinet itself is racked, realign the case before tuning the drawers.
How do I fix warped wood drawer?
Wood drawers can often be corrected with glue, clamps, and careful sanding if the damage is limited to separated joints or minor edge loss. If the warp is caused by a damaged bottom or a bad slide, fix that first. The wood itself is not always the real problem.
How do I fix warped drawers?
Work one drawer at a time and compare the symptom to the part that moves wrong: front, side, bottom, or track. That keeps you from replacing parts that still work. If the drawer remains crooked after hardware correction, move to the body repair or panel replacement that matches the failure.
How do I fix a broken dresser drawer?
Glue and clamp broken wooden joints first if the split is clean and the surrounding wood is sound. Rebuild chipped edges with a filler such as Bondo or KwikWood, then sand to shape after it cures. If the break reaches the runner or bottom frame, replacement is often the safer choice.
Products related to this article
Sponsored / affiliate links. As an Amazon Associate I earn from qualifying purchases. I may earn additional commission from eligible campaigns.