How to Fix a Drawer That Sticks on One Side
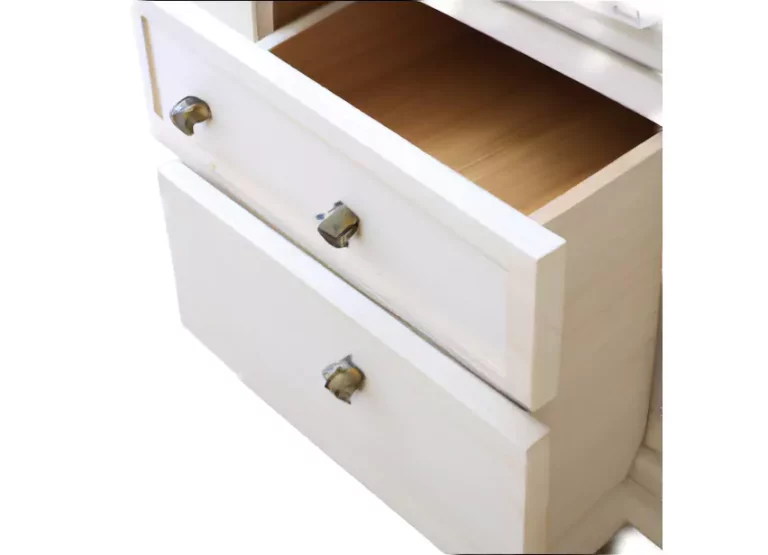
To fix a drawer that sticks on one side, open it slowly, find the rub mark on the tight side, and correct the exact cause, misalignment, swelling, loose slides, or a bent runner, instead of sanding both sides. If you ignore the binding point, the drawer can keep dragging, wear the slide, and eventually jam or tip contents. This guide shows how to trace the rub point and match each repair to the failure you actually have.
Author note: In repair work, the fastest clue is usually a shiny burnish or scraped finish where the drawer edge has been rubbing. One-sided binding often shows up as a front reveal that narrows on the tight side, a rear corner that catches late in travel, or a drawer that closes smoothly until the last inch. Those patterns are useful because they point to the exact contact zone instead of inviting broad sanding that can make the fit looser without solving the bind.
What you’ll need


- Flashlight
- Phillips and flat screwdrivers
- Vacuum with crevice tool
- Silicone lubricant for metal slides
- Sandpaper, including 220 grit for spot work
- White candle, paraffin wax, or a bar of soap for wood runners
- Wood glue and a small block for repairs or stop testing
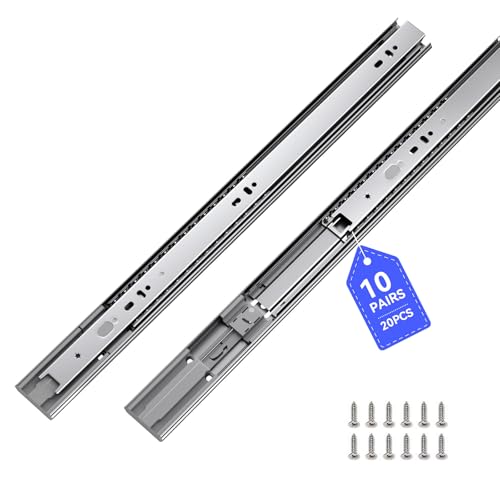
- Replacement slide pair matched to the drawer length and hole spacing
- Replacement clips or damper cartridge if the mechanism is damaged
Why one side sticks
One-sided sticking usually means one edge rubs before the rest of the drawer reaches full travel. Look for shiny wear, scraped finish, uneven gaps, or a front reveal that changes as the drawer moves. That tells you whether the problem is at the front, rear, top, bottom, or along a diagonal.
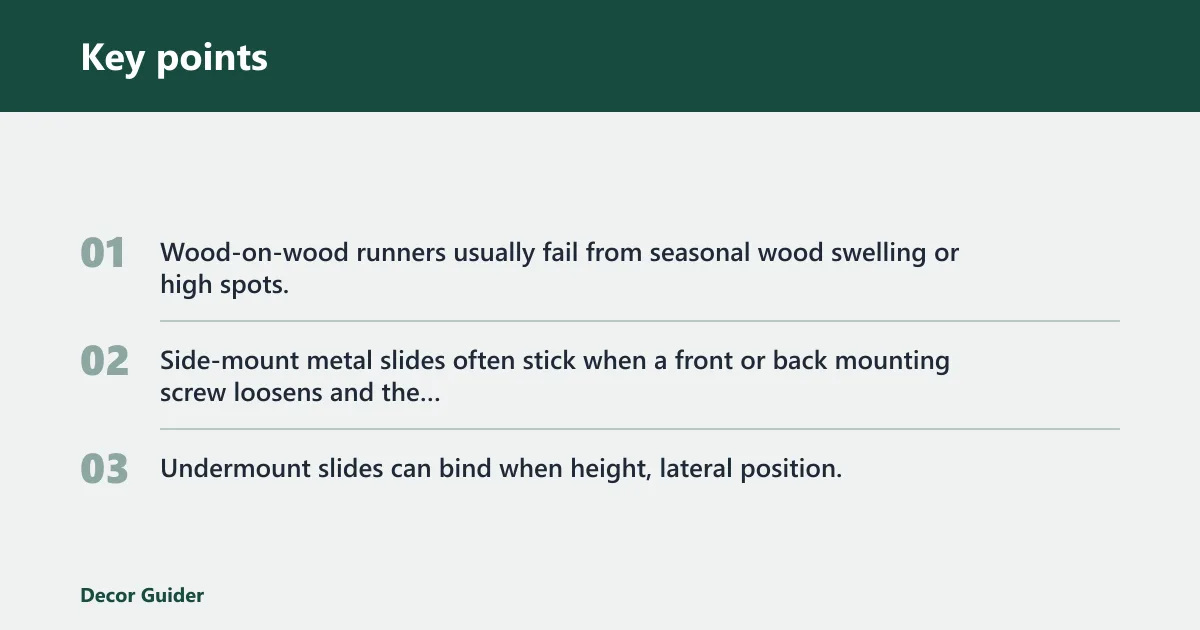
Start with the drawer type. Wood-on-wood runners usually fail from seasonal wood swelling or high spots, which is why wood movement from moisture changes can make a fit that seemed fine in one season bind in another. Side-mount metal slides often stick when a front or back mounting screw loosens and the drawer front sags. Undermount slides can bind when height, lateral position, or front clip engagement is off; manufacturers such as Blum, Accuride, and Hettich all specify that slide geometry and installation tolerances matter, especially on concealed systems.
Drawer diagnosis matrix
| Symptom pattern | Likely cause | Exact fix |
|---|---|---|
| Front-only rub on one side | Drawer front is sagging or trim is touching the face frame | Tighten the front mounting screw, then set the reveal so both sides match |
| Rear-only rub | Loose back mount or rail is out of parallel | Re-seat the back screw, square the slide, and retest travel |
| Upper-edge rub | Drawer is riding too high on one side | Lower that side with adjustment slots or plane a high spot on wood runners |
| Lower-edge rub | Drawer box is sagging or the bottom panel is bowed | Support the bottom, tighten fasteners, or replace warped parts |
| Diagonal drag | Drawer box is racked or opening is out of square | Check squareness, then correct the drawer-side or cabinet-side alignment |
| Stick is worse when weather is damp | Seasonal swell in wood | Wax the runner, then seal bare wood with shellac or polyurethane |
| Front sags after a hard pull | Loose front screw on a side-mount slide | Tighten the front and back mounting points and realign the rail |
| Drawer stops halfway on extension | Debris in the rail or worn bearing track | Vacuum the slide, wipe the rail clean, then apply silicone lubricant |
| One side binds after removal and reinstall | Release clip not fully engaged | Re-seat the front clip or release tab until it locks |
| Problem remains after cleaning | Bent rail, warped side, or damaged clip | Replace the slide pair or the damaged drawer part |
| Front reveal changes as drawer closes | Mounting screws have shifted position | Adjust the screw position, then confirm level left-to-right |
Diagnosis checks before you touch hardware
The first check is debris, loose hardware, and the exact rub point. Remove loose crumbs, then open and close the drawer slowly with a flashlight aimed at the tight side. If you see shiny wear or a fresh scrape, that is the surface to correct before you sand or lubricate anything else. On wood drawers, the rub often appears as a polished stripe or a darkened edge; on metal slides, it can show up as scoring on the bearing path or a rail that no longer runs smoothly through full extension.
For concealed systems, follow the manufacturer’s adjustment sequence rather than forcing the drawer into place. Blum’s installation and adjustment guidance for concealed runners, Accuride’s slide instructions, and Hettich’s drawer system documentation all stress that front clip engagement, parallelism, and side spacing must be set in the correct order. If the drawer is reinstalled and still pulls crooked, the issue is usually alignment or an incorrect release engagement, not lack of sanding.
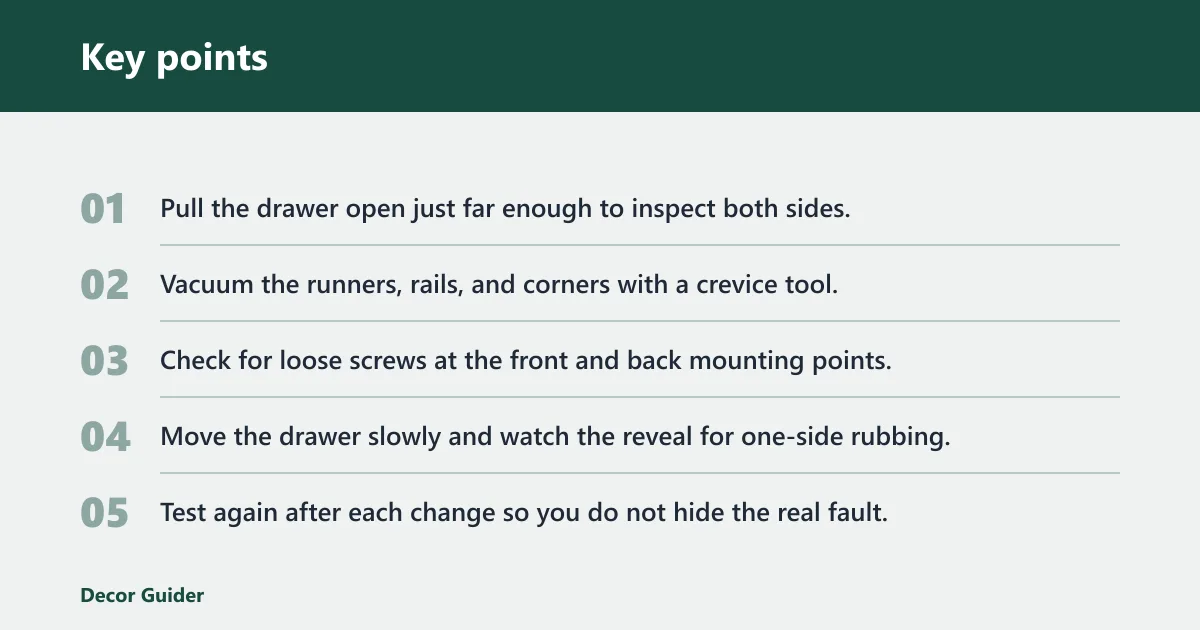
- Pull the drawer open just far enough to inspect both sides.
- Vacuum the runners, rails, and corners with a crevice tool.
- Check for loose screws at the front and back mounting points.
- Move the drawer slowly and watch the reveal for one-side rubbing.
- Test again after each change so you do not hide the real fault.
Suppose a kitchen drawer binds only at the last inch of closure, but slides freely on the first half of travel. That pattern usually points to front-edge rub or a sagging front, not a dirty rail. Tighten loose screws and recheck the reveal before you try anything else.
How do you fix the rub point?
Match the fix to the drawer type. For wood runners, use wax or a bar of soap on the contact surface. For metal slides, clean first and use silicone lubricant, not WD-40, unless the manufacturer specifically allows a different product for the hardware you have. For undermount slides, adjust the hardware rather than sanding the drawer box blindly. Lubricant guidance is hardware-specific because some finishes and soft-close mechanisms can attract dust or behave unpredictably if the wrong product is used; manufacturer instructions should take priority.
Wood-on-wood runners
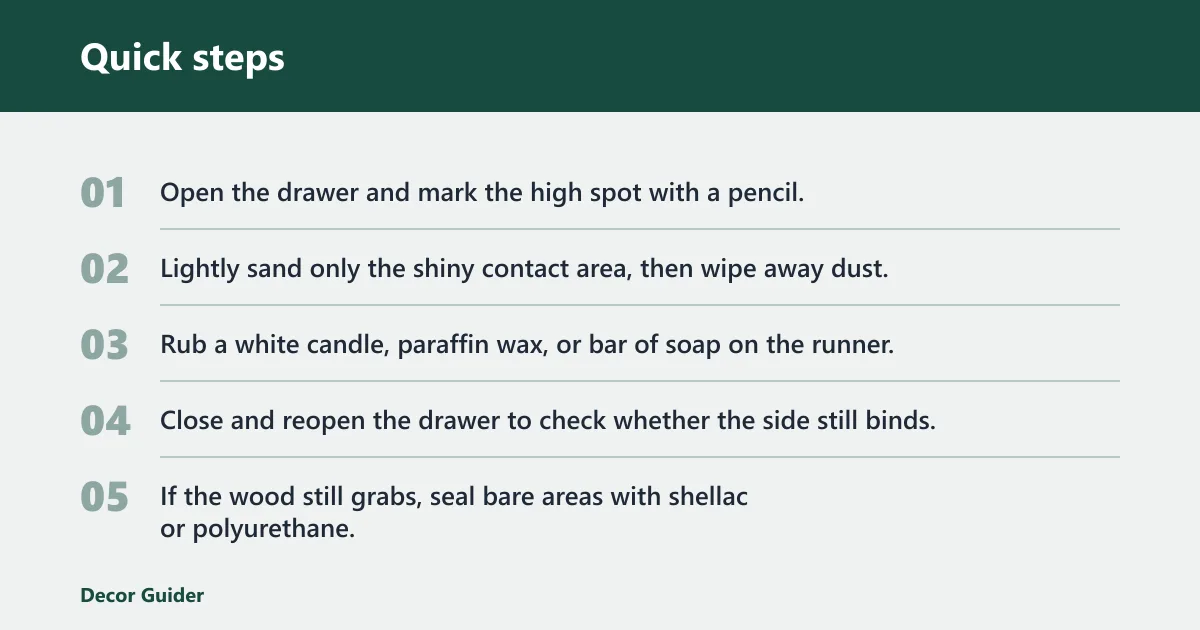
- Open the drawer and mark the high spot with a pencil.
- Lightly sand only the shiny contact area, then wipe away dust.
- Rub a white candle, paraffin wax, or bar of soap on the runner.
- Close and reopen the drawer to check whether the side still binds.
- If the wood still grabs, seal bare areas with shellac or polyurethane.
Wood movement is a normal cause of seasonal binding in solid-wood cases, especially where the runner or drawer side is unfinished and exposed to humidity swings. The best-practice fix is usually to relieve only the high point, then seal the exposed surface so the same area does not swell again as quickly. Finishing guidance from manufacturers and finishing references generally favors thin, compatible coats on bare wood rather than heavy buildup that can change the fit.
Side-mount metal slides
- Remove the drawer using the release lever or lift-to-remove tab if present.
- Clean the front and back rails with the vacuum and a dry cloth.
- Tighten loose screws at both mounting points.
- Use silicone lubricant on the slide track.
- Reinstall the drawer and test for smooth travel.
On side-mount slides, the failure pattern is often a loose front mount, a rear screw that has walked out, or a bent member that only catches under load. Accuride’s product instructions and load-rating literature consistently emphasize level mounting, correct hole spacing, and full engagement of the members before checking performance. If the drawer binds only under weight, check for a sagging cabinet side or an overloaded slide before blaming the drawer box.
Undermount slides
- Pull the drawer free and inspect the front clip engagement.
- Adjust height, lateral position, and depth at the slide hardware.
- Confirm both sides sit evenly in the opening.
- Re-seat the soft-close mechanism if the drawer will not close cleanly.
- Replace the soft-close damper cartridge if the mechanism still fails.
Undermount hardware is less forgiving of side-to-side error than older wood runners. Blum and Hettich both specify adjustment points for height, side, and tilt so the drawer front can be centered after installation. If the front starts rubbing after reinstalling, the usual cause is an incomplete clip lock, a depth setting that is off on one side, or a slide that is not seated flush in its mounting points.
A common first-timer mistake is sanding both sides equally. That can make the drawer looser without fixing the side that actually binds. Remove only the high spot on the tight side, then recheck fit after every pass.
How do you realign the drawer?
Alignment fixes matter when the drawer is level enough to move, but not level enough to move freely. Check left-to-right level, even front reveal, and whether the cabinet opening is square. On side-mount slides, even a slight front screw shift can create a bind on one side. On face-frame cabinets, a drawer can also look “tight” when the interference is actually the frame, not the box, so compare the rub mark with the opening before deciding which part to move.
Alignment checks and adjustments
- Place a level on the slide rail and confirm side-to-side level.
- Measure the front reveal on both sides; it should look even.
- Loosen the mounting screw slightly, shift the slide, and retighten.
- Check whether the drawer front sits parallel to the cabinet opening.
- If the drawer still drags diagonally, compare the opening corners for square.
Use a simple stop block if you need a repeatable depth check. A 3/4 x 3/4 inch, 1 inch long block of wood gives you a consistent spacer for checking how far the drawer lands before final tightening.
When should you replace hardware?
Replace parts when cleaning and adjustment cannot correct a bent rail, warped drawer side, broken clip, or failed damper. If a slide is damaged, match the new pair to the old length and mounting hole spacing. Replacement slide pairs are often in a low-cost range for common sizes, but the exact price depends on brand, extension type, load rating, soft-close features, and finish, so it is better to compare the matched part number than to rely on a generic estimate.
- Inspect the rail for bends, cracks, or missing bearings.
- Check for warped drawer sides or a sagging bottom panel.
- Look for broken clips, hidden screws, or a failed soft-close damper.
- Remove the old hardware only after identifying the model-specific release tabs.
- Install the matched replacement pair and confirm smooth motion.
For wood drawers with damaged edges, filler repair can be used before re-sanding. Dry time varies by filler type, humidity, and repair depth, so treat any sanding-time estimate as a starting point only and follow the label directions. A common rule of thumb is to use 220 grit sandpaper for shaping the repair flush after the filler has cured enough to sand cleanly.
Manufacturer removal steps matter here too. Blum, Accuride, and Hettich each use different release mechanisms across their product families, and some require a specific lift angle, lever motion, or front clip sequence. If the drawer will not come out easily, stop and identify the hardware first rather than prying on the slide.
Common mistakes
Sanding before diagnosis wastes material and can make the drawer looser without fixing the bind. Lubricating the wrong surface is another common error; use wax or soap on wood runners and silicone lubricant on metal slides. Do not ignore a sagging drawer front, because it often shifts the rub point from the middle to the front edge.
Also avoid forcing drawer removal. Check for a plastic lever on side tracks, lift-to-remove slides, hidden screws, or model-specific release tabs before pulling harder. Some drawers use bottom tracks, others side tracks, and the release method changes with the hardware.
For prevention, inspect dresser drawers every 6 months or so. Tighten mounting screws, clear debris, and spot-check for one-side rub before it becomes a full bind.
Frequently asked questions
How do I fix a sticking drawer?
Open the drawer slowly, find the tight side, and inspect for a shiny rub mark or a gap that closes unevenly. Clean the path first, then tighten loose screws or correct the exact interference. If the drawer is wood, use wax or soap; if it is metal, use silicone lubricant.
How do I fix a stuck drawer?
If the drawer will not move, pull it partway and inspect the rails, front reveal, and release hardware. Remove debris, check for hidden screws or plastic levers, then realign the slide. If one side is bent or swollen, replace or repair that part instead of forcing the drawer straight.
How do I fix a drawer that sticks on one side?
Trace the rub point on the tight side and match the repair to that location. Front rub usually means a sagging front or trim interference; rear rub points to a loose back mount; diagonal drag often means the box is racked. Fix that side first, then retest.
How do I fix a sticking dresser drawer?
Start by checking whether the dresser uses wood runners, side-mount slides, or undermount slides. Then clean the tracks, tighten loose fasteners, and watch for uneven reveal. Older dressers often need cabinet-side adjustment, not just drawer-side sanding, because the opening itself may be out of square.
How do I fix drawer slides that stick?
Remove the drawer, vacuum the rails, and inspect the front and back mounting points. Tighten screws, confirm the slide is level left-to-right, and use silicone lubricant on metal parts. If the slide is bent, or if bearings are worn, replacement is the correct fix.
How do I unstick a stuck wooden drawer?
Find the high spot on the runner, sand only that area lightly, and rub the contact surface with a white candle, paraffin wax, or a bar of soap. If swelling from humidity is the cause, let the wood dry and seal exposed areas with shellac or polyurethane.
How do I fix a kitchen drawer that sticks?
Kitchen drawers often bind because debris collects in the slides or the front screw loosens under repeated use. Clean the rails, tighten all mounting points, and check that the front sits evenly in the opening. If the slide still catches, match the replacement to the original length and hole spacing.
How do I fix a dresser drawer that keeps sticking?
Repeated sticking usually means the same failure is still present: loose hardware, seasonal swell, or a bent rail. Diagnose the rub point again rather than repeating the same fix. If adjustment and cleaning no longer change the symptom, replace the damaged slide pair or warped drawer part.
Sources
- Blum downloads and installation instructions
- Accuride resources and product instructions
- Hettich downloads and technical documentation
- Wood movement and moisture reference
- Understanding wood movement
- Finishing guidance and surface preparation
Products related to this article
Sponsored / affiliate links. As an Amazon Associate I earn from qualifying purchases. I may earn additional commission from eligible campaigns.