How to Reinforce a Dresser Drawer Bottom That Keeps Breaking
Reinforce a dresser drawer bottom by first fixing the failure cause: replace a sagging or split panel, then add a center brace, full-panel cleats, or thicker plywood when the drawer carries heavy clothing. If you skip the cause, the same split returns, runners loosen, and the drawer can drop its contents. This guide shows how to diagnose the break pattern and choose the right repair for each drawer type.
Failure patterns and when a patch won’t cut it
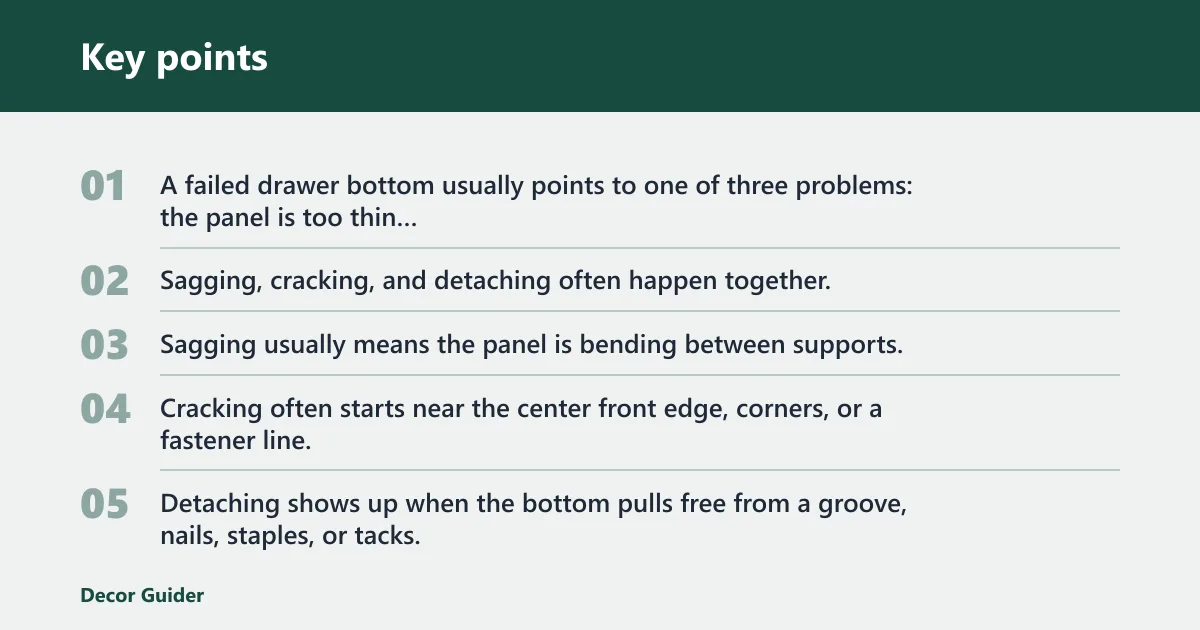


A failed drawer bottom usually points to one of three problems: the panel is too thin for the load, moisture has swollen or weakened the material, or the edge support is poor. Sagging, cracking, and detaching often happen together, so the repair needs to address both the panel and the way it is held in the drawer box.
Common failure patterns
Sagging usually means the panel is bending between supports. Cracking often starts near the center front edge, corners, or a fastener line. Detaching shows up when the bottom pulls free from a groove, nails, staples, or tacks. A panel can also look intact but still bow enough that the drawer rides poorly.
Repeated failure is a clue that the original setup no longer matches the load. Heavy sweaters, jeans, pantry items, tools, or stacks of canned goods stress a bottom more than socks or flat linens. Moisture swings can also swell fiberboard or hardboard, then dry it out until the surface loses strength at the edges.
When a repair is no longer enough
If the drawer box is out of square, the grooves are blown out, or the panel has split at more than one corner, a patch is rarely the best choice. At that point, a full replacement panel or a rebuilt drawer box is safer than trying to save a failing frame with glue alone.
A common mistake is stapling a new panel over the sagging bottom without checking whether the drawer sides are still square and supporting the load. Suppose a 24-inch-wide clothing drawer sags in the center and the front edge keeps dropping free. A new bottom helps, but the load will keep forcing the same weak edge unless you also add support or move to a thicker plywood panel.
How to tell what kind of drawer bottom you have
Drawer repair starts with the build style. A grooved or dado-style bottom slides into shallow slots in the sides, front, and back. A nailed or stapled bottom sits against the lower frame edge and is secured with fasteners. Those two layouts need different removal, fitting, and reinforcement steps.
Grooved or dado-style bottoms
In dado construction, the panel is captured in shallow grooves. That usually means a tighter fit, a cleaner look, and a stronger original layout, but it can also require complete disassembly or at least separating the back of the drawer box before the bottom can slide out. The frame edges and grooves must be cleaned before reinstall.
Nailed or stapled bottoms
The nailed or stapled style is easier to repair but weaker. The bottom panel rests against the lower frame edge and is held with nails, staples, or tacks. You can often remove and replace it without taking the whole box apart, which makes this style faster to service when the panel itself is the only problem.
What each style means for repair difficulty
Dado-style drawers usually give you better support, but they ask for more careful sizing and more disassembly. Nailed-style drawers are more forgiving to remove and reinstall, but they often fail sooner because the panel depends on thin material and small fasteners. The repair choice should match that build, not fight it.
What to replace the bottom
For most repairs, plywood is the better replacement material. Plywood is commonly stronger than fiberboard, tends to hold fasteners better, and usually resists moisture better than a swollen hardboard or thin fiberboard bottom. The right thickness depends on drawer size and load, but 1/4-inch and 1/2-inch plywood are the core choices.
Plywood versus hardboard versus fiberboard
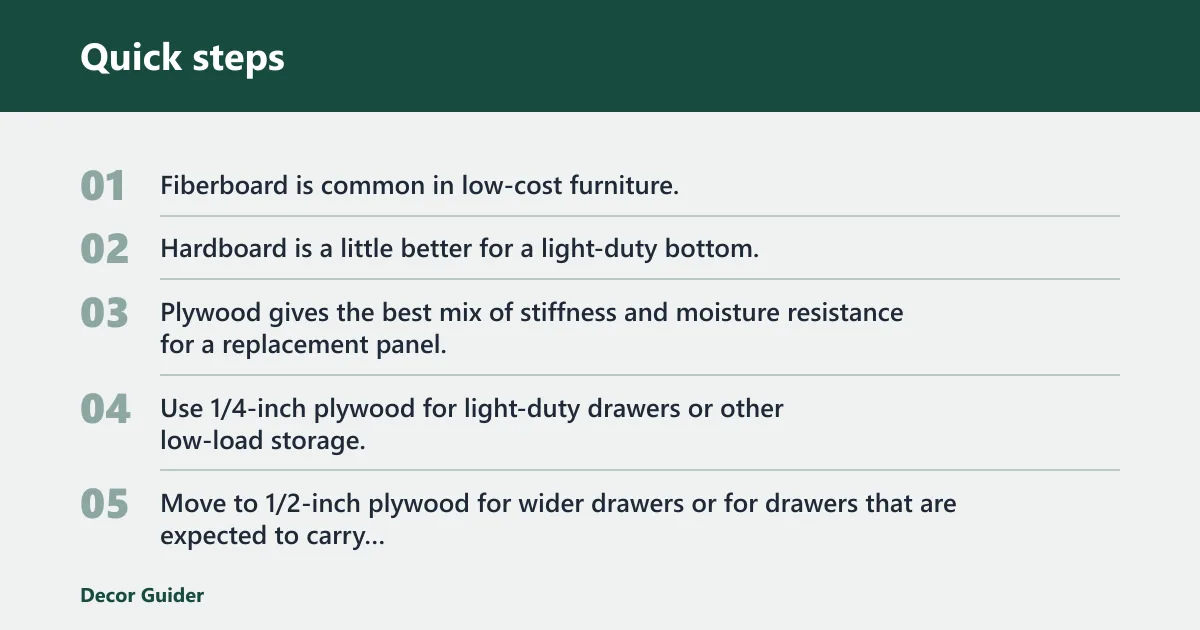
Fiberboard is common in low-cost furniture, but it is the easiest to crush at the edge and the most likely to sag after repeat loading. Hardboard is a little better for a light-duty bottom, yet it still depends on good edge support. Plywood gives the best mix of stiffness and moisture resistance for a replacement panel.
Best thickness for light, medium, and heavy drawers
Use 1/4-inch plywood for light-duty drawers or other low-load storage. Move to 1/2-inch plywood for wider drawers or for drawers that are expected to carry heavier loads. If the drawer bottom keeps breaking, thicker plywood is usually the safer choice.
When moisture resistance matters
Choose plywood when the drawer sits near a bathroom, basement, kitchen, or laundry space, or when spills are part of the normal use pattern. Hardboard and fiberboard absorb moisture more readily at cut edges and fastener points. Once those edges swell, the bottom can lose fit and start sagging again.
| Failure type | Likely cause | Best fix | When to replace the whole drawer |
|---|---|---|---|
| Sagging center panel | Overload, thin fiberboard, weak front support | Replace with 1/2-inch plywood, then add a center brace or full-panel cleats | Replace if the drawer box is out of square or the sides are splitting |
| Cracked bottom near a corner | Dry wood, moisture swings, edge stress | Cut a new 1/4-inch or 1/2-inch plywood panel and repair the corner joint with glue | Replace if the crack extends into the side groove or multiple corners have failed |
| Detached nailed-on bottom | Loose fasteners, worn edge support, repeated load cycles | Re-glue the edge, then add thin brad nails or screws about every two inches | Replace if the bottom edge is split or the frame lip is missing material |
| Blown-out groove or warped panel | Poor fit, moisture swelling, repeated removal | Rebuild the drawer base with a new plywood panel and cleaned grooves | Replace if the grooves are too damaged to hold a new panel squarely |
How do you reinforce the bottom without rebuilding the whole drawer?
You can reinforce a sound panel if the drawer box is still square and the edges are intact. Wood glue works when the seams and grooves are clean and finish-free. Add thin brad nails or screws for a nailed-style bottom, and use a center strip or cleat when a sagging panel needs support but not full replacement.
Glue-only reinforcement for sound seams
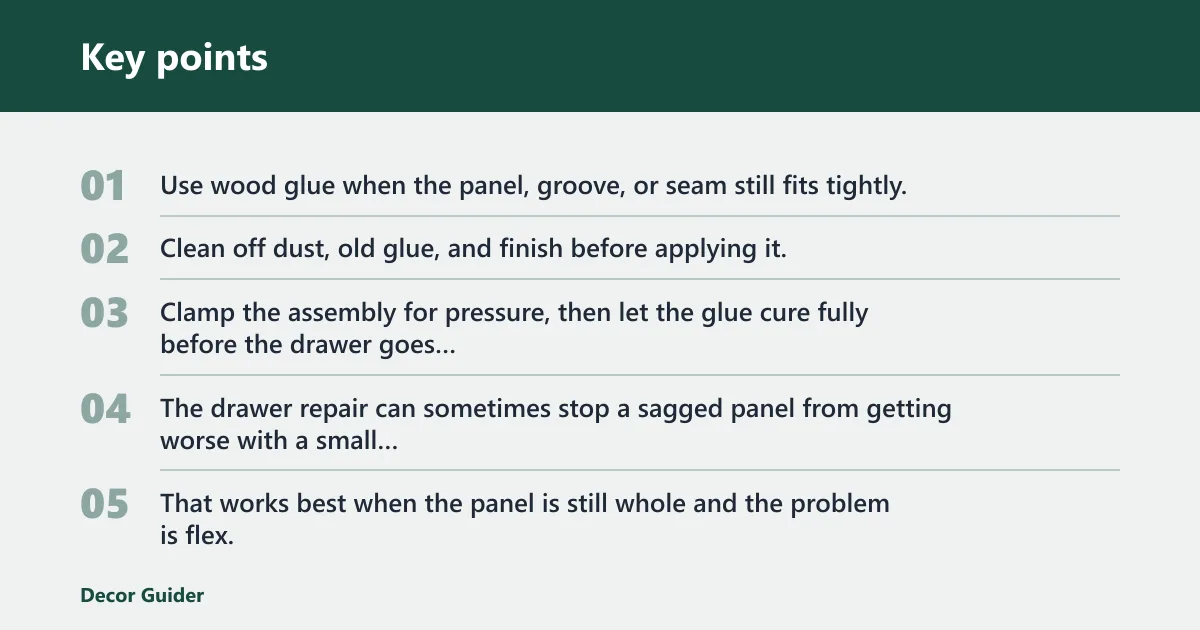
Use wood glue when the panel, groove, or seam still fits tightly. Clean off dust, old glue, and finish before applying it, because bond quality depends on bare wood contact. Clamp the assembly for pressure, then let the glue cure fully before the drawer goes back into service. Do not rush the repair.
The drawer repair can sometimes stop a sagged panel from getting worse with a small strip of wood and glue. That works best when the panel is still whole and the problem is flex, not a split or missing edge. If the bottom is cracked through, glue alone will not carry the load for long.
Adding brad nails or screws to surface-mounted bottoms
For nailed or stapled bottoms, use thin brad nails or screws to restore the edge hold after re-gluing the panel. Place fasteners approximately every two inches so the load is spread along the frame edge. Keep the material thin enough that you do not split the drawer box sides or punch through the face.
Choose fasteners that fit the thin drawer material. Small brad nails are a common choice for light repairs, while short screws can work when the wood is still sound and the pilot holes are carefully sized. If the panel edge is already crushed, fasteners may hold only briefly unless you add a new plywood bottom.
Repairing blown-out grooves and cracked corners
When the groove is damaged, clean out all loose residue first. If the bottom still fits, you may be able to re-glue the groove and clamp the box square until the bond sets. If the panel no longer seats well, replace it instead of forcing it into a damaged slot.
Corner cracks need more than surface glue if the joint opens under load. Re-seat the drawer box, keep it square, and check whether the side, front, and back joints need reassembly. If a corner is split and the groove is gone, a new bottom is usually the cleanest repair.
How do you measure and cut the replacement panel?
Use a metal tape measure so the panel size is accurate. For a grooved or dado-style drawer, the replacement must match the full width and depth of the opening so it slides into the slots correctly. For a nailed-style drawer, allow about 1/32-inch for fit so the panel seats without forcing the frame apart.
Using a metal tape measure for accurate sizing
Measure the drawer opening in both directions and check the inside corners for square. Then compare those readings to the old panel only if the old panel is not warped. A warped bottom can mislead you, which is why the opening size matters more than the damaged panel shape.
Fit allowance for nailed-style bottoms
A common rule of thumb is about 1/32-inch of clearance for a nailed-style bottom. About 1/32-inch is enough to let the panel sit flat without binding. Too much gap leaves the edge unsupported. Too little can force the drawer box out of square and make the front rub.
Full-width and full-depth fit for grooved bottoms
For dado-style construction, the new panel needs to match the full drawer width and depth that the grooves require. If the fit is off, the bottom may not slide in, or it may seat loosely and rattle under load. Clean grooves matter here as much as the cut size.
- Unload the drawer and remove it from the dresser.
- Identify whether the bottom is grooved or nailed on.
- Clean old glue, dust, and debris from the edges and grooves.
- Measure the opening with a metal tape measure.
- Cut the new panel to the correct size and thickness.
- Dry-fit the panel before using glue or fasteners.
- Clamp the assembly if glue is part of the repair.
- Let adhesive cure fully before returning the drawer to service.
Say your pantry drawer is 28 inches wide and carries canned tomatoes and jars. A 1/4-inch hardboard bottom may bow again even after a clean re-glue. Switching to 1/2-inch plywood and adding edge support gives the drawer a better chance of holding that kind of load without repeat failure.
How much weight can a repaired drawer bottom hold?
No single number fits every dresser drawer, because load capacity depends on the panel material, drawer width, edge support, and the condition of the box. A light junk drawer can often live with a repaired bottom, while a clothing or pantry drawer that stays heavily loaded needs stronger material and more support. If the drawer keeps sagging after repair, the load is too high for the build.
A repaired drawer bottom should be judged by use pattern, not hope. If the contents are dense, shift during opening, or sit mostly in the middle, the bottom needs more stiffness than a flat stack of light items. When in doubt, move to plywood and add support before the next failure.
A simple load-risk checklist helps decide whether reinforcement is enough:
- The drawer holds heavy items such as cans, tools, or folded denim.
- The bottom already sagged more than once.
- One edge has pulled free from the frame or groove.
- The drawer box is no longer square.
- Moisture has swollen the old panel or softened the edge.
- The bottom material is thin fiberboard and the drawer is wide.
If two or more of those are true, a simple patch is usually not enough. Move to a new plywood bottom, and consider replacing the drawer if the box joints or grooves are also damaged.
Frequently asked questions
How do I reinforce a dresser drawer bottom that keeps breaking?
Start by replacing the damaged panel or fixing the failure point, then add support that matches the drawer style. Plywood is usually better than fiberboard, and a sagging drawer can sometimes benefit from a center brace or full-panel cleats. If the box is out of square, rebuild the drawer instead.
Why does my dresser drawer bottom keep sagging or cracking?
Repeated sagging or cracking usually comes from overload, age, moisture swings, or weak edge support. Heavy clothing, pantry items, and wide spans stress thin fiberboard or hardboard. If the drawer bottom keeps failing after repair, the original material or support method is not strong enough for the load.
Should I replace the drawer bottom with plywood or hardboard?
Plywood is the better choice for most drawer replacements because it is stronger and handles moisture better than hardboard or fiberboard. Hardboard can work for a light drawer, but it is not the best answer for repeated breakage. For heavier use, 1/4-inch or 1/2-inch plywood is the safer option.
How do I tell if my drawer bottom is glued in a groove or nailed on?
Look at the drawer edge. If the bottom slides into shallow slots in the sides, front, and back, it is grooved or dado-style. If the panel sits against the lower frame edge and you see nails, staples, or tacks, it is nailed or stapled. The first type usually needs more disassembly.
What thickness plywood should I use for a drawer bottom replacement?
Use 1/4-inch plywood for light-duty drawers and 1/2-inch plywood for wider or heavier drawers. If the drawer carries folded clothes, pantry goods, or other dense items, 1/2-inch is the better starting point. The thicker panel also gives you more stiffness when the old bottom has failed more than once.
Do I need to disassemble the drawer to replace the bottom?
For a grooved or dado-style bottom, often yes. The bottom may need to slide out after separating the back of the drawer box. A nailed or stapled bottom is usually easier to remove without full disassembly, though you still need the box square and the edges clean before the new panel goes in.
Products related to this article
Sponsored / affiliate links. As an Amazon Associate I earn from qualifying purchases. I may earn additional commission from eligible campaigns.