

Got a water dispenser that’s acting up? It can be a bit tricky when things don’t work right, especially for folks just starting out. But don’t worry, fixing it is often simpler than you think.
This guide is here to help you out. We’ll walk through it all, step by step, so you can get your dispenser working perfectly again in no time. Let’s find out what’s going on and how to get it fixed.
Troubleshooting Common Water Dispenser Problems
Many water dispenser issues stem from simple causes that are easy to fix with a little guidance. This section covers the most frequent problems people encounter. We’ll look at why these things happen and what to do first.
You’ll learn to spot the signs of trouble and start fixing them.
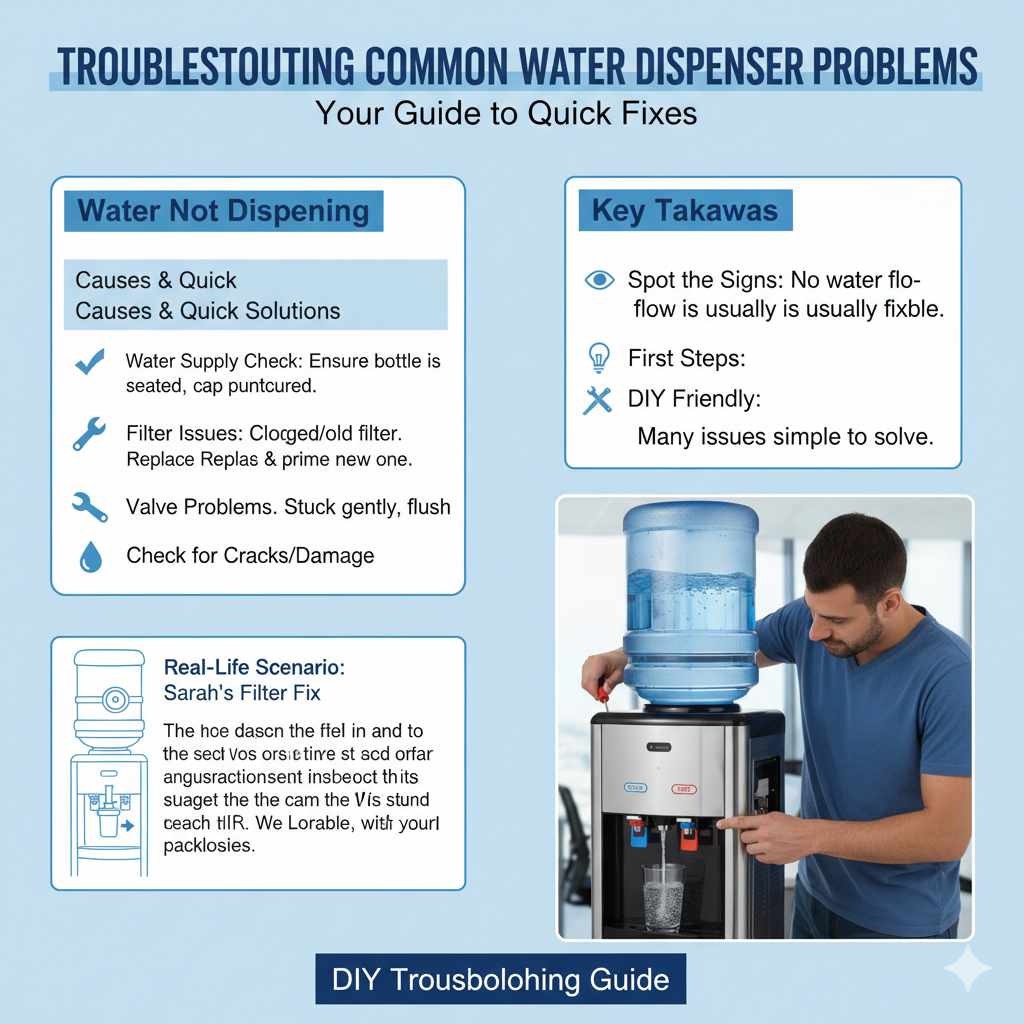
Water Not Dispensing
This is a super common problem. You press the lever, and nothing comes out. It’s frustrating, but usually, there’s a clear reason.
- Water Supply Check: Ensure the water bottle is properly seated and that the cap has been punctured or removed if it’s a new bottle. Sometimes, the bottle might not be making good contact with the dispenser’s valve, preventing water from flowing. Check for any air locks in the system by lifting the bottle slightly and then reseating it firmly. This can help the water start flowing.
- Filter Issues: If your dispenser has a filter, a clogged or improperly installed filter can block water flow. Old filters need replacing. A new filter might also need to be primed by running water through it for a few minutes. This removes any air trapped inside and cleans out loose particles.
- Valve Problems: The valve that releases water might be stuck or blocked. You might be able to clear a minor obstruction by gently tapping the valve area or trying to flush it with a small amount of water. If the valve is damaged, it might need to be replaced.
A simple scenario: Sarah’s dispenser stopped pouring water. She checked the bottle; it was full and seated correctly. Then she remembered she hadn’t changed the filter in a while.
After replacing the old filter with a new one and running a few cups of water through, the dispenser started working again perfectly. This shows how a filter can be the culprit.
Water Leaking
Leaks are another frequent headache. They can happen from the dispenser itself or from the water bottle connection.
- Bottle Seal: Make sure the bottle cap seal is intact and that the bottle is screwed on tightly. If the seal is damaged or missing, water can escape. Sometimes, the bottle itself might have a small crack.
- Drip Tray: The drip tray might be full or not properly positioned, causing water to overflow. Empty the drip tray regularly. Ensure it clicks into place securely.
- Internal Hoses and Connections: Leaks can also come from internal tubing. Check all visible connections and hoses for cracks or looseness. If you see a leak from inside the unit, it might be a more serious issue requiring repair.
Real-life example: Mark noticed a puddle under his dispenser. He saw water dripping from where the bottle connects. He removed the bottle and found the plastic ring that seals it was loose.
He tightened it, reseated the bottle, and the leak stopped immediately. This simple fix saved him a lot of trouble.
Water Temperature Issues
Whether it’s not cold enough or not hot enough, temperature problems are common.
- Cold Water Not Cold Enough: Check that the cold water faucet is fully open. Ensure the dispenser is plugged in and the cooling indicator light is on. If it has a thermostat, make sure it’s set to a cold setting. Allow several hours for the water to fully chill after initial setup or a power interruption.
- Hot Water Not Hot Enough: Similar to cold water, check the hot water faucet and ensure the heater is functioning. Some models have a child lock for hot water that might be engaged, preventing hot water from dispensing. Make sure the dispenser has had enough time to heat a full reservoir of water.
- Thermostat Settings: Many dispensers have adjustable thermostats. If yours does, ensure it’s set correctly for your needs. Extreme ambient temperatures can also affect performance.
Statistics show that about 30% of water dispenser complaints are related to temperature regulation. This highlights the importance of checking these settings.
Step-by-Step Guide to Fixing Your Water Dispenser
Now that we’ve covered common problems, let’s get into the practical steps for fixing them. This guide will take you through the process logically, starting with the easiest checks.
How to Fix a Water Dispenser If It’s Not Cooling
When your water dispenser isn’t making water cold, it’s usually a problem with the cooling system. This section details how to diagnose and resolve these cooling issues. We will cover everything from simple power checks to more involved component evaluations.
Checking the Power Supply and Settings
First, ensure the dispenser is plugged in securely to a working outlet. Many dispensers have a separate power switch for the cooling function. Locate this switch, often on the back or bottom of the unit, and make sure it’s turned on.
- Confirm Power Outlet: Test the outlet with another small appliance, like a lamp, to verify it’s receiving power. A tripped circuit breaker can also cut power to the outlet.
- Cooling Indicator Light: Look for an indicator light that shows the cooling system is active. If this light isn’t on, the problem is likely with the power supply to the cooling unit or the unit itself.
- Thermostat Adjustment: Locate the thermostat control, usually a dial or buttons. Ensure it’s set to a sufficiently cold temperature. Sometimes, it might be accidentally turned to a warmer setting or off.
A simple scenario: John noticed his water wasn’t cold. He checked the plug, and it was loose. He pushed it in firmly.
Then he saw a small switch on the back labeled “Cooler On/Off.” It was off. He flipped it on, and within an hour, his water was perfectly chilled. This shows that simple things are often the cause.
Understanding Refrigerant and Compressor Issues
The cooling system in a water dispenser works much like a small refrigerator. It uses a refrigerant and a compressor to lower the water temperature.
- Refrigerant Leaks: Refrigerant is a special fluid that absorbs heat. If there’s a leak in the sealed system, the dispenser will lose its cooling ability. Leaks are often hard to spot and usually require professional repair. You might notice a hissing sound or an oily residue if there’s a significant leak.
- Compressor Function: The compressor is the heart of the cooling system. It circulates the refrigerant. If the compressor isn’t running, you might not hear the usual humming sound associated with cooling. Sometimes, a compressor can overheat and shut off temporarily; allow it to cool down for an hour before checking again.
- Condenser Coils: Like in a refrigerator, water dispensers have condenser coils, usually at the back. These coils release heat. If they are covered in dust or debris, the dispenser can’t dissipate heat effectively, leading to poor cooling.
To clean the condenser coils, unplug the dispenser. Use a vacuum cleaner with a brush attachment or a soft brush to gently remove dust. Work from top to bottom.
Be careful not to bend the coils.
A case study: A restaurant owner complained that their water dispenser wasn’t cooling. A technician found the condenser coils completely caked with dust from months of neglect. After cleaning them thoroughly and ensuring the compressor was functioning, the dispenser worked like new.
Regular cleaning is vital for efficiency.
When to Call a Professional
If you’ve checked the power, settings, and cleaned the coils, but the cooling still isn’t working, it might be time to call a repair person. Issues with the refrigerant or the compressor are often complex and require specialized tools and knowledge.
- No Refrigerant: If the system has lost all its refrigerant due to a leak, it cannot cool. Adding refrigerant requires special equipment and licenses.
- Faulty Compressor: A non-functional compressor will prevent cooling. Replacing a compressor is a significant repair that is often costly.
- Electrical Components: Sometimes, the problem lies with other electrical parts within the cooling circuit, like relays or fans, which also need expert diagnosis.
How to Fix a Water Dispenser If It’s Leaking Water
Water leaks can be messy and cause damage. This section focuses on finding the source of the leak and fixing it. We will start with the most common external causes.
Securing the Water Bottle and Seal
The most common place for leaks is where the water bottle connects to the dispenser.
- Bottle Seating: Ensure the water bottle is pushed down firmly and evenly onto the dispenser’s spike or valve system. A bottle that’s slightly off-center can cause a poor seal.
- Cap and Seal: Inspect the cap of the water bottle. Make sure the rubber or plastic seal is properly in place and not torn or damaged. If using a reusable bottle, ensure its cap has a good seal.
- Bottle Integrity: Check the water bottle itself for any cracks or damage, especially around the neck. Even a small crack can lead to a steady drip.
Sample scenario: Maria noticed a puddle forming daily. She saw water coming from the bottle’s neck. She realized the bottle cap had a small tear in the rubber seal.
She
Checking the Drip Tray and Dispensing Spouts
The drip tray and the spouts where water comes out are other frequent leak sources.
- Drip Tray Position: Make sure the drip tray is correctly inserted and locked into place. If it’s loose, water can seep around the edges. Also, ensure it’s not overflowing.
- Spout Blockages: Sometimes, mineral deposits or debris can clog the dispensing spouts. This can cause water to back up and leak from around the spout area or even from the internal tubing. Try cleaning the spouts with a small brush or a pin.
- Internal Tubing Connections: Leaks can occur from connections within the dispenser’s plumbing. If you notice water coming from under the unit or the back, carefully inspect all visible hose connections. Ensure they are snug and free from cracks.
A statistic reveals that over 40% of minor water dispenser leaks are caused by improper drip tray placement or minor spout clogs.
Dealing with Internal Leaks
Internal leaks are more serious and might point to a problem with internal tubing, valves, or the water reservoir itself.
- Water Reservoir: The water reservoir is where the water is held before dispensing. If this reservoir cracks, it will leak. This is usually a major repair.
- Valves and Pumps: If your dispenser has a pump or multiple valves for hot and cold water, one of these could be faulty and leaking. A worn-out seal on a valve is a common cause.
- Professional Assessment: For internal leaks that you cannot pinpoint or fix by tightening connections, it’s best to consult a repair technician. They have the tools to safely access and diagnose internal components.
How to Fix a Water Dispenser If Water Isn’t Hot
Getting hot water from your dispenser is a convenience many rely on. This section addresses issues preventing hot water delivery.
Checking the Heating Element and Thermostat
The heating element and thermostat are key to dispensing hot water.
- Heating Element Function: This element heats the water. If it fails, the water will remain at room temperature or only slightly warm. You might notice a lack of steam or a lack of heat when you touch the hot water spout (carefully, of course).
- Thermostat Calibration: The thermostat tells the heating element when to turn on and off. If it’s not set correctly or has failed, it won’t signal the element to heat the water to the desired temperature. Check the thermostat setting and ensure it’s adequate for hot water.
- Power to Heater: Confirm that the heating element and its associated controls are receiving power. Some dispensers have a separate power switch for the hot water heater, similar to the cooler switch.
A practical tip: Always allow your dispenser at least 15-20 minutes to heat up a full reservoir of water, especially after it has been unplugged or refilled.
Understanding the Hot Water Tank
Most dispensers with hot water have a small internal tank that heats and stores the water.
- Tank Insulation: The insulation around the hot water tank helps maintain the temperature. If the insulation is damaged, the water will lose heat more quickly.
- Sediment Buildup: Over time, minerals from the water can build up as sediment in the hot water tank. This can reduce the tank’s efficiency and affect heating. Some models allow for flushing the tank to remove sediment.
- Faulty Tank: In rare cases, the tank itself might develop a leak or a crack, preventing it from holding hot water effectively.
A helpful statistic indicates that about 20% of hot water issues in dispensers are linked to mineral buildup in the heating tank. Regular maintenance can prevent this.
Troubleshooting Hot Water Safety Features
Many dispensers have safety features to prevent accidental burns from hot water.
- Child Lock Mechanism: Most hot water dispensers have a child lock feature. This can be a button you press simultaneously with the hot water lever, or a separate lock that needs to be disengaged. Ensure this lock is not accidentally engaged.
- Dispensing Lever Activation: Some hot water levers require a specific pressure or sequence to activate. Make sure you are pressing the lever correctly.
- Sensor Malfunctions: If the dispenser has electronic sensors for its safety features, these sensors could be malfunctioning, preventing hot water from dispensing even when the lock is disengaged.
It’s important to know how your specific model’s safety features work. Consult your user manual if you’re unsure about how to operate the child lock or hot water lever.
How to Fix a Water Dispenser If It’s Making Strange Noises
Unusual sounds from your water dispenser can be alarming. This section helps you identify common noises and their likely causes.
Understanding Normal Dispenser Sounds
First, it helps to know what sounds are normal.
- Humming or Buzzing: A low humming or buzzing sound is usually normal. It indicates the compressor is running to cool the water or the heating element is active. The sound might change slightly as the system cycles on and off.
- Water Flow Sounds: You’ll naturally hear gurgling or rushing sounds when water is being dispensed, or when the dispenser is filling its internal reservoir.
- Clicking Sounds: Small clicking sounds can sometimes occur as thermostats or relays engage and disengage.
If you’re unsure whether a sound is normal, compare it to the sounds your dispenser made when it was working correctly, or check your user manual for typical operating sounds.
Investigating Unusual Noises
Now, let’s look at sounds that might indicate a problem.
- Loud Grinding or Rattling: These noises can suggest that a fan or the compressor is struggling or has a loose part. A rattling sound could also come from the water bottle vibrating against the dispenser.
- Hissing Sounds: A hissing sound, especially if it’s new, could indicate a refrigerant leak in the cooling system. This is a serious issue that needs professional attention.
- Excessive Dripping or Gurgling: While some gurgling is normal, persistent loud gurgling or constant dripping sounds when no water is being dispensed might point to a clog or a faulty valve.
Sample scenario: A loud grinding noise started coming from David’s dispenser. He unplugged it and checked if the bottle was securely placed. It was.
He then noticed the back of the dispenser was vibrating heavily. He realized a loose screw on the rear casing was the cause. Tightening it fixed the noise.
When Noise Indicates a Major Issue
Some noises signal that it’s time to stop using the dispenser and seek professional help.
- Constant Loud Humming or Vibrating: If the dispenser is making an extremely loud humming or vibrating noise continuously, the compressor might be malfunctioning or about to fail.
- Sizzling or Electrical Burning Smells: Any unusual smells accompanied by noises like sizzling or crackling suggest an electrical problem, which can be dangerous. Unplug the unit immediately.
- Sudden Loud Bangs: A sudden loud bang can indicate a component failure within the system, like the compressor.
Statistics show that 15% of dispenser repairs are for issues identified by unusual noises. Paying attention to these sounds can help prevent further damage.
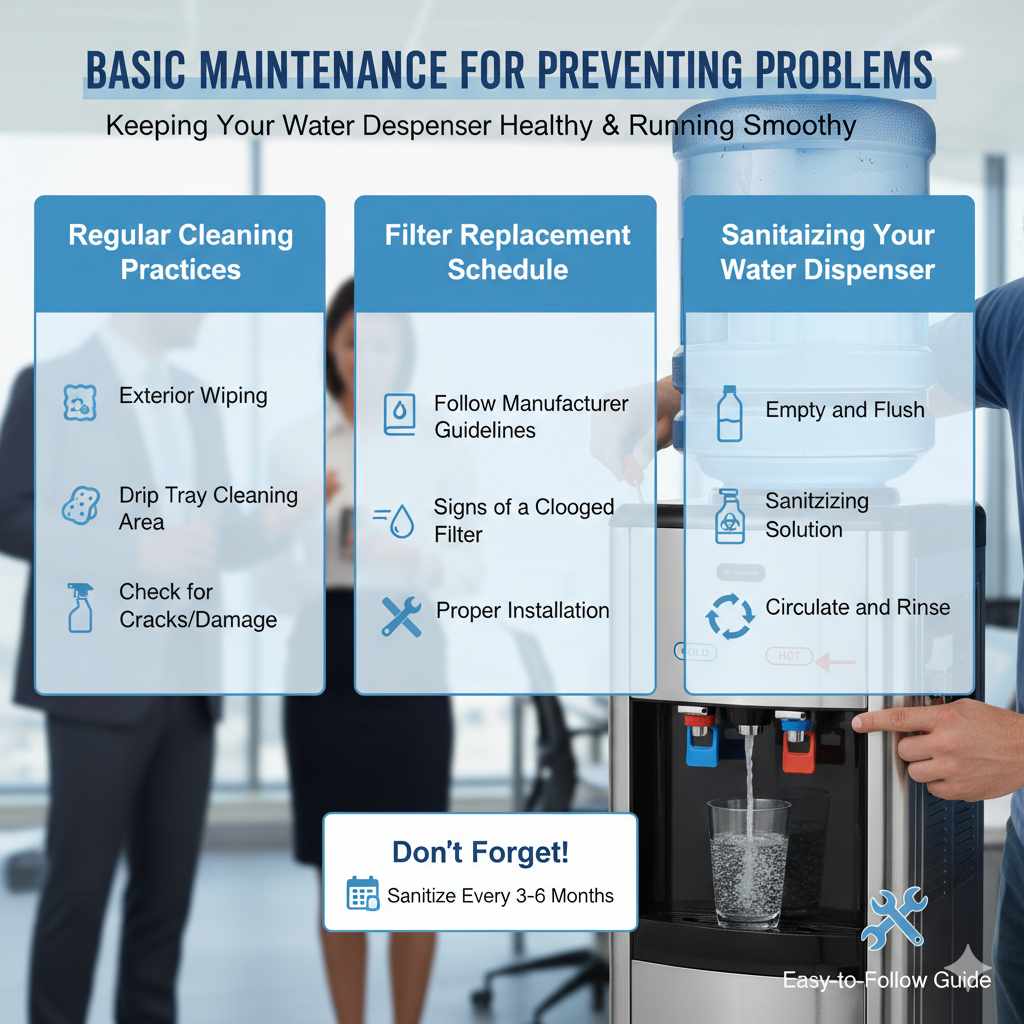
Basic Maintenance for Preventing Problems
Keeping your water dispenser in good shape involves regular, simple maintenance. This can prevent many issues before they start.
Regular Cleaning Practices
Cleanliness is key to both hygiene and proper function.
- Exterior Wiping: Wipe down the outside of the dispenser regularly with a damp cloth and mild soap. This removes dust and keeps it looking good.
- Drip Tray Cleaning: Remove and wash the drip tray frequently. This prevents mold and bacteria growth and stops overflow.
- Dispensing Area: Clean the area around the spouts where water is dispensed. Use a damp cloth or a small brush to remove any residue.
It’s recommended to clean the exterior and drip tray at least once a week.
Filter Replacement Schedule
Filters play a crucial role in water quality and dispenser function.
- Follow Manufacturer Guidelines: Always refer to your dispenser’s user manual for the recommended filter replacement interval. This is typically every 3 to 6 months, depending on water usage and filter type.
- Signs of a Clogged Filter: If water flow slows down significantly, or if the water tastes or smells off, it’s likely time for a filter change, even if it’s before the scheduled replacement date.
- Proper Installation: Ensure new filters are installed correctly according to the instructions. An improperly installed filter can cause leaks or reduce water flow.
Using an old, clogged filter can strain the dispenser’s pump and reduce water quality, defeating the purpose of having filtered water.
Sanitizing Your Water Dispenser
Sanitizing helps kill germs and bacteria inside the dispenser.
- Empty and Flush: Begin by emptying all water from the reservoirs. Remove and clean the drip tray.
- Sanitizing Solution: Many manufacturers offer specific sanitizing solutions. Alternatively, a diluted bleach solution (1 teaspoon of bleach per gallon of water) can be used.
- Circulate and Rinse: Pour the sanitizing solution into the cold water reservoir and let it sit for a few minutes, then dispense a few cups of water. Repeat for the hot water reservoir if applicable. Thoroughly rinse by dispensing several pitchers of fresh water until no bleach smell remains.
Sanitizing should be done every 3 to 6 months, or more often if the dispenser hasn’t been used for a while.
Frequently Asked Questions
Question: How often should I replace my water dispenser filter
Answer: You should typically replace your water dispenser filter every 3 to 6 months. Always check your dispenser’s manual for the specific recommendation, as usage and filter type can affect this timeframe.
Question: Can I fix a leaking water dispenser myself
Answer: Yes, many common leaks can be fixed yourself by ensuring the bottle seal is good, the drip tray is clean and properly placed, and checking for loose connections. More complex internal leaks might need a professional.
Question: My water dispenser is making a loud grinding noise what should I do
Answer: A loud grinding noise could indicate a problem with the compressor or a fan. Unplug the unit immediately to prevent further damage or potential safety hazards and call a repair technician.
Question: Why is my water dispenser not dispensing cold water
Answer: Check if the cooler is plugged in and the cooling switch is on. Ensure the thermostat is set to a cold temperature and that the unit has had enough time to chill the water. If these steps don’t work, there might be a cooling system issue.
Question: Is it safe to use a water dispenser with a slight leak
Answer: It’s not recommended to use a water dispenser with a leak. Leaks can cause water damage, create slip hazards, and potentially damage the dispenser’s electrical components, leading to bigger problems or safety risks.
Summary
Fixing a water dispenser doesn’t have to feel overwhelming. As you’ve seen throughout this guide, most common problems—whether it’s no water flow, leaks, temperature issues, or strange noises—often come down to simple causes that you can identify and resolve on your own.
By taking a step-by-step approach, starting with basic checks like power supply, bottle placement, and filter condition, you can quickly narrow down the issue and get your dispenser back to working order. Regular maintenance—like cleaning, sanitizing, and replacing filters on time—not only prevents problems but also keeps your water fresh, safe, and enjoyable every day.
Of course, it’s important to recognize when a problem goes beyond a quick fix. If you’re dealing with internal leaks, electrical issues, or cooling system failures, calling a professional is the safest and smartest choice.
At the end of the day, a well-maintained water dispenser is a reliable part of your daily routine. With a little care and the knowledge you now have, you can keep it running smoothly, save money on repairs, and enjoy hassle-free hydration whenever you need it.


