Cookware Storage Chart: Best Ways to Store Pans
Store cookware by material, size, and cabinet type: use dividers for stacked pans, hang only items safe for suspended storage, and keep nonstick and enameled pieces away from abrasive metals. Bad storage can warp pans, chip coatings, and waste cabinet space fast. This guide gives a cookware storage chart for stainless steel, cast iron, carbon steel, nonstick, enameled cookware, copper, aluminum, lids, and stackable sets, plus the safest setup for drawers, shelves, pull-outs, and hanging racks.
What is a cookware storage chart
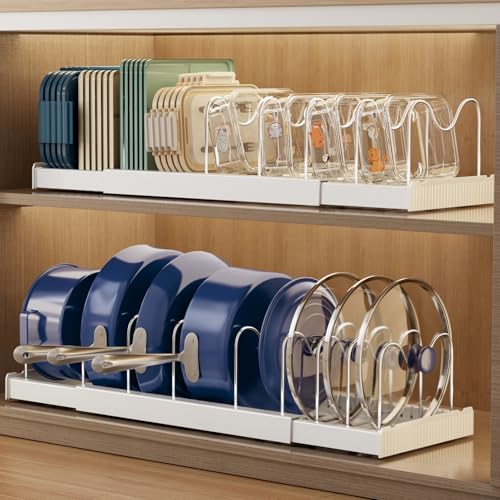

A cookware storage chart is a quick decision guide that matches each pan or pot to a storage method based on material, size, cabinet type, and scratch risk. It helps you choose between stacking, vertical racks, hanging, drawer storage, and lid organizers without guessing, which matters most when different finishes cannot touch safely.
The point is simple: not every piece belongs in the same pile. A chart helps you separate delicate surfaces from heavy metal, match storage to pan diameter, and avoid the traps that cause rust, chips, and abrasion after washing.
How to read the chart
Start with the cookware material. Then check the safe storage method, whether a separator is needed, the moisture risk after washing, and whether nesting creates contact damage. The best kitchen setup column tells you where that item fits best, such as a deep drawer, a shelf with dividers, or a vertical rack.
| Cookware material | Pan size | Cabinet type | Scratch risk | Separator needed | Moisture risk | Nesting risk | Recommended setup |
|---|---|---|---|---|---|---|---|
| Cast iron cookware | 8 to 12 inches for skillets; larger sizes need more shelf depth | Dry cabinet, open shelf, or lower pantry shelf with airflow | Medium from metal-on-metal contact | Yes if stacked; use a dry liner only | High if stored wet or sealed in a damp stack | Medium; seasoning can rub off if pieces scrape | Store fully dry, with room for airflow and easy lifting |
| Enameled cast iron | 6 to 13 inches depending on Dutch oven or braiser size | Deep shelf, wide drawer, or low-traffic cabinet | High at rims and lids | Yes, if stacked | Low to medium; chips matter more than rust | High if heavy pieces knock together | Store with limited contact and padded spacing |
| Stainless steel cookware | 10 to 16 inches for common skillets, sauté pans, and stockpots | Drawer, deep cabinet, or stackable shelf | Low to medium | Optional for tight stacks | Low after drying | Low to medium | Nested storage with light protection or shelf dividers |
| Nonstick cookware | 8 to 14 inches, especially everyday skillets and saucepans | Drawer with separators, low shelf, or upright divider | High | Yes, felt, foam, or pan protectors | Low, but residue can hide moisture | High | Store separately or stack only with full protection |
| Carbon steel cookware | 8 to 14 inches; flat profiles stack easily | Dry cabinet, shelf, or vertical divider | Medium | Recommended if stacking | High if seasoning is not fully dry | Medium to high | Keep dry, seasoned, and separated from hard edges |
| Copper cookware | 8 to 12 inches for pans; larger pots need strong shelving | Display shelf, padded drawer, or reinforced cabinet | High from denting and finish wear | Yes | Low after drying, but polish marks can fade if wet | High | Use padding, avoid heavy stacks, and keep pieces visible |
| Aluminum cookware | 8 to 12 inches for skillets; stockpots need deeper space | Light-duty shelf, drawer, or divider section | Medium | Helpful in stacks | Low to medium | Medium | Store where lighter pans will not be crushed by heavier ones |
| Lids | All sizes, sorted by diameter | Door rack, pantry rack, or upright organizer | High at glass edges and knobs | Yes if stored with pans | Low | High if shoved into pan stacks | Store vertically and keep sizes separated |
| Stackable sets | Set-dependent; often 20-piece or larger nests | Deep cabinet, tall drawer, or dedicated stack zone | Medium to high depending on coating | Yes for coated pieces | Low after full drying | Medium if handles or lids interfere | Use only when the full stack clears the cabinet opening |
For cast iron and carbon steel, the most important storage variable is dryness. For nonstick, enamel, copper, and aluminum, the key variable is contact pressure. For stackable sets, the important question is whether the whole set still fits after lids and handles are added back in.
How do you store pots and pans without scratching them?
Use a storage method that keeps hard metal from rubbing against coated or polished surfaces. Felt or foam protectors, shelf dividers, and pan racks reduce contact, while loose nesting and bare-metal stacks raise the chance of scratches, chips, and worn seasoning. The safest choice depends on the finish and how often you pull the piece out.
When to use protectors
Cookware protectors are worth using any time pans are nested, especially with nonstick or enameled pieces. Felt or foam separators sit between cooking surfaces, absorb minor movement, and reduce edge contact. They should fit the pan diameter well; a protector that is too small leaves the rim exposed, while one that is too large can bunch up and trap moisture.
Layouts that reduce contact
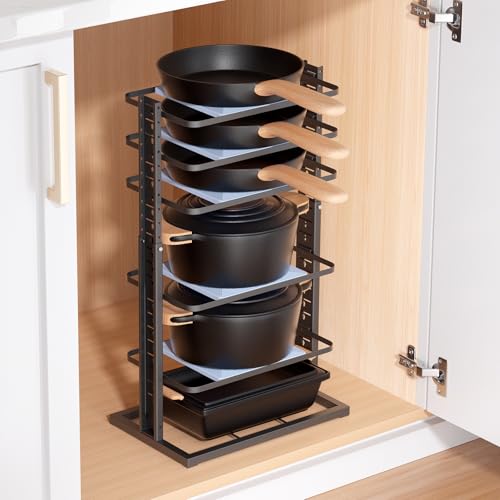
Vertical storage works well for lids, sheet pans, and flat skillets when the rack is deep enough and the slots are wide enough for the handle and rim. Horizontal stacking works better for heavy pots, but only when the cabinet shelf can support the load and the stack is not so tall that items slide into each other.
Suppose a 10-inch nonstick skillet sits under a heavier stainless sauté pan in a tight cabinet. The top pan’s rim can press into the coating each time you lift it, leaving dull wear marks long before the pan itself is worn out. A felt ring between them changes that contact point.
What is the best way to store cast iron cookware?
The best storage for cast iron is dry storage after immediate drying, with seasoning intact and no sealed-in moisture. Cast iron rusts fast when water lingers on the surface, so the pan should be dried right after washing, lightly oiled if needed, and kept in a dry place with airflow rather than in a damp stack.
Why seasoning matters
PreparednessMama says cast iron seasoning uses repeated rubbing with oil, heating, and cooling. That seasoned layer is part of the storage plan, not just the cooking plan, because it helps shield the metal from moisture. Steel wool should not be used on cast iron because it can ruin the seasoning layer you are trying to preserve.
Drying and heat after washing
Cast iron should be dried immediately after washing, then given high heat long enough to drive off hidden moisture before it is put away. That extra drying step is especially useful around handle joints, rim edges, and the cooking surface, where water can linger. If the pan goes into storage even slightly damp, rust risk rises fast.
Where cast iron should go
A dry cabinet, open shelf, or low-humidity pantry zone is better than a closed, steamy space near the sink or dishwasher. If you stack cast iron, place a dry separator between pans so the cooking surfaces do not rub. Keep lids or accessories nearby only if they are also fully dry.
A common first-timer mistake is putting a freshly washed skillet into a nested stack while the burner ring and underside still feel cool but not fully dry. The result is hidden moisture under the rim, then orange rust spots appear along the edge the next day. The fix is simple: heat, dry, cool, then store.
How should you store nonstick and enameled pans?
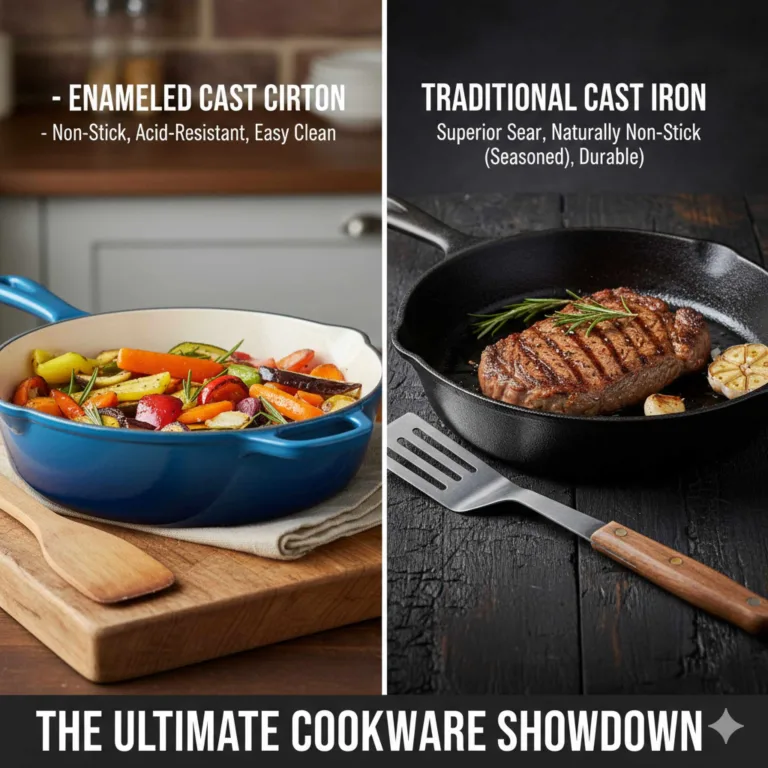
Nonstick and enameled pans need gentler storage than bare metal because the finish is the weak point. Nonstick scratches easily, so stacking should always use separators or a rack. Enameled cast iron is non-reactive because it is lined with ceramic enamel, but the coating can chip if heavy pieces bang together during storage or retrieval.
Nonstick stacking rules
Nonstick cookware should not sit coating-to-metal without protection. Use felt, foam, or dedicated pan protectors between each pan, and avoid sliding one pan across another. Manufacturers such as GreenPan, Calphalon, and All-Clad consistently advise avoiding harsh abrasives and direct metal contact during storage because the coating can be damaged long before cooking performance changes.
Enameled cast iron handling
Enameled cast iron is described as safe for stovetop and oven, and the enamel surface is durable but not impact-proof. That makes chip prevention important. Do not use steel wool on the enamel, and do not let lids or other pans strike the rim during storage. Cooks Illustrated and major enamel cookware makers commonly emphasize gentle drying and careful handling around edges.
Dishwasher-safe language appears on some enameled cookware, but dishwasher-safe does not mean storage-safe after a rough drying cycle. Let the piece dry fully, then store it where the enamel edge will not rub against a metal shelf lip or another heavy pan.
What should not be nested together?
Do not nest raw metal against enamel, and do not stack rough-bottomed pans directly on nonstick coatings. Cast iron and enameled cast iron should also stay apart unless you use a separator and enough shelf space to prevent edge contact. If the stack shifts when you open the cabinet, it is too tight.
What works best for lids, racks, and small kitchens?
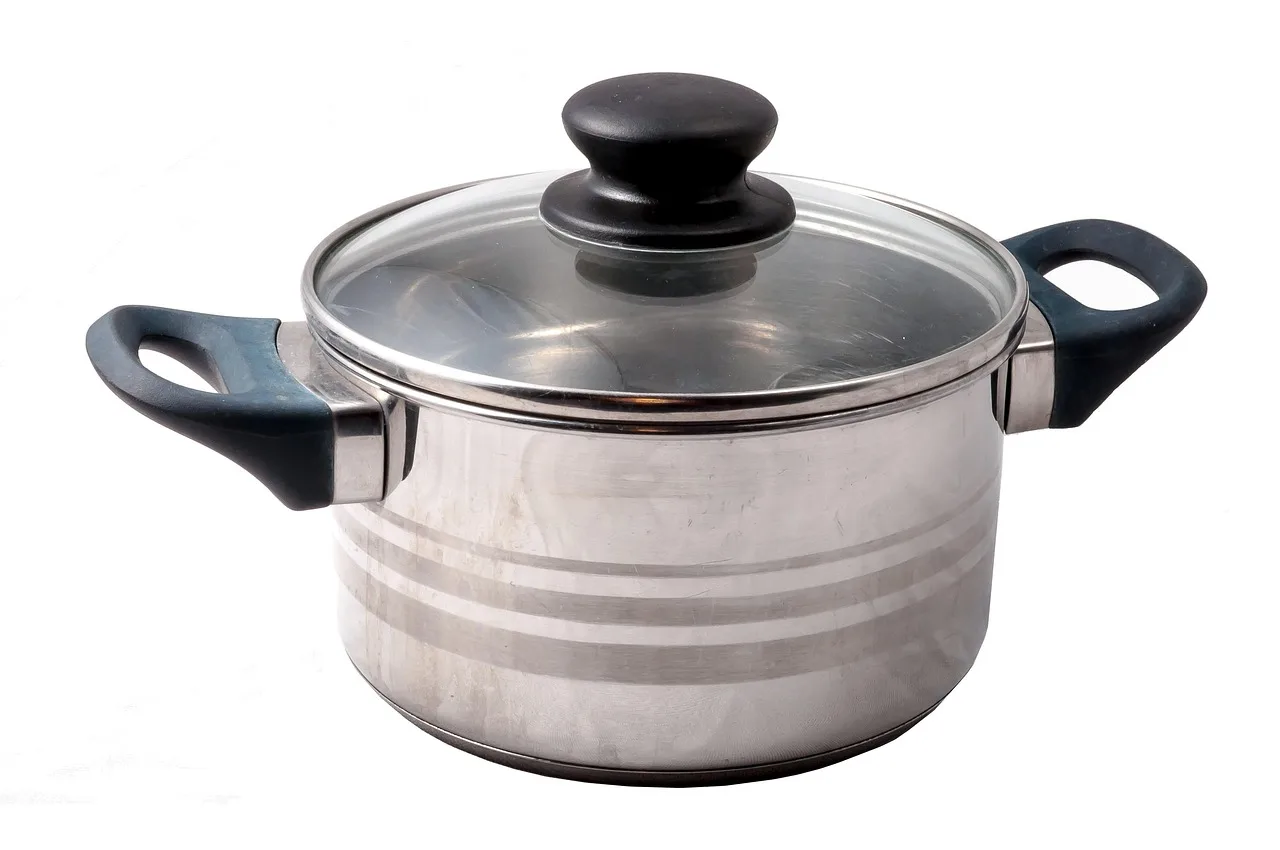
Lids need a separate storage method because their shape, glass edges, and knobs make them awkward in a pan stack. The cleanest solution is vertical storage by diameter, then a rack or organizer that keeps each lid upright. For small kitchens, stackable cookware, detachable handles, and a well-sized rack often matter more than buying a new cabinet.
Vertical lid storage by diameter
Use a lid organizer or pantry rack that keeps lids upright and sorted by diameter. Match the slot width to the lid size so the lid does not rattle. That reduces noise, protects chips on glass or enamel edges, and keeps you from lifting six lids just to find the right one.
Choosing a cookware storage rack
Vertical racks are best for lids, sheet pans, and flatter skillets when shelf depth is limited. Horizontal racks or shelf inserts work better for heavier pots and bulkier pans. Check shelf depth first, then weight capacity, then access. Racks need enough airflow so damp pieces dry instead of trapping moisture, and the heaviest cookware should sit where the shelf can support it without sagging.
Stackable sets and detachable handles
Stackable cookware sets are useful in RVs and small kitchens because they reduce the footprint of the whole set. Detachable handles can make stacking easier because the profile is flatter, but the coating still needs separation. Detachable does not mean scratch-proof, and the full stack still has to clear the cabinet opening.
Say your apartment cabinet is 12 inches deep and the shelf sits close to the door. A deep pile of nested pans can block the door before the handle ends clear the frame. A vertical divider or flatter stack solves the access problem without forcing you to lift the entire set every time.
Best setups by kitchen type
Small apartments often do best with one drawer for nonstick and lined pans, one shelf for stainless steel nesting, and a vertical rack for lids. RV cabinets favor stackable sets with detachable handles because footprint matters more than display. Deep pantry cabinets can hold heavier cookware on lower shelves, where weight is easier to support and reach.
What storage setups fail most often?
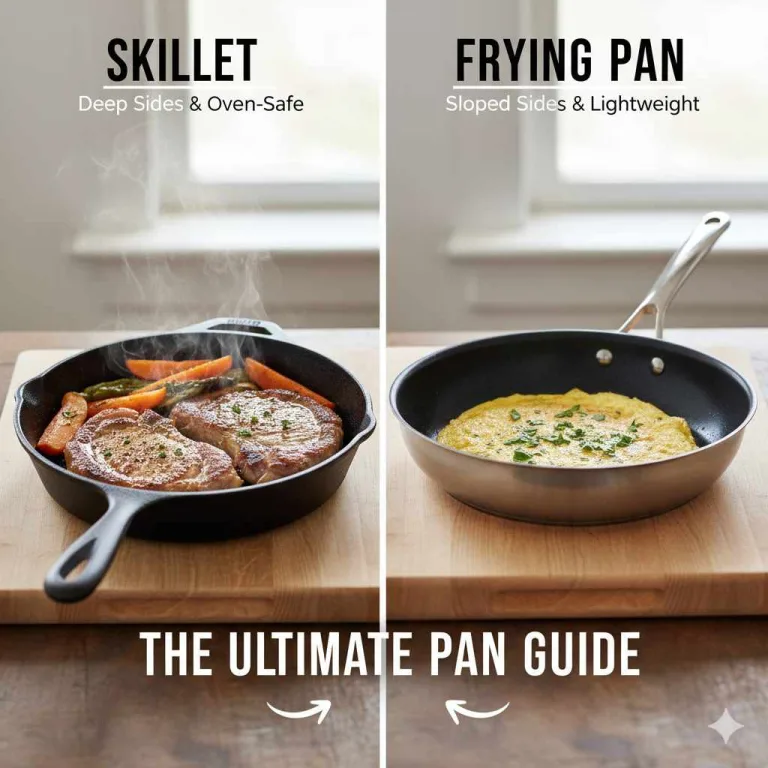
The most common failures come from forcing the wrong pan shape into the wrong storage. A skillet stack that works for stainless steel can wreck nonstick coating. A rack that supports lids may sag under cast iron. A snug drawer may save space but create the friction that shortens the life of the cookware.
| Cookware format | Storage solution | What fails | Why it fails | Safer alternative |
|---|---|---|---|---|
| Skillets | Nested stack or upright divider | Bare-metal stacking on nonstick or enamel | Rims and cooking surfaces scrape during lift-out | Use pan protectors or a vertical divider |
| Sauté pans | Drawer or deep cabinet shelf | Stacking under heavier pots | Long handles and tall sides cause tipping and abrasion | Store on a lower shelf with the heaviest items separate |
| Stockpots | Deep shelf or lower cabinet | Upper-shelf storage | Weight strains shelving and makes lifting unsafe | Keep on a lower shelf with clear access |
| Dutch ovens | Wide shelf or low cabinet | Tight nesting with other enameled pieces | Heavy rims chip when pieces bang together | Leave side clearance and add a padded separator |
| Saucepans | Stacked in a cabinet or drawer | Mixed-material nesting without padding | Handle joints and rims rub during access | Use a divider or nest only similar-finish pieces |
| Lids | Pan stack or loose shelf | Buried under cookware | Glass edges and knobs get chipped, and lids are hard to reach | Use a vertical lid organizer or pantry rack |
| Sheet pans | Flat shelf or drawer | Stacking with curved cookware | They slide, bow, and crowd handles | Store upright in a slot rack or file-style divider |
| Detachable-handle sets | Stacked set in a deep cabinet | Handles left attached during storage | Handles prevent compact nesting and can force lid contact | Remove handles and separate delicate coatings with protectors |
That second table is useful because it shows failure as a storage problem, not just a cooking problem. If the format and cabinet type do not match, even high-quality cookware can end up scratched, chipped, bent, or awkward to reach.
What storage checklist should small kitchens follow?
Small kitchens need fewer storage zones and stricter rules about contact. Keep heavy pieces low, keep fragile coatings padded, and keep lids upright. A compact system works best when you sort by weight, finish, and frequency of use instead of by set or brand.
Use one dedicated drawer for coated pans, one shelf for sturdy stainless or cast iron, and one vertical spot for lids. Put the most-used pans in the easiest reach zone. If the cabinet door hits the handle before the pan clears, the storage depth is wrong.
Rust prevention
Dry cast iron and carbon steel completely, then store them only after moisture is gone from rims, handles, and undersides. Keep them out of damp zones near the sink or dishwasher. If you live in a humid climate, a shelf with airflow is safer than a sealed cabinet.
What should never be nested together?
Do not nest nonstick directly against metal, enamel against rough-bottomed cookware, or glass lids loosely inside heavy pot stacks. Cast iron should also not sit damp inside a tight pile. When in doubt, separate unlike finishes and give the stack room to breathe.
Frequently asked questions
Can you stack nonstick pans safely?
Yes, but only with protection between each pan. Use felt or foam separators, or a rack that prevents direct contact. Do not stack nonstick cookware bare-metal-to-coating, and do not slide pieces across one another, because the surface is scratch-prone and hard to repair once damaged.
Do lids need a separate storage method?
Yes. Lids are easiest to manage in a vertical organizer or pantry rack sorted by diameter. That setup cuts noise, keeps glass or enamel edges from knocking together, and makes the right lid easier to grab without shifting the whole pan stack.
How do you prevent rust when storing cookware?
Store cast iron and other moisture-sensitive pieces only after they are completely dry. Heat-dry cast iron after washing, keep the storage area dry, and avoid sealing damp pans inside a tight stack. Rust often starts where trapped water sits under a rim, handle, or nested pan edge.
Products related to this article
Sponsored / affiliate links. As an Amazon Associate I earn from qualifying purchases. I may earn additional commission from eligible campaigns.