Skillet Handle Problems / Not Working / Troubleshooting
A wobbly skillet handle usually needs tightened, replaced, or retired. If screws are missing, rivets move, or heat has damaged the handle, stop using the pan until the repair is complete. Leaving it alone can lead to spills, burns, and a pan that fails under load. This guide helps you identify the handle problem, match it to the right repair, and decide when the skillet is unsafe to keep using. It also helps with related issues like broken helper handles, loose sleeves, and oven-damaged attachments.
What you’ll need

- Phillips screwdriver
- Flathead screwdriver, if your handle uses slotted screws
- Small adjustable wrench
- Ball-peen hammer for rivet work only
- Correct-size replacement screw, nut, or bolt for your pan
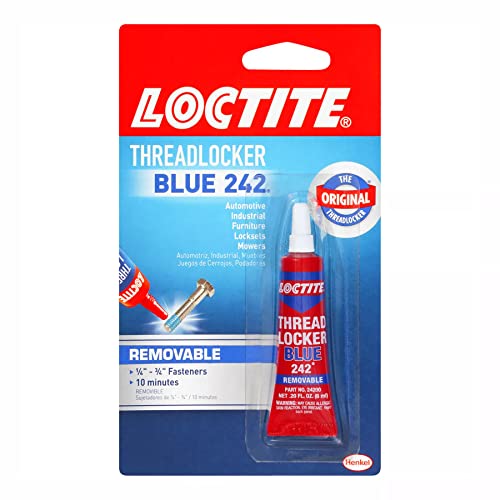
- Blue threadlocker for compatible screws only
- Heat-resistant handle cover or grip sleeve
- Oven mitt or pot holder for the final test
- Solid backing surface for peening rivets
- Clean cloth and flashlight for inspection
Skillet handle troubleshooting matrix
| Symptom | Likely cause | Safe interim use | Repair method | Tools needed | Replace vs repair decision |
|---|---|---|---|---|---|
| Handle wobbles side to side | Loose screw, loose bolt, or worn rivet | No, if the handle shifts under hand pressure | Tighten screw or bolt clockwise; inspect rivets for movement | Phillips screwdriver or small adjustable wrench | Repair if threads and hardware are intact; replace if threads are stripped or the handle still moves |
| Handle rotates at the joint | Fastener backed out or rivet hole worn oval | Do not use if rotation is obvious | Retighten screw; for rivets, peen only if the joint is otherwise sound | Phillips screwdriver, adjustable wrench, ball-peen hammer | Replace if rotation returns after tightening or peening |
| Screw turns but will not tighten | Stripped threads or missing nut | Not safe for loaded cooking | Replace the fastener and any damaged matching part | Phillips screwdriver, adjustable wrench, replacement screw and nut | Replace when the threads no longer bite |
| Rivet head is loose or mushroomed unevenly | Thermal expansion and wear in a riveted joint | Only for brief, light handling if the joint does not move | Peen the rivet on a solid backing surface if the hole is still sound | Ball-peen hammer, solid backing surface | Replace if peening does not remove movement or the hole is elongated |
| Silicone sleeve slips or twists | Heat-softened sleeve or poor fit to the tang | Use with a mitt only, and treat it as temporary | Replace the sleeve or secure it with high-temperature silicone adhesive rated to at least 500°F | Replacement sleeve, adhesive, clean cloth | Replace if the tang width or depth does not match the sleeve |
| Cracked weld on a cast iron handle | Weld failure | No | Professional welding or full replacement | None for home repair | Replace or send out for welding; do not keep cooking with it |
Why is my skillet handle loose?
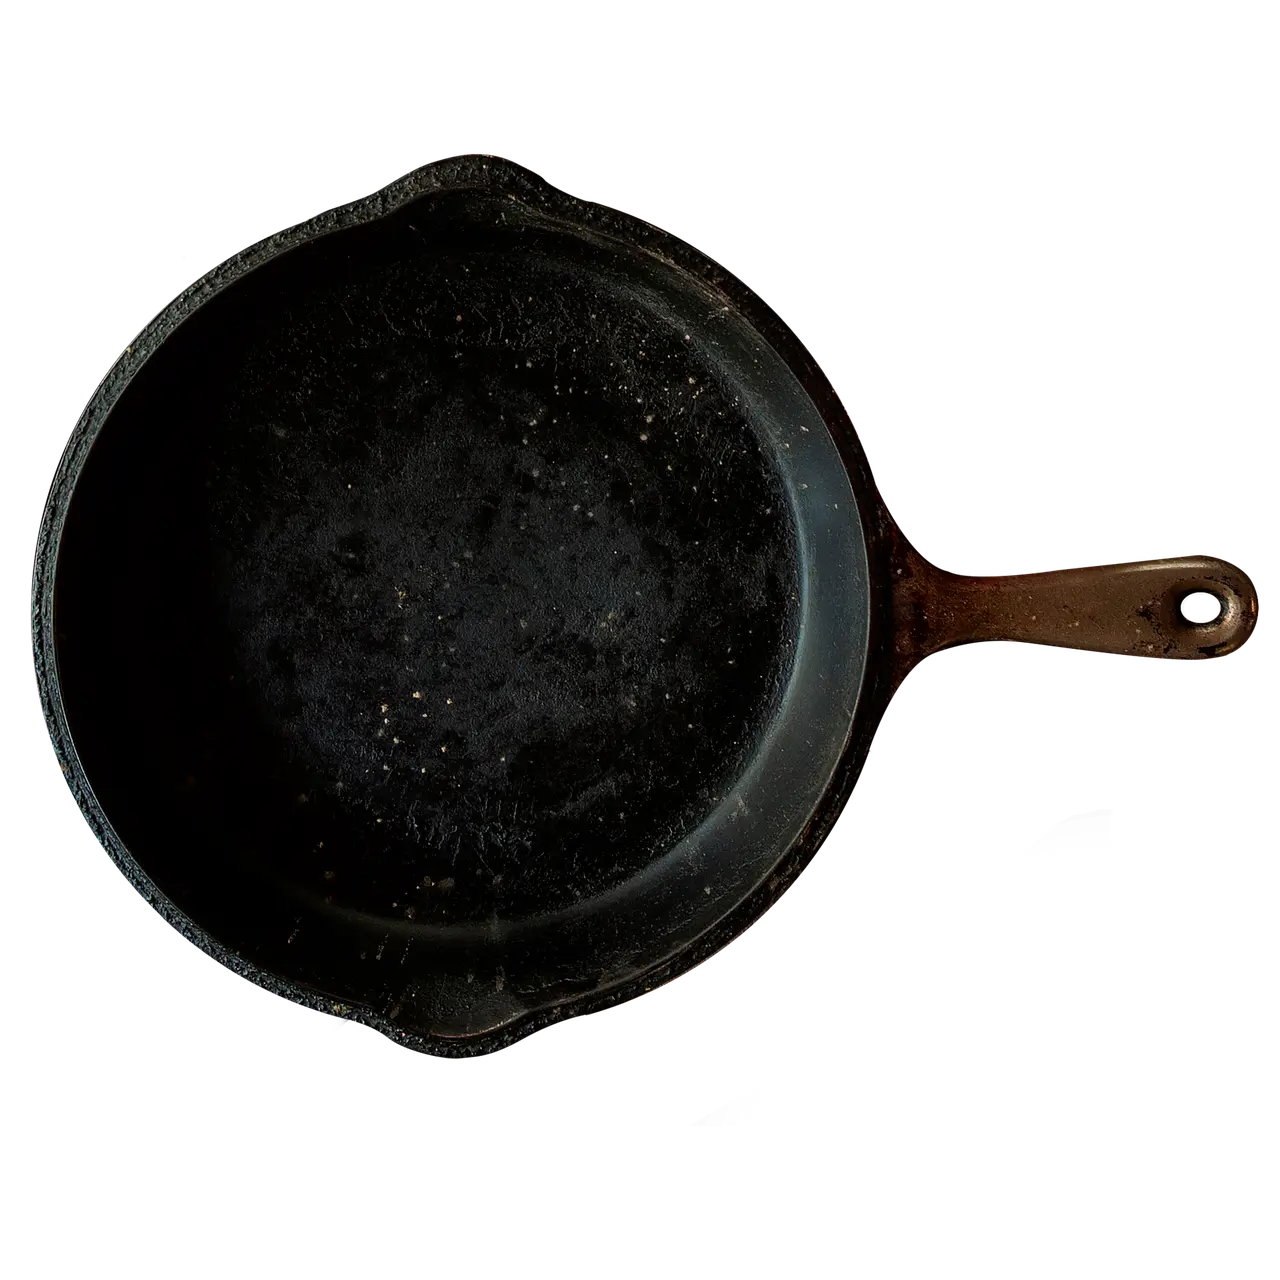
A loose handle usually means the attachment is moving under heat, vibration, or wear. Screws and bolts can back out, rivets can loosen from thermal expansion, sleeves can slip when softened by heat, and welds can crack. If the handle rotates, cracks, separates, or will not stay tight under hand pressure, stop using the pan immediately.
Step 1: identify the attachment type
Look for screw heads, bolt heads, rivet heads, a silicone sleeve over a tang, or a welded joint. Phillips and flathead screws are common on removable handles. Bolted handles often use a visible nut or bolt head. Riveted handles are common on stainless steel and carbon steel pans. Cast iron often uses a fixed handle, though some cookware has attached helper handles or aftermarket components.
Step 2: check for wobble, rotation, or stripped threads
Grip the handle near the body and move it gently. If the fastener turns but never tightens, the threads are stripped or the nut is missing. If the head is chewed up, the driver slipped before the fastener seated. If the handle shifts even when the screw feels snug, the bracket, rivet hole, or weld may be failing.
Step 3: decide whether the pan is still safe to handle
If the handle stays solid under hand pressure, you can move to repair. If it rotates, separates, or feels loose after one careful tighten, retire the pan from cooking until the hardware is corrected. Say your stainless skillet has one rivet that wiggles and a second that feels solid: the single loose rivet is a repair candidate only if the hole is still round and the handle does not move under load.
How do you tighten a skillet handle screw?
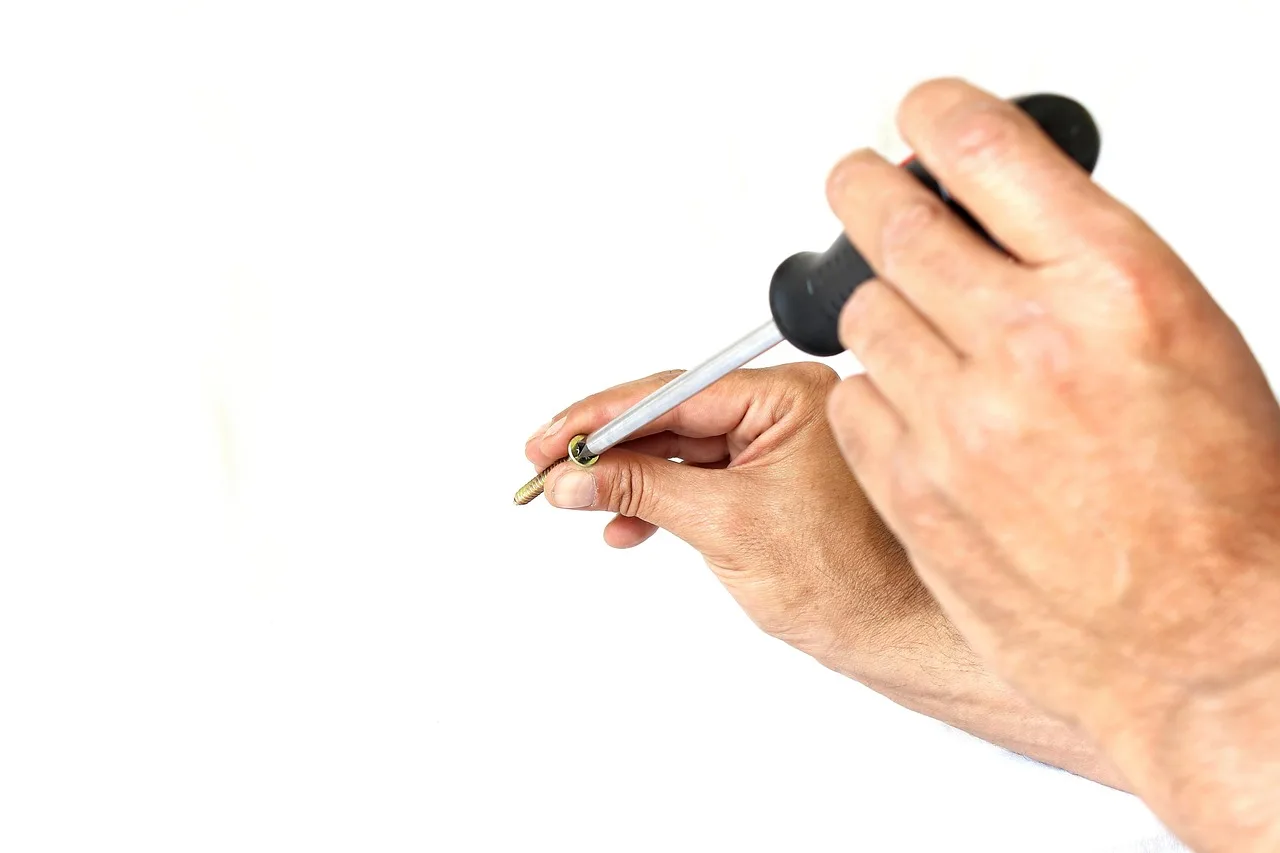
Use the correct driver for the head, then turn clockwise to tighten. Phillips and flathead heads are among the most common screw types. If the screw is overtightened, stripped, or rounding off, stop before the head is damaged further. A stripped fastener usually needs replacement, not more force.
Step 1: match the driver to the head
Choose a Phillips screwdriver for a cross-head screw or a flathead driver for a slotted screw. The bit should sit fully in the recess. If it rocks, it is the wrong size. A good fit matters because cookware screws are small and easy to strip.
Step 2: tighten clockwise, then stop at snug
Turn the screw clockwise until the handle no longer wobbles. Do not crank down hard. Extra force can strip the threads or bend the bracket, which makes the problem worse. For bolted handles, a small adjustable wrench is the right tool for the bolt head, and the same clockwise rule applies.
Step 3: add blue threadlocker only when the hardware calls for it
If a screw keeps backing out, a removable blue threadlocker such as Loctite 242 can help. Keep it off food-contact surfaces. Let the part cure for 24 hours before use. Use only on compatible threaded hardware, not on rivets, not on welds, and not on a silicone sleeve.
Step 4: retest after curing
After the cure time, lift the pan by the handle and check for wobble.
Can you fix a loose pan handle with rivets?
Sometimes. Riveted handles on stainless steel and carbon steel pans can loosen as the metal expands and contracts. If the rivet is still structurally intact, peening may restore the joint. If the hole is wallowed out, the rivet keeps moving, or the handle separates under load, replacement is the safer choice.
Step 1: inspect the rivet shape and movement
Check whether the rivet head sits flush and whether the shank shows gaps around the joint. An oval hole, visible movement, or repeated loosening means the joint has worn beyond a simple tighten-up. Do not use nonstick pans for drilling or striking near the attachment point, because that can damage the coating.
Step 2: peen only on a stable backing surface
Set the handle so the rivet is supported from behind. Use a ball-peen hammer with controlled strikes to close the joint. The goal is a secure load-bearing connection, not a rivet that only looks tighter. If the handle still moves after peening, stop and replace the hardware or the pan.
Step 3: replace when the rivet hole is worn
A rivet that loosens again after peening usually means the hole or surrounding metal has failed. At that point, the attachment no longer feels dependable under cooking load. Suppose a carbon steel skillet handle rattles after one peen pass and the hole looks elongated: that is a replace-or-retire decision, not a repeat strike.
How do I fix a cast iron skillet handle if it wobbles?
A cast iron skillet with a wobbly handle needs extra caution. If the handle is cast into the pan or welded and cracked, home tightening is not the fix. Some cast iron cookware also has attached helper handles or aftermarket handle components that can be checked separately. Treat any crack or separation as a safety problem.
- Inspect the handle base for cracks, flaking metal, or separation from the pan body.
- Check whether the handle actually moves or whether only a cover or sleeve is loose.
- If the handle is fixed and the metal is cracked, stop using the pan.
- Arrange professional welding or replacement if the manufacturer allows repair.
- Do not drill, hammer, or force a cast iron attachment that is already damaged.
What tools do I need to repair a skillet handle?
For a screw or bolt repair, the core tools are a Phillips screwdriver, a flathead screwdriver if needed, and a small adjustable wrench. Add the correct replacement fastener instead of reusing worn hardware.
Use the right tool for the failure
A ball-peen hammer is only for rivet peening, and it works best on a solid backing surface. A heat-resistant handle cover helps with grip and heat protection while you test or cook, but it does not repair a bad joint. It should pair with oven mitts or pot holders, not replace them.
Buy matching parts, not generic hardware
Match the screw length, thread, and head type to the original. If a sleeve is the problem, its fit depends on tang width and depth. A loose or swollen sleeve that does not match the pan will keep slipping. Check the manufacturer’s listing for your model when the exact part size is unclear.
When should I replace a pan instead of fixing the handle?
Replace the pan when the handle rotates, cracks, separates, or will not stay tight under hand pressure. A cracked weld on a cast iron handle is a high-safety concern and usually needs professional welding or replacement. If the hardware is stripped beyond a simple part swap, replacement is safer than improvising.
Use this escalation ladder
- Tighten the correct screw or bolt clockwise.
- Add removable blue threadlocker only on compatible screws, then wait 24 hours.
- Peen a sound rivet only if the rivet hole is still round and the handle stays aligned.
- Replace stripped fasteners, sleeves, or worn hardware with the exact matching part.
- Retire the pan if the handle is cracked, separating, or still loose after repair.
Is a loose skillet handle dangerous?
Yes. A loose pan handle can make cooking harder and more dangerous. The risk is a dropped pan, a spill, or a burn when hot food shifts unexpectedly. The danger rises fast if the handle rotates or if the fastener slips under load.
What to do right away
Set the pan down, let it cool, and inspect the attachment before using it again. If the handle is only slightly loose and the joint is otherwise intact, repair it before cooking. If the handle is unstable, do not test it by lifting a full pan of food.
What is the safest way to test if a skillet handle is secure?
The safest test is a cool, unloaded check. Lift the empty pan by the handle and watch for wobble, rotation, or separation. If it shifts, the repair is not done. For a final check, use an oven mitt or pot holder and keep the pan empty until the handle passes a calm, controlled lift.
- Let the pan cool completely.
- Inspect every fastener and the joint around the handle.
- Lift the empty pan by the handle for about one second.
- Check for wobble at the attachment point.
- Set it down and recheck the fastener after the lift.
- Repeat after the first cooking cycle if the hardware was repaired.
Common mistakes
Overtightening is the first mistake. It strips screw heads, rounds bolt edges, and can deform the bracket so the handle loosens again. Turn clockwise only until the fastener is snug. If the driver slips or the head looks damaged, replace the hardware instead of forcing it.
The second mistake is using the wrong repair for the attachment style. Screws need a driver and sometimes blue threadlocker. Rivets need peening only when the joint still has sound metal. Weld cracks and cast iron handle failures are not screw fixes. A silicone sleeve that slips because the tang is the wrong size needs replacement, not more adhesive.
The third mistake is hot testing too soon. Blue threadlocker needs 24 hours to cure. Do not fill the pan or cook with it before the repair is ready. If you need to handle the pan during inspection, use a heat-resistant handle cover with oven mitts or pot holders.
Preventive maintenance
Inspect handle fasteners and hardware on a regular schedule, especially after heavy stovetop or oven use. Check for movement, stripped heads, rust, or sleeve slippage before the next cook. A quick inspection catches a backed-out screw before it becomes a dropped pan.
Products related to this article
Sponsored / affiliate links. As an Amazon Associate I earn from qualifying purchases. I may earn additional commission from eligible campaigns.