Recessed Lighting Spacing Chart
For 8-foot ceilings, start with recessed lights about 4 feet apart and 2 feet from walls, then adjust for fixtures, beams, and furniture. Wide gaps leave hot spots, dark corners, and a ceiling that looks uneven. This chart gives a recessed lighting spacing chart plus a room-obstruction checklist for real layouts.
What recessed lighting spacing means
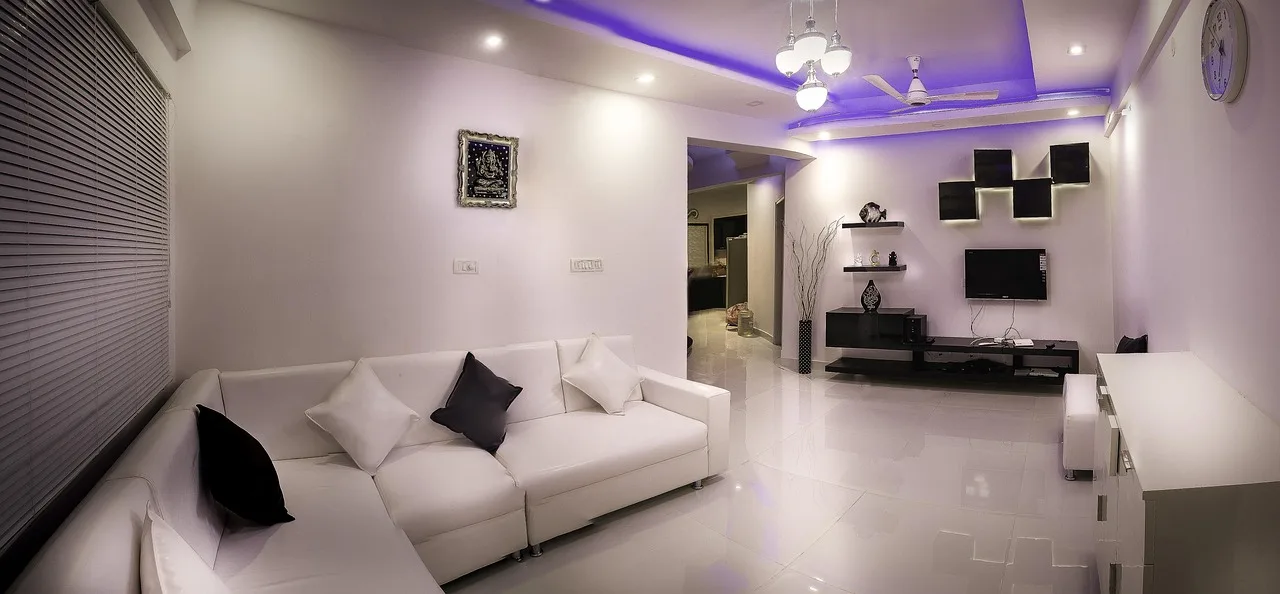
Spacing means two things: the distance between fixtures and the distance from the outer row to the wall. For a first pass, many layouts use ceiling height divided by 2 for spacing and wall offset at about half that distance. Room purpose changes the target because ambient lighting, task lighting, and accent lighting do not need the same output.
Spacing between fixtures
Fixture spacing controls how the light pools overlap. Too far apart, and you get dark bands between cans. Too close together, and you waste fixtures, raise cost, and can make the ceiling feel overlit.
As a starting rule, a common ceiling-height formula is ceiling height divided by 2. That works out to about 4 feet at 8 feet, about 4.5 feet at 9 feet, about 5.0 feet at 10 feet, and about 6.0 feet at 12 feet.
Wall offset and edge control
The first row needs room from the wall so the outer beam does not create a scalloped edge. A common starting point is wall distance equal to spacing divided by 2. One guide also puts the first row 24 to 36 inches from the wall, which matches the 2.0-foot wall distance used in one 8-foot chart.
Why room purpose changes the target
A living room usually wants softer ambient light. A kitchen needs stronger task light over counters, sinks, and prep zones. Bathrooms and home offices sit between those needs, and hallways often need a tighter pattern to avoid dim ends.
What you’ll need
- Tape measure
- Graph paper or a room sketch
- Pencil and straightedge
- Stud finder with AC detection
- Ceiling access plan or attic view, if available
- Calculator
- Fixture spec sheet with cutout size, lumen output, and beam angle
- Dimmer compatibility note for the chosen trim and driver
How do you calculate recessed light spacing?
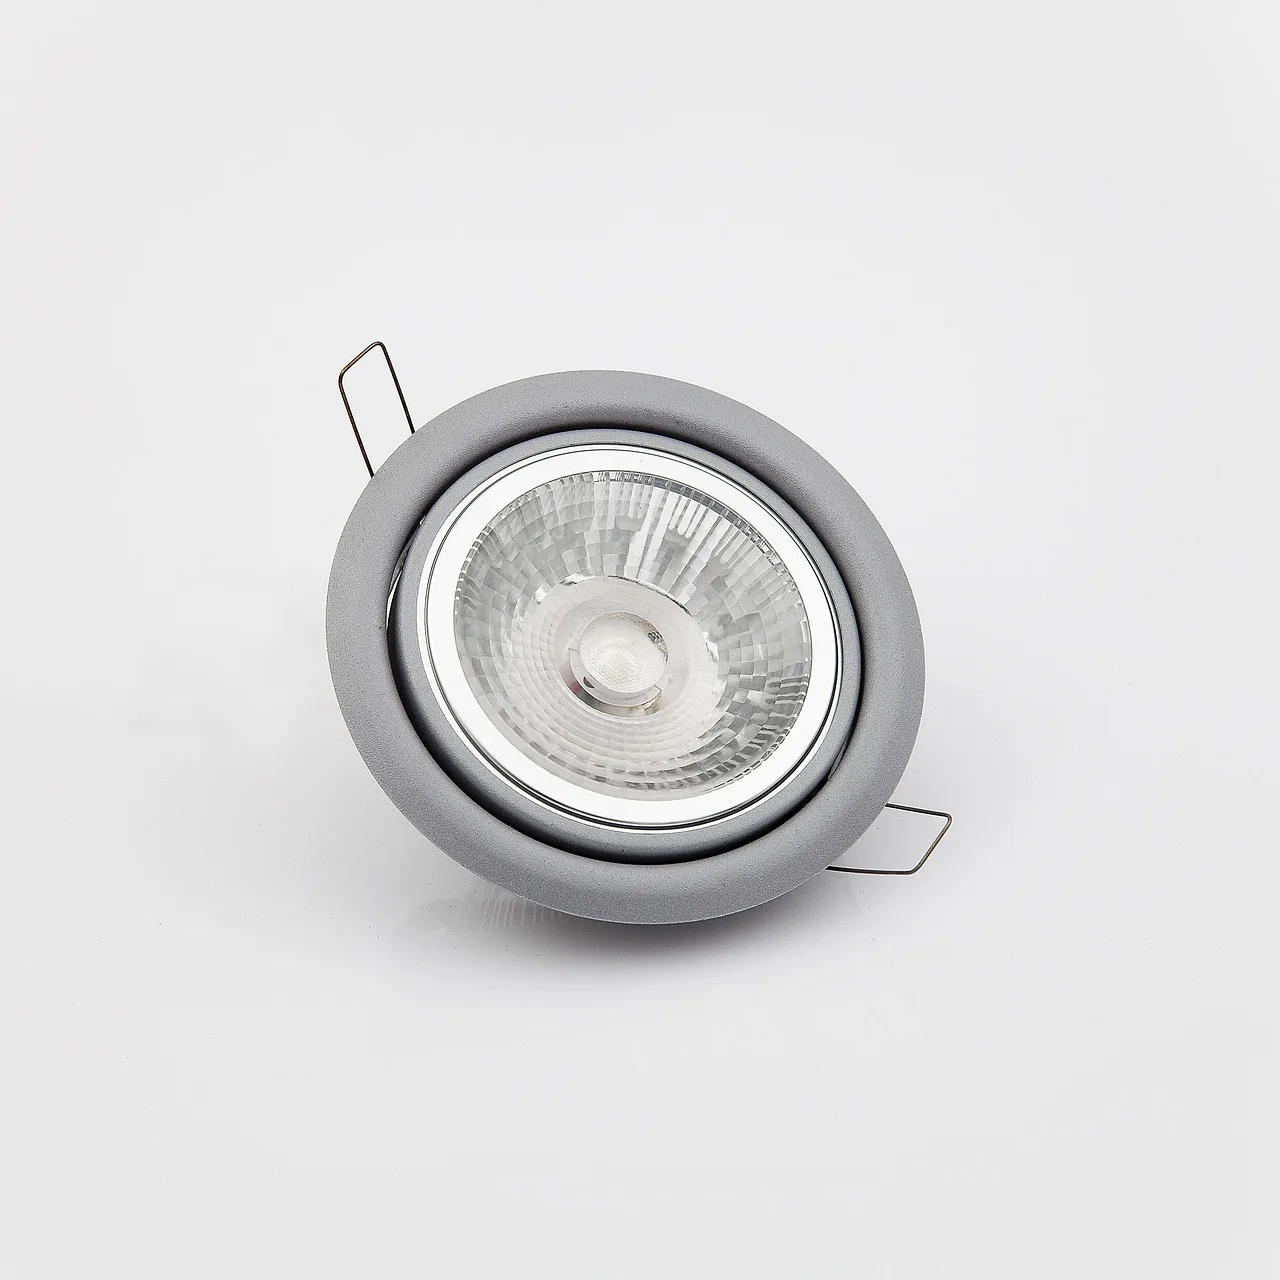
Start with ceiling height divided by 2, then check whether the room needs task light, ambient light, or both. Use that spacing to place rows and columns, then shift the outer row to keep the wall bright without washing it too hard. After that, size the fixture count from lumens per square foot, not from ceiling height alone.
- Measure the ceiling height. Use the actual finished ceiling height, not the framing height. An 8-foot ceiling starts around 4 feet of fixture spacing, while 10 feet starts around 5.0 feet.
- Sketch the room. Mark doors, cabinets, soffits, beams, HVAC runs, ceiling fans, and any seating or work zones. These features often force the grid to shift.
- Set a spacing target. Use ceiling height divided by 2 as the starting number, then tighten it for task areas or loosen it for softer ambient light. Kitchens often need denser placement than living rooms.
- Place the outer row. Start the first row about half the spacing from the wall. For an 8-foot room, that means about 2 feet from the wall.
- Lay out rows and columns. Keep the pattern symmetrical when possible. Center-positioned lights work well in square rooms; offset layouts work better when cabinets, islands, or seating areas pull the light need away from the center.
- Count by lumen target. Use the room purpose to estimate fixture count. Living rooms often land near 50-60 lumens per square foot, kitchens near 70-80, and bathrooms and offices commonly need about 60-70.
Recessed spacing chart
This chart gives a starting point, not a final layout. Trim type, beam angle, dimming range, and room shape can change the result. Use it with a room sketch and the obstruction checklist below.
| Ceiling height | Starting spacing | Wall distance | Common use | Notes |
|---|---|---|---|---|
| 8 ft | 4 ft | 2.0 ft | Living rooms, hallways, small kitchens | Good baseline for general ambient light |
| 9 ft | 4.5 ft | about 2.25 ft | Living rooms, offices, bathrooms | Often needs a little more output per fixture |
| 10 ft | 5.0 ft | about 2.5 ft | Open-plan rooms, kitchens, basements | Beam angle matters more as height increases |
| 12 ft | 6.0 ft | about 3 ft | Large rooms, tall basements, vaulted areas | Often needs fewer but brighter fixtures |
One calculator uses 4 ft spacing for 8 ft ceilings, 4.5 ft for 9 ft ceilings, 5.0 ft for 10 ft ceilings, and 6.0 ft for 12 ft ceilings. It also gives a general rule of one light per 20-30 square feet for 8 ft ceilings. Treat that as a planning range, then refine by room function.
How do you place lights around room obstructions?
Real rooms rarely stay open and flat. Beams, HVAC, fans, cabinets, and soffits can force the grid off center or compress a row. The best layout is the one that avoids hardware conflicts while keeping the light aimed where people actually stand, sit, or cook.
Beams and joists
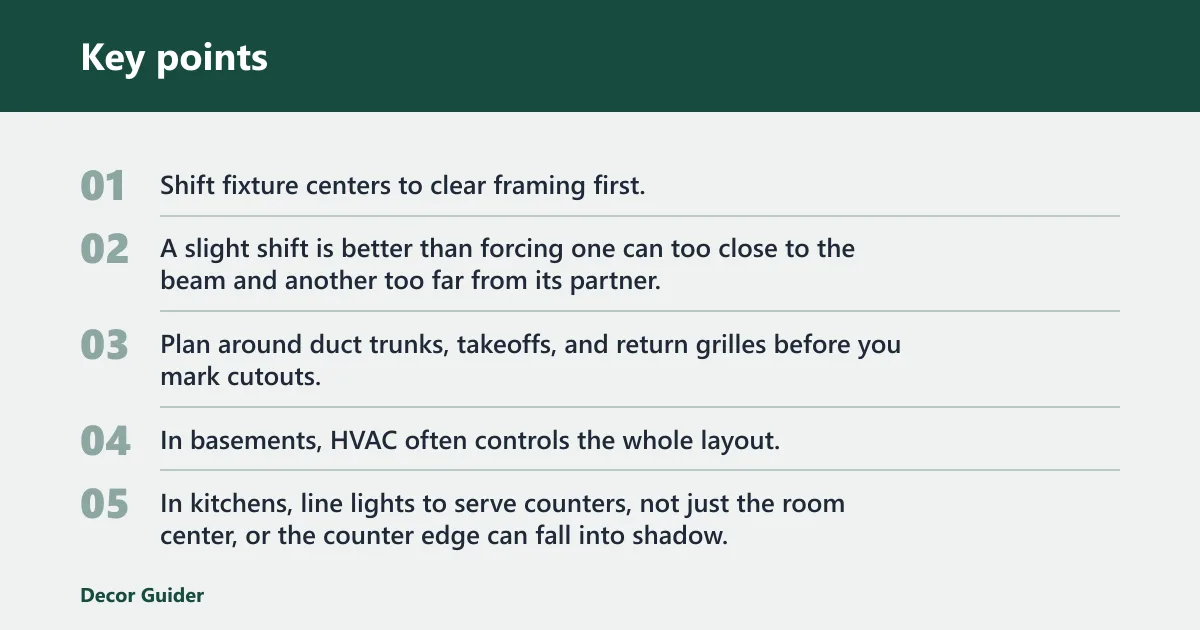
Shift fixture centers to clear framing first. If a beam breaks the ideal grid, keep the row spacing consistent on both sides of the obstruction so the pattern still looks deliberate. A slight shift is better than forcing one can too close to the beam and another too far from its partner.
HVAC runs and ductwork
Plan around duct trunks, takeoffs, and return grilles before you mark cutouts. In basements, HVAC often controls the whole layout. If a duct blocks the ideal centerline, slide the row and recheck the wall offset so the first row does not crowd the edge.
Ceiling fans, cabinets, and soffits
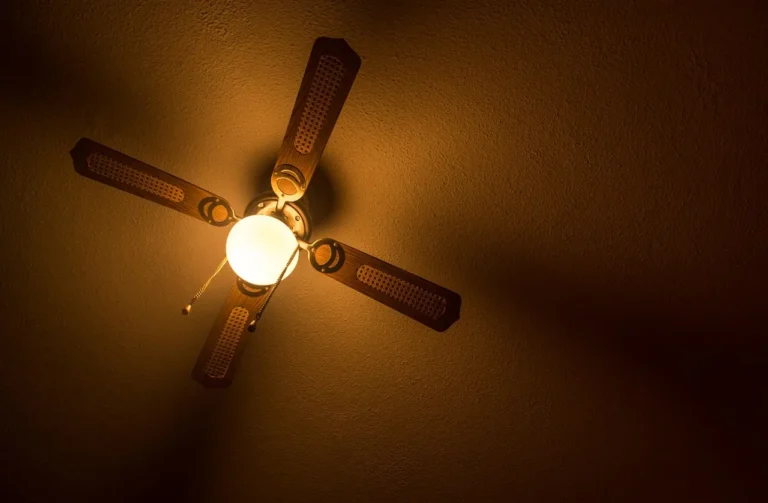
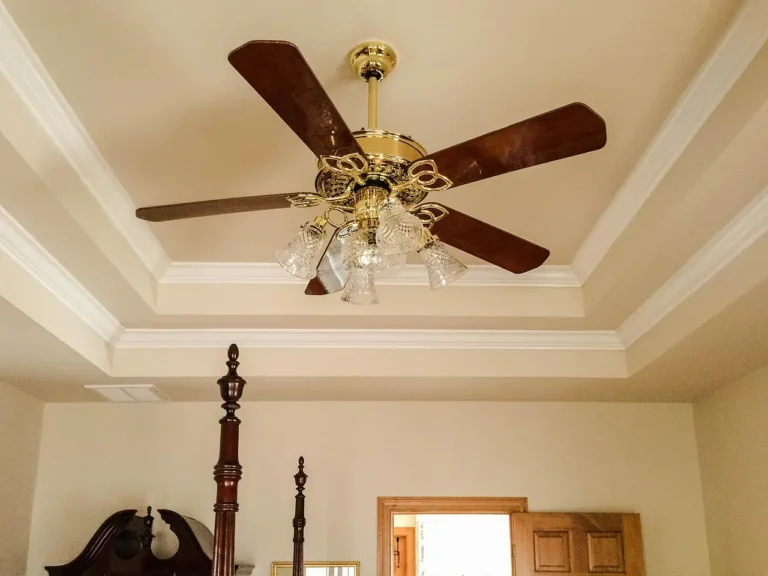
Keep recessed lights out of fan sweep zones. In kitchens, line lights to serve counters, not just the room center, or the counter edge can fall into shadow. Around soffits, lower ceilings, or bulkheads, add one fixture only when the obstruction creates a dark pocket that cannot be covered by beam spread.
Say your kitchen has an 8-foot ceiling, a 30-inch-deep peninsula, and two wall cabinets. If you center lights only to the room, the counter edge can look dim. Shift the row so the beam lands on the work surface, then recheck the outer row at about 2 feet from the wall.
Suppose a living room has a ceiling fan near the center and a sofa zone offset to one side. A centered grid may fight the fan and leave the seating area underlit. Move the layout toward the seating zone and keep the row spacing even so the ceiling still reads balanced.
What size recessed lights should you use?
Size affects spacing, beam spread, and the number of fixtures you need. Smaller fixtures usually need more pieces to cover the same room, while larger fixtures can cover more area but may feel too dominant in low ceilings. Match size to ceiling height, room purpose, and beam angle rather than using one size everywhere.
4-inch LED fixtures
Use 4-inch LED fixtures when you want tighter control, modern trim lines, or more task-focused light. They often work well in kitchens, bathrooms, and accent rows. Because they cover less area per fixture, expect a denser layout and a higher fixture count.
6-inch LED fixtures
Six-inch LED fixtures are the common middle ground for many homes. They fit living rooms, hallways, bedrooms, and many kitchens where you want general light without a crowded ceiling. For 8-foot to 10-foot ceilings, they often balance coverage and visual scale well.
8-inch LED fixtures
Eight-inch fixtures suit larger ceilings and broad coverage needs, especially where fewer, larger sources make sense. They can work in higher basements or taller rooms, but they are usually less precise for tight task zones. In lower ceilings, they can feel oversized if the room is small.
How do you avoid shadows and dark spots with recessed lights?
Use the spacing chart as a starting point, then test the room for edge darkness, counter shadows, and overbright pools. The usual fixes are closer outer rows, more deliberate counter alignment, and a beam angle that matches the room width. Dimming helps only after the fixture count and placement are close.
- Check the task zone first. Stand where you cook, read, or work and see whether the light will land in front of you or behind you. A countertop lit from the wrong side throws a shadow onto the work area.
- Compare beam angle to spacing. Narrow beams need tighter spacing. Wider beams cover more floor, but they can wash walls if the outer row sits too close to the edge.
- Keep rows symmetrical. Match opposite sides of the room when possible. Uneven rows create obvious bright and dark bands, especially in long hallways.
- Add one fixture if needed. If a room shows a dark pocket after the first layout, add one more light or reduce spacing by about 12 inches, then recheck the edges and the task zone.
How many recessed lights do I need for my room?
Use room area, target lumens per square foot, and fixture output together. A 120-square-foot living room at 50-60 lumens per square foot needs much less output than the same room used as a kitchen work zone. Fixture count affects cost, wiring time, trim count, and the labor needed to cut and finish each opening.
Simple planning method
Multiply room square footage by the target lumens per square foot for the room type. Then divide by the lumen output of the selected fixture. That gives a rough count before you adjust for beams, cabinets, or a dimming plan.
For example, a 150-square-foot kitchen at 70-80 lumens per square foot needs more output than a living room of the same size at 50-60. In many cases, more smaller fixtures outperform fewer large ones because the light can land more evenly on counters and walk paths.
Common mistakes
The biggest mistakes are treating every room like an empty rectangle, ignoring obstructions, and using the ceiling-height rule without checking the room’s job. Kitchens need task light, living rooms need softer ambient light, and both can fail if the outer row sits too close or too far from the wall.
- Ignoring beams or ducts. Mark them before you drill, or you may lose the clean grid and the planned symmetry.
- Spacing lights only by room size. Ceiling height matters, but room purpose changes the output target and the count.
- Placing kitchen lights at room center. That often leaves counter edges in shadow. Aim for the work surface.
- Putting the first row too close to the wall. That can create scalloped wall washing and bright edges instead of even coverage.
- Choosing fixture size before layout. Pick the beam spread and placement needs first, then choose 4-inch, 6-inch, or 8-inch trim.
- Skipping dimming. Even a good layout can feel too bright without a compatible dimmer.
A common first-timer mistake is to use a 10-foot ceiling rule in a 9-foot room because the can size looks better on paper. That often leaves the walls dim and the center too bright. Start with the actual ceiling height, then adjust the count for the room’s function.
Frequently asked questions
What is the best spacing for recessed lighting?
For a starting point, use ceiling height divided by 2. That gives 4 feet for 8-foot ceilings, 4.5 feet for 9-foot ceilings, 5.0 feet for 10-foot ceilings, and 6.0 feet for 12-foot ceilings. Then adjust for room purpose, beam angle, and any obstruction that breaks the grid.
How far apart should recessed lighting be?
In common rooms, spacing often lands in the 4-6 foot range, depending on ceiling height and fixture output. Kitchens usually need tighter placement than living rooms because counters and prep areas need stronger light. If the room is narrow, a single centered row may work better than two rows.
How close should recessed lights be to the wall?
A common starting point is wall distance equal to half the spacing. For an 8-foot ceiling with 4-foot spacing, that is about 2 feet from the wall. Some guides place the first row 24 to 36 inches from the wall, which fits many real rooms.
Does ceiling height change recessed lighting spacing?
Yes. A common rule of thumb is ceiling height divided by 2, which is why 8-foot ceilings often start near 4 feet apart and 12-foot ceilings near 6 feet apart. Higher ceilings usually need wider spacing or more output per fixture to keep the room from feeling dim.
What spacing works best for kitchens versus living rooms?
Kitchens usually need tighter spacing and higher output because the job is task lighting. Living rooms can use wider spacing and lower lumen targets because the goal is softer ambient light. In both rooms, keep the outer row aligned to the wall and not just to the room center.
Products related to this article
Sponsored / affiliate links. As an Amazon Associate I earn from qualifying purchases. I may earn additional commission from eligible campaigns.