Bathroom Vanity Light Problems
Bathroom vanity light problems usually point to a specific fault. No power means a switch, bulb, or breaker issue. Dim or uneven light often means the fixture is too small or mounted too high. If you ignore the cause, your mirror stays dark, glare gets worse, and you may buy the wrong replacement. This guide helps you diagnose common bathroom vanity light problems, choose the right fix, size, and placement.
What you’ll need


- Voltage tester
- Screwdriver set
- Wire strippers
- Wire nuts
- Noncontact circuit tester
- Ladder or step stool
- Flashlight
- LED bulbs with the correct base
- Replacement vanity light fixture or bar
- Mounting hardware: crossbar or bracket, screws, and ground wire
- Work gloves and eye protection
Check the fixture label before you buy parts. Confirm bulb base compatibility, wattage limits, and whether the light is damp-rated for bathroom placement near a sink or tub.
Bathroom vanity light matrix
The fastest way to sort bathroom light and fan troubleshooting is symptom first, then fix. Use this matrix to separate bulb issues from wiring, moisture damage, and sizing mistakes before you replace the whole fixture.
| Symptom | Likely cause | Quick test | Safe DIY fix | When to call an electrician | Replacement part type |
|---|---|---|---|---|---|
| No light | Burned-out bulb, switch fault, tripped breaker | Swap in a known good bulb and check the breaker | Replace the bulb; reset the breaker if it has tripped | Breaker trips again, or the switch feels hot or loose | LED bulb, switch, or fixture |
| Flicker | Loose bulb, loose wire, dimmer mismatch, failing LED driver | Wiggle the bulb gently and flip the switch on a non-dimmer circuit if possible | Tighten the bulb, replace dimmable bulbs, or change the dimmer to LED-compatible | Flicker remains after bulb and switch checks | LED bulb, dimmer, driver, or fixture |
| Buzzing | Bulb incompatibility or failing driver | Remove one bulb and run the fixture briefly if the design allows | Use the wattage and bulb type listed on the fixture label | Buzzing continues or the fixture heats sharply | Compatible LED bulb or fixture |
| Corrosion or rust | Moisture exposure without damp-rated protection | Look for pitting, greenish deposits, or rust on sockets and screws | Replace the fixture with a damp-rated model | Corrosion reaches the junction box or conductors | Damp-rated fixture |
| Uneven facial shadows | Fixture too small, too high, or wrong orientation | Check whether the light sits above the mirror with enough width coverage | Move to a wider bar or a different height and choose down-lighting for task visibility | Wiring changes are needed to move the junction box | Longer vanity light bar or mirror-light combo |
| Heat buildup | Overwattage bulbs or poor ventilation | Feel the fixture after a short run; it should not become unusually hot | Use lower-wattage LED bulbs and keep the fixture within its rating | The box is damaged or conductors show heat marks | LED bulbs or new fixture |
Diagnose breaker trips, hot switches, and intermittent loss
Start with power, then bulbs, then the switch and wiring. A breaker that trips again, a switch that feels hot to the touch, or a light that works and then shuts off usually points to a wiring fault, overload, or failing device rather than a simple bulb problem.
- Turn off the bathroom circuit at the panel and confirm the light is dead with a noncontact tester.
- Remove each bulb and reinstall a known good bulb with the correct base and wattage.
- Flip the switch and, if present, the dimmer; a mismatched dimmer often causes flicker or buzzing.
- Open the fixture canopy and inspect the electrical junction box, wire nuts, and ground wire for looseness or heat damage.
- Check the fixture label for damp-location suitability if it sits near a sink, tub, or shower zone.
- Decide whether the fault is a bulb, switch, driver, or the whole fixture; replace only the failed part first.
Diagnose one bulb out, loose wall plate, and shower-related shutdowns
A single bulb out often means one lamp failed, one socket is worn, or one wire connection is loose inside the fixture. A loose wall plate usually points to a mounting problem at the box or bracket, while intermittent failure after a shower suggests moisture exposure or a fixture that should be damp-rated.
- Confirm whether only one bulb is out or whether an entire section of the bar is dark.
- Check the socket contact and bulb base for looseness, discoloration, or corrosion.
- Look at the wall plate and mounting screws for gaps that suggest a loose bracket or box.
- Inspect for moisture marks, rust, or clouding that appears after steamy use.
- Replace the bulb, socket-connected part, or the damp-rated fixture as needed.
Say your 36-inch mirror has a 3-bulb bar that flickers only when the dimmer is low. That points more toward a dimmer and bulb compatibility issue than a full fixture failure.
Suppose a single-sink vanity has corrosion around the sockets but the bulbs still light. That usually means the finish and internal parts have taken moisture damage, so a damp-rated replacement is the safer choice.
If that didn’t work, replace the fixture only after the box, wiring, and switch have passed a close check. If the breaker trips, the wire insulation is cracked, or the box does not support the fixture weight, stop and call an electrician.
How do you replace the fixture safely?
Replace the fixture only after you have ruled out a bulb or switch issue. A safe swap depends on a code-compliant junction box, a fixture that matches the box layout, and wiring that connects cleanly with the ground wire and wire nuts.
Replace the vanity light fixture
If the existing light is damaged, mismatched, or not damp-rated, replacement is usually the cleanest fix. Keep the new fixture compatible with the box, the bulb base, and the bathroom location so you do not trade one problem for another.
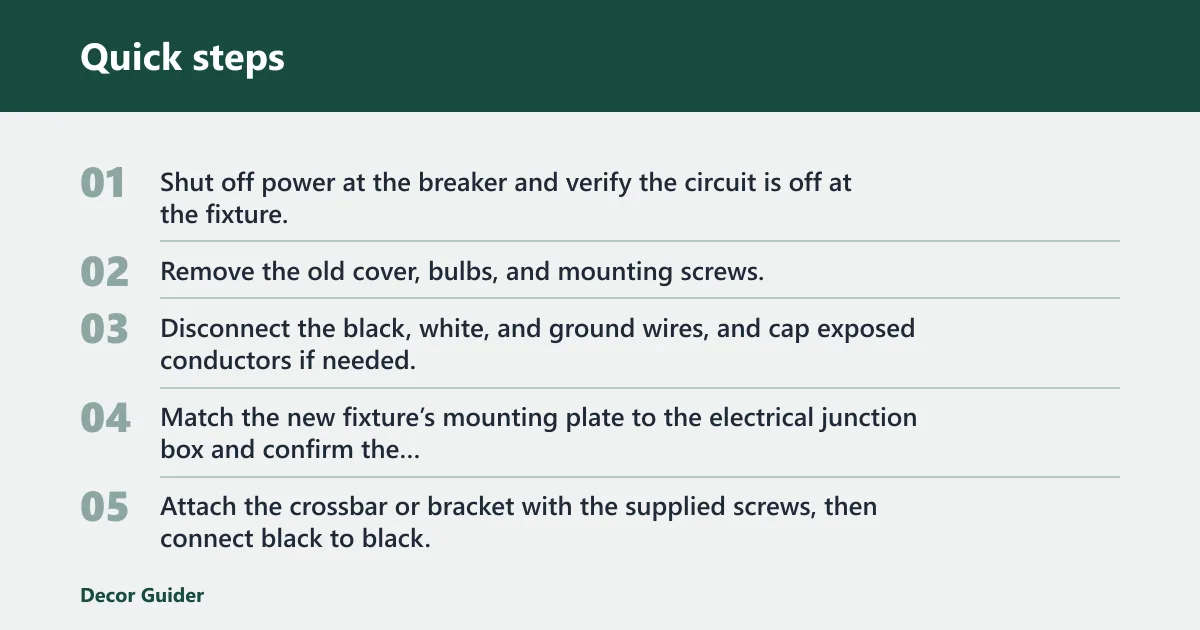
- Shut off power at the breaker and verify the circuit is off at the fixture.
- Remove the old cover, bulbs, and mounting screws, then lower the fixture from the wall box.
- Disconnect the black, white, and ground wires, and cap exposed conductors if needed.
- Match the new fixture’s mounting plate to the electrical junction box and confirm the load rating.
- Attach the crossbar or bracket with the supplied screws, then connect black to black, white to white, and ground to ground.
- Secure the wire nuts, tuck the conductors into the box, and fasten the fixture to the bracket.
- Install the bulbs, restore power, and check for steady light, no buzzing, and no gap at the wall plate.
Remove a bathroom vanity light fixture
Removal is the first part of any replacement, repainting, or layout change. The main goal is to take the fixture down without stressing the conductors, damaging the box, or leaving exposed wiring in the wall.
- Switch off the circuit and verify that the fixture is de-energized.
- Take out the bulbs and any glass shade or cover so the fixture is lighter and easier to handle.
- Support the fixture while you remove the mounting screws from the bracket or crossbar.
- Lower the fixture slowly and disconnect the wire nuts one at a time.
- Keep the box closed or capped until the new fixture goes on.
Keep an eye on the wiring length as you lift the fixture into place. If the conductors are too short to reach without strain, the box location or fixture choice is wrong for that wall.
What size and placement should you use?
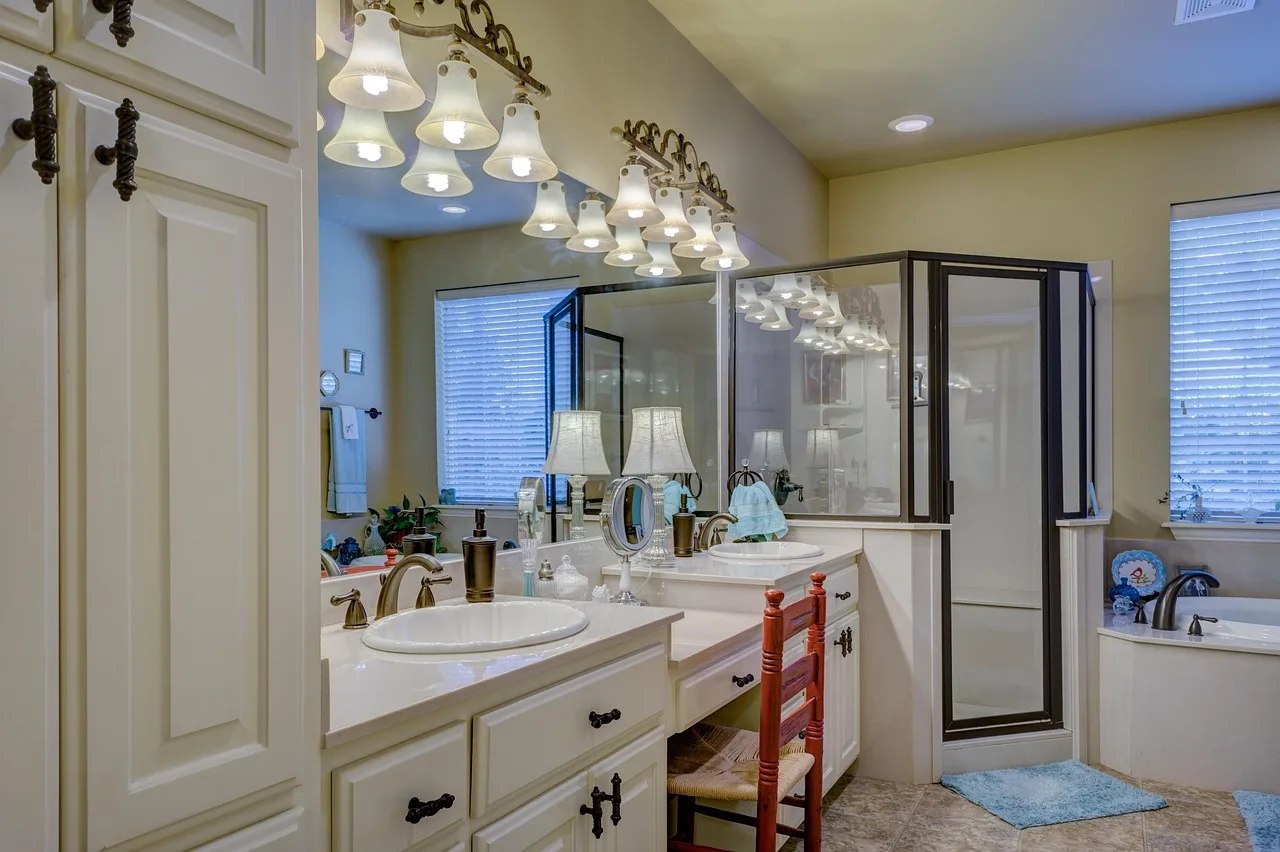
Choose the size from the mirror and vanity, not from the wall alone. A fixture above a mirror should usually be centered and about as wide as the mirror, or slightly narrower, so it covers the face evenly without extending far past the edges.
Match fixture width to mirror width
A practical rule is to keep the fixture at about the same width as the mirror or slightly narrower. If the light is too short, shadows fall across the cheeks and under the chin; if it is too wide, glare can spread beyond the mirror and look harsh.
Bathroom mirror sizes are often grouped into ranges such as 25 inches and under, 30 to 32 inches, 36 to 42 inches, 48 to 49 inches, 60 inches, 72 inches, and 73 inches and above. That sizing spread is a useful cue: larger mirrors and double-sink layouts usually need a longer bar or multiple fixtures.
A compact bar works for a small powder room. A long bar is better when the mirror spans a wide single sink or a double sink, because the extra spread reduces dark zones at the sides of the face.
Choose bar length and bulb count
Pick the bar length by overlap, then pick the bulb count by coverage. For many single sinks, a 2- or 3-light bar is usually enough. For wider mirrors, a 4- to 6-light bar often gives a more even spread across the glass.
Center the bar over the mirror, not over the vanity top edge. Framed mirrors need clearance for the top trim. Frameless mirrors often allow tighter placement because the fixture can sit closer to the glass line.
Decide between bar lights, sconces, and finish style
Vanity light bars spread light evenly across a mirror, while sconces can work well when the mirror is narrow or when you want light to sit on both sides of the face. Finish and style matter too, but they should follow the room’s hardware and mirror shape after the lighting layout is solved.
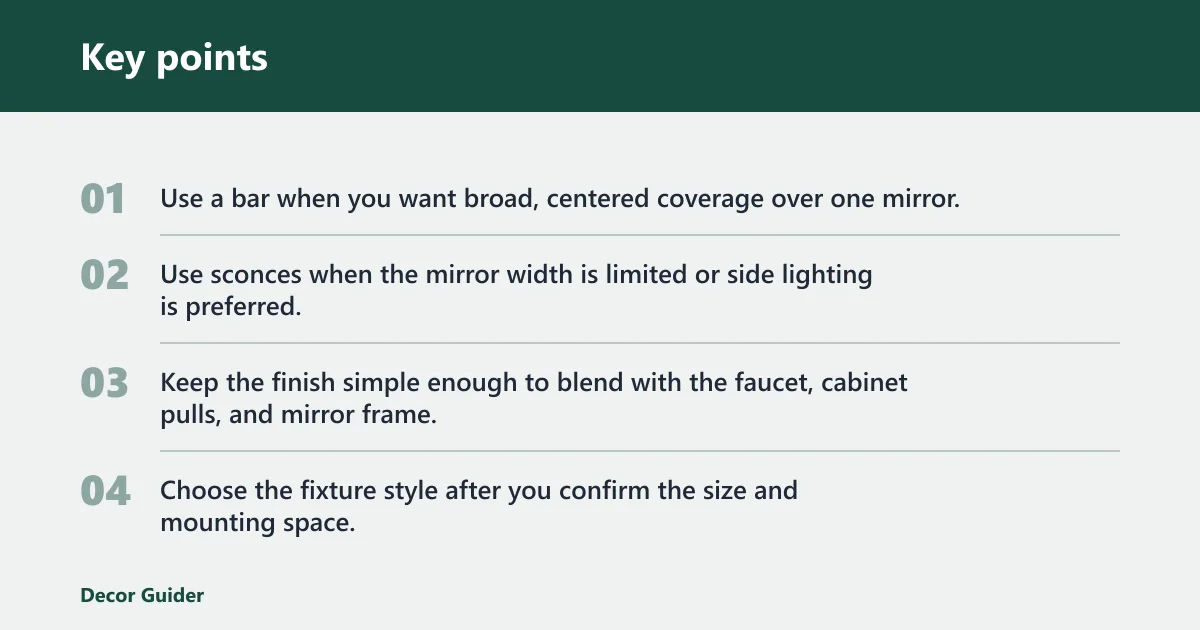
- Use a bar when you want broad, centered coverage over one mirror.
- Use sconces when the mirror width is limited or side lighting is preferred.
- Keep the finish simple enough to blend with the faucet, cabinet pulls, and mirror frame.
- Choose the fixture style after you confirm the size and mounting space.
Decide between up-light and down-light formats
Down-light fixtures are usually better for shaving, makeup, and small bathrooms because they direct light onto the face with less ceiling bounce. Up-light fixtures can feel softer in a room, but they often leave the eye sockets and jawline less evenly lit.
Should vanity lights point up or down? For task use, down is usually the safer bet. Up-light works best when the room already has strong ambient light and you want a softer effect rather than crisp face lighting.
Common mistakes
Most bad results come from skipping bathroom-specific checks. A pretty fixture can still be the wrong fixture if it is under-sized, not damp-rated, or mounted to a box that cannot support it.
- Ignoring damp-rating and wattage limits. Use a damp-rated fixture near wet zones and stay within the label rating.
- Centering by wall space instead of mirror width. Center the light on the mirror so facial light stays even.
- Skipping GFCI and circuit checks. The bathroom circuit should have safe reset and test access where required.
- Using the wrong bulb base or a non-dimmable bulb on a dimmer. That often causes flicker or buzzing.
- Mounting too high. A fixture that sits too far above the mirror can push light away from the face.
Bathroom vanity light problems are often a mix of fit and electrical mismatch. If the fixture is fine but the mirror is small, a longer bar or a different mirror-light combination may be the better fix than another bulb swap.
Frequently asked questions
What size vanity light should I use above a mirror?
A good starting point is a fixture that matches the mirror width or stays slightly narrower. For broader mirrors, especially larger setups around 48 to 49 inches, 60 inches, 72 inches, or 73 inches and above, a longer bar usually gives better face coverage than a compact fixture.
Should vanity lights point up or down?
Down-light usually works better for grooming because it puts more useful light on the face. Up-light can soften the room, but it often leaves shadows under the eyes and chin. In a small bathroom, down-light is usually the more practical choice for shaving and makeup.
What is the best light for bathroom vanity?
The best choice is usually a damp-rated LED vanity light with a bar length matched to the mirror and a color temperature that suits task use. Look for steady dimming, the correct bulb base, and enough output to light the face evenly without glare from the glass or frame.
Products related to this article
Sponsored / affiliate links. As an Amazon Associate I earn from qualifying purchases. I may earn additional commission from eligible campaigns.