Outdoor Fairy Garden Ideas: 30+ DIY-Friendly Designs
An outdoor fairy garden is a miniature landscape — tiny doors, mossy paths, and twinkling lights — built in a flower bed, shallow pot, or under a tree to bring whimsy into a yard or patio. Pick the wrong plants or container size and the scene dies out in a season or looks cluttered instead of magical. This guide covers 30+ ideas with plant picks, DIY accessories, and setups for yards, patios, and planters.
For another door or hardware repair, 15+ DIY Pallet Deck Ideas to Create Stylish, Budget-Friendly Outdoor Spaces gives readers a closely related troubleshooting step.
How to Start Your Outdoor Fairy Garden
Instead of strict steps, think of your fairy garden as a process: a combination of planning, collecting, building, and improvising.
1. Choose a Setting

Start with an area that draws your eye. Popular options include:
- The base of a tree
- A corner of a flower bed
- A large planter or pot
- A moss-covered rock patch
- Beside a garden path
Pick a place that receives at least partial sunlight and is accessible for decorating and updating over time.
2. Build Around a Story
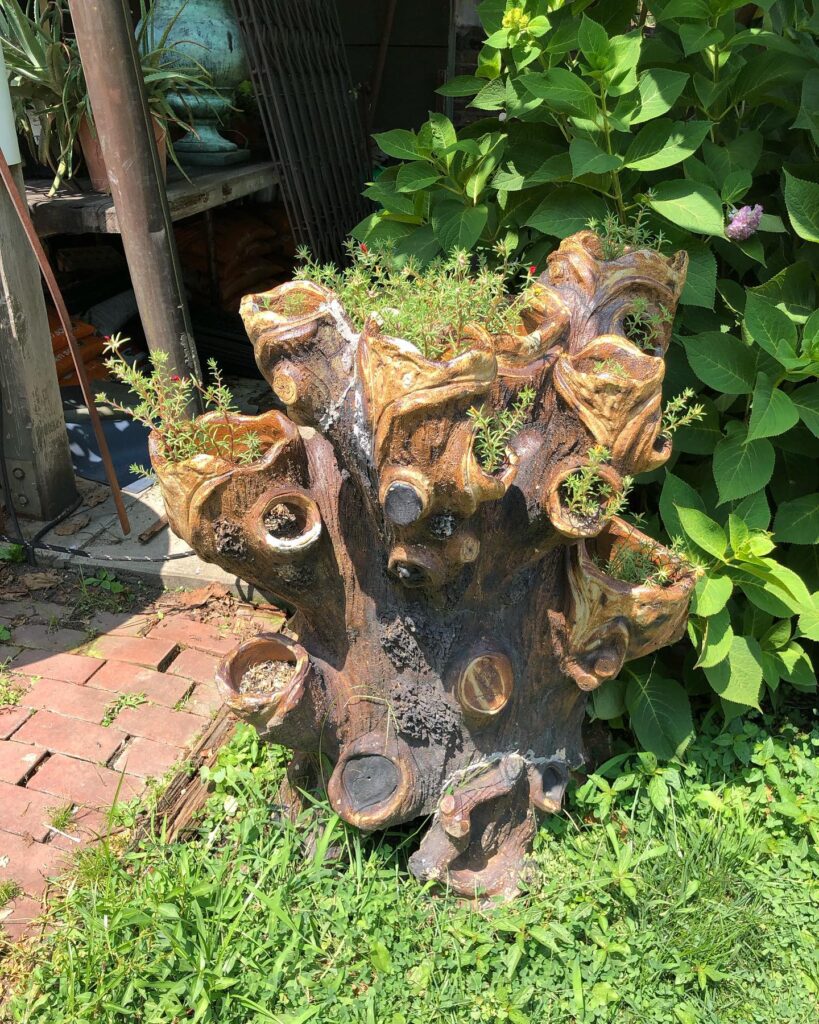

Fairy gardens feel more cohesive when they follow a loose theme. Ask yourself:
- Is this a fairy village or a single fairy’s cottage?
- Is it a forest retreat, seaside escape, or mountaintop lookout?
- Are the fairies gardeners, bakers, wanderers?
This approach helps you choose pieces that work together—tiny benches, bridges, ladders, clotheslines, mailboxes, and so on.
3. Use the Landscape Creatively

Let natural materials guide your layout. A tree root becomes a staircase. A hollow log is a fairy tunnel. Uneven stones can be miniature steps. Instead of clearing space, work with the textures and shapes already there.
Types of DIY Fairy Garden Ideas
You can use these categories to structure your own collection of scenes or ideas from the images you’ve gathered. They’re flexible enough to match almost any photo.
Best Fairy Garden Kit Pick

Dracarys 100 Pcs Fairy Garden Accessories – $14.99
A 100-piece accessory set gives you furniture, fixtures, and figures to build the miniature scenes covered in this guide without ordering pieces separately.
- Best for: Building a varied fairy garden scene without buying pieces one at a time
- Why we picked it: 100 pieces covers furniture, animals, and fixtures in one order — best value per piece in this list
- Main drawback: Resin pieces need bringing indoors before frost to avoid cracking
Compare more fairy garden kit options
 Option 1 Fosaseua 21 Pcs Mini Fairy Garden Starter Kit – $7.99
|
 Option 2 HIYZI 93 Pcs Fairy Garden House Resin Kit – $39.99
|
 Option 3 Delighture Squirrel & Hedgehog Fairy Garden Set – $8.99
|
As an Amazon Associate we earn from qualifying purchases.
Miniature Furniture & Fixtures
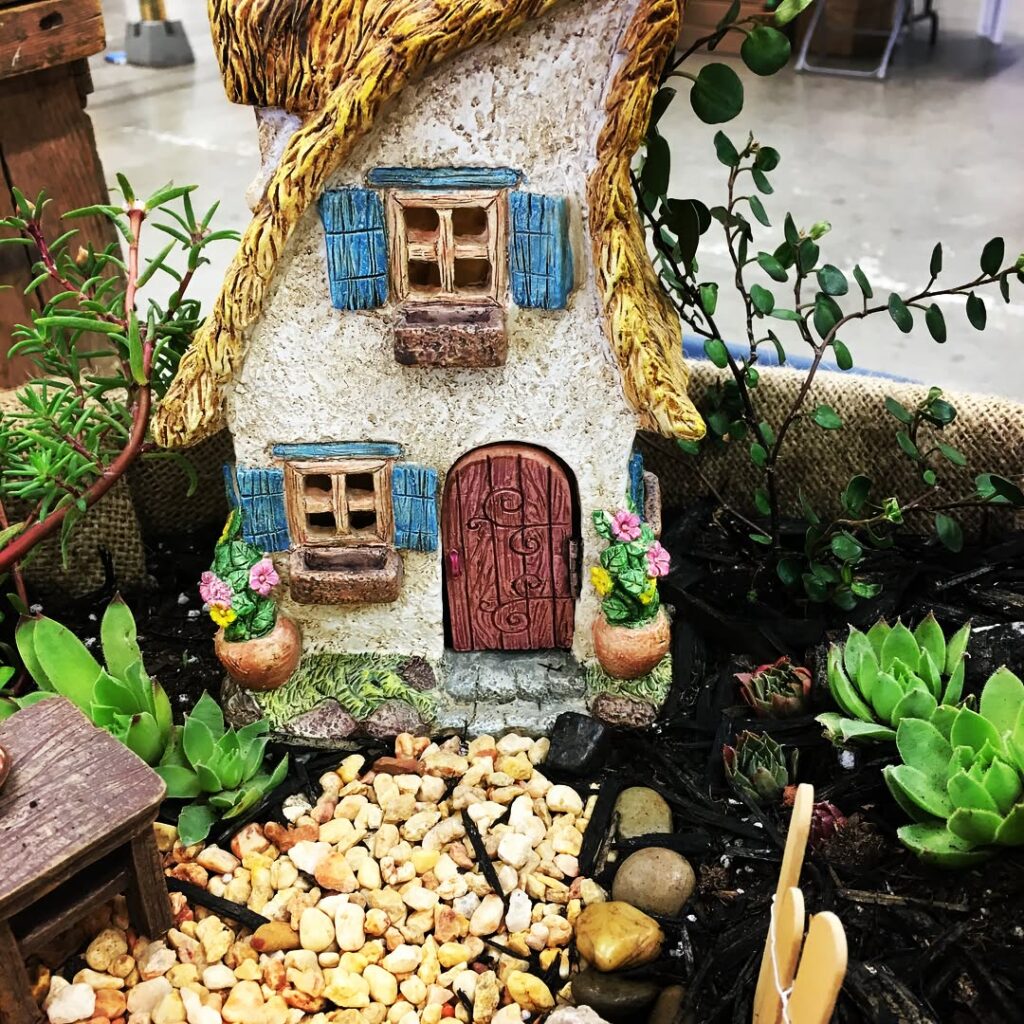
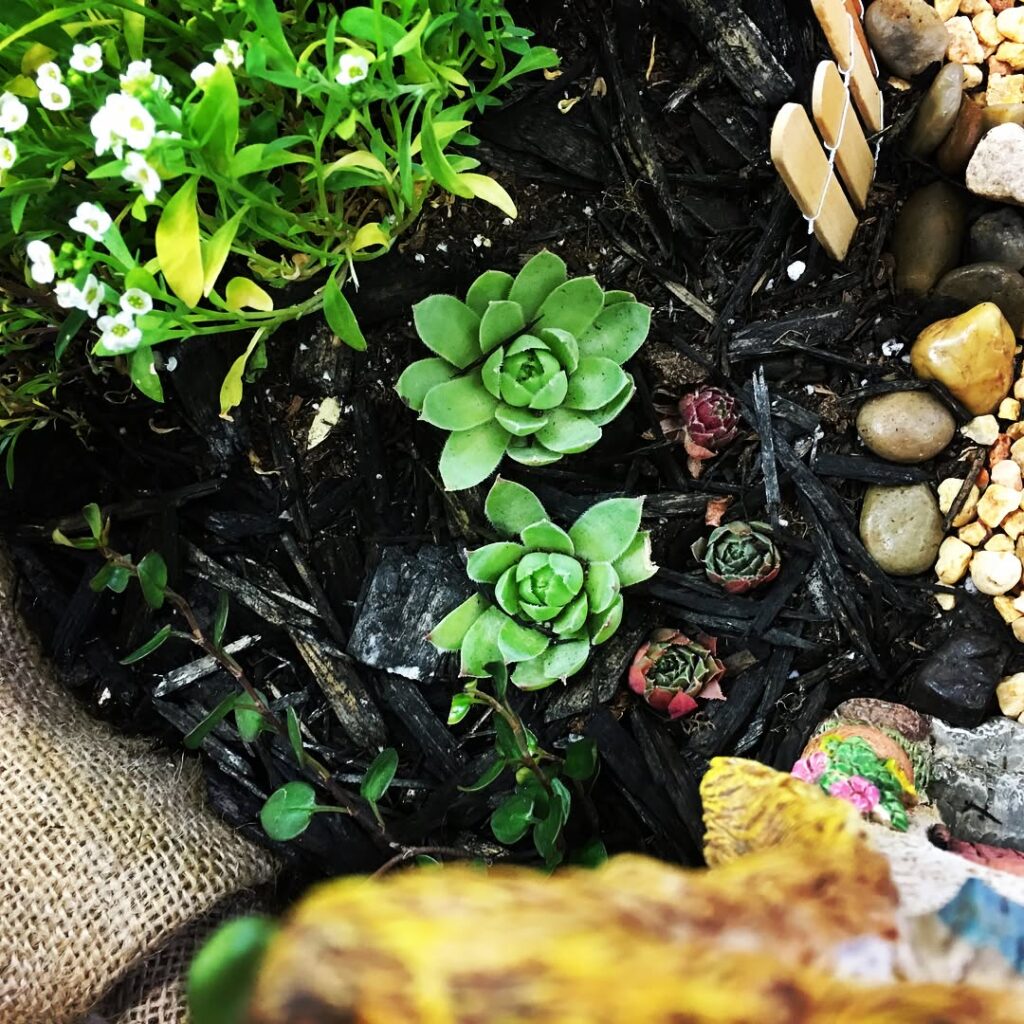
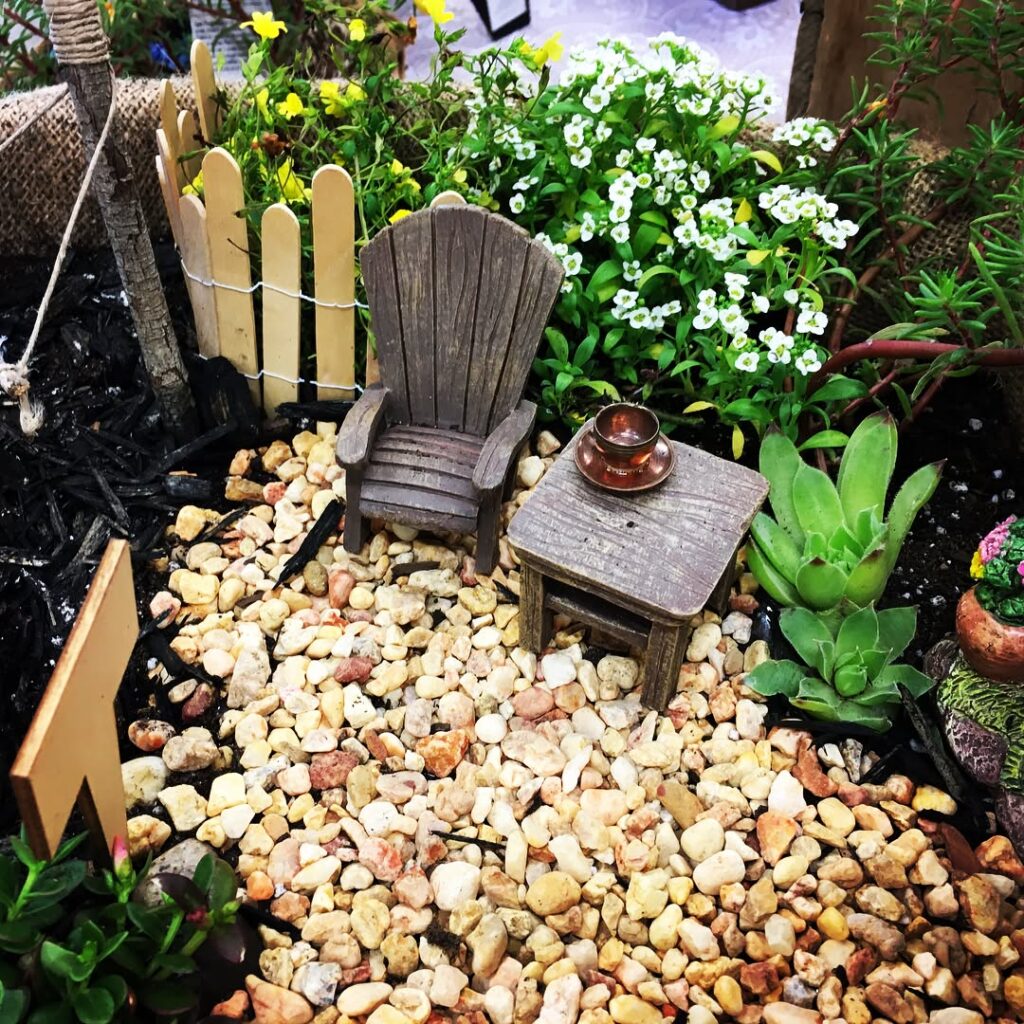
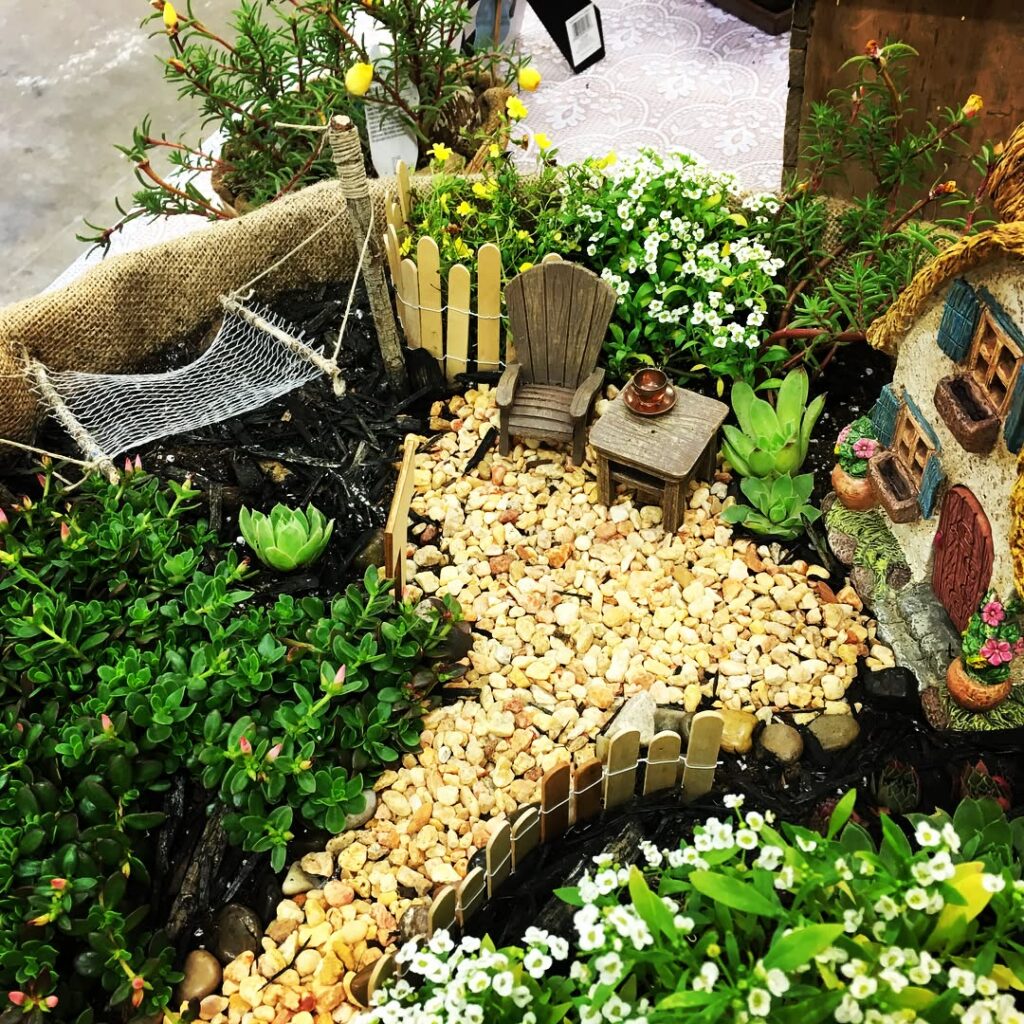
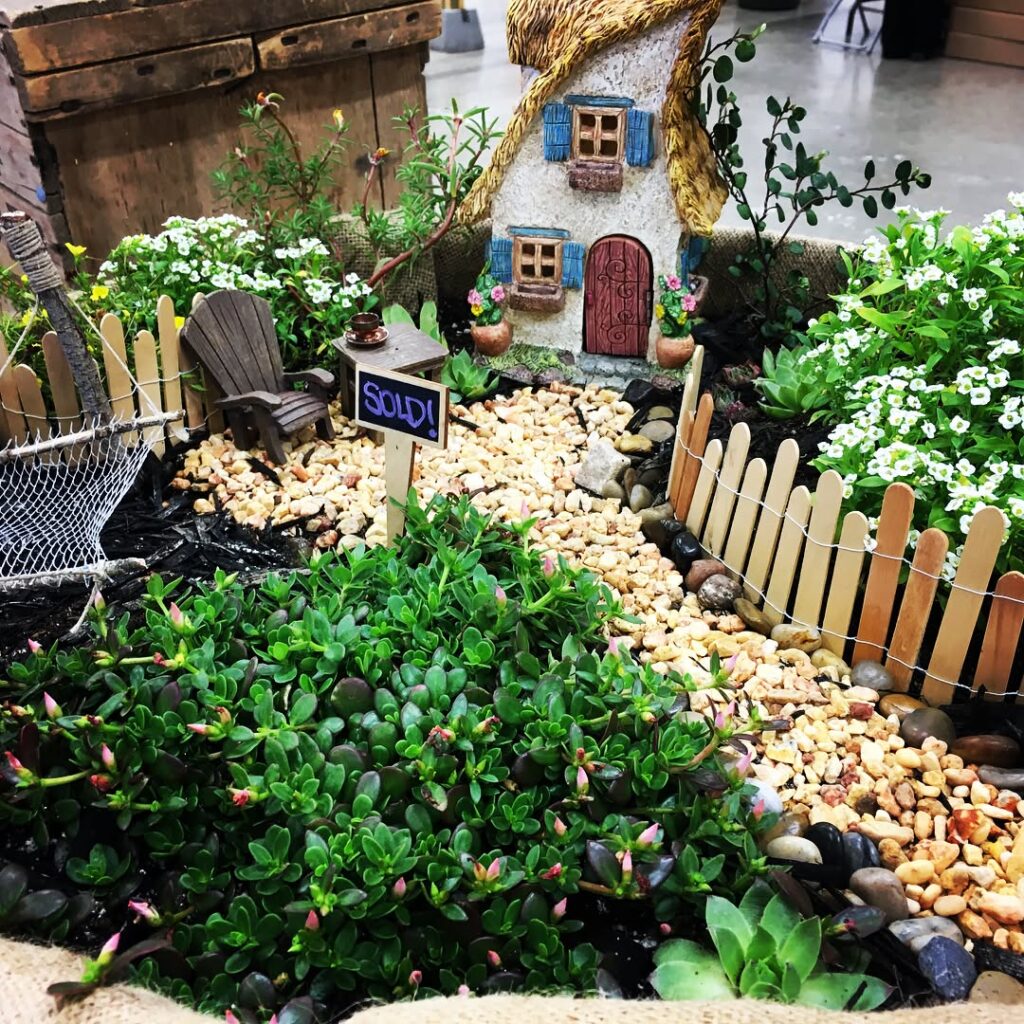
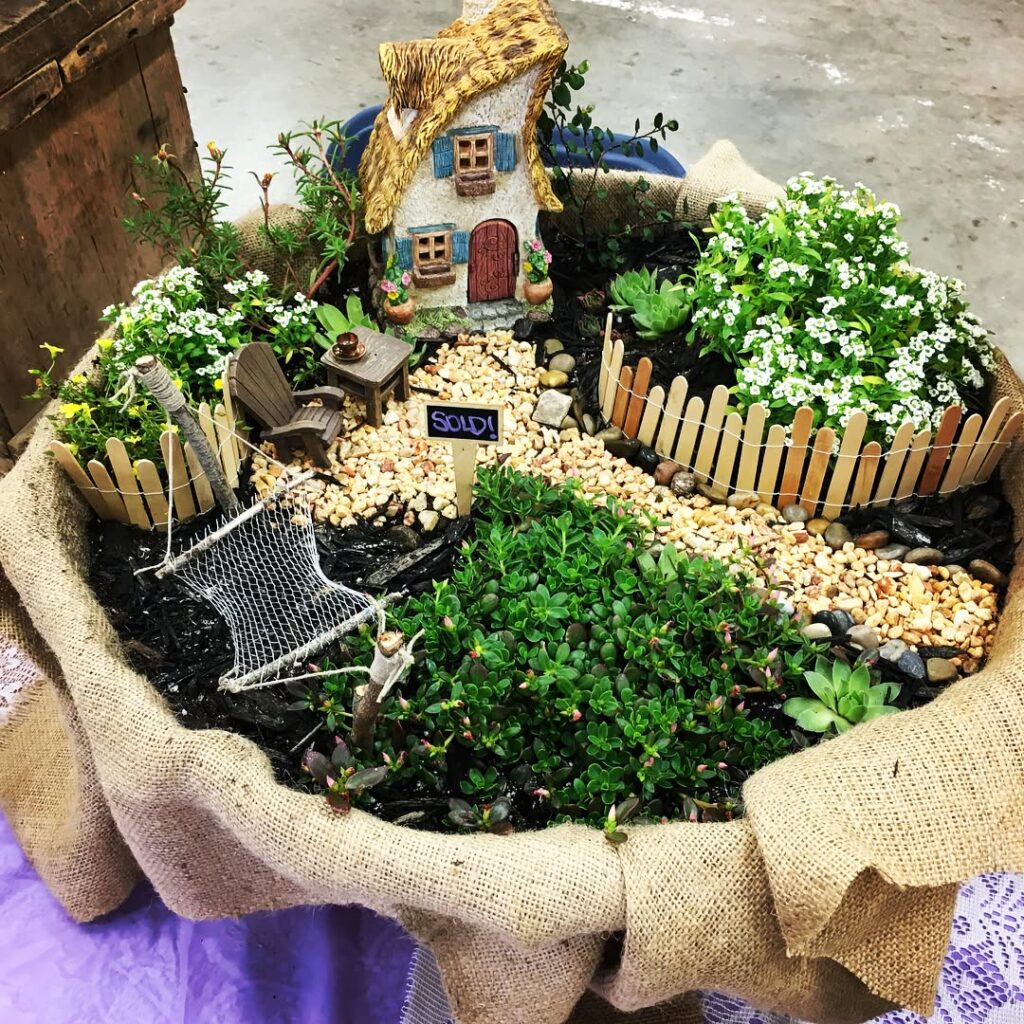
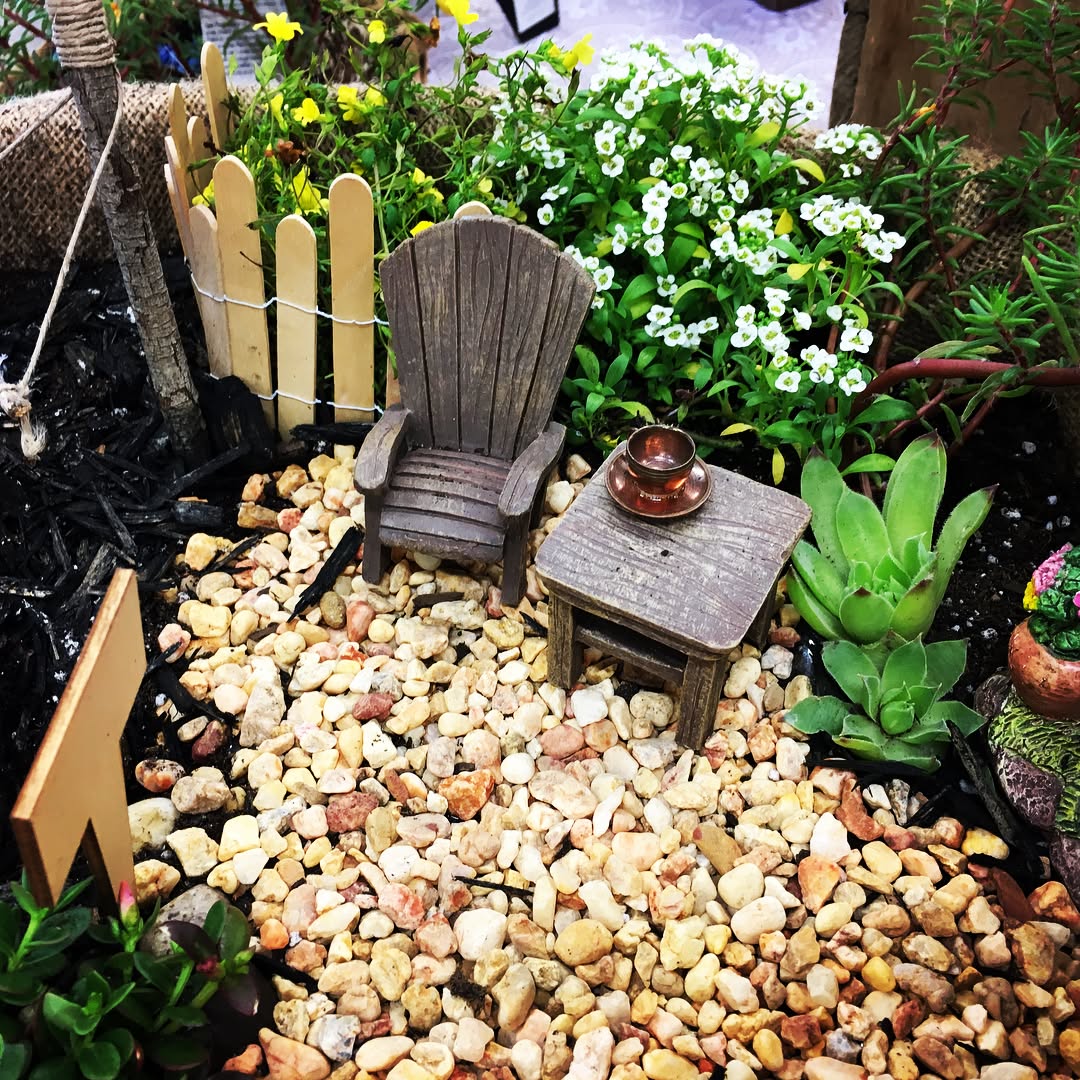
- Twigs turned into chairs and swings
- Pebbles used as stepping stones
- Acorn caps for tableware
- Bottle caps as fire pits
- Spools and buttons repurposed into fairy tools
Reclaimed and Recycled Materials

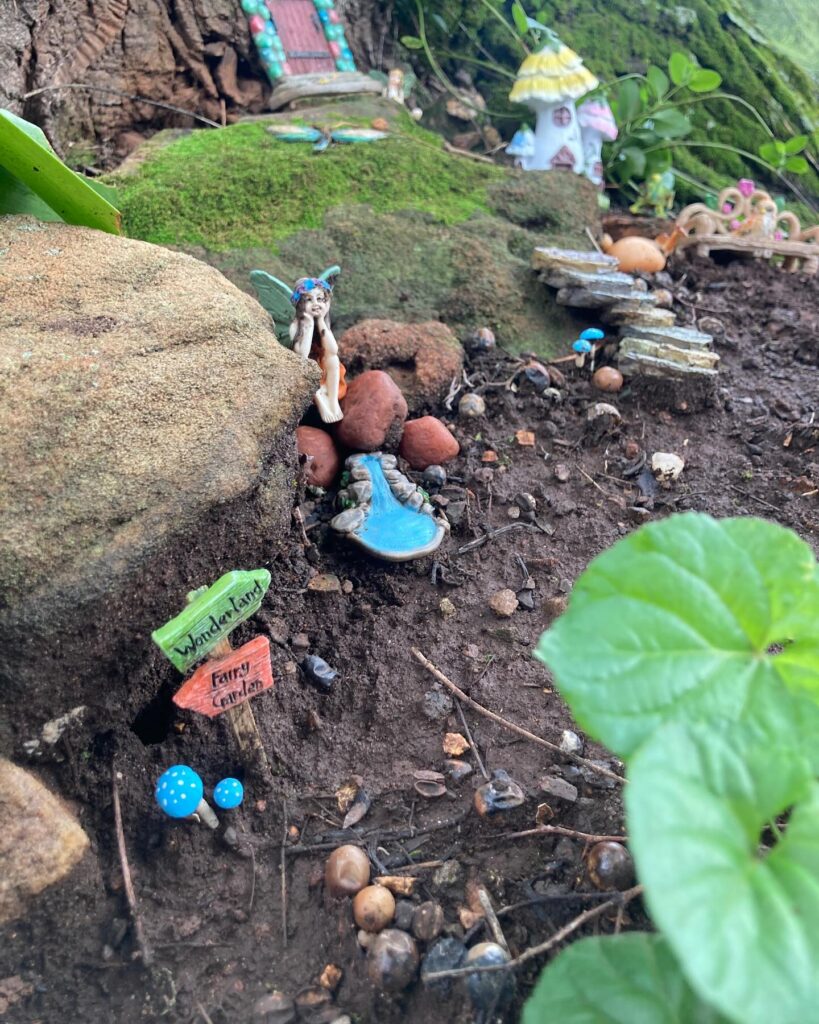
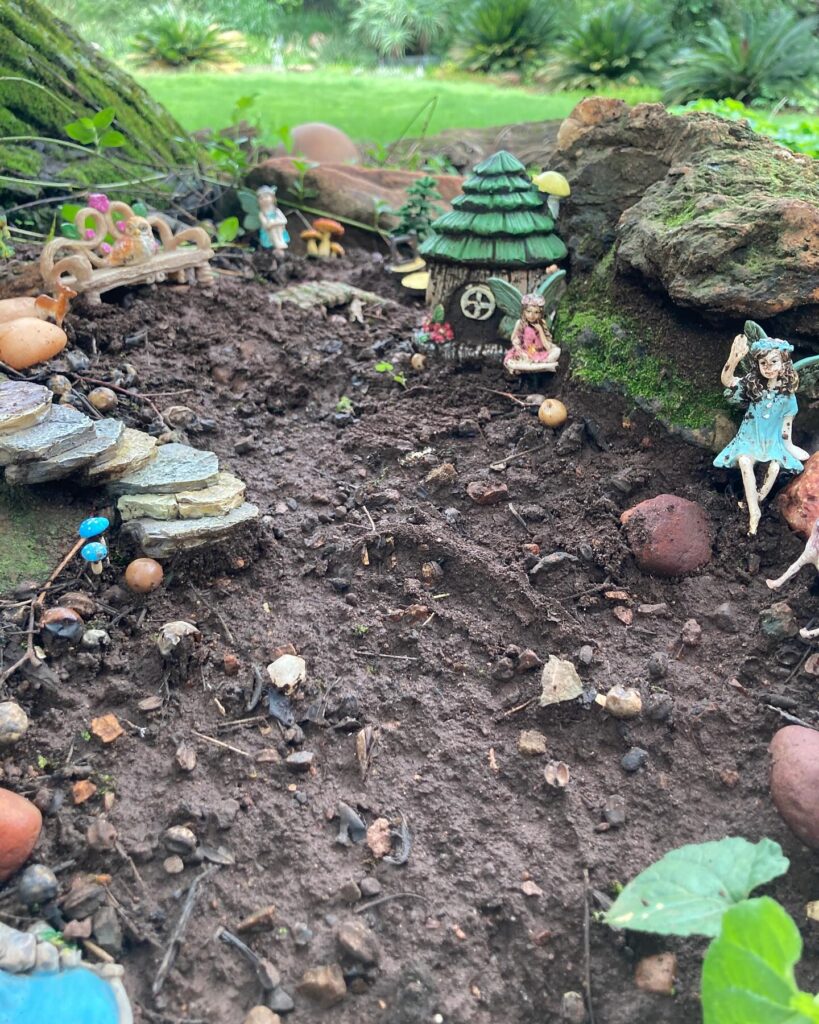
- Broken pots as terraced gardens
- Teacups or bowls converted into fairy homes
- Old lanterns housing tiny indoor scenes
- Popsicle sticks for fences or decks
- Wine corks as planters or totems
Living Materials & Plantings
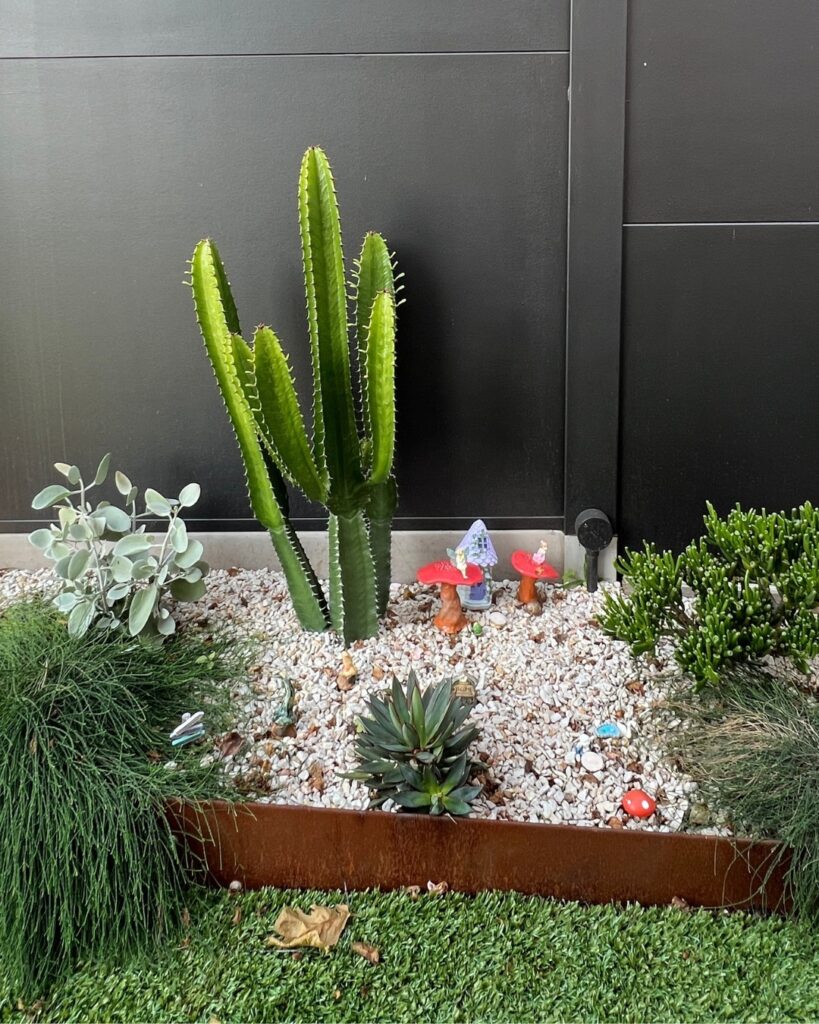
- Moss carpets and leaf roofs
- Sedum, thyme, or creeping Jenny as miniature landscaping
- Small bonsai trees to mimic forests
- Flowers planted in shells or nutshells
- Succulents as fairytale shrubs
Seasonal Touches
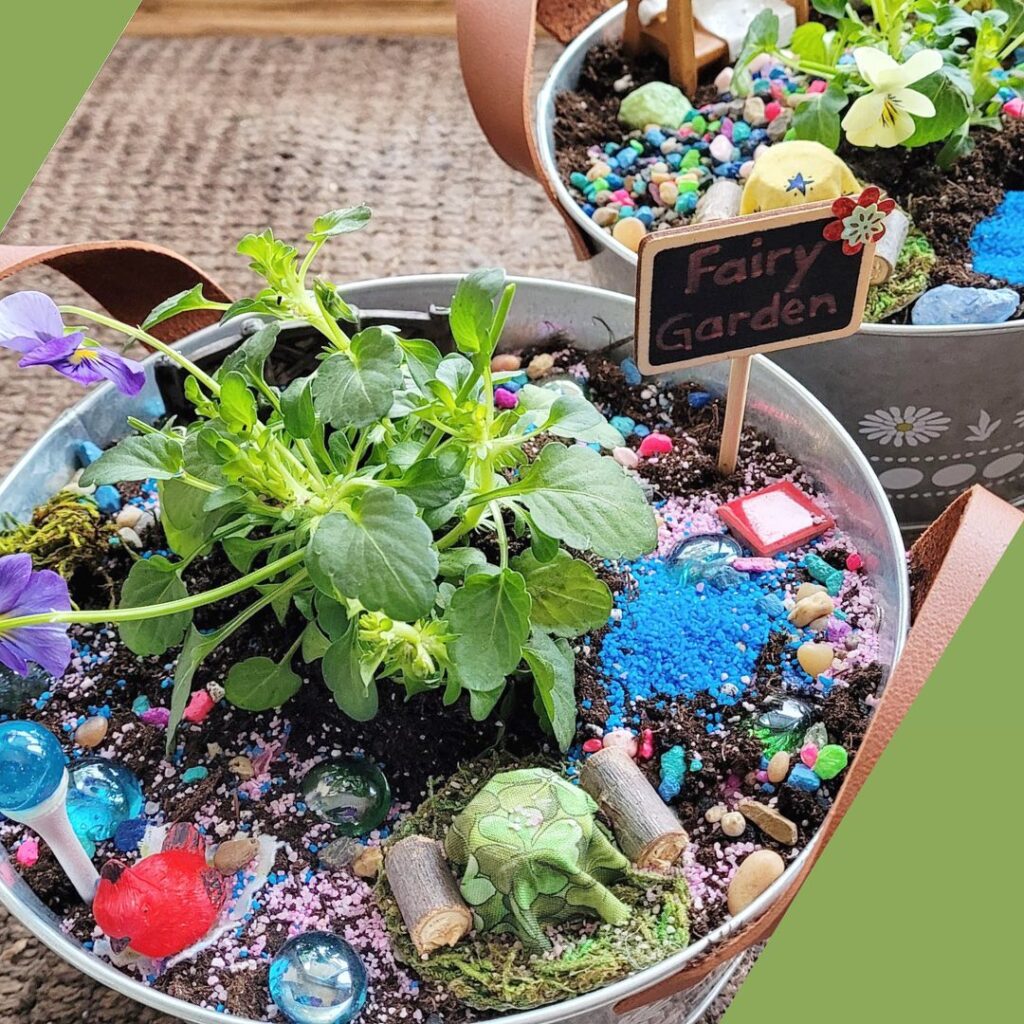
- Spring: Blossoms and egg-themed decor
- Summer: Seashells, sand, mini beach scenes
- Fall: Tiny pumpkins, dried leaves, twig brooms
- Winter: Cotton snow, twinkle lights, pinecone trees
Rotate décor or plantings throughout the year to keep the scene fresh and interactive.
Tips for Making It Last Outdoors

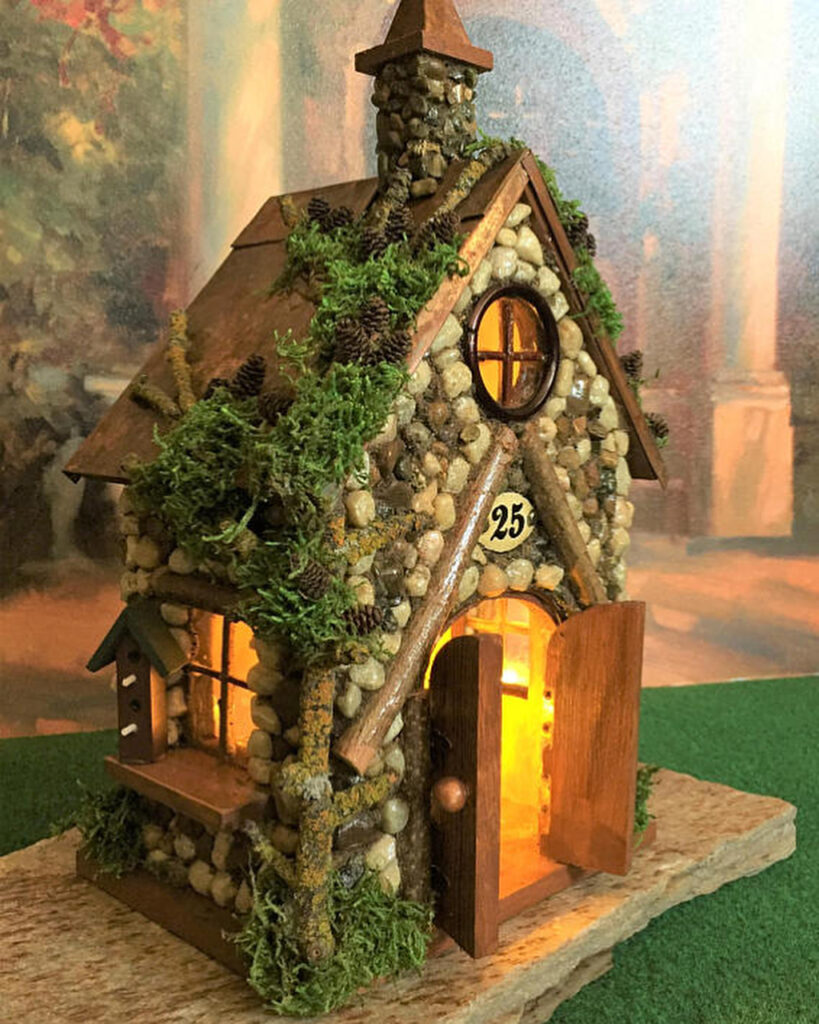
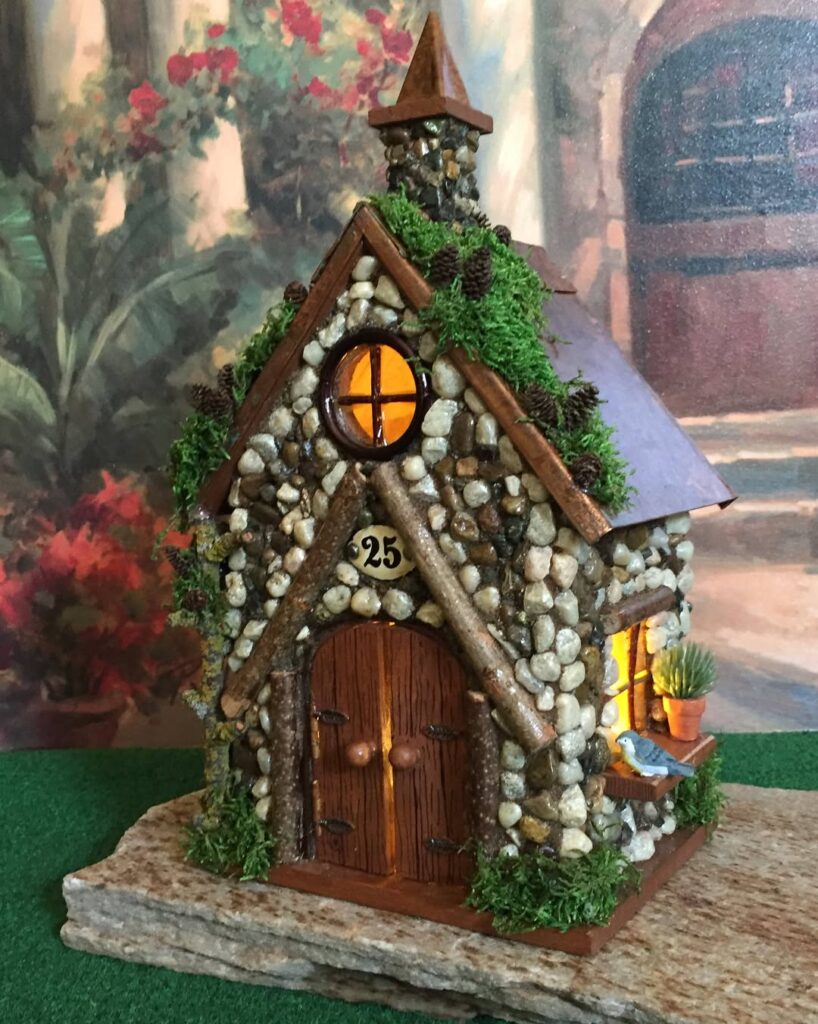
Building a fairy garden for the outdoors means planning for the elements.
- Use weather-resistant glue and sealants on delicate parts
- Anchor small pieces in gravel or sand to avoid shifting in rain
- Avoid paper, cardboard, or untreated wood unless you accept that they’ll decay naturally
- Protect painted items with clear sealant spray
- Place heavier items low to prevent tipping in wind
Also consider using a small path of real stones or bark leading to the scene, which makes it easier for visitors (kids or guests) to interact without stepping on it.
Common Layout Formats
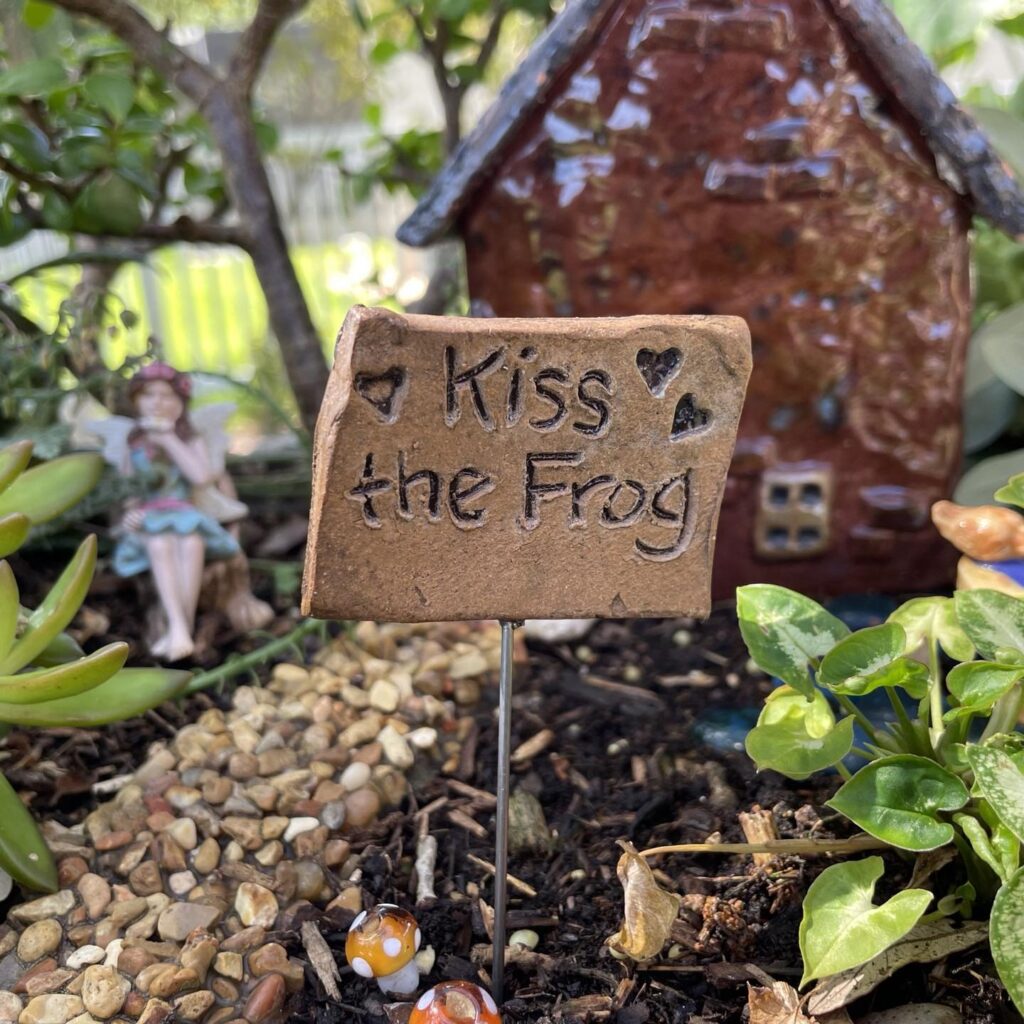

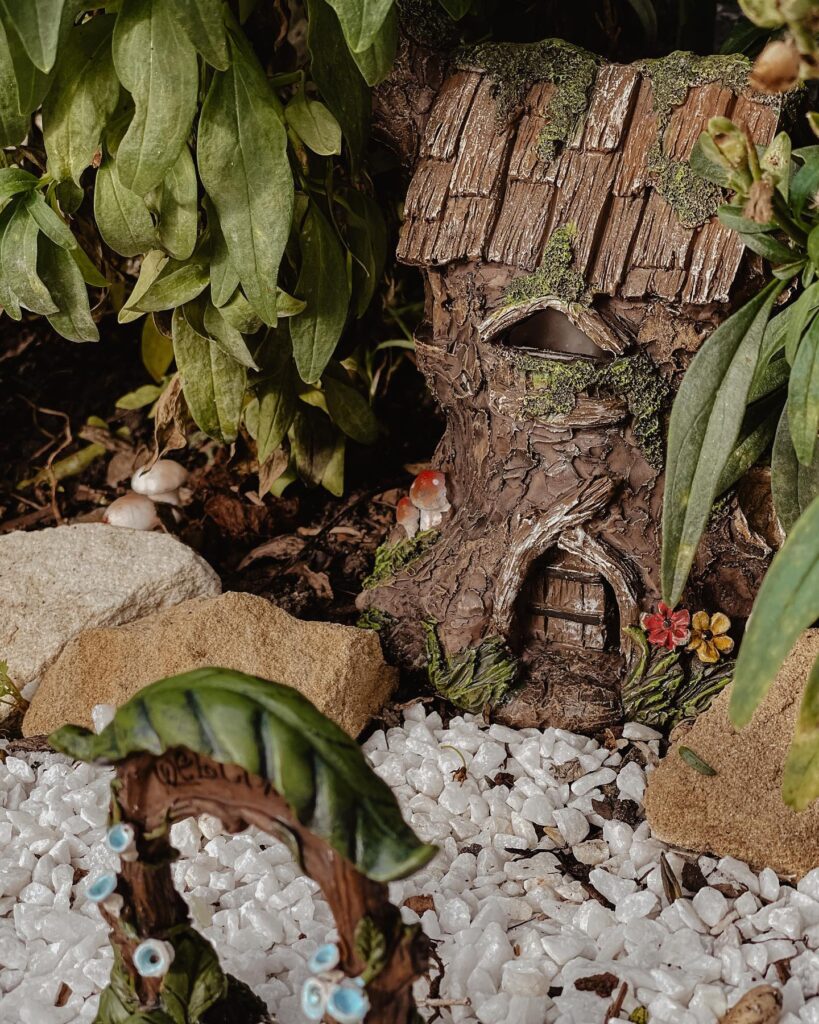



Here’s a helpful breakdown of layouts you might use in your post or pin gallery:
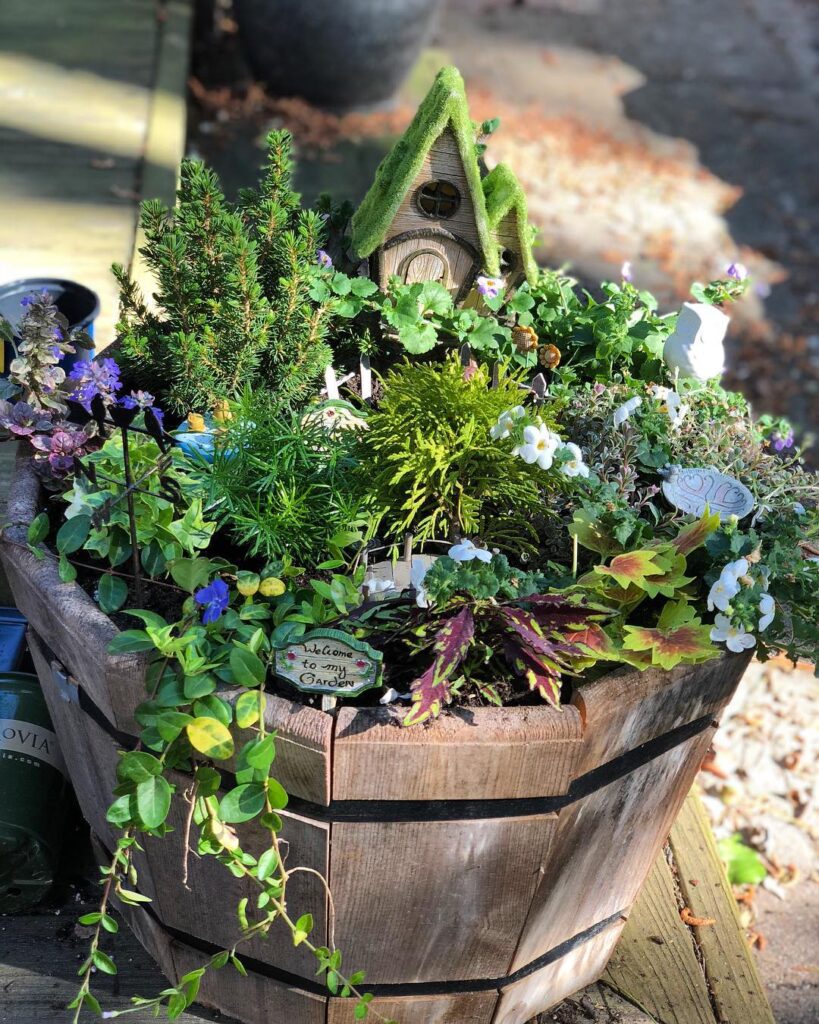
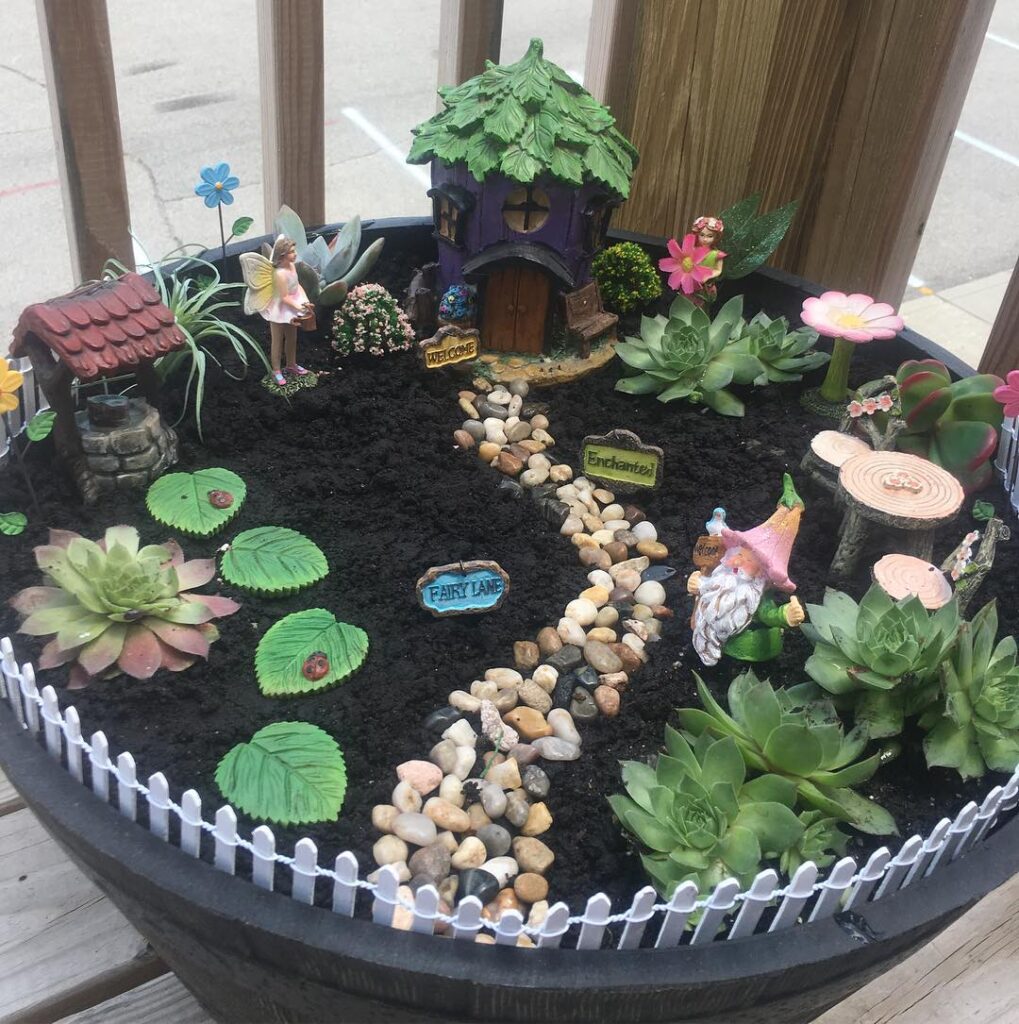
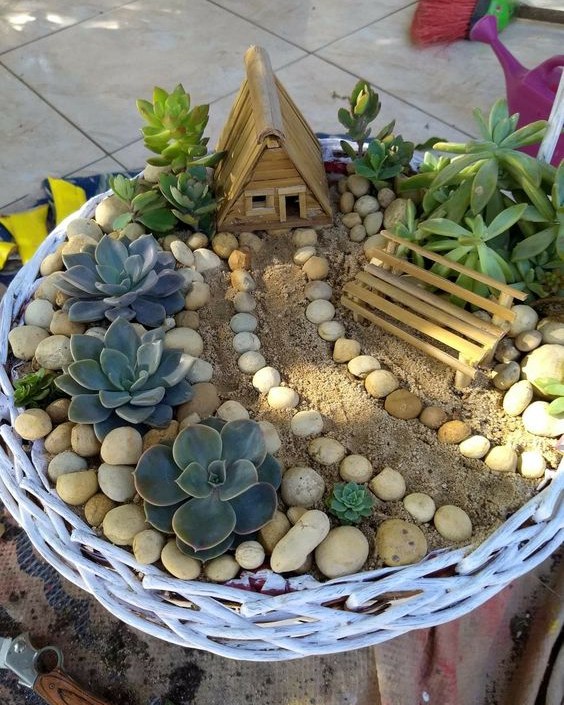
- Container Gardens: Scenes built inside pots, buckets, or boxes
- Tree Base Villages: Multi-structure setups circling a large tree
- Vertical Setups: Layered scenes using rocks or stairs for elevation
- Corner Gardens: Placed in corners of existing flower beds
- Standalone Displays: Freestanding trays, birdbaths, or lanterns
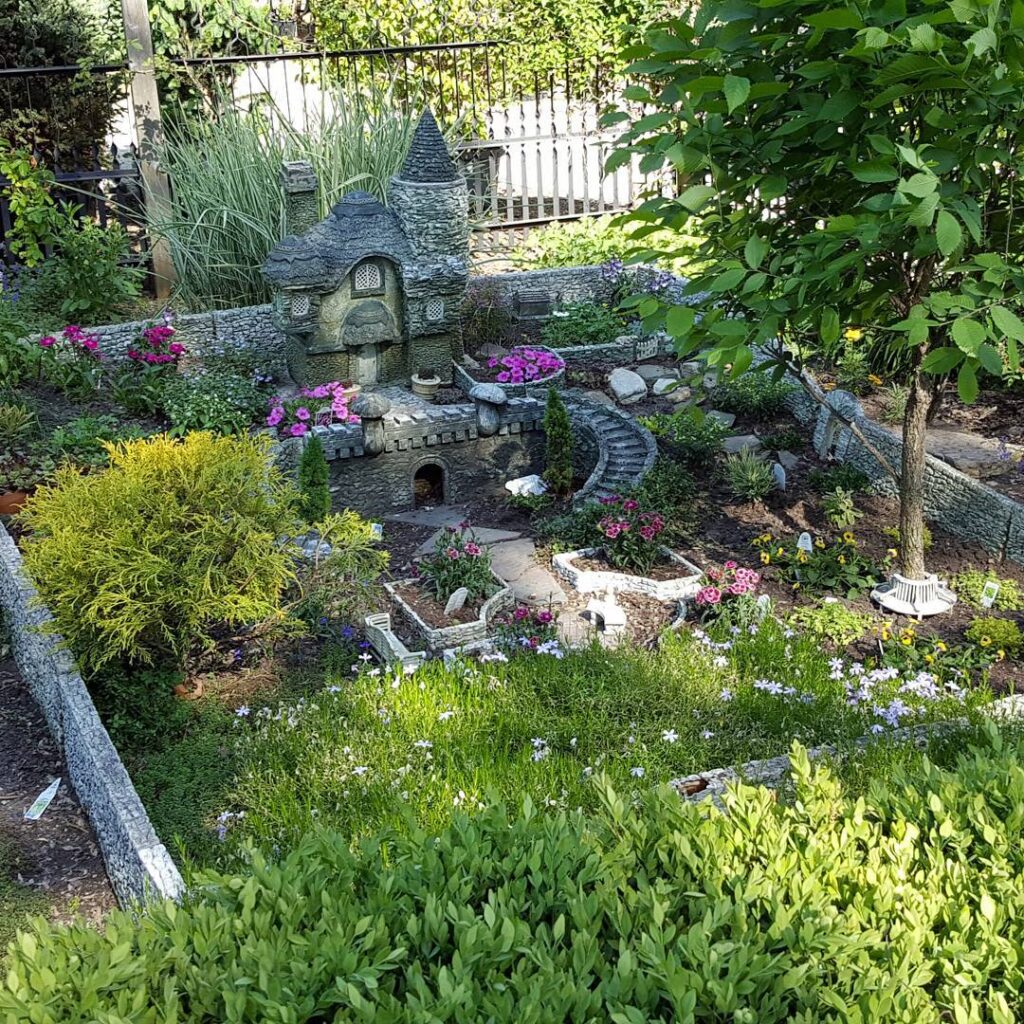
- Hidden Worlds: Tucked into wall crevices, log hollows, or stone clusters
Mention or tag these layout styles under each image to make browsing more intuitive.
Encourage Kids and Guests to Join In
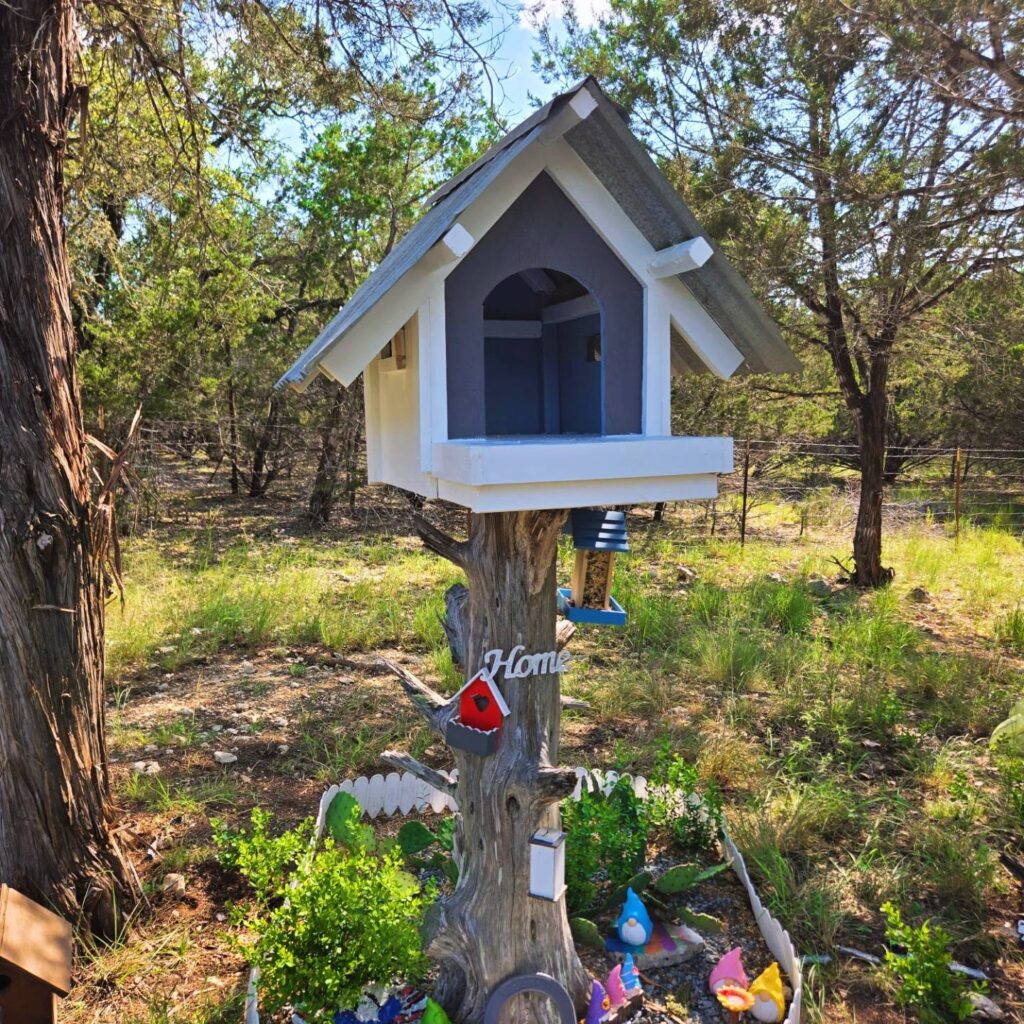
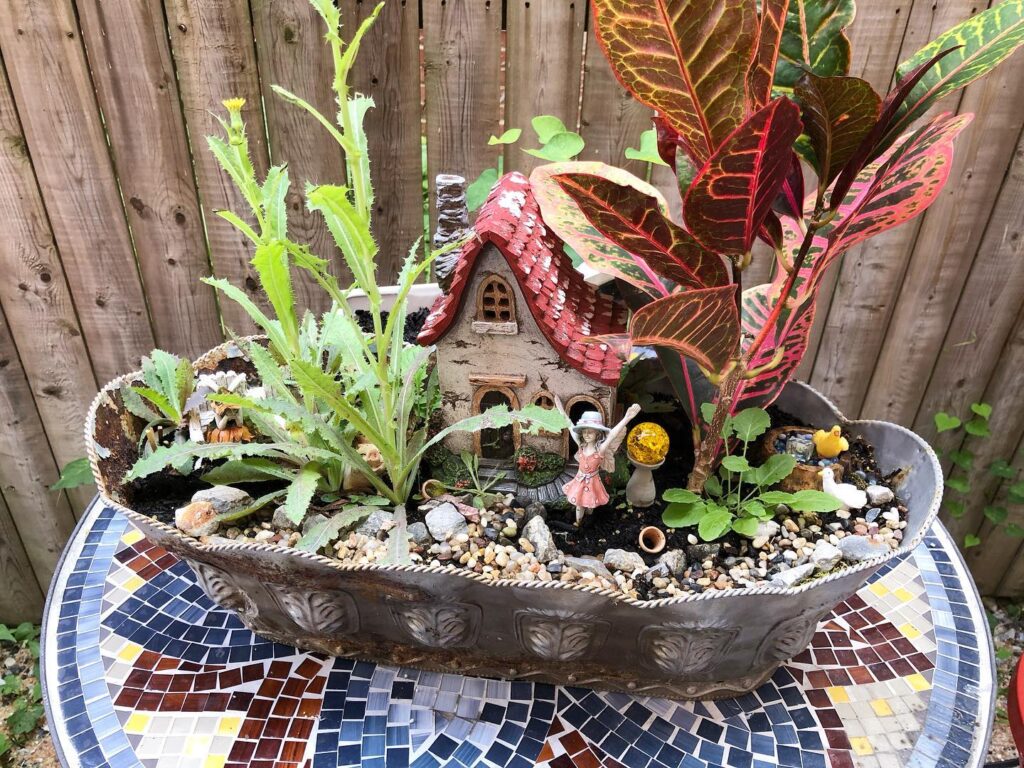
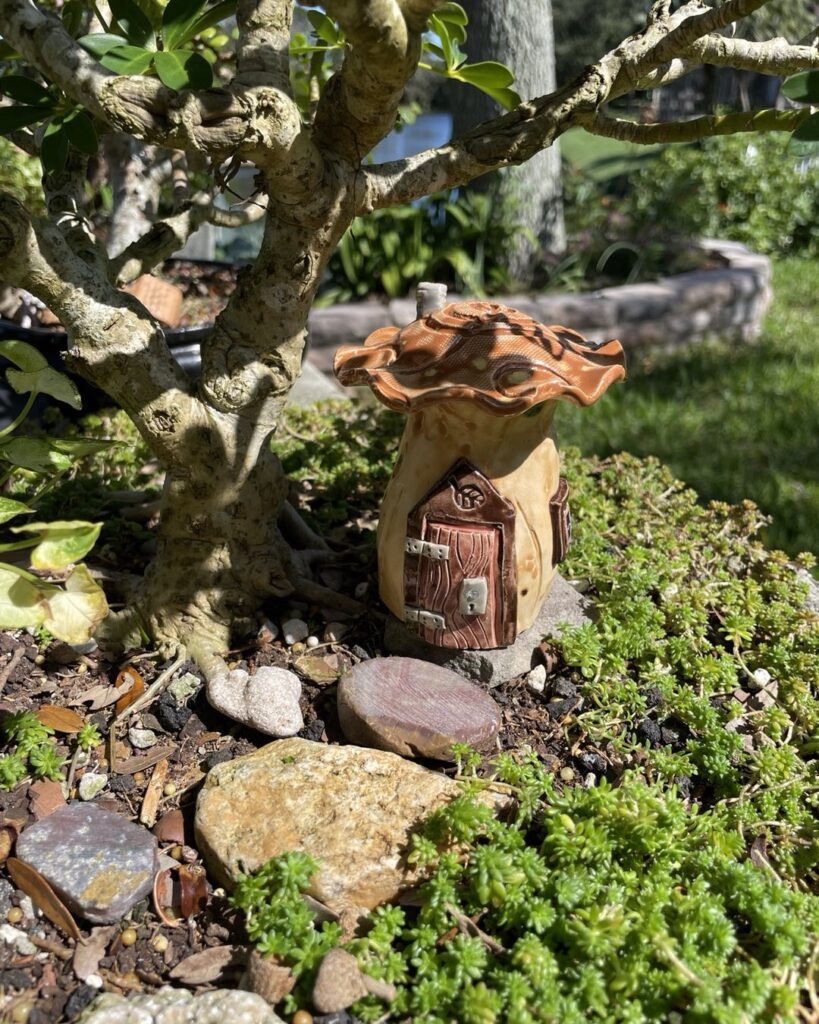
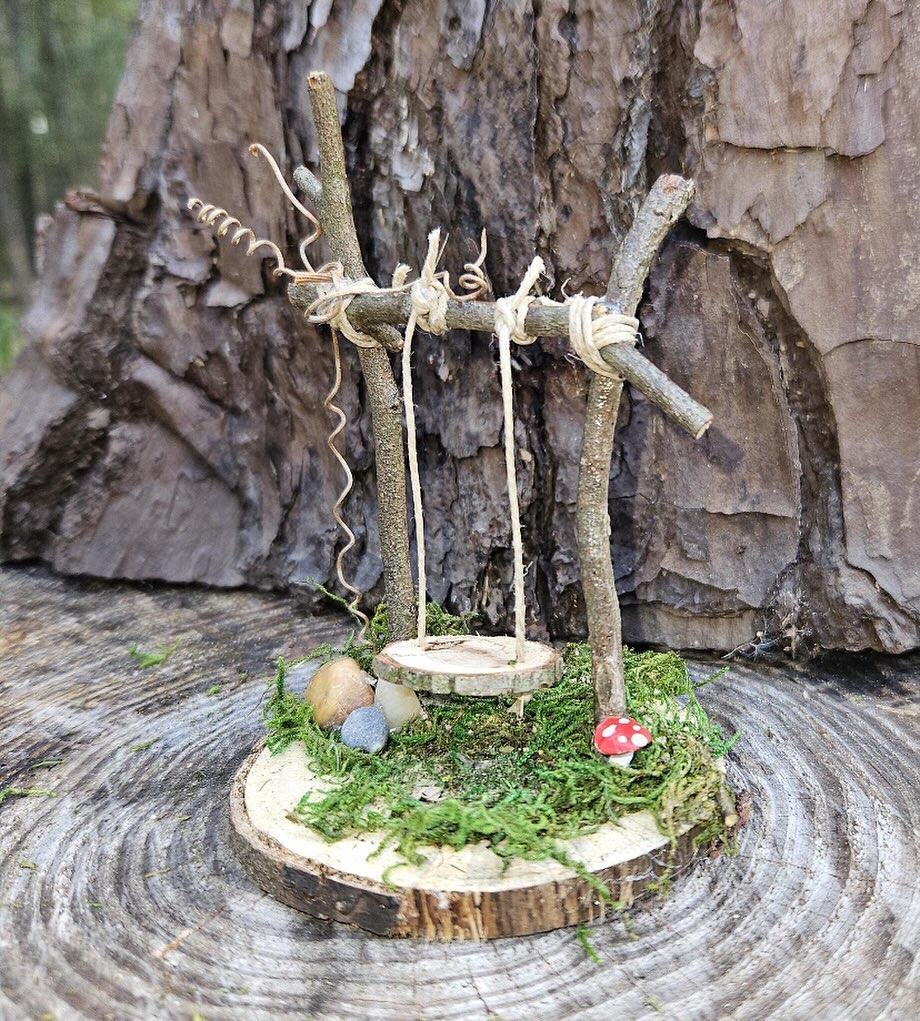
Fairy gardens are an open invitation to play, wonder, and imagine. Let kids add their own elements, like a painted rock or handmade fairy door. Ask guests to leave a note or gift for the fairies. Use glow-in-the-dark pebbles or solar lights to make it enchanting at night.
This isn’t just décor—it’s an experience.
Final Thoughts
A fairy garden doesn’t need to be complicated or expensive. With just a bit of curiosity and some tiny details, you can create an enchanting outdoor space that invites pause, imagination, and storytelling.
Products related to this article
Sponsored / affiliate links. As an Amazon Associate I earn from qualifying purchases. I may earn additional commission from eligible campaigns.
 94" L x 5.375" W Indoor/Outdoor Wood Shiplap Paneling – Decorative Wall & Ceiling Slat Panels | Barn Accent Boards, Primed & Painted, Easy DIY Installation (Set of 6)
![Furniture Wax - 100% Natural Sealant for Chalk Furniture Paint or Raw Wood, Light Protection, Easy To Apply, No Odor, Eco-Friendly - 7 Color Choices - Antiquing [Brown] (8 oz)](https://m.media-amazon.com/images/I/41ZNmSTmwhL._SL500_.jpg) Furniture Wax - 100% Natural Sealant for Chalk Furniture Paint or Raw Wood, Light Protection, Easy To Apply, No Odor, Eco-Friendly - 7 Color Choices - Antiquing [Brown] (8 oz)
Furniture Wax - 100% Natural Sealant for Chalk Furniture Paint or Raw Wood, Light Protection, Easy To Apply, No Odor, Eco-Friendly - 7 Color Choices - Antiquing [Brown] (8 oz)