Lid Not Fitting Roaster Problems / Not Working / Troubleshooting
A roaster lid that will not fit usually comes down to one of four issues: the size is wrong, the shape is wrong, the rim is dirty or damaged, or the roaster was designed to vent rather than seal tightly. A lid that rocks, binds, or changes fit when hot can let steam, fat, and drippings escape, so the first job is to diagnose whether you have a mismatch or a damage problem.
Diagnose
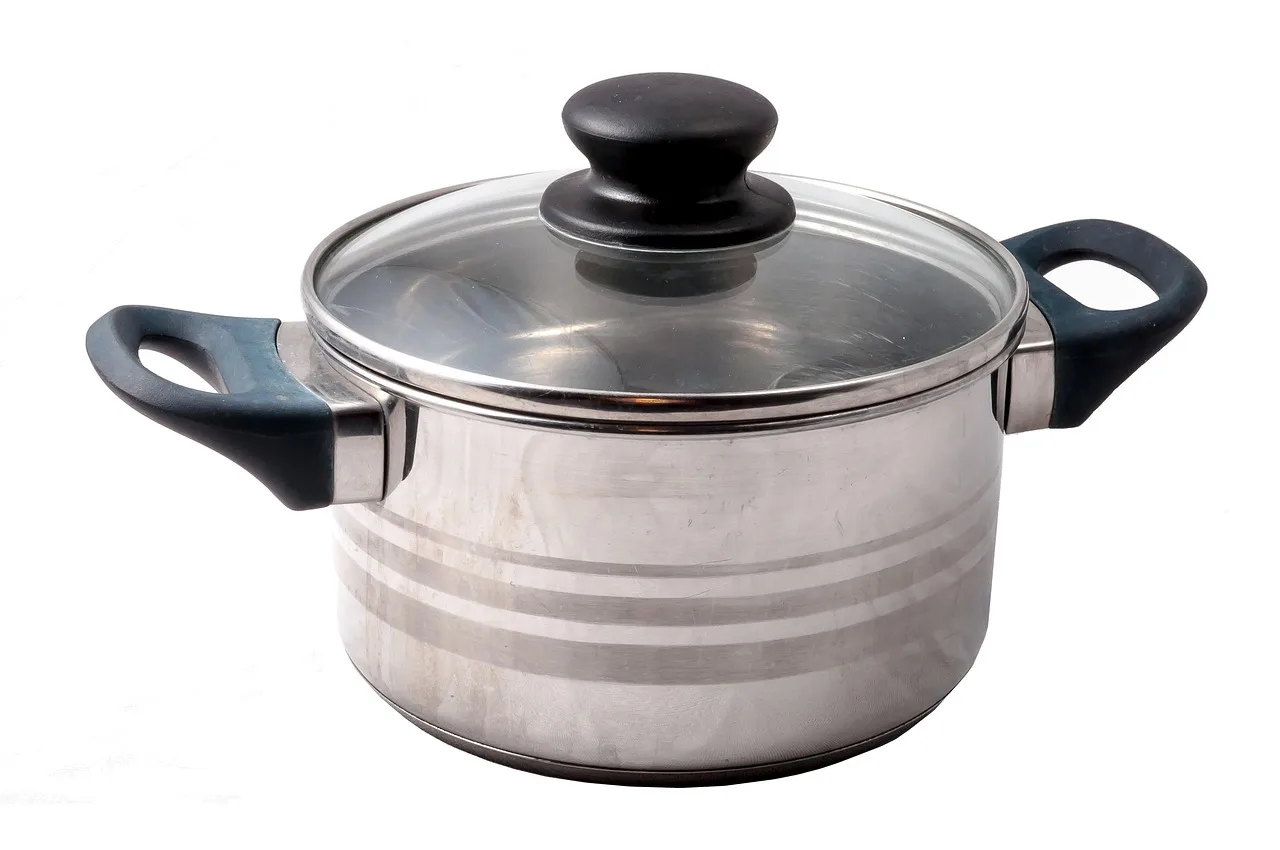
Why is my roaster lid not fitting properly?
The most common causes are the wrong size, residue on the rim, a warped lid or pan, or a design that intentionally leaves a vent gap. Many roaster ovens are built to vent steam rather than create an airtight seal, so a small gap can be normal. A lid that rocks, shifts, or needs force is not normal and should be checked against the model number and rim shape.
Is a vented roaster lid supposed to seal tightly?
Not always. Some roasters are designed to vent moisture and pressure, and that design can leave a visible opening even when the lid is correct. The key is stability: if the lid sits evenly, does not tip, and does not interfere with handles or locks, a small vent path may be expected. If the fit changes after cleaning or heating, suspect damage or misalignment instead.
How do hardware problems differ from rim warping?
Hardware interference usually means the lid is blocked by side handles, clamps, latches, or lock tabs. Rim warping means the pan or lid edge is no longer flat and will not sit evenly even after cleaning. Hardware problems often show up as one point of contact; warping usually shows up as rocking, uneven gaps, or a lid that changes contact when rotated.
Brand and model compatibility
Do not assume all roaster pans and lids are interchangeable. Inside rim dimensions, rim height, handle clearance, and latch location can change by brand and model. Older or discontinued roasters often need the exact model number for a correct replacement lid, and aftermarket parts may list limited compatibility.
Measure
Measure the inside length, width, and rim height of the roaster body, then compare those numbers with the lid’s inner span and lip shape. Use a tape measure for long spans and calipers for rim thickness or a narrow seat. Record both inches and centimeters so you can compare the figures to a replacement listing.
How do I know if my roaster lid is the wrong size?
Measure the roaster body and lid contact area in inches and centimeters, then compare those figures with the manufacturer’s model number or a replacement listing. If the lid rocks, overhangs, or needs pressure to close, the size or lip shape is likely off. Even a small difference can matter when the contact edge is shallow.
Measure the roaster body
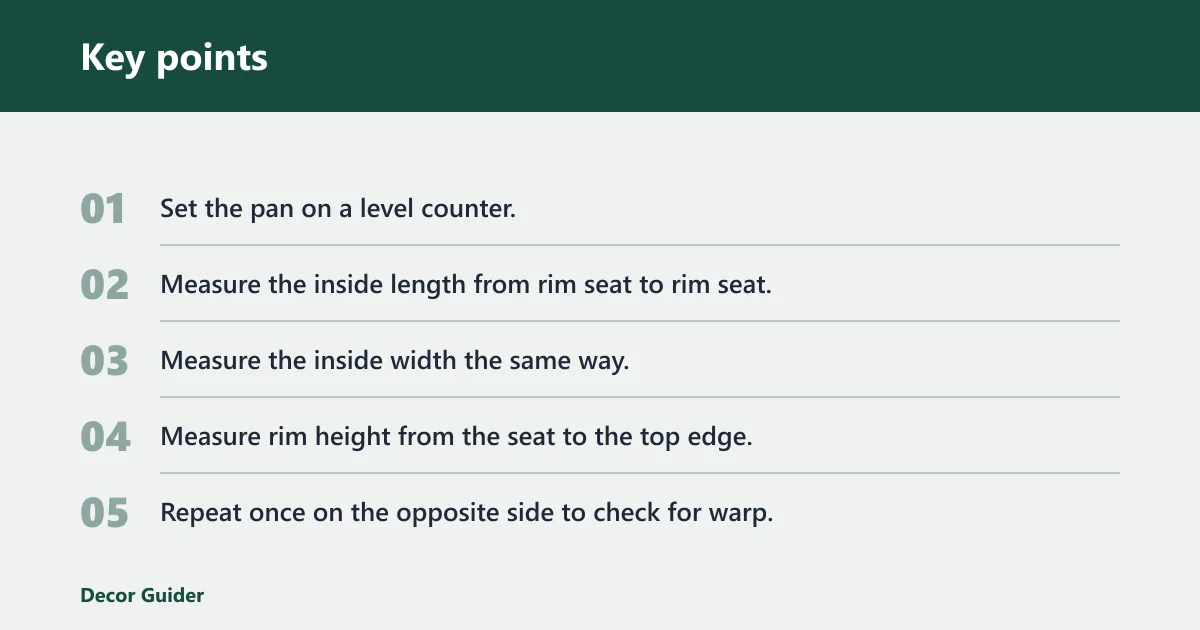
- Set the pan on a level counter.
- Measure the inside length from rim seat to rim seat.
- Measure the inside width the same way.
- Measure rim height from the seat to the top edge.
- Repeat once on the opposite side to check for warp.
Measure the lid
- Measure the lid’s inner span where it meets the pan.
- Check whether the lid is domed or flat.
- Measure handle clearance so it does not hit the pan body or food.
- Look at the lip edge for dents, bends, or flattened spots.
- Compare the numbers with the model listing before ordering a part.
Suppose a lid measures 14.0 inches across the contact area, but the pan’s inside rim is 14.25 inches. That 0.25-inch difference can be enough to create a loose seat, especially on a flat lid with shallow lip contact.
Test Cold vs Hot
Why does my roaster lid only fail when hot?
Metal expands when heated, so a part that fits cold can open a gap, bind on a handle, or rock once the roaster warms up. That can happen with a bent rim, a lid that is already close to the limit, or hardware that shifts under heat. If fit changes only when hot, treat it as a warning sign rather than normal drift. Basic thermal expansion is a known behavior of cookware materials and is one reason manufacturers specify model-matched parts and fit limits.
Can I use a roaster with a lid that doesn’t seal?
Yes, if the roaster is designed to vent steam and the lid still sits stable and safe. Do not use it if the lid shifts, rocks, or could fall during transport. For oven use, stable fit matters more than an airtight seal. Food-contact cookware should also be kept clean and undamaged so residue or corrosion does not create an unsafe contact surface. (FDA food-contact guidance; USDA FSIS handling guidance.)
Test cold fit, then warm fit
- Fit the lid when both parts are cold.
- Warm the empty pan for about 10 to 15 minutes at a normal roasting temperature.
- Shut the oven and recheck the lid without forcing it.
- Note any new rocking or opening caused by heat expansion.
- If the gap appears only when hot, stop using the part until you confirm the damage is minor.
Fixes
Yes, if the issue is residue, alignment, or a minor obstruction. If the metal is bent or the rim is warped, do not force the lid into place. A lid that needs pressure to close can spring back open, leak steam, or shift during transport. Manufacturer care instructions generally direct users to clean contact surfaces, avoid forcing warped parts, and replace damaged components rather than bend them back into service.
Clean and retest first
- Wash the rim, lid lip, and contact points with mild cleaner.
- Use a non-scratch pad for baked-on grease.
- Dry all surfaces fully.
- Seat the lid again and check for even contact.
- If the fit improves by less than about 1/16 inch, clean once more and retest.
Check alignment points and hardware
- Look for side handles that block the lid edge.
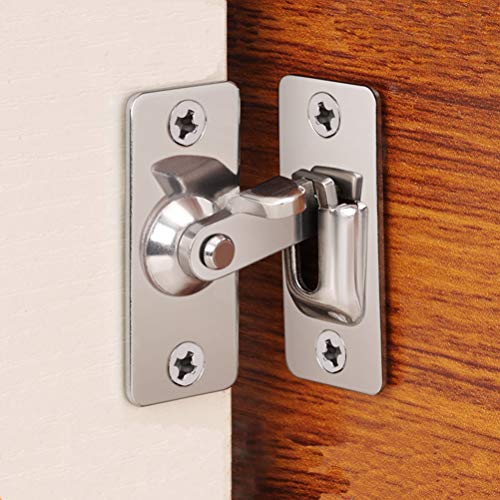
- Check clamps, latches, or lock tabs for free movement.
- Confirm the lid is centered before closing.
- Open and close the hardware without forcing it.
- Use the roaster only if the lid sits evenly and the lock is secure.
How do damaged gaskets or seals change expectations?
If a roaster has a gasket or seal, a damaged one can stop the lid from sitting as designed and can create gaps that were not there before. On vented designs, a worn gasket may change how steam moves without making the roaster unusable, but it still changes fit expectations. Replace or repair the seal only with the correct part number; do not assume extra compression will solve a warped-rim problem.
Replacement Decisions
Replacement is worth it when cleaning and alignment do not restore even contact, when the part number no longer matches the roaster body, or when fit changes with heat. Manufacturer lids are the safest option because they are built for the model number, but aftermarket lids can work if the listing names the exact pan size, rim shape, and handle layout. Manufacturer care guidance generally treats deformed or damaged cookware parts as replace-not-repair items when fit or safety is affected. (Manufacturer care and replacement guidance; FDA food-contact guidance.)
Roaster lid fit matrix
| Symptom | Likely cause | Quick test | Fix | Replace decision |
|---|---|---|---|---|
| Lid rocks on one corner | Warped lid or warped pan rim | Set the empty lid on a flat countertop and press each corner | Clean and retest; if rocking remains, stop using for transport | Lid, pan, or both |
| Lid fits empty but not loaded | Food height, handle interference, or body flex | Load the pan with the planned roast and close it before preheating | Lower the load level or use the correct deep lid | Usually neither |
| Lid only fails when hot | Heat expansion in the metal or a bent rim that opens under temperature | Check fit cold, then after the pan warms for 10 to 15 minutes | Use only if contact stays even; otherwise retire the damaged part | Lid or pan |
| Lid gaps after cleaning | Baked-on grease or residue on the rim or lip | Wipe the full seat with a cloth, then inspect for dull buildup | Clean rim and lip again before retesting | Usually neither |
| Lid will not latch or clamp | Misaligned handles, clamps, or locks | Close the lid with the empty pan on a level surface | Realign the lid and confirm the hardware moves freely | Hardware, lid, or pan |
| Lid sits high on one side after a recent wash | Residue under the lip, a twisted latch arm, or a rim bend that shows up under load | Remove the lid, inspect the full rim, then rotate the lid 180 degrees and retest | Clean again, then compare both orientations to isolate the bad side | Lid, pan, or neither |
| Lid closes empty but opens once food is added | Handle interference, overfill, or shallow clearance under the dome | Repeat the fit test with the planned roast height and any rack insert in place | Reduce fill height or use the correct deeper lid | Usually neither |
Manufacturer lid versus aftermarket lid
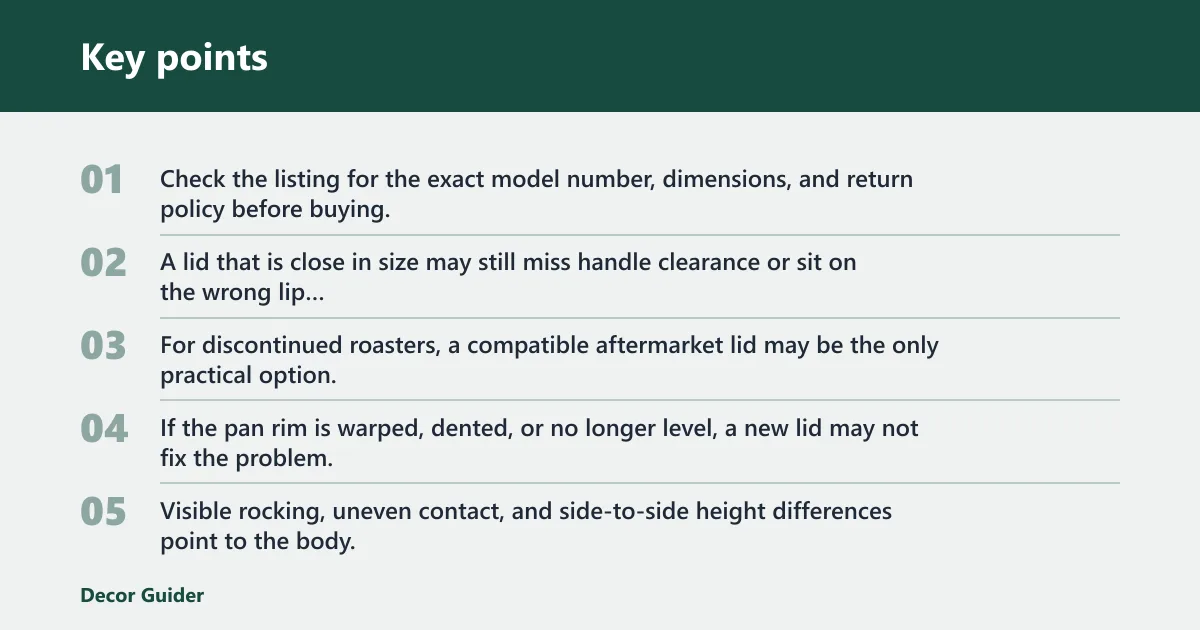
Check the listing for the exact model number, dimensions, and return policy before buying. A lid that is close in size may still miss handle clearance or sit on the wrong lip profile. For discontinued roasters, a compatible aftermarket lid may be the only practical option, but the fit should be verified as soon as it arrives.
When damage means replacing the pan too
If the pan rim is warped, dented, or no longer level, a new lid may not fix the problem. Visible rocking, uneven contact, and side-to-side height differences point to the body, not just the lid. If both parts are damaged, replacing only one usually leaves the same fit problem in place.
Common mistakes
Do not treat a vented roaster like a sealed container. Many designs leave a steam path on purpose. Do not skip measurements, because a roaster that is “close enough” on paper can still miss by enough to rock or leak. A bent rim that seems minor on the counter can become a more obvious fit problem once the metal heats and expands.
- Forcing a bent lid into place.
- Ignoring residue on the rim or lip.
- Assuming two brands share the same fit.
- Overlooking handle or latch interference.
- Using a warped pan after it starts rocking.
A common first-timer mistake is assuming a round lid will fit any roaster of the same size, even when the rim shape and handle clearance are different. A 16-inch lid can still fail if the pan’s rim height, lip angle, or handle placement does not match the original design.
FAQ
Is a small gap always a problem?
No. Many roasters are designed to vent steam, so a small gap can be part of normal operation rather than a defect. The important question is whether the lid sits stably and consistently. If the gap is even, predictable, and does not change with cleaning or heat, the roaster may still be working as intended.
Why does my roaster lid not sit flush anymore?
Loss of flush contact usually comes from warped metal, a bent lip, or buildup on the seat. Check the lid on a flat counter, then clean the full rim and retry. If the lid still rocks, the part is no longer fitting as intended.
Is it safe to cook if the roaster lid is bent or warped?
Only if the bend is minor and the lid still sits evenly without force. A warped lid can leak steam, tip during handling, or scrape against the pan. If you see rocking or uneven contact, stop using it until you replace the damaged part. Heat-related distortion is a common reason cookware should be retired when fit becomes unstable.
Should I replace the lid or the whole roaster?
Replace only the lid if the pan rim is straight, the model number matches, and the lid is the only damaged part. Replace the whole roaster if the rim is warped, the body is dented, or the replacement lid still will not seat after cleaning and alignment checks.
What if the latch or clamp looks fine but the lid still will not close?
That usually points to a fit mismatch, a bent edge, or a pan rim that is no longer true. If the hardware moves normally but the lid still binds, compare the model number and dimensions again. Hardware failure is a moving-parts problem; rim warping is a geometry problem.
Sources
- U.S. Food and Drug Administration, food-contact surface and cookware safety guidance.
- U.S. Department of Agriculture, Food Safety and Inspection Service, safe handling and cooking guidance for roasts and other foods.
- Manufacturer care and use instructions for roaster ovens and cookware, including replacement-part guidance.
- Consumer cookware guidance on warping, heat expansion, and damaged-item replacement.
Products related to this article
Sponsored / affiliate links. As an Amazon Associate I earn from qualifying purchases. I may earn additional commission from eligible campaigns.