How To Cook A Turkey In A Roasting Pan
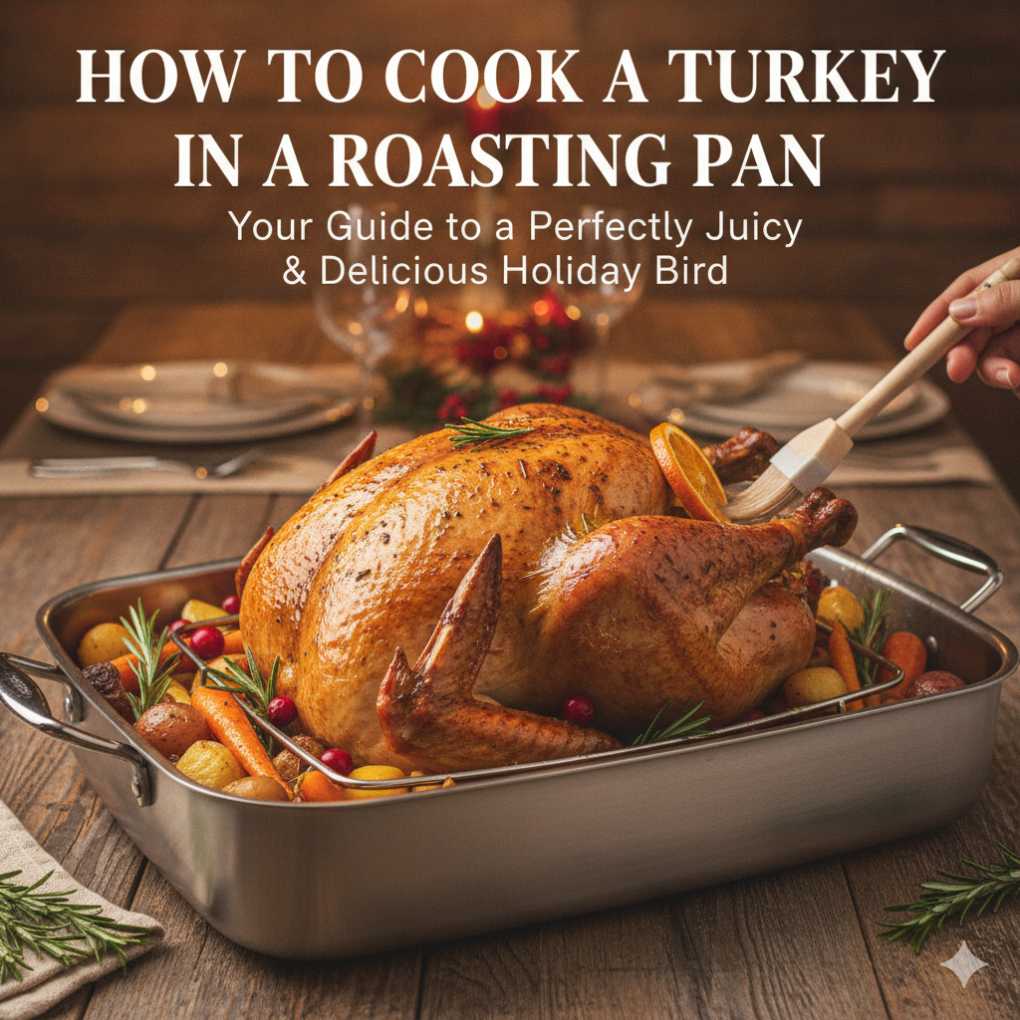
Cooking a turkey in a roasting pan involves preparing the bird, placing it in the pan, and roasting at a specific temperature. Key steps include brining or seasoning, ensuring proper pan setup, and monitoring the internal temperature for doneness to achieve a moist and flavorful outcome.

Glad
Glad Roasting Pan Nonstick 11x15 - Heavy…
- VERSATILE ROASTING PAN – A cookware essential. This big 15 inch roaster is ideal for cooking turkey, chicken or beef, along with o…
- PREMIUM NONSTICK BAKEWARE – Durable nonstick coating makes kitchen cleanup a breeze – and it’s even dishwasher safe!
- LARGE METAL RACK FOR EVEN BAKING – V-shaped iron rack offers increased airflow for consistently delicious results.
As an Amazon Associate I earn from qualifying purchases.

Understanding Your Roasting Pan
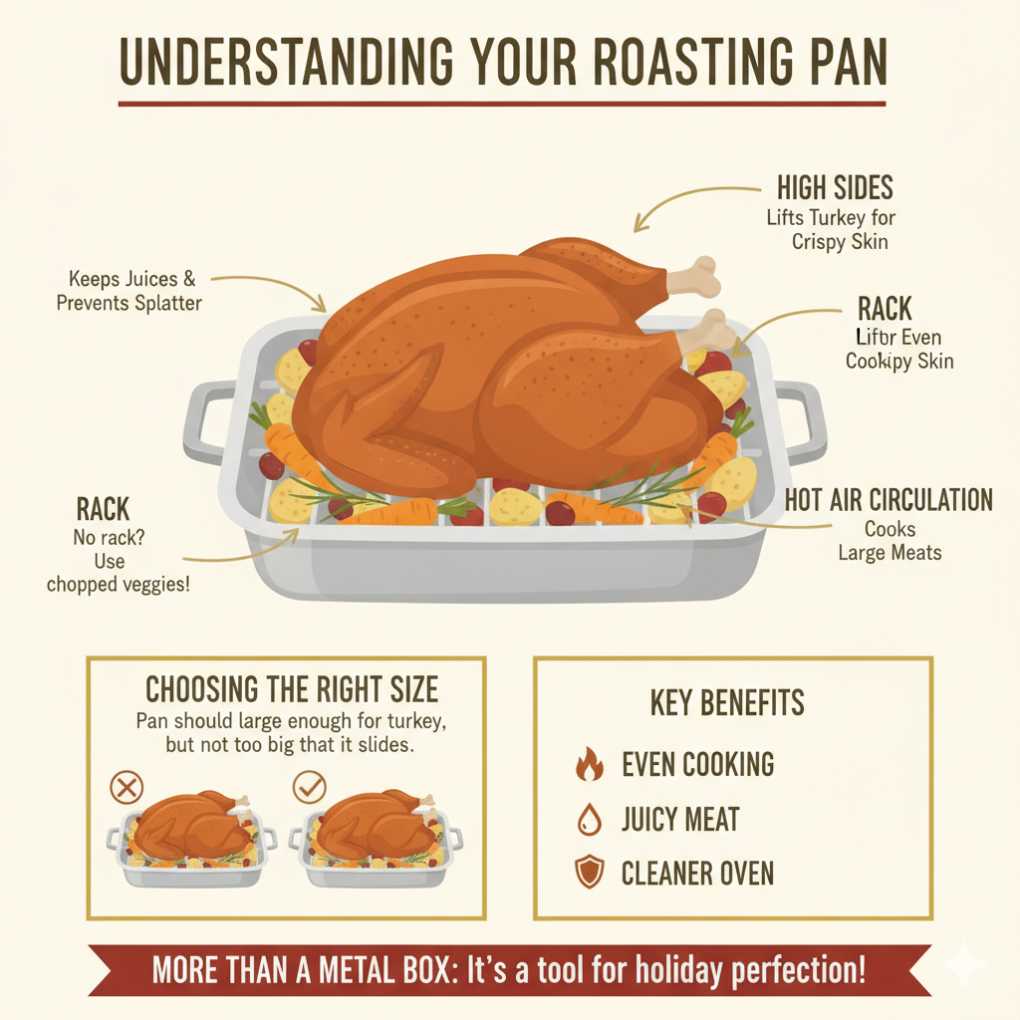
A roasting pan is more than just a metal box. It’s a tool designed to help you cook large meats evenly. Most good roasting pans have high sides.
These sides keep juices inside the pan. This prevents smoke and splatters in your oven. Many also come with a rack.
This rack lifts the turkey. It allows hot air to circulate all around the bird. This helps cook it more evenly.
It also lets the skin crisp up nicely.
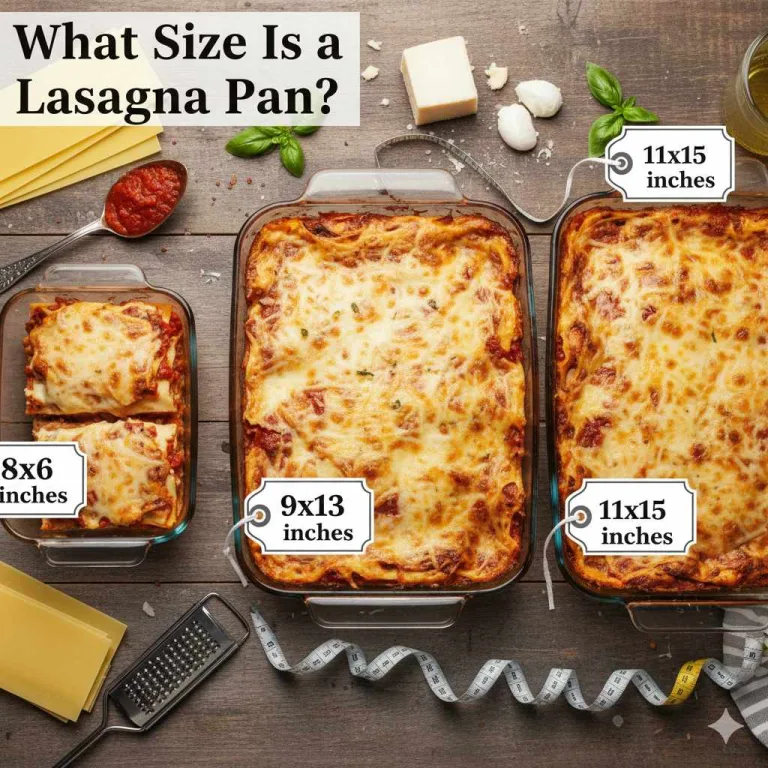
Choosing the right size is important too. The pan should be big enough for your turkey. But it shouldn’t be so large that the turkey slides around too much.
You want the turkey to feel secure. If your pan doesn’t have a rack, you can often buy one separately. Or you can improvise with larger vegetables like carrots and onions.
These can lift the bird off the bottom of the pan.
Prepping Your Turkey
Before your turkey even sees the roasting pan, some prep work is key. First, make sure your turkey is fully thawed. This is super important for even cooking.
A partially frozen turkey will cook unevenly. It might even be unsafe to eat in parts. Thawing in the refrigerator is the safest way.
It takes about 24 hours for every 4-5 pounds of turkey. Don’t forget to remove the giblets and neck from the cavity. These are often tucked inside.
Now, let’s talk flavor. You have a few options. You can brine your turkey.
Brining means soaking the turkey in a saltwater solution. This helps it stay moist and flavorful. You can also dry brine it.
This involves rubbing salt all over the turkey. You do this a day or two before cooking. Or, you can simply season it well.
Use salt, pepper, herbs, and butter or oil. Rub it under the skin and all over the outside. This adds great flavor and helps the skin crisp up.
Getting the Roasting Pan Ready
Once your turkey is prepped, it’s time to get the pan ready. If you’re using a rack, place it in the roasting pan. This is where your turkey will rest.
If you don’t have a rack, you can create a bed of aromatics. Think chopped onions, carrots, celery, and herbs like rosemary and thyme. These veggies will lift the turkey.
They also add wonderful flavor to the drippings. These drippings make amazing gravy later.
Some people like to add liquid to the bottom of the pan. This can be water, broth, or wine. Adding liquid can help keep the oven moist.
It also prevents the drippings from burning too quickly. However, too much liquid can steam the turkey. This might make the skin less crispy.
A little bit, maybe an inch, is usually enough. Or, you can skip the liquid and just rely on the turkey’s own juices.
Placing the Turkey in the Pan
This step is easier than it sounds. Gently lift your prepared turkey. You might need help; turkeys can be heavy!
Place it breast-side up on the rack or the bed of aromatics in the roasting pan. Make sure it’s centered. You want it to be stable.
If the legs seem to be sticking out too far, you can tie them together with kitchen twine. This is called trussing. It makes the turkey look neater.
It also helps it cook more evenly.
Some cooks like to tuck the wings under the body. This prevents them from burning. You can do this by gently pushing them back.
They should rest against the turkey’s sides. This whole process is about making sure the turkey is positioned for the best cooking results. A well-placed turkey is more likely to cook evenly and look beautiful when it’s done.
The Roasting Process
Now it’s time for the oven. Preheat your oven to the correct temperature. Most recipes call for around 325°F (160°C).
Some people start at a higher temperature, like 400°F (200°C), for the first 30 minutes. This helps crisp the skin. Then they lower it.
Always follow the specific cooking time guidelines for your turkey’s weight. A general rule is about 13-15 minutes per pound at 325°F.
During cooking, you’ll want to baste the turkey. Basting means spooning the pan juices over the turkey every 30-45 minutes. This helps keep the skin moist.
It also adds flavor. Some people use butter or oil mixed with herbs for basting. If the skin starts to get too brown before the turkey is cooked, you can loosely tent it with foil.
This protects the skin from burning. Keep an eye on it. Cooking times can vary.
Turkey Roasting Temperature Guide
Target Oven Temp: 325°F (160°C)
Initial High Heat (Optional): 400°F (200°C) for 30 mins
Basting Frequency: Every 30-45 minutes
Foil Tent: If skin browns too fast
Checking for Doneness
This is the most crucial part. You can’t guess if a turkey is done. You need to check its internal temperature.
Use a meat thermometer. Insert it into the thickest part of the thigh. Make sure it doesn’t touch the bone.
The thigh should register 170-175°F (77-79°C). The breast should reach 165°F (74°C).
If the juices run clear when you pierce the thigh with a fork or knife, that’s another good sign. But the thermometer is the most reliable. Don’t rely solely on visual cues.
If you’re roasting a stuffed turkey, the stuffing must also reach 165°F (74°C). This is for food safety. A properly cooked turkey will be safe and delicious.
Resting Your Turkey
Once your turkey reaches the right temperature, take it out of the oven. This is where patience comes in. You must let the turkey rest.
Remove it from the roasting pan and place it on a cutting board. Tent it loosely with foil. Let it rest for at least 20-30 minutes.
For larger turkeys, resting for up to 45 minutes is even better. This allows the juices to redistribute throughout the meat. If you cut it too soon, all those delicious juices will run out onto the board.
Your turkey will be dry.
While the turkey rests, you can make gravy. Use the pan drippings. Skim off most of the fat.
Then make a roux with butter and flour. Whisk in the pan drippings and broth. Season to taste.
A good resting period makes all the difference. It ensures that every slice of turkey is moist and flavorful. It’s a simple step that yields fantastic results.
Turkey Resting Tips
- Rest Time: Minimum 20-30 minutes.
- Tent with Foil: Loosely cover to keep warm.
- Juice Redistribution: Allows moisture to settle back into the meat.
- Gravy Prep: Use this time to make pan gravy.
Common Roasting Pan Mistakes
It’s easy to make little mistakes. One common one is using a pan that’s too small. This can cause juices to spill over.
It can also lead to uneven cooking. Another mistake is not using a rack or a bed of aromatics. This can result in a soggy bottom.
The bottom skin won’t get crispy.
Overcrowding the pan is also an issue. If you’re roasting other vegetables alongside the turkey, make sure they aren’t packed too tightly. They need space for air to circulate.
This helps them roast properly. Not basting enough is another common miss. This can lead to dry spots on the turkey.
Remember, basting adds moisture and flavor.
| Mistake | Why it Happens | The Fix |
|---|---|---|
| Pan Too Small | Juices spill, uneven cooking | Use a larger pan |
| No Rack/Aromatics | Soggy bottom, less crispy skin | Use a rack or veggies |
| Overcrowding Pan | Poor air circulation, steaming | Leave space for veggies |
| Not Basting | Dry spots on turkey | Baste every 30-45 mins |
Tips for Crispy Skin
Everyone loves crispy turkey skin! To achieve this, dry the turkey very well before seasoning. Pat it completely dry with paper towels.
This removes surface moisture. Moisture steams the skin, preventing crisping. Some people even leave the turkey uncovered in the refrigerator overnight.
This dries out the skin even more.
Using butter or oil on the skin is also key. Rub softened butter or olive oil all over the turkey. You can even mix herbs into the butter.
This helps the skin brown and crisp up. Starting the roast at a higher temperature for the first 30 minutes can also help. Just remember to lower the heat later.
And, of course, don’t cover the turkey with foil until absolutely necessary. Airflow is your friend for crispy skin.
Ensuring Juicy Meat
Juicy meat comes from a few main things. Proper thawing is number one. Then, brining or salting helps.
It makes the meat retain moisture during cooking. Don’t overcook the turkey. This is the biggest enemy of juicy meat.
Use a meat thermometer! Check those temperatures in the thigh and breast. Aim for the lower end of the safe range (165°F in the breast).
The turkey will continue to cook slightly as it rests.
Basting helps too. It keeps the surface moist, which indirectly helps the inside. And as we discussed, resting is vital.
It lets the juices settle. If you cut into a turkey that’s still piping hot, the juices will escape. Resting ensures they stay within the meat fibers.
This means a much juicier bite. Consider butter under the skin too. It adds fat that melts and bastes the meat from within.
Juicy Turkey Checklist
Thaw Completely: Essential for even cooking.
Brine/Salt: Adds moisture and flavor retention.
Don’t Overcook: Use a meat thermometer!
Baste Regularly: Adds surface moisture.
Rest Properly: Allows juices to redistribute.
Butter Under Skin: Adds internal moisture and flavor.
What If My Turkey Is Too Big for the Pan?
This is a common problem, especially with larger birds. If your turkey is just a bit too big, you might be able to make it work. You can try trimming off any excess skin.
You can also fold the legs inward more tightly. Sometimes, the neck area might stick out a bit. You can try to tuck that as well.
If it’s significantly too big, you might need a larger roasting pan. Look for extra-large roasting pans. They are designed for bigger turkeys.
You can also consider roasting the turkey on a baking sheet with a rack. This works well if your pan is just slightly too small. You can also butterfly the turkey.
This means cutting it along the backbone. You then open it up like a book. This flattens it.
It allows it to fit in smaller pans and cooks faster.
Can I Roast Vegetables with the Turkey?
Absolutely! Roasting vegetables with your turkey is a fantastic idea. It saves you time and adds amazing flavor to both the turkey drippings and the vegetables.
Place sturdy vegetables like potatoes, carrots, onions, and sweet potatoes in the bottom of the roasting pan. You can toss them with a little oil, salt, and pepper first. Make sure they are not completely submerged in any liquid.
These vegetables will cook in the turkey drippings. This makes them incredibly flavorful. They also help lift the turkey.
Ensure they have enough space to roast. If they are too crowded, they will steam instead of roast. You might need to stir them halfway through the cooking time.
This ensures they cook evenly and get nicely browned. This is a great way to get a full meal cooked at once.
Troubleshooting Common Issues
One issue is a turkey that’s browning too quickly. If the skin is getting too dark before the meat is cooked, loosely tent the turkey with aluminum foil. This shields the browning areas.
Don’t seal it too tightly. You still want some air circulation.
Another problem is uneven cooking. This often happens if the turkey is not positioned correctly. Or if it’s not thawed evenly.
Ensure the thickest parts of the meat are reaching the correct temperature. You might need to adjust the position of the thermometer. Sometimes, rotating the pan halfway through can help.
This ensures more even heat exposure.
Troubleshooting Quick Guide
Problem: Browning too fast
Solution: Tent loosely with foil.
Problem: Uneven cooking
Solution: Check thermometer placement, rotate pan.
Problem: Dry breast meat
Solution: Baste more, cover breast with foil if needed.
Problem: Undercooked thigh
Solution: Continue roasting, check temperature carefully.
Why a Roasting Pan is Still Best
Even with other cooking methods available, the traditional roasting pan remains a top choice for many. It’s designed for the task. The high sides contain the mess.
The rack promotes even cooking and crisping. It’s versatile for different turkey sizes and can handle added vegetables.
It’s a reliable tool that has been used for generations. Its simplicity is its strength. You don’t need fancy gadgets.
Just a good pan, a turkey, and your oven. Plus, the drippings collected in the pan are pure gold for gravy. This classic method still delivers fantastic results.
It’s a trusted way to get a beautiful, delicious holiday bird.
When to Worry About Your Turkey
Generally, most turkey issues are fixable. However, there are a couple of points to watch for. If after a very long cooking time, the turkey’s temperature is still too low in the thickest parts, something might be wrong.
This could mean the oven isn’t heating correctly. Or the turkey might be too large for your oven’s capacity.
Food safety is paramount. Always ensure the breast reaches 165°F (74°C) and the thigh reaches 170-175°F (77-79°C). If you use a thermometer and it shows temperatures significantly below these, even after extended cooking, it’s wise to err on the side of caution.
You don’t want to serve undercooked poultry. In rare cases, an oven thermometer can confirm your oven’s accuracy.
The Best Part: Carving and Serving
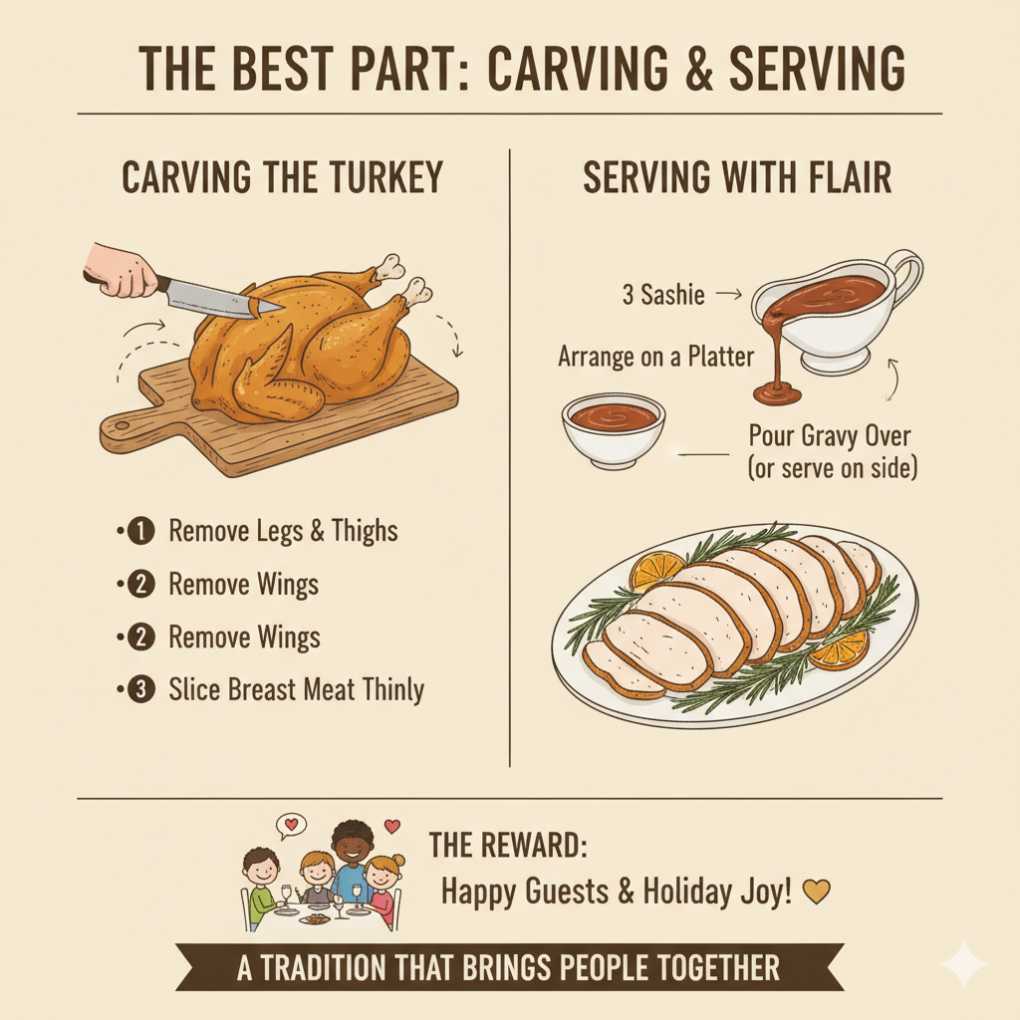
After all the effort, carving is the final step. Use a sharp carving knife. Start by removing the legs and thighs.
Then, remove the wings. Next, carve the breast meat. Slice it thinly.
Arrange it on a platter. Don’t forget that delicious gravy! Pour some over the carved meat, or serve it on the side.
Seeing your guests enjoy the turkey is the best reward. A perfectly cooked turkey in a roasting pan is a sight to behold. It’s a tradition that brings people together.
The smell filling the house is unmatched. And the taste? Pure holiday joy.
Take pride in your cooking. You’ve earned it!
Frequently Asked Questions
What kind of roasting pan is best?
A sturdy stainless steel or cast iron roasting pan is excellent. Look for one with high sides and a rack. Size matters; ensure it fits your turkey comfortably.
Do I need to add liquid to the roasting pan?
It’s optional. A small amount of liquid (about an inch of water or broth) can help keep the oven moist and prevent drippings from burning. Too much liquid can steam the skin, making it less crispy.
How long does a turkey typically take to cook?
This depends on the turkey’s weight. A general guideline at 325°F (160°C) is about 13-15 minutes per pound. Always use a meat thermometer to check for doneness rather than relying on time alone.
Can I cook stuffing inside the turkey?
Yes, you can. However, ensure the stuffing reaches an internal temperature of 165°F (74°C) for food safety. Many cooks find that cooking stuffing separately results in a crispier texture and easier temperature monitoring.
What should I do if my turkey’s skin is burning?
If the skin is browning too quickly, loosely tent the turkey with aluminum foil. This protects the skin from direct heat. You can also reduce the oven temperature slightly.
How do I get my turkey skin extra crispy?
Dry the turkey very well before cooking. Pat it thoroughly with paper towels. Rubbing softened butter or oil all over the skin helps too.
Consider starting the roast at a higher temperature for the first 30 minutes.
Is it okay to leave the turkey in the pan after it’s done?
No, it’s best to remove the turkey from the roasting pan to rest on a cutting board. This allows the juices to redistribute. Leaving it in the hot pan can continue cooking the bottom and make it less tender.
Final Thoughts
Cooking a turkey in a roasting pan is a rewarding experience. It doesn’t have to be daunting. By following these steps, you can achieve a beautifully cooked, flavorful, and moist turkey.
Remember to prep well, monitor the temperature, and let it rest. Your efforts will shine through on the dinner table.
Related pick: Check today's price on Amazon
Products related to this article
Sponsored / affiliate links. As an Amazon Associate I earn from qualifying purchases. I may earn additional commission from eligible campaigns.