How to Tell Which Side Is Left and Right on Drawer Slides
From the drawer-facing side, the left slide goes on the left wall and the right slide goes on the right wall; the moving member faces inward and the release lever usually points toward the front. Install them backward, and the drawer can refuse to lock in, bind on the rails, or sit crooked. Manufacturer manuals from Accuride, Blum, Hettich, and Liberty/Richelieu all stress checking left/right, front/back, and lever orientation before fastening hardware, especially when slides are unlabeled or mirrored.
This guide is part of our Dresser and Drawer Repair: Fixing Sticking Drawers, Slides, Smells and Finishes series.
Left and right basics
Name the slide from the drawer-facing side, not from the cabinet opening. That viewpoint keeps the left-hand slide tied to the drawer’s left side and the right-hand slide tied to the drawer’s right side, which is the fastest way to avoid swapped hardware. On side-mount slides, the cabinet member stays on the cabinet wall and the drawer member moves with the drawer; on many undermount systems, the pair is mirrored and hidden under the box rather than mounted on the sides. See Accuride’s side-mount installation guidance, Blum’s TANDEM/LEGRABOX instructions, Hettich’s drawer runner manuals, and Liberty/Richelieu product sheets for brand-specific orientation details.
For side-mount ball-bearing slides, the fixed cabinet member is typically mounted to the cabinet wall and the moving drawer member to the drawer side. The front end faces the cabinet face frame or front edge. The rear end points toward the back of the cabinet opening. When the hardware is unlabeled, the safest field check is to identify the release tab, then confirm that the parts nest cleanly without force in the intended left/right pairing. For a basic overview of lengths and types, see drawer slides for kitchen cabinets.
What you’ll need
- Tape measure
- Square or level
- Screwdriver or drill
- Fasteners and any brackets that came with the slides
- Clean work surface for laying out both slides side by side
Which slide goes on each side?
The left-hand slide belongs on the drawer-facing left side, and the right-hand slide belongs on the drawer-facing right side. On many ball-bearing slides, the release lever or disconnect tab sits on the drawer member, so its position gives you a quick orientation check before you drill. Brand layouts differ: Accuride-style levers often differ from Blum’s front-release or rear-release disconnects, and Hettich/Liberty-Richelieu hardware may use tabs or catches in different locations. Always verify the exact model sheet before installation.
Do not assume both slides are interchangeable. Many side-mount sets are direction-specific, with a cabinet member, a drawer member, and rails that only nest one way. Undermount sets are different: they are usually supplied as mirrored left and right hardware and mounted beneath the drawer box instead of riding on the sides. A truly non-handed slide pair is uncommon; when a set is non-handed, the manufacturer usually states that explicitly and the disconnect mechanism will not depend on left/right symmetry.
Drawer slide checklist table
Read the part-by-viewpoint table before installation. Use it to match each piece to the drawer-facing side, cabinet side, and front or back end before any drilling starts. If your slides are unlabeled, this is the fastest way to sort a mixed pair and spot a reversed member before it becomes a field failure.
| Part or feature | Drawer-facing left | Drawer-facing right | Cabinet left | Cabinet right | Front / back | Inside / outside member | Release lever up / down / front / rear | Interchangeable? | Typical failure symptom if reversed |
|---|---|---|---|---|---|---|---|---|---|
| Side-mount cabinet member | Mounts here | Mounts here | Inside left wall | Inside right wall | Front aligns with cabinet front setback; rear points to cabinet back | Outside member stays fixed to the cabinet wall | Usually not on this piece | No, on most sets | Drawer binds, sits crooked, or will not latch |
| Side-mount drawer member | Mounts here | Mounts here | Matches left cabinet member | Matches right cabinet member | Front edge sits even with the drawer front line; rear points to the drawer back | Inside member moves with the drawer | Lever often sits front/rear depending on brand; some are up/down | No, unless manufacturer says non-handed | Will not lock in, will release unexpectedly, or binds on close |
| Undermount left / right set | Left-mirrored unit | Right-mirrored unit | Attaches under left-side support points | Attaches under right-side support points | Front hardware aligns to the drawer-front reference; rear hardware follows the cabinet depth | Hidden under the drawer box; runner geometry is not side-mount compatible | Depends on model; may be front-release or concealed | No, usually mirrored pairs | Drawer will not seat, soft-close may fail, or the drawer drops off the runner |
| Front member / rear member | Front end faces the front opening | Front end faces the front opening | Cabinet front edge | Cabinet front edge | Rear end points toward the back of the cabinet | Rail nesting must match direction | Check before screwing in | No for directional slides | Stops short, racks on travel, or refuses to disengage |
How do you verify fit before drilling?
Measure the drawer depth, dry-fit both members, and check that the slides sit level and square before drilling. This keeps you from fastening a slide that fits in length but lands too far forward, too far back, or out of parallel with the opposite side. Accuride, Blum, Hettich, and Liberty/Richelieu all specify checking alignment and clearances before final fastening, especially where drawer front clearances and release-tab orientation affect engagement.
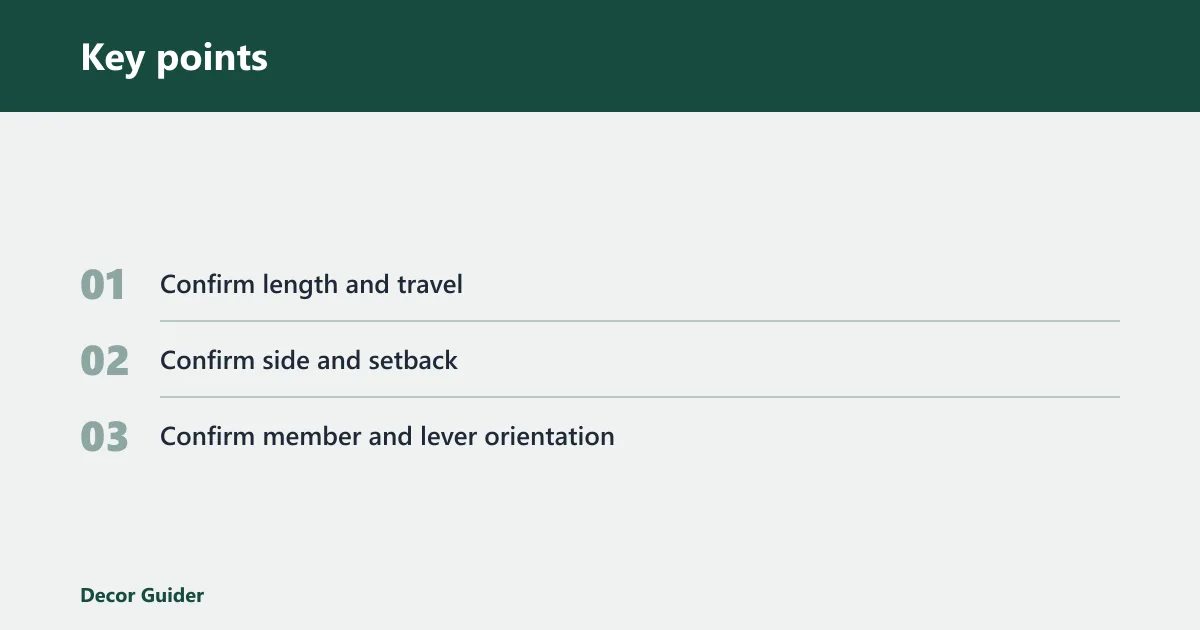
3-step pre-drill verification checklist
- Confirm length and travel: Measure the drawer depth from the front face to the back edge, then match it to the slide length and intended travel. Full-extension slides travel farther than partial-extension models, so the opening depth and drawer box depth must suit the hardware.
- Confirm side and setback: Place the cabinet member against the inside left or inside right wall without screws. Check that the front end sits at the same setback on both sides and that the mounting surface stays parallel to the opposite wall.
- Confirm member and lever orientation: Hold the drawer member against the drawer side or underside, depending on type, and verify level, square, and reveal. If the slide has a disconnect lever, make sure the lever position matches the intended side before drilling.
Say your 18-inch drawer box is meant for a full-extension side-mount slide, but the right-hand member is flipped front to back. The drawer may start in, then bind halfway because the rails no longer nest in the direction the mechanism expects. That failure is especially common with unlabeled slides, where the inner and outer members look similar until the disconnect tab is compared against the manufacturer diagram.
Suppose a kitchen cabinet has uneven inside walls and the left slide sits 2 millimeters farther forward than the right. The drawer can rack as it closes, even when both screws are tight, because the members are no longer parallel. In the field, that small error often shows up as rubbing at one front corner, a soft-close drawer that won’t catch, or a drawer that needs a push to fully seat.
Install and test the slides
Mount both cabinet members at the same setback, then attach the drawer members to matching left and right faces. Keep the hardware square to the drawer and level to the cabinet opening. Manufacturer manuals are consistent here: the cabinet runner must align with the drawer member and the release feature must face the correct side for the model. A reputable how-to source can help with the general process, but the final orientation should always follow the brand sheet, especially for undermount systems and concealed soft-close slides.
Use the supplied screws, holes, and brackets only if they match the slide layout. The exact disconnect method differs by brand: Accuride often uses a lever-style disconnect, Blum commonly uses a front release or locking device depending on model, Hettich uses model-specific runners and catches, and Liberty/Richelieu kits may include separate clips or brackets. Poorly installed slides can make drawers stick, fail to open smoothly, or create safety hazards if a drawer slides open or closes abruptly.
- Fasten the cabinet members first, using the front hole and rear hole positions that keep both sides even.
- Attach the drawer members to the correct drawer side or underside points, keeping the front ends flush with the drawer reference line.
- Insert the drawer, close it fully, and reopen it to confirm smooth travel without rubbing, tilt, or sudden release.
- If needed, move the slide by 1 to 2 millimeters and recheck. Small changes at the mounting holes can fix a side-to-side mismatch before you commit to final screws.
Common mistakes
Swapped left and right slides are the most common error. The parts may look nearly identical on the bench, but the drawer-facing viewpoint tells you which side each one belongs to. Lay both pieces flat and label them before installation if the set is not marked clearly. In the field, that simple step prevents the most common call-backs: binding, soft-close misfire, and drawers that slide out at an angle.
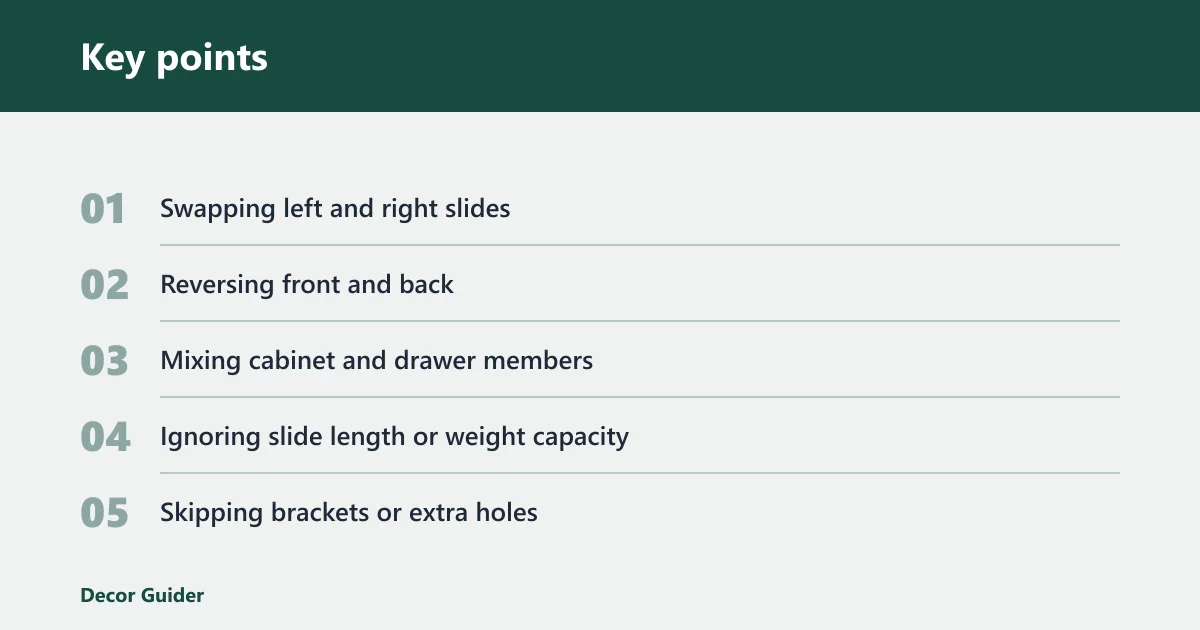
Reversing front and back is another frequent problem. The release lever, disconnect tab, or inner rail often points a specific direction. If the drawer will not lock in, the wrong member may be on the wrong side, or the front and rear ends may be reversed. A “non-handed” claim should be treated cautiously unless the manufacturer states it and the diagram shows the same connector geometry on both sides.
- Swapping left and right slides: Match the left-hand slide to the drawer-facing left side only.
- Reversing front and back: Keep the front end toward the cabinet opening and the rear end toward the back wall.
- Mixing cabinet and drawer members: The fixed rail belongs on the cabinet, the moving rail belongs on the drawer.
- Ignoring slide length or weight capacity: A slide that is too short or under-rated can fit poorly or perform badly under load.
- Skipping brackets or extra holes: Some undermount or specialty sets need the supplied bracket layout to stay aligned.
A common first-timer mistake is treating undermount hardware like a side-mount set. The hidden mounting position under the drawer box changes the layout completely, so left/right, groove compatibility, and bracket placement all need to be checked before any screw goes in. That is also where brand differences matter most: some systems use a rear locking device, others a front clip, and the wrong assumption can make a perfectly good slide look “bad” when it is simply mounted in the wrong pattern.
Frequently asked questions
How do I know which drawer slide is left and which is right?
Stand at the drawer-facing side and sort the slides by the wall they touch. The left-hand piece goes on the drawer’s left side, and the right-hand piece goes on the drawer’s right side. If the set has a release lever, use its position as a backup check before mounting. That is the same practical method technicians use when the parts arrive unlabeled or without clear stamps.
Do drawer slides come labeled left and right?
Some do, but many arrive unlabeled. When there is no stamp or tag, compare the rail shape, lever position, and front-back orientation. If the parts are mirrored, the drawer-facing viewpoint is the most reliable way to sort them without guessing. On some brands the disconnect tab is obvious; on others, the distinction is subtle and only becomes clear when the drawer member is compared against the cabinet member.
What side is the left slide on when facing the drawer?
It is on the drawer’s left side, which is usually the cabinet’s inside left wall once the drawer is removed. That rule holds for side-mount slides. For undermount hardware, follow the left-mirrored and right-mirrored set design rather than assuming a side-mount layout. If the manufacturer provides a left/right runner pair, treat it as mirrored unless the instructions explicitly say otherwise.
How do I tell the left rail from the right rail on ball-bearing slides?
Look for the cabinet member, drawer member, and any disconnect lever or tab. On many ball-bearing slides, the moving inner rail and release mechanism only align one way. The correct rail will nest cleanly with the matching outer rail without forcing the pieces together. If the lever points the wrong direction, or the pieces only fit after twisting, the slide is likely reversed.
Can drawer slides be installed on either side?
Not always. Many side-mount ball-bearing slides are side-specific and will not function correctly if swapped. Some undermount sets are mirrored left and right, but they still must be installed in the correct orientation and at the correct drawer-bottom groove or bracket location. A truly non-handed slide pair is rare and should be confirmed by the brand’s instructions, not by assumption.
What is the front and back orientation of drawer slides?
The front end generally faces the cabinet opening, and the back end points toward the rear of the cabinet. The front member should align with the same setback on both sides. If the ends are reversed, the drawer may bind, stop short, or fail to lock in place. That mistake often shows up first as a drawer that starts closing correctly and then drags or jams before fully seating.
How do I match drawer slides to the cabinet and drawer?
Match slide length to drawer depth, then match the hardware type to the drawer and cabinet surfaces you actually have. Side-mount slides need clear inside left and right walls, while undermount slides need compatible drawer bottoms and mirrored hardware. Level, square mounting surfaces matter either way, and the brand-specific release mechanism must also match the side and orientation shown in the manual.
Products related to this article
Sponsored / affiliate links. As an Amazon Associate I earn from qualifying purchases. I may earn additional commission from eligible campaigns.