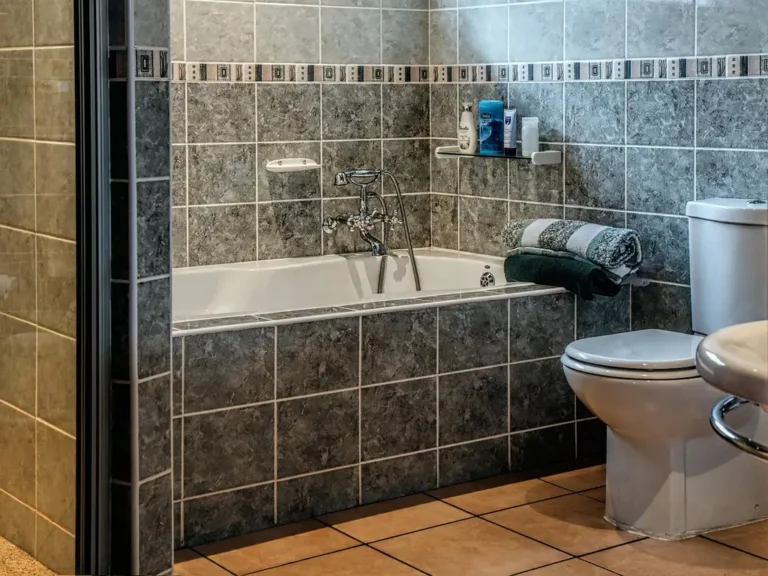
How to Level a Bathroom Vanity
Level a bathroom vanity by checking the floor, cabinet, feet, and wall anchoring in that order; if the floor is out of level, shim under the cabinet until the top reads level in both directions. A bad fix can strain the countertop, twist the drain, leave doors misaligned, and make caulk joints fail. This guide shows you how to find the real cause and correct it without putting plumbing under stress.
What you’ll need


- 24-inch or longer level, or a laser level if available
- Stud finder
- Tape measure
- Wooden shims
- Cabinet screws sized for wall studs
- Driver or drill
- Silicone caulk for kitchen and bath use
- Pencil
- Utility knife for trimming shims
A level is a required installation tool. Wooden shims belong on the list too. If the vanity has adjustable feet, use them. Freestanding vanities sit on the floor and screw to the wall; wall-mounted and floating bathroom vanity units depend on solid stud anchoring.
Is the floor or vanity out of level?
Check the cabinet first, then the floor beneath it, then the wall tie-in. If the vanity rocks front-to-back or leans left to right, the frame is not sitting flat. If the cabinet stays level until you tighten screws, the wall or fasteners are probably pulling it out of square.
Check for front-to-back rocking
Set the level on the cabinet base, then front edge to back edge. If the bubble moves more than a hair, the base is not fully supported. A 24-inch or longer level gives a clearer read than a short torpedo level, and a laser level is even better for a longer run.
Check for side-to-side lean
Measure across the front rail and across the top, left to right. A cabinet that leans one way usually needs a shim or foot adjustment on the low side. On furniture-style vanities with legs, start at the feet, not the top.
Check whether the wall or rough-in is pulling the cabinet off line
Look at the drain stub-out and the hot and cold shut-off valves before you force the cabinet into place. If the rough-in is off center, the cabinet may sit crooked just to make the pipes fit. A common first-timer mistake is forcing the box around plumbing instead of shifting the placement slightly.
Set the bathroom vanity in place

Place the cabinet where the rough-in lines up, then confirm that the base reads level before any final fastening. Standard bathroom vanities are typically 30-32 inches high, and comfort-height vanities are 34-36 inches tall. Standard depth is 18-21 inches, so even a small floor dip can change the fit at the wall.
Position the cabinet and verify rough-in clearance
- Slide the vanity into place and stop before tightening anything.
- Check the drain stub-out and shut-off valves against the opening in the back panel.
- If needed, mark and cut access holes in the back panel rather than forcing the cabinet forward.
Locate wall studs before fastening
- Run the stud finder across the wall and mark each stud center.
- Confirm your marks against the vanity mounting points or rail.
- Plan every screw so it bites into wall studs, not drywall.
Wall-mounted vanities and floating bathroom vanity units must be anchored into wall studs and do not touch the floor. Freestanding cabinets still need wall screws for stability, but they should sit level on the floor before those screws are driven home.
Use shims or feet to bring the base level
- Set the level on the cabinet base front-to-back and side-to-side.
- Add wooden shims under the low side of the base or under the feet.
- Raise only enough to center the bubble, then recheck both directions.
- Trim shim ends with a utility knife after final fastening.
On a vanity with legs, adjust the feet first if the design allows it. If the cabinet still dips after foot adjustment, add shims under the base. Do not tighten the mounting screws fully until the cabinet reads level.
How do you level a bathroom vanity?
Start with the cabinet frame, not the top. Set the base level in both directions, fasten it to the studs without twisting the box, then install the countertop and check the sink and backsplash after that. If the top is installed first, you can trap a lean into the frame and create plumbing stress later.
- Measure the cabinet base front-to-back and left-to-right with the level.
- Adjust the vanity feet or add wooden shims under the low points in about 1/8-inch steps, then recheck after each change.
- Drive screws into wall studs while holding the frame square; stop before the cabinet bows.
- Set the bathroom vanity top, then verify sink and backsplash alignment before caulking.
Suppose a 30-inch freestanding vanity is level at the front, but the left rear corner drops because the floor dips near the wall. One 1/8-inch shim stack under that corner may correct the lean. If the bubble moves after tightening, back off the screw and relevel before finishing.
How level does a bathroom vanity need to be?
It should be level enough that doors close evenly, the countertop does not rock, and the sink does not hold a visible side slope unless the design calls for drainage. For most bathrooms, the goal is a centered bubble on the level. A slight intentional slope belongs in the sink bowl, not the cabinet frame.
Use the cabinet frame as the main reference
The frame is the base that carries the load. If the cabinet is out of level, the top and sink will usually follow. For a wall-mounted vanity, that means the mounting rail must be set true before final fastening. For a freestanding unit, the feet or shims do the first correction.
Confirm the top is level after installation
Once the cabinet is fixed, place the level across the countertop from left to right and front to back. If the top is separate from the cabinet, it may need minor adjustment before silicone is applied. The top should not bridge a crooked frame with stress under one edge.
Allow only the slope the design requires
If the sink bowl has a built-in pitch toward the drain, that is acceptable. A countertop that slopes visibly toward one side is not. If you need a larger tilt to match plumbing, stop and correct the rough-in or cabinet position instead of forcing the top to follow.
Vanity leveling checklist
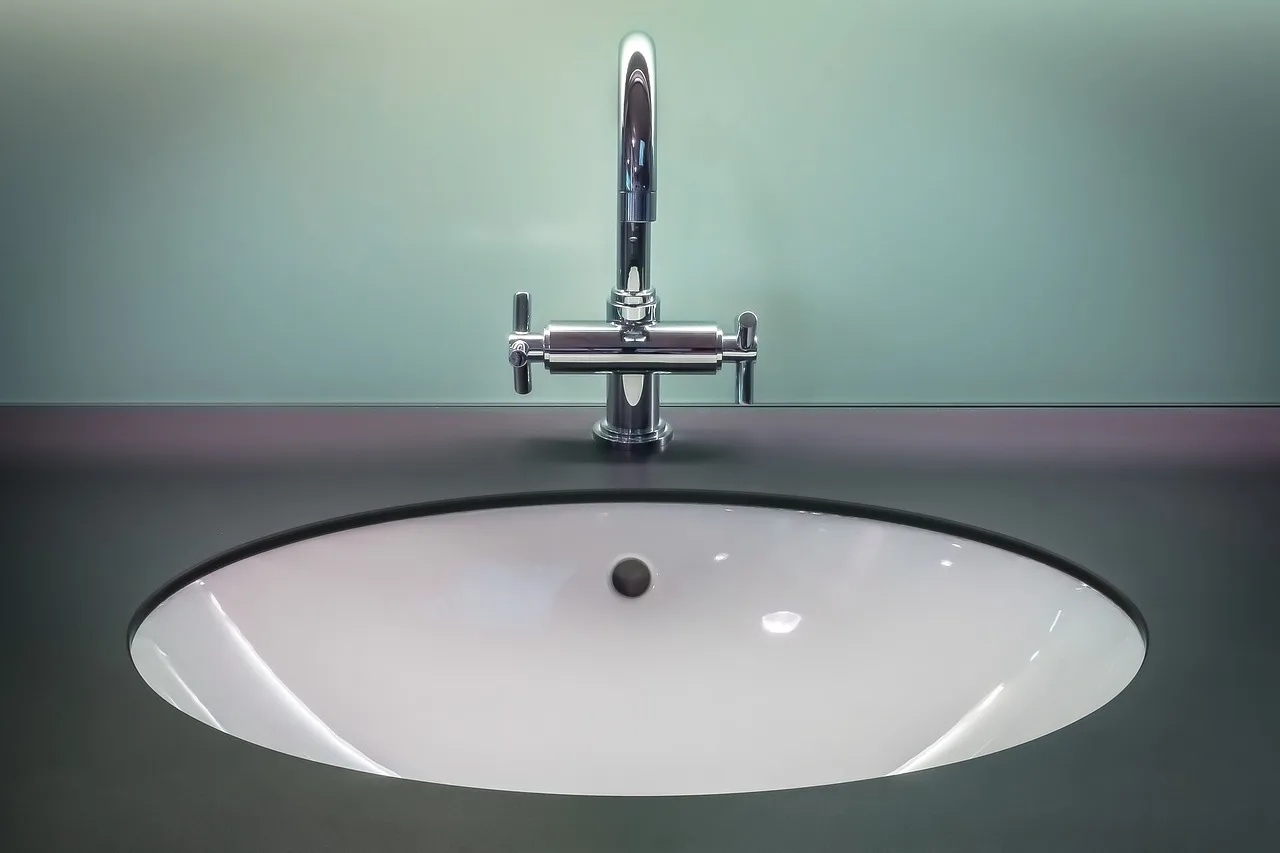
This troubleshooting table maps the symptom to the likely cause, the measurement to check, and the safest correction. Use it before you add more screws or more caulk.
| Symptom | Most likely cause | Exact check with a level | Safest correction |
|---|---|---|---|
| Cabinet rocks front-to-back | Uneven floor or unsupported base | Use a 24-inch level on the base front edge, then on the back edge; note any bubble shift. | Add wooden shims under the low edge or adjust feet, then recheck before tightening |
| Cabinet leans left/right | Low side of floor, loose feet, or warped base | Check left-to-right across the front rail and countertop | Raise the low side in 1/8-inch increments with shims or feet; replace damaged parts if the frame is warped |
| Top is level but sink slopes | Sink not seated evenly, adhesive cured unevenly, or the bowl support is uneven | Check the countertop first, then set the level across the sink rim from side to side | Loosen the top if possible, reset the sink support, and re-seat before caulking edges |
| Vanity pulls from wall | Screws missed studs, wall is uneven, or the frame was twisted during tightening | Check the gap at the back rail with the level held vertically against the wall | Re-anchor into wall studs, add shims where needed, and stop tightening before the cabinet twists |
| Feet or shims settle after tightening | Compressed shims, loose adjusters, or a load shift from the top | Recheck level after tightening every screw and again after the top is set | Reset with harder shims, lock the feet, and retighten only after the frame stays true |
Common mistakes
Tightening fasteners before the cabinet is level can pull the frame out of square. That is especially risky on wall-mounted and floating bathroom vanity units, where the wall anchors carry the load. Set the cabinet first, then secure it.
Another mistake is ignoring plumbing rough-in alignment. The drain stub-out usually sits 16-18 inches above the floor, and supply lines typically emerge 18-20 inches above the floor. If those openings do not line up with the cabinet cutouts, adjust the placement or cut the back panel instead of forcing the box.
Do not use acrylic caulk at the wall-vanity junction or around the backsplash in wet areas. Use kitchen and bath silicone caulk after the cabinet and top are verified level. Sealing too early hides a problem and makes future correction harder.
A second common first-timer mistake is treating all vanities the same. Furniture-style units with decorative legs often need foot adjustment first. A floating bathroom vanity never rests on the floor, so shims under the base are not the fix.
If that didn’t work, try this next
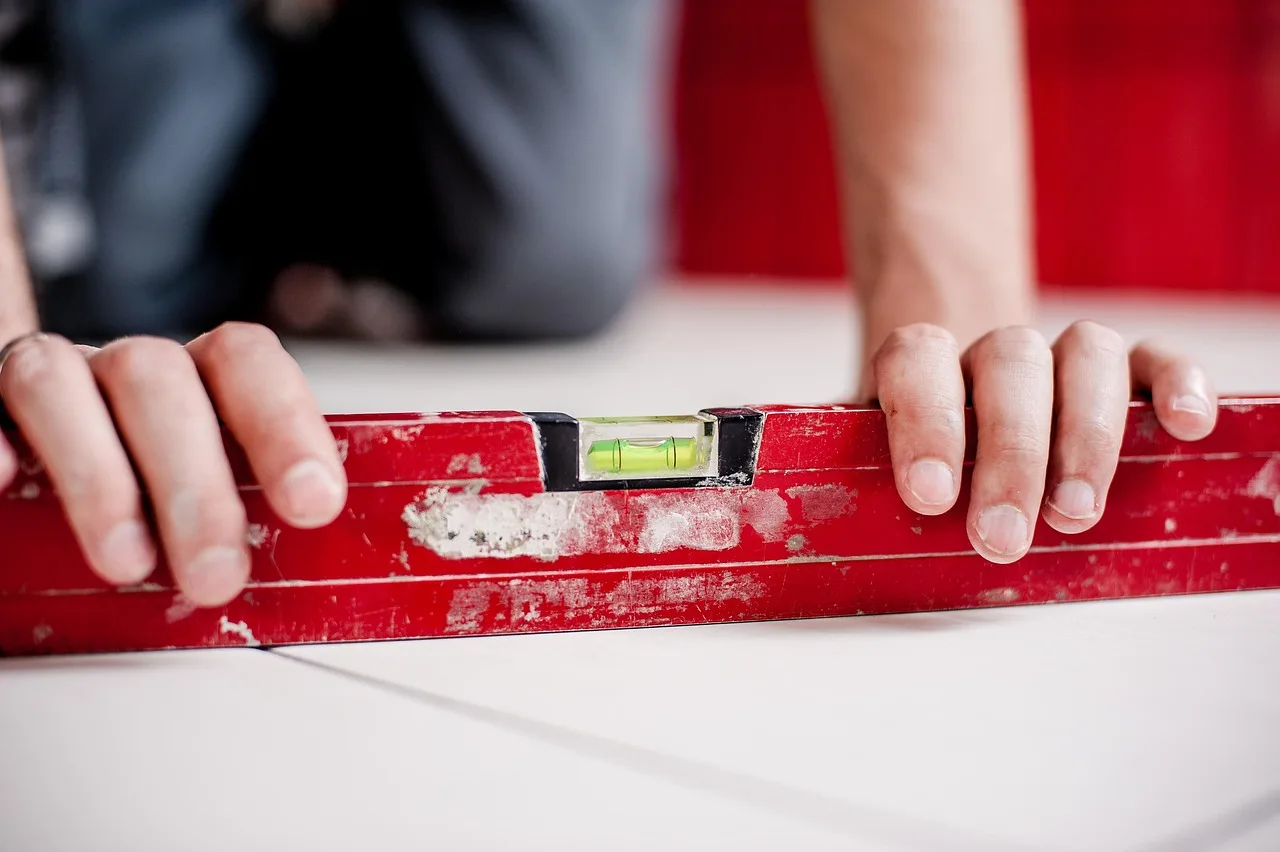
If the vanity still moves after shimming and stud fastening, the problem is usually one level deeper: warped parts, compressed shims, or a rough-in that is pushing the cabinet off line. Move through the fixes below in order, from least invasive to most invasive.
- Loosen the wall screws slightly, reset the level, and retighten only after the bubble centers.
- Replace soft or crushed shims with firmer wooden shims and trim the excess after the cabinet stays level.
- Check the feet for looseness, then reset them if the vanity includes adjustable legs.
- Inspect the back panel and mounting points for twist or damage, especially on a freestanding vanity that was pulled too hard toward the wall.
- If the drain or supply alignment still forces a crooked fit, stop and correct the rough-in rather than locking in the tilt.
Say a double-sink vanity is level at the ends but sags in the center after the top is installed. That usually points to uneven support under the middle span, not a bad wall anchor. Recheck the cabinet frame under the centerline before you blame the countertop.
Once the cabinet and top stay level, run silicone caulk at the wall-vanity junction, around the countertop, and at the backsplash edges. Trim shim ends, clean the joint line, and leave the plumbing with no forced bends.
Frequently asked questions
How to level a bathroom vanity on uneven floor
Find the low spots with the level, then correct from the cabinet outward. Use wooden shims under the base or adjust the feet until the frame reads level front-to-back and side-to-side. Do not force the cabinet to follow the floor dip; let the cabinet become true first.
Should a bathroom vanity be level?
Yes. The cabinet should sit level before final fastening, and the top should read level after installation. A slight slope is acceptable only where the sink design requires drainage. A cabinet that leans can misalign doors, put strain on plumbing, and open caulk lines.
How do you level a bathroom vanity: check the cabinet frame?
Check the cabinet frame, the floor, the feet or shims, and the wall anchoring in that order. Bring the base level before tightening the screws, then set the top and verify the sink. If the rough-in still forces a mismatch, adjust the placement rather than compressing the cabinet into position.
Products related to this article
Sponsored / affiliate links. As an Amazon Associate I earn from qualifying purchases. I may earn additional commission from eligible campaigns.