How to Replace Vanity Cabinet Hinges
Replace vanity cabinet hinges by matching the hinge type, hole pattern, overlay, and door weight first. If one part is off, the door can bind, sag, or miss the cabinet frame. A bad match wastes parts and can strip the wood faster than the original failure. This guide shows how to identify the old hinge, measure what matters, choose a compatible replacement, and install it cleanly.
Confirm hinge compatibility and required tools
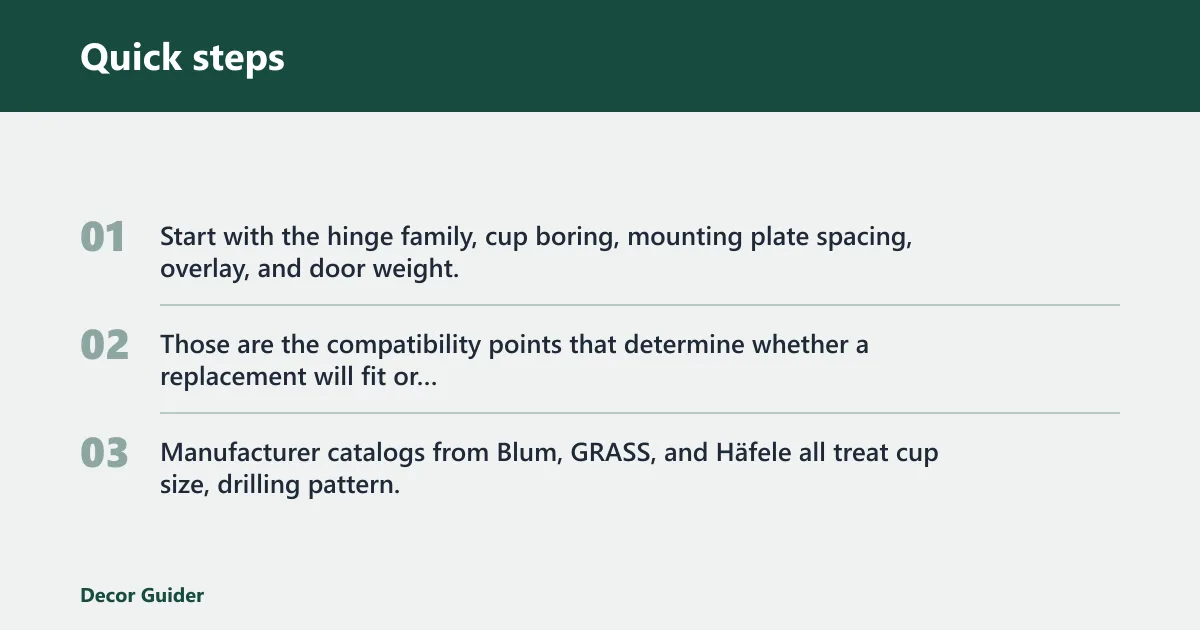


Start with the hinge family, cup boring, mounting plate spacing, overlay, and door weight. Those are the compatibility points that determine whether a replacement will fit or fight you. Manufacturer catalogs from Blum, GRASS, and Häfele all treat cup size, drilling pattern, and overlay as the core match points, not just the screw count.
Vanity hinge checklist table
| Hinge type | Door style | Hole pattern | Overlay | Typical tools | Red-flag symptoms |
|---|---|---|---|---|---|
| Concealed cabinet hinge, single-way | Framed or frameless, if cup boring matches | Door-side cup holes and frame-side screws must line up with the replacement plate | Often full, half, or inset overlay | Screwdriver, drill, pencil, machinist’s square | Door sags, rubs the face frame, or the cup sits crooked |
| Concealed cabinet hinge, two-way | Frameless cabinets and some framed layouts | Requires matching cup boring and mounting plate spacing | Overlay must match the opening and reveal | Screwdriver, drill, pilot bit | Door will not align after adjustment, or the hinge binds at swing limit |
| Concealed soft-close hinge | Bathroom vanity door with frequent opening and closing | Same boring as the original style, plus the correct plate depth | Overlay and reveal stay close to the original layout | Screwdriver, drill, measuring tape | Door slams, closes unevenly, or the damper drags |
| Exposed butt hinge | Framed vanity door with visible hinge leaves | Leaf screw pattern must match the old hinge or be redrilled | Usually set by the door edge and frame position | Screwdriver, drill, wood filler | Rust, loose leaves, or hinge pins that wobble |
| European cup hinge, 45°, 90°, 135°, or 165° | Depends on door swing and cabinet corner clearance | Must match cup boring and mounting plate location | Angle choice affects how far the door opens and where it clears | Drill, screwdriver, pilot bit, machinist’s square | Door hits adjacent trim, the cup overhangs the edge, or opening stops too early |
How do you tell which hinge you have?
Identify the hinge by whether it is concealed or exposed, then confirm the cup diameter, cup depth, screw-center spacing, and opening angle. A true like-for-like replacement depends on those measurements, not just the general look. If any of them differ, the hinge may fit the door but fail at the frame or swing range.
Concealed hinge versus exposed hinge
A concealed cabinet hinge is mostly hidden inside the door and cabinet frame, with a hinge cup on the door-side and a mounting plate on the frame-side. An exposed butt hinge shows its leaves on the outside. For a bathroom vanity, that difference matters because the door edge, frame depth, and screw placement all affect the fit.
Single-way, two-way, and soft-close styles
Single-way concealed hinges usually offer simpler motion and fewer adjustment directions. Two-way versions often add more movement options, and many concealed hinges now include 3D adjustability so you can fine-tune side-to-side, depth, and height. Clip-on styles detach from the plate more easily, while non-removable styles stay fixed once installed. Hydraulic damping gives soft-close action, which can help on a vanity door that gets opened many times a day.
45°, 90°, 135°, and 165° variants
Hinge angle is not a small detail. A 90° hinge is common for standard doors, while other opening angles are used when the cabinet geometry or door swing needs different clearance. Use the old hinge as the reference unless you are changing the door layout on purpose. Hardware makers such as Blum and Salice list different opening angles for specific cabinet conditions, so the angle is part of the fit, not an afterthought.
What vanity measurements matter most?
Measure cup diameter, cup depth, screw center spacing, overlay, reveal, frame type, crank, and door thickness before buying replacement hardware. Those values are what separate a clean swap from a patch-and-redrill repair. If the replacement hinge family uses a different cup or plate geometry, it will not behave like the old one even if the door “sort of” hangs on it.
Framed versus frameless cabinets
A framed vanity has a cabinet face frame at the front, and the hinge usually fastens to that frame plus the door. Frameless cabinets rely more on the side panel and the hinge plate layout. That means the same concealed hinge can be wrong for one vanity and right for another, even if the door size is similar.
Cabinet face frame and mounting points
The cabinet face frame is commonly used as the alignment reference for replacement work. Mark the old hinge mounting location before removal if you can, and note where the door-side screw points sit in relation to the frame-side screws. If the new hardware shifts those points, you may need new pilot holes rather than reuse the old ones.
Door thickness and weight load
Door thickness and weight load affect both holding power and swing. A heavier solid door can overload a small hinge or stress stripped particleboard faster, especially if the screws have loosened from frequent opening and closing. Many cabinet hardware catalogs specify acceptable door thickness and weight limits by hinge family, so check those numbers before choosing a replacement.
Should you reuse the old holes or drill new ones?
Yes, reuse the holes only when the hinge family, cup size, plate spacing, and overlay all match closely enough to land the screws where the old ones were. If any of those checks fail, drill new pilot holes instead. The goal is a sound wood bite and a hinge that sits flat, not a forced match that strips again.
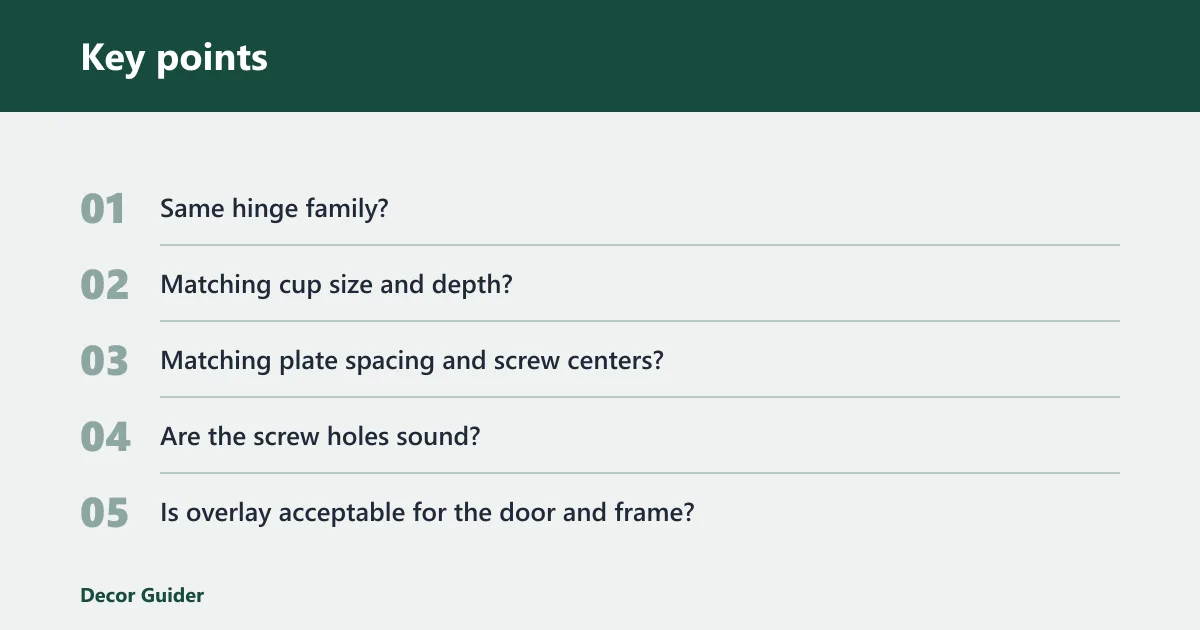
Yes/no decision tree for old-hole reuse
Use this decision path before you touch a drill:
- Same hinge family? If no, drill new holes or choose a different hinge.
- Matching cup size and depth? If no, do not reuse the existing door boring.
- Matching plate spacing and screw centers? If no, new holes are usually required.
- Are the screw holes sound? If no, repair the holes first before installing anything.
- Is overlay acceptable for the door and frame? If no, pick a hinge built for the correct overlay or inset.
- Do all answers point to yes? Reuse the existing holes and make only minor adjustments.
Same-hole replacement cases
The safest same-hole case is a like-for-like hinge swap. The replacement should follow the old hinge style, and the screw locations should land in the same place. For that reason, take the old hinge to a home improvement store and set it beside the replacement hinges if you are unsure about the match. The guide for same-type replacement uses three steps: remove the old hinge from the door and cabinet frame, compare the old part, and fasten the new one with a screwdriver or drill.
When to drill new pilot holes
If you are changing hinge type, angle, or plate layout, mark screw locations with a pencil before drilling. A drill is mandatory for pilot holes on each cabinet door hinge. Pilot holes reduce splitting and help the screw start straight, especially on a vanity door where the wood around the old holes is already stressed. Use the old hinge as the layout template only if the cup, plate, and overlay all match.
Stripped holes and filler repair
Stripped screw holes are a common cause of loose cabinet doors. Remove the door, fill the damaged surface with wood filler, and let it cure before sanding and painting. After the repair hardens, you can redrill pilot holes and fasten the hinge again. Do not rush this step, or the screw may chew out the repair. For light damage, trade and hardware sources commonly suggest a filler-and-redrill approach; for repeated failures, wood plugs or epoxy repairs are often more durable than soft filler alone.
A common first-timer mistake is to tighten a stripped screw until it feels firm, then close the door and find the hinge has shifted again. The screw may hold for a minute, but the damaged wood still fails under repeated opening and closing.
How do you remove the old hinge and prep the door?
Support the door before you loosen the screws. If the hinge is carrying the full weight while you back out fasteners, the door can twist or chip the edge. Check both the hinge cup and the cabinet face frame for rust, bent metal, and enlarged screw holes before you install the replacement.
Support the door while you loosen screws
You may need an assistant to hold the cabinet door against the frame while you remove or swap hinges. That extra support keeps the reveal from shifting suddenly and helps protect the door edge. If no helper is available, prop the door so it cannot drop while you work.
Check the hinge cup and mounting plate
Look at the hinge cup on the door-side and the mounting plate on the frame-side. If the cup boring is ovaled out, cracked, or the plate is bent, the new hinge may not sit flat. When the boring pattern changes, the safest move is often to choose a hinge that matches the existing drilling rather than forcing a mismatch.
Clean rust and inspect screw damage
For rusted bathroom vanity hinges, clean the corrosion off the metal before judging whether the hinge is still usable. Light rust can be cleaned, but pitted knuckles, frozen screws, or stripped threads usually point to replacement. Major hardware and trade sources commonly treat rust cleanup as limited to surface corrosion; once the hinge is bent, pitted, or seized, replacement is usually the practical fix. Also check whether the cabinet door screw holes are loose, because rust often appears alongside fastener failure.
How do you install the replacement hinge?
Set the replacement hinge on the door and frame, fasten it with a screwdriver or drill, and check the swing before tightening everything fully. The goal is a door that opens without rubbing and closes with even reveal lines. If the hinge style is different, expect to adjust the locations rather than reuse every old hole.
Set the hinge on the door and frame
Place the hinge cup in the door boring and align the mounting plate with the cabinet frame or side panel. Start the screws loosely so the hinge can move during alignment. For exposed hardware, line up each leaf against the edge of the door and the frame before driving the screws home.
Use the screwdriver or drill correctly
A screwdriver gives the most control on small vanity screws, while a drill speeds pilot holes and repeated fastening. Use the drill for pilot holes, not as a blunt force tool to sink screws into damaged wood. If the screw bites too hard, stop and recheck the hole size or the repair.
Adjust the door for swing and alignment
Most concealed hinges allow final adjustment after mounting. Use the adjustment screws to correct side-to-side position, depth, and height until the door clears the frame and closes evenly. Test the swing several times. If the door still binds, the hinge angle or overlay may be wrong for the cabinet.
Suppose a 16-inch-wide vanity door has a hinge that closes too far inward and rubs the frame edge. If the cup boring and mounting plate are both wrong for that opening, a different hinge style is the better fix than forcing adjustment screws to compensate.
What happens when the new hinge does not match?
Stop and reassess if the cup boring, overlay, reveal, or plate spacing does not match the new hardware. A hinge that sits off by a small amount can still throw the door out of square. If the mismatch is structural, changing hardware styles may require new drilling or a different hinge entirely.
Cup boring mismatch
If the hinge cup does not seat cleanly in the door, do not force the screws. The boring may be too shallow, too deep, or positioned differently from the old hardware. That is especially common when switching between concealed hinge families or moving from exposed hardware to a European cup hinge.
Overlay or reveal mismatch
Overlay is how much the door covers the frame, and reveal is the visible gap around it. If either one is off, the vanity door may rub adjacent doors, miss the frame, or leave an uneven gap. Recheck the hinge geometry before drilling new holes, because a wrong overlay can turn a small repair into a larger patch job. In frameless cabinets, overlay is especially important because the door edge and side panel leave less room for error.
When to stop and buy a different hinge
If the replacement needs new boring, new plates, or a different angle to clear the cabinet, a different hinge is usually the cleaner choice. Forcing a mismatch can split the door edge or weaken the cabinet face frame. In a small vanity repair, it is better to pause than to drill the wrong pattern twice. Major manufacturers and retailers typically group concealed hinges by cup diameter, overlay, opening angle, and mounting plate style for exactly this reason.
How much does cabinet hinge replacement cost?
Parts for a single vanity hinge swap are usually inexpensive compared with a full door replacement, but the total depends on hinge type and whether you need repair materials. Major retailers commonly sell replacement cabinet hinges in broad low-cost ranges, while specialty brands charge more for soft-close, clip-on, or wide-angle models. If you only need a matching hinge and a few screws, the job is often a low-cost DIY repair. If the holes are stripped, add wood filler, sandpaper, and possibly paint touch-up. For a door that needs new boring or a difficult alignment, handyman labor may be the better value.
DIY versus service call
DIY makes sense when the old and new hinges match closely, the holes are sound, and the door is not badly warped. A service call becomes more practical when the cup boring, overlay, or face frame location does not match the replacement hardware. A small vanity repair can still be worth professional help if the door is heavy or the frame is already damaged.
Cost tradeoffs on small vanity repairs
Replacing all hinges on one sagging door can be smarter than changing only one loose part, but only if the matching hardware is available. If the rest of the hinges are sound, you do not need to replace the whole vanity. Replace what is worn, repair what is stripped, and keep the original door if the structure is still solid. Big-box and trade pricing also tends to rise with soft-close features, concealed 3D adjustment, and specialty opening angles, so matching the old hinge family can keep costs down.
Frequently asked questions
How do I replace bathroom cabinet hinges?
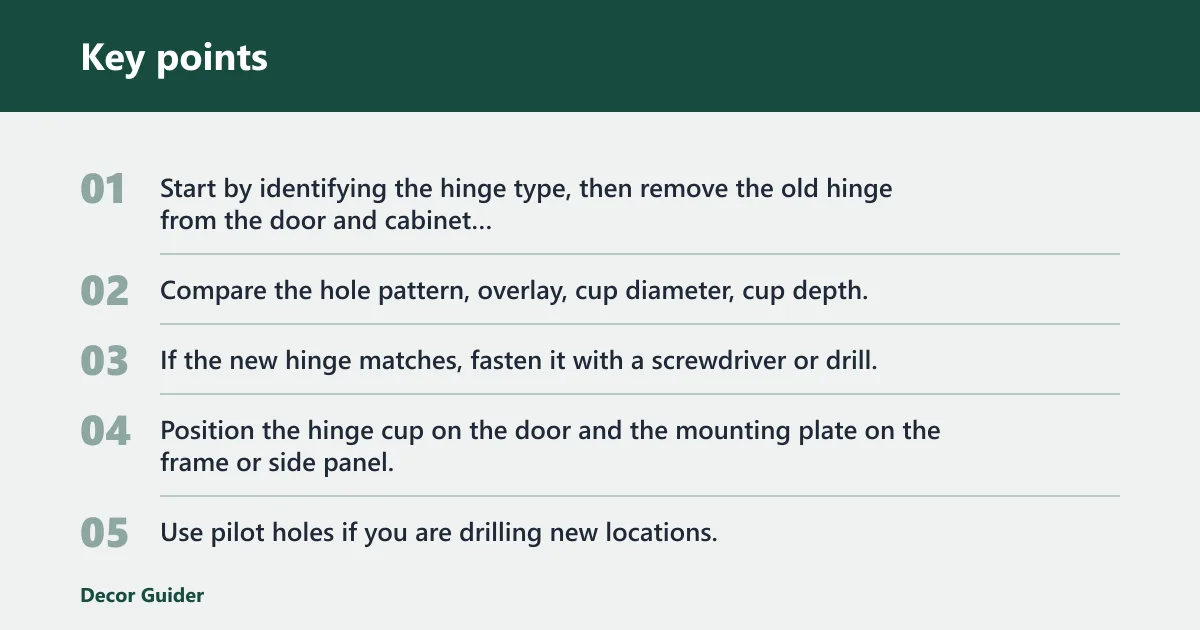
Start by identifying the hinge type, then remove the old hinge from the door and cabinet frame. Compare the hole pattern, overlay, cup diameter, cup depth, and screw spacing before buying the replacement. If the new hinge matches, fasten it with a screwdriver or drill, then adjust the door for swing and alignment.
How do I install bathroom cabinet door hinges?
Position the hinge cup on the door and the mounting plate on the frame or side panel, then start the screws loosely. Use pilot holes if you are drilling new locations. After fastening, check the reveal and door swing, and fine-tune the adjustment screws until the door closes evenly.
Can you replace cabinet hinges without replacing the whole door?
Yes. In many bathroom vanity repairs, the door can stay in place if the hinge is the only failed part. The key is compatibility: the new hinge must match the old boring, overlay, and load requirements. If the door is warped or the edge is damaged, hinge replacement alone may not solve the problem.
Are cabinet hinges universal?
No. Cabinet hinges are not universal across every door style, frame layout, and boring pattern. A concealed hinge, exposed butt hinge, and European cup hinge all fit differently. Even within concealed hardware, the angle, plate spacing, and overlay must match the vanity door and cabinet frame.
How do I remove rust from bathroom cabinet hinges?
Remove the hinge, clean off surface rust, and inspect the screw holes and moving joints. If the hinge is pitted, frozen, or bent, replacement is usually safer than cleaning alone. Rust on a bathroom vanity often appears with loose screws, so check the wood around the fasteners before reinstalling anything.
Do I need to match the old hinge holes exactly?
For a same-type replacement, yes, the hole pattern should match closely enough that the screws land safely and the cup sits flat. If you are changing hinge style, you may need to drill new pilot holes and mark the locations with a pencil. Do not force a mismatch into stripped holes or the door can sag again.
Should I replace all hinges if one cabinet door is sagging?
Not always. Start with the failed hinge, the loose screws, and any stripped screw holes. If the other hinges are worn, rusted, or overloaded, replacing the full set on that door can give a more even result. If the rest are sound, one matching replacement may be enough.
Products related to this article
Sponsored / affiliate links. As an Amazon Associate I earn from qualifying purchases. I may earn additional commission from eligible campaigns.