How to Remove a Toilet Seat with Hidden Screws
Identify the seat’s fastening style first: lift the hinge caps for top-fix screws, check underneath for nuts, or twist the rear covers for a lock type, then remove the correct fastener. Force the wrong part and you can crack porcelain, strip hardware, or snap the hinge. This guide shows how to spot each hidden-fix style and remove it safely.
Identify the hidden fastener style
Start by looking at the hinge area from above and below. Many toilets hide the bolts under small plastic caps, but the fastener can be a top-fix screw, an underside nut, or a twist-lock assembly. The right removal path depends on the hardware style, not on the seat brand.
Top-fix hidden bolts
Top-fix seats usually hide the bolt heads under small plastic caps on the hinge. The cap may pry open by hand, or it may need a flathead screwdriver. Once the cover is off, you should see a screw head on top and a nut or anchor below.
Underside-access hardware
Some concealed fixings are reached from below the bowl rim. In that setup, the visible top piece may only be a trim cap, while the real nut or locking piece sits underneath. If the top hardware does not turn cleanly, check below before adding more force.
Twist-lock hinge covers
Twist-lock styles do not behave like ordinary screws. A rear cover or knob may turn to release the hinge rather than unscrew it straight out. Some removable seats also use two locking knobs, so a cap that will not pry open may still release with a twist.
Tools and protection you need
Keep the tool set simple. Use a flathead screwdriver first, since it can pry open bolt caps and can also turn some slotted heads. Add pliers or vice grips for stuck nuts, protective gloves for cleaner handling, and penetrating oil for rusted hardware.
Protect the porcelain before you touch the fasteners. Masking tape on the bowl surface gives you a buffer against slips, and that matters because a screwdriver can skid off a cap or stripped head. Toilet seat bolts and nuts are often plastic, so use light to moderate pressure and stop if the part flexes hard. (Wikihow)
Say your seat is on an older toilet with white plastic nuts that look chalky and brittle. Put masking tape on the bowl edge first, put on gloves, and turn only until the fastener moves. If the hardware cracks instead of loosening, stop before the broken piece turns into a bigger repair.
How do you open the hinge caps?
Open the hinge caps by finding the seam and prying gently at the edge. Most caps lift with a flathead screwdriver or a fingernail if the plastic is loose. If the cover is attached to the seat, do not try to yank it free; check whether it flips, slides, or twists as part of the hinge assembly.
Pry the plastic covers without cracking them
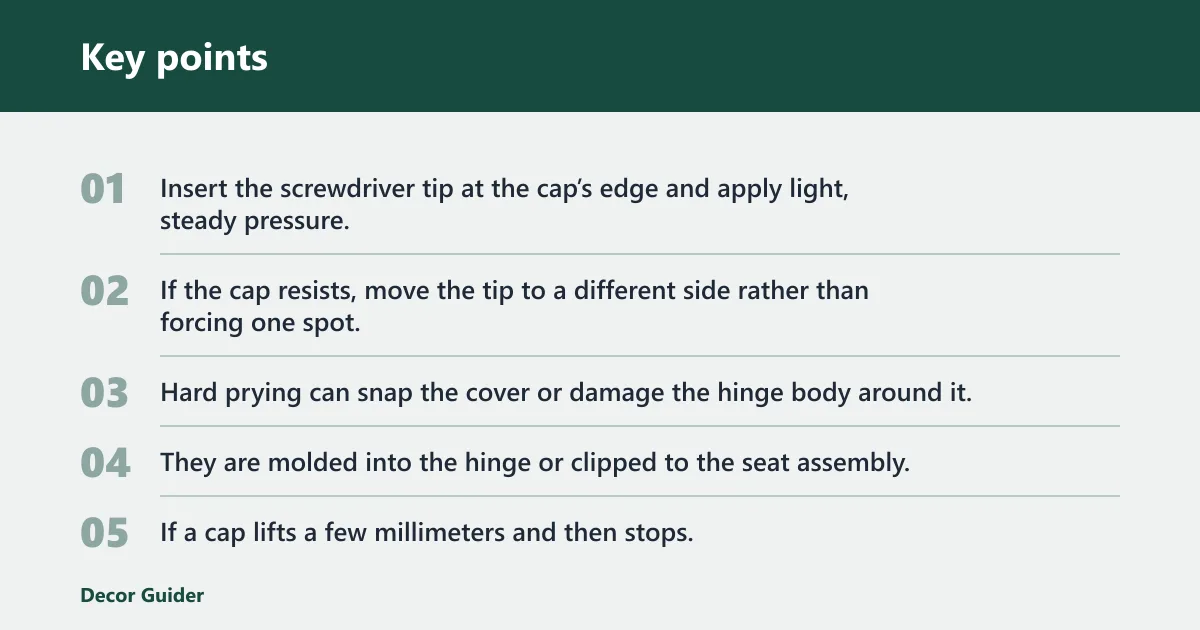
Insert the screwdriver tip at the cap’s edge and apply light, steady pressure. If the cap resists, move the tip to a different side rather than forcing one spot. Hard prying can snap the cover or damage the hinge body around it.
Check whether the cap is attached to the seat
Some hinge caps are not loose lids at all. They are molded into the hinge or clipped to the seat assembly, so they move with the seat instead of coming off separately. If a cap lifts a few millimeters and then stops, inspect for a latch or rotation point before you pry harder.
Find the bolt head beneath the cap
Once open, look for the fastener type before turning anything. You may see a slot head, a Phillips head, or a plastic bolt head that threads into a nut below. Confirm the direction of travel first, because reverse-threaded hardware is possible and can confuse a rushed removal.
How do you remove the hidden bolts?
Remove the hidden bolts by stabilizing the underside hardware and turning the top fastener slowly. Keep the nut under the seat still while you unscrew the bolt from above. If the nut spins, clamp it with pliers or vice grips, then keep the top screw moving with controlled pressure.
Hold the nut underneath while turning the top fastener
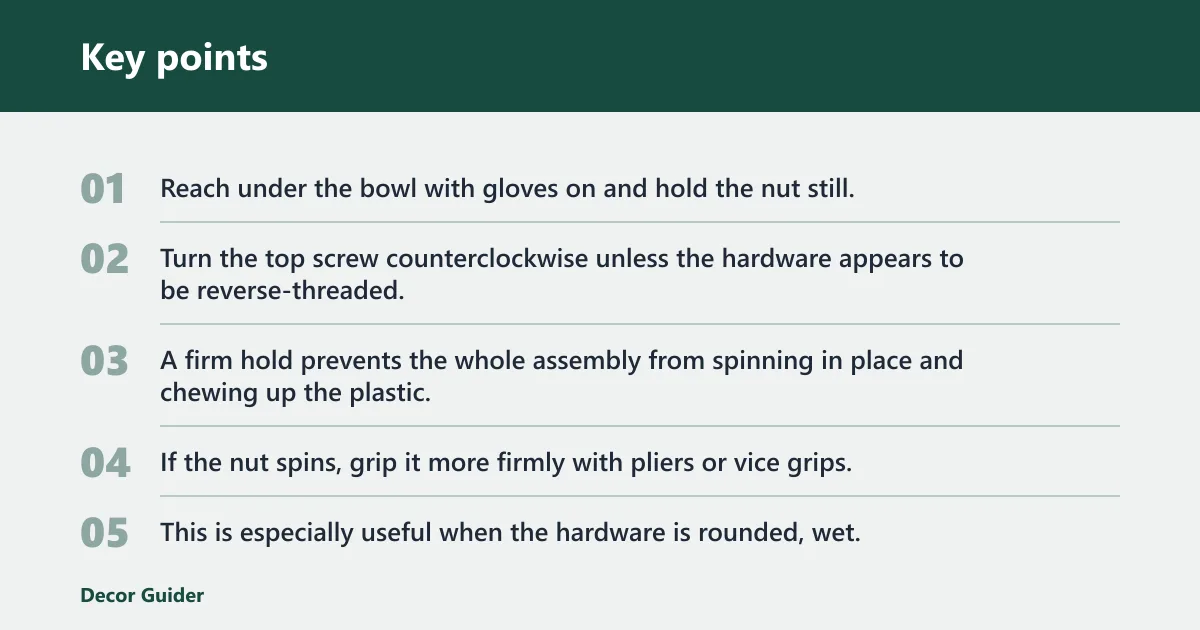
Reach under the bowl with gloves on and hold the nut still. Turn the top screw counterclockwise unless the hardware appears to be reverse-threaded. A firm hold prevents the whole assembly from spinning in place and chewing up the plastic.
Use pliers or vice grips on spinning hardware
If the nut spins, grip it more firmly with pliers or vice grips. This is especially useful when the hardware is rounded, wet, or too tight for fingers alone. Keep the jaws low and square so the tool does not slip into the porcelain edge.
Watch for wingnut, slotted, and Phillips-style heads
Toilet seat bolts and nuts are often plastic, and the top head may be wingnut-shaped, slotted, or Phillips-style. Each one needs a slightly different touch. A flathead screwdriver works on slot heads, while a Phillips bit may fit better on a cross-head fastener.
Suppose the left hinge turns normally but the right side keeps rotating with the nut. That usually means the lower hardware is not anchored well enough. Stop turning the top screw, secure the underside piece, and resume only when the nut stops moving with the bolt.
A seat that looks like it has no screws usually has concealed fixings, not absent hardware. Start by checking the hinge caps, then look underneath for nuts or locking pieces. If nothing turns like a screw, you may be dealing with a twist-lock hinge or integrated assembly bolt instead.
Do not pry at random edges. Identify where the fastener is actually captured, then release that point. The safest path is the one that matches the hardware style, not the one that uses the most force.
Toilet seat troubleshooting matrix
This matrix gives you the safest next move when the hardware does not behave normally. Match the symptom first, then use the suggested tool and stop point. If the fastener is badly damaged or the porcelain starts to chip, stop and change strategy.
| Scenario | Safest next tool | Risk level | Stop point |
|---|---|---|---|
| Cap won’t pry off | Flathead screwdriver at a different edge | Low to moderate | Stop if the cap bends white or shows a crack line |
| Nut spins | Pliers or vice grips on the underside nut | Moderate | Stop if the nut rounds off or the bowl surface starts to scrape |
| Bolt is rusted | Penetrating oil, then wait before retrying | Moderate | Stop if the rusted part will not move after a careful retry |
| Head is stripped | Flathead or Phillips bit that fits deepest, then pliers if accessible | High | Stop if the driver slips repeatedly or starts damaging the slot |
| Plastic is brittle | Hand pressure only, with masking tape protection | High | Stop at the first crack, chip, or whitening in the plastic |
| Reverse thread suspected | Pause and verify turning direction before any more force | Moderate | Stop if the fastener tightens when you expect loosening |
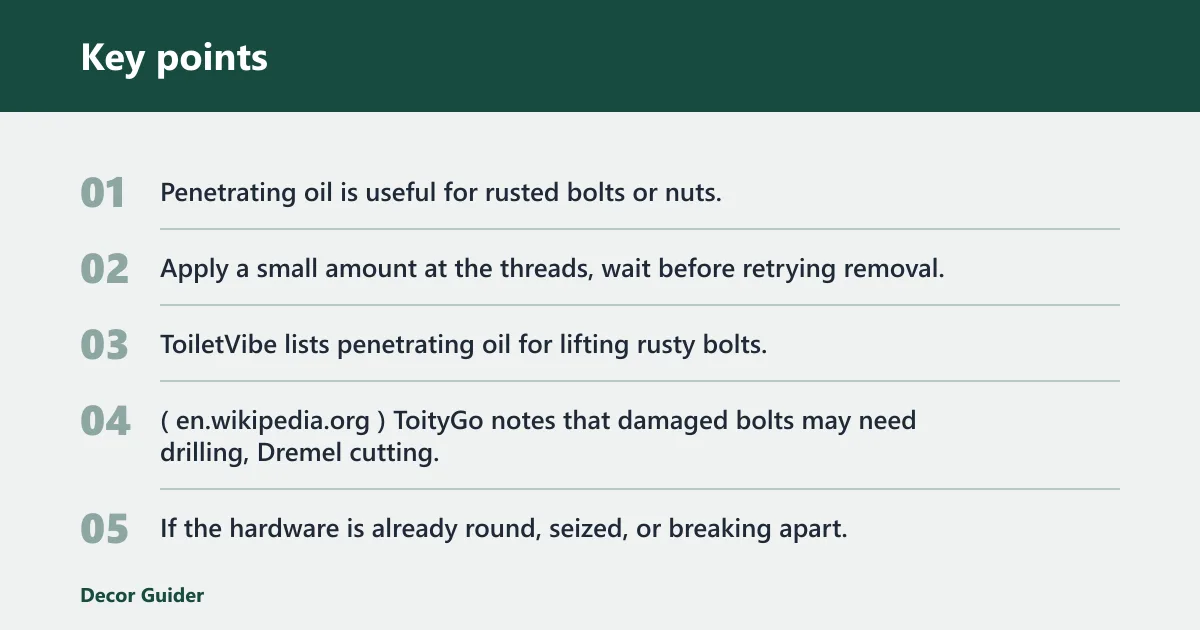
Penetrating oil is useful for rusted bolts or nuts. Apply a small amount at the threads, wait before retrying removal, then work the fastener gently again. ToiletVibe lists penetrating oil for lifting rusty bolts, and some competitors mention WD-40 for the same job; use the product label’s wait guidance, then try again with controlled force. (Wikipedia)
ToityGo notes that damaged bolts may need drilling, Dremel cutting, or a hacksaw. That is a later step, not a first move. If the hardware is already round, seized, or breaking apart, stop before the tool slips into the bowl or shaves the porcelain edge.
What to check after removal
After the seat comes off, inspect the hinge area before buying parts. Look at the bolt holes, the hinge surface, and any plastic anchors that stayed behind. If the holes are chipped, oval, or clogged with broken hardware, the replacement may not sit squarely without cleanup.
Inspect hinge damage and bolt holes
Check for hairline cracks in the hinge body, bent metal, or crushed plastic around the mounting points. Also inspect the porcelain near the holes for chips. A damaged edge can keep the new seat from aligning correctly or can leave the new fasteners loose.
Confirm replacement hinge fit
New toilet seat hinges are often replaced with the seat, though they may be sold separately. Compare the hinge spacing, bolt style, and cover shape before buying. If the old hardware used a twist-lock assembly, a standard replacement seat may not match without the correct hinge set.
Decide whether to replace the full seat
If the seat itself is cracked, the hinges are loose, or the covers are broken beyond reuse, a full replacement usually makes more sense than salvaging parts. Keep the old hardware only if it is intact enough to reuse, and replace any rusted or brittle bolts at the same time.
Frequently asked questions
How to remove a toilet seat with hidden fixings no screws
First identify the fastening style: top-fix caps, underside nuts, or a twist-lock cover. Then open the hinge caps with a flathead screwdriver or by hand, hold the nut below if there is one, and turn the correct fastener slowly. If the part resists, stop and reassess before applying more force.
What if hidden toilet seat bolts are stuck or rusted?
Use penetrating oil on the rusted threads, wait, then try again with gentle pressure. If the fastener is still seized, hold the underside hardware with pliers or vice grips and avoid forcing the top screw. If the bolt begins to crumble, drilling or cutting may be the next step.
How do I open the caps on hidden toilet seat hinges?
Most hinge caps open by prying at the edge with a flathead screwdriver. Apply light pressure and move around the seam if the first spot does not lift. If the cap is attached to the seat assembly, check for a latch or twist motion instead of pulling harder.
How do I remove a spinning toilet seat bolt?
Stop turning the top screw and hold the nut underneath with pliers or vice grips. If the underside piece is too rounded to hold, protect the porcelain with masking tape and reposition the tool for a better grip. A spinning bolt usually means the lower hardware may not be anchored well enough.
How to remove a toilet seat with hidden fixings no screws youtube
Video guides can help you identify the hinge style, but the hardware still needs the same careful steps: cap removal, fastener inspection, and controlled turning. Look for whether the seat is top-fix, underside-access, or twist-lock before following any video demonstration, since using the wrong method can damage the seat or porcelain.
Products related to this article
Sponsored / affiliate links. As an Amazon Associate I earn from qualifying purchases. I may earn additional commission from eligible campaigns.