How to Fix a Loose Tile in a Bathroom
Fix a loose bathroom tile by matching the repair to the failure: regrout for sound tile and cracked grout, reset for a tile that lifts intact, and replace if the backer or substrate appears damaged. A wrong repair lets water reach the subfloor and can make the same tile fail again. This guide shows how to inspect, choose the fix, and do each repair correctly.
How to tell what failed
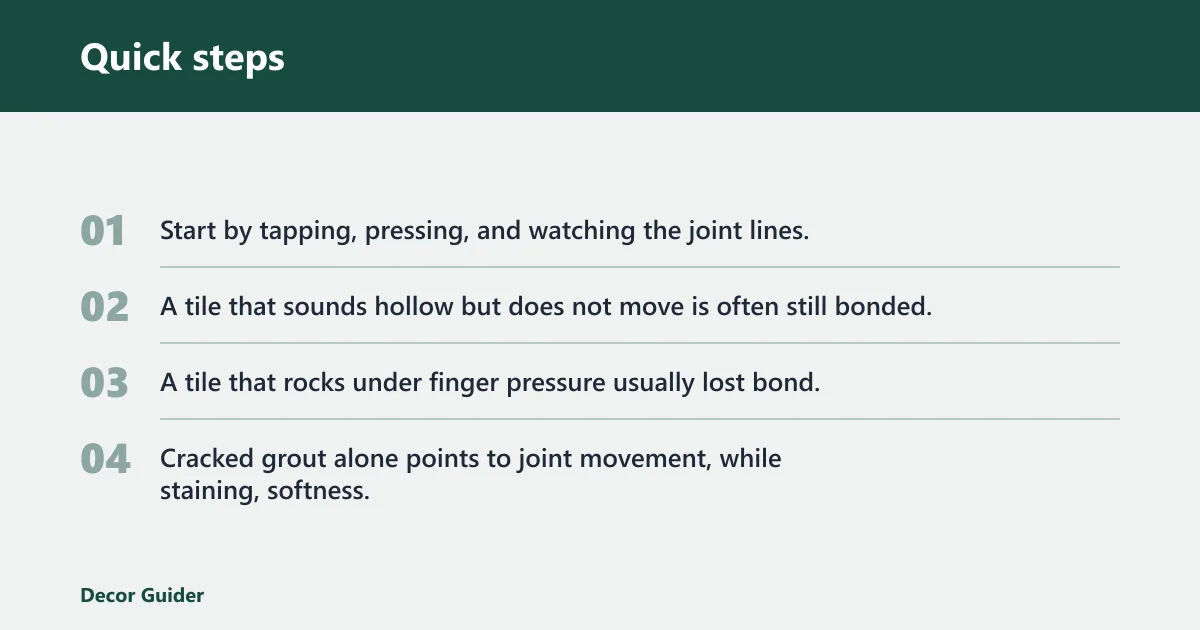


Start by tapping, pressing, and watching the joint lines. A tile that sounds hollow but does not move is often still bonded. A tile that rocks under finger pressure usually lost bond. Cracked grout alone points to joint movement, while staining, softness, or a damp backer points to a deeper problem.
Loose tile decision table
| Symptom pattern | Likely cause | Best fix | Tools and materials | Risk level | When to stop and call a pro |
|---|---|---|---|---|---|
| Hollow but still bonded | Void under part of the tile; bond may still be sound at the edges | Reset if the tile lifts cleanly and the substrate is solid | Grout saw, thin-set mortar, notched trowel, grout | Medium | Stop if the backing crumbles or the tile sits over a membrane seam |
| Rocking tile | Bond failure, uneven substrate, or movement below the tile | Reset only if the backer is dry, flat, and intact; replace if the base is damaged | Grout removal tool, cold chisel and hammer, thin-set mortar | High | Stop if the substrate is soft, damp, or swollen |
| Cracked grout only | Joint movement, shrinkage, or movement at the edge | Regrout if the tile is still firm | Grout saw, matching grout, grout sealer, flexible caulk at movement joints | Low | Stop if the tile also flexes or the crack returns quickly |
| Water-stained backing | Moisture intrusion; possible failed waterproofing membrane | Replace the tile only after the cause is identified; repair may need more than a surface fix | Inspection light, scraper, thin-set mortar, replacement tile, membrane repair materials if specified | High | Stop if the stain is widespread, the wall is soft, or the area is a shower |
| Soft substrate | Water-damaged wallboard, cement board, or underlayment | Repair the substrate first; a surface patch alone is not enough | Cutting tool, patch material matched to the substrate, thin-set mortar | High | Stop if the damage extends beyond one tile or the framing feels affected |
| Broken tile | Impact, stress, or removal damage | Replace the tile | Masonry bit, drill, cold chisel and hammer, replacement tile, grout | Medium | Stop if adjacent tiles are bonded to a fragile edge or decorative trim |
What you’ll need
- Grout removal tool or grout saw; an oscillating blade can also work if you control depth
- Cold chisel and hammer
- Masonry bit and drill for relief holes in a cracked tile
- Thin-set mortar matched to the tile type, location, and substrate requirements
- Notched trowel sized to the tile and mortar maker’s listing
- Matching grout
- Grout sealer
- Flexible caulk for movement joints and perimeter gaps
- Scraper or putty knife
- Vacuum and clean rags
- Eye protection and gloves
How do you fix a loose tile?
Fix it by cutting out the grout around the tile, lifting the tile without damaging neighbors, cleaning the backer, and resetting it with thin-set mortar if the substrate is sound. Then regrout after the mortar cures, and keep water off the repair until the mortar, grout, and any sealer have met their label times.
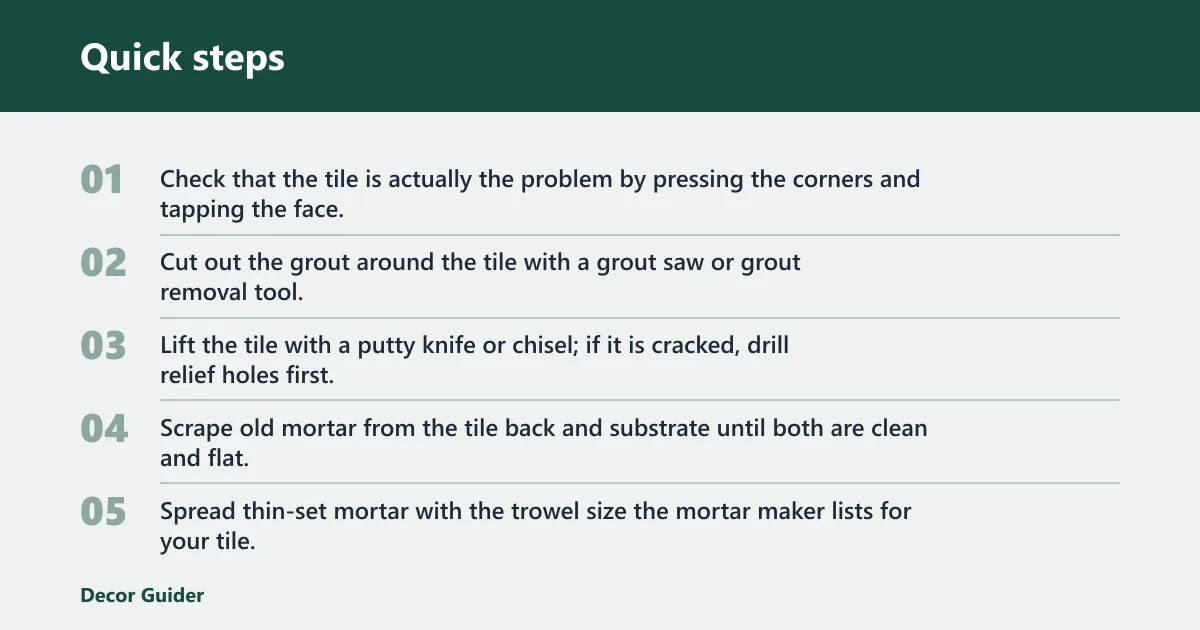
- Check that the tile is actually the problem by pressing the corners and tapping the face.
- Cut out the grout around the tile with a grout saw or grout removal tool.
- Lift the tile with a putty knife or chisel; if it is cracked, drill relief holes first.
- Scrape old mortar from the tile back and substrate until both are clean and flat.
- Spread thin-set mortar with the trowel size the mortar maker lists for your tile; back-butter the tile if full contact is hard to achieve.
- Press the tile in place, then check that it is flush with the surrounding tiles.
- After the thin-set cure time on the label, grout the joints with matching grout.
- After grout cures, apply grout sealer if the grout maker calls for it, then follow the label before water exposure.
Suppose a 4-inch wall tile rocks at one corner but the plaster behind it is hard and dry. That often points to a bad bond, so resetting the tile can be enough. If the same tile rocks and the wallboard crumbles at the edge, replacement without substrate repair will fail again.
How do you repair a loose bathroom wall tile?
A loose wall tile can be reset only if the backer is solid, dry, and reasonably flat after removal. If you find damp wallboard, crumbly cement board, or a damaged membrane area behind a shower wall, a surface reset is not enough. In that case, the backing needs repair before the tile goes back.
- Cut out the grout around the tile first so adjacent tiles stay protected.
- Lift the tile carefully; use a cold chisel and hammer only at the tile edge, not into the wall.
- Inspect the substrate for softness, staining, or powdery material.
- Patch only if the substrate repair matches the wall system and dries flat; otherwise stop and call a pro.
- Reset with a thin-set mortar approved for the tile and wall substrate.
- Wait the mortar label cure time before grouting, then wait the grout label time before exposing the wall to water.
If water damage shows up
Visible staining or softness behind shower tile can suggest the waterproofing membrane has failed, but hidden damage cannot be confirmed from the face of the wall alone. If the membrane is exposed or torn, or if the damaged area spreads beyond one tile, the repair may need rebuilding rather than a patch. That is a good point to stop.
How do you repair a loose bathroom floor tile?
Floor repairs need a solid, flat underlayment and careful attention to movement joints. Reset the tile only if the substrate is dry and stable. At perimeter edges, leave the expansion gap open and fill it with flexible caulk, not grout. Grout belongs in the joints between tiles.
- Remove the grout around the loose floor tile.
- Lift the tile and clean the underside and the underlayment.
- Check the floor for flatness, movement, and moisture before resetting.
- Use a thin-set mortar that matches the tile and underlayment requirements; follow the maker’s listing for the correct trowel size and coverage.
- Press the tile into place and verify that it sits even with neighboring tiles.
- Grout the joints after the mortar cure time on the label.
- At the wall edge or other movement joint, use flexible caulk after the grout has cured.
Say your floor tile is loose beside a tub and the grout line at the wall edge has cracked. If the tile bed is still firm, regrouting the field joint and caulking the perimeter gap may solve the movement. If the tile feels spongy, the underlayment needs repair before any reset.
How do you remove bathroom tiles without breaking them?
Cut the grout first, then work the tile up from one edge with controlled force. A cracked tile usually comes out more safely if you drill a few relief holes with a masonry bit before prying. Near trim or fixtures, slow removal matters more than speed because one slip can chip the neighbor tile or the membrane.
- Score and remove the grout around all sides of the tile.
- If the tile is cracked, drill relief holes through the face to guide the break.
- Start at the weakest edge with a cold chisel and hammer.
- Work in short taps and lift in layers, not with one hard pry.
- Stop if the tile starts pulling up substrate paper, mesh, or membrane material.
How do you replace a bathroom tile?
Replace the tile when it is broken, when the backer has failed, or when the old tile cannot be removed intact enough to reset. Matching thickness, finish, and size matters, especially with discontinued tile. If the replacement sits proud or low, the repair will telegraph through the grout line and may crack again.
- Remove the damaged tile and clean the opening.
- Measure the replacement tile thickness against the surrounding tile.
- Check whether you need to back-butter the tile to reach full contact.
- Set the new tile in thin-set mortar and align the face with the surrounding field.
- Let the mortar cure, then grout with a color that matches the existing joint as closely as possible.
- Seal the grout only after it has cured and the label allows sealing.
Common mistakes to avoid
Most failures come from fixing the symptom instead of the cause. A loose tile that goes back onto soft or damp substrate will fail again, often faster than before. Keep the repair small only when the backing is truly sound.
- Resetting over soft or damp substrate instead of repairing the base first
- Skipping grout removal before prying, which chips neighboring tiles
- Using the wrong mortar for the tile, location, or substrate
- Grouting before the thin-set cures
- Sealing or exposing the repair to water before the grout cure time is complete
- Filling movement joints at floor edges with grout instead of flexible caulk
- Ignoring asbestos-containing cement sheeting that may be present in some pre-1980s homes; if suspected, inspection and removal belong with licensed professionals
Check the repair after the first cleaning. If the tile moves again, stop there and inspect the substrate, because repeated movement usually means the problem is below the tile, not in the grout line.
Frequently asked questions
How do I fix a loose tile in a bathroom?
Cut out the grout first, remove the tile, and check the backer before you decide on reset or replacement. If the substrate is firm and dry, thin-set mortar and matching grout are usually enough. If the substrate is soft or stained, stop and repair the base first.
Should I replace or reglue a loose tile?
Regrout only when the tile is still firm and the issue appears limited to a cracked joint. Reset the tile when it lifts intact and the backer appears solid. Replace it when the tile is broken or the substrate damage makes a reset unreliable.
How do I fix a loose bathroom floor tile?
Remove the tile, verify that the floor is flat and dry, and reset it with the mortar specified for that tile and underlayment. Keep floor-edge expansion joints open and fill them with flexible caulk instead of grout. Follow cure times before walking on or cleaning the area.
How do I repair bathroom tile without damaging the surrounding tiles?
Cut grout all the way around the tile before lifting it. Use short chisel taps, not hard prying, and drill relief holes in cracked tile to control the break. Work from the loose edge inward so the force stays on the tile being removed.
When should I call a pro for loose bathroom tiles?
Call a pro if the substrate is soft, damp, or crumbling, if a shower wall shows signs of membrane failure, or if the tile sits over asbestos-containing cement sheeting that may be present in some pre-1980s homes. Call also if the tile keeps moving after a proper reset.
Products related to this article
Sponsored / affiliate links. As an Amazon Associate I earn from qualifying purchases. I may earn additional commission from eligible campaigns.