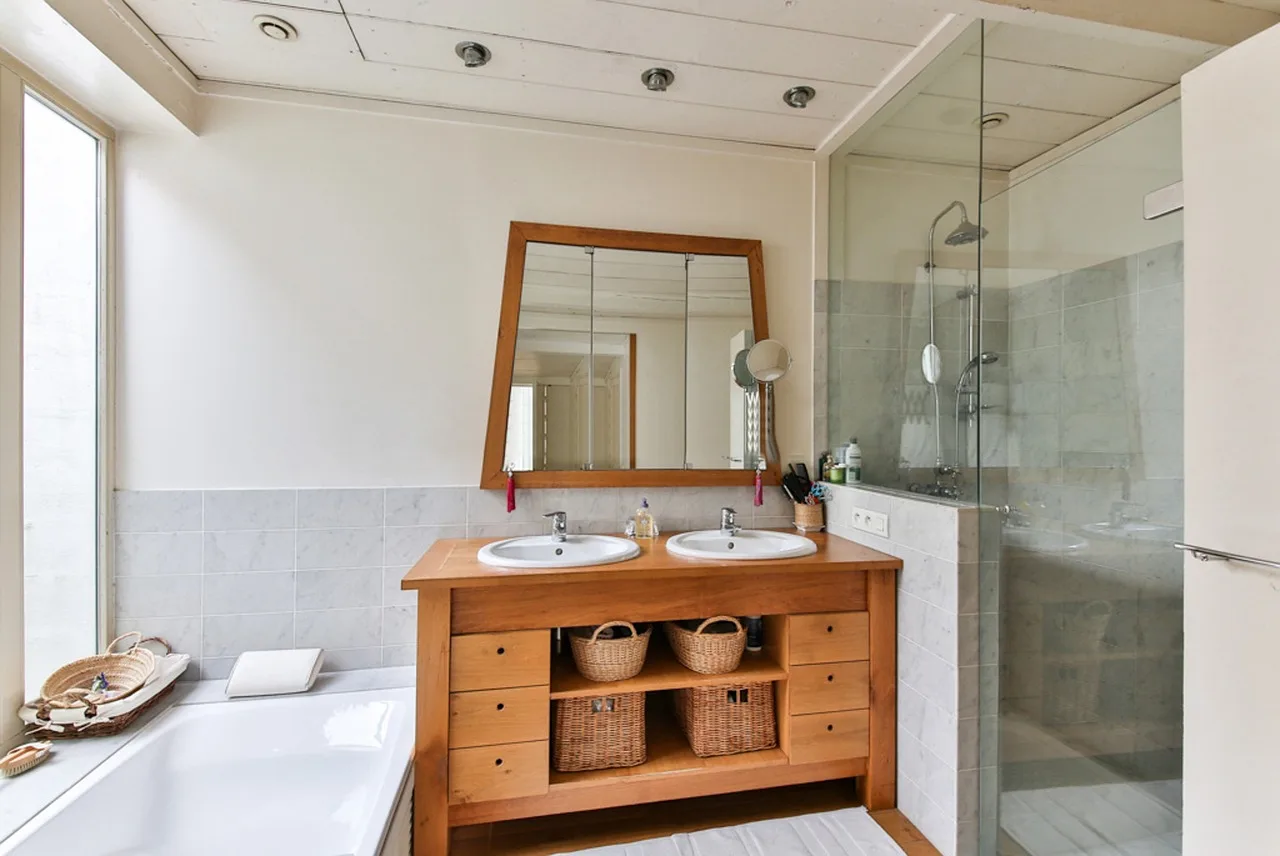
How to Fix a Bathroom Vanity That Is Pulling Away From the Wall
If your bathroom vanity is pulling away from the wall, fix the cause first: tighten or replace the cabinet fasteners, wall anchors, or plumbing restraints before caulking. If you skip the source of the gap, finishes can crack, supply lines can strain, and the vanity can drift farther. This guide shows how to tell whether the problem is the cabinet, wall, fasteners, floor, or plumbing, and which repair fits each one.
Why loose vanities fail structurally


A vanity can separate from the wall for four main reasons: the fasteners failed, the drywall gave way, the wall framing was missed, or plumbing and floor movement pushed the cabinet out of position. A loose vanity is not the same as an out-of-level one. Level changes appearance; movement at the fasteners affects structure. For framing basics, standard wood studs are commonly spaced 16 inches on center, with 24 inches on center also used in some walls, as referenced in the International Residential Code and common framing guidance from Woodwork Institute.
Wall-mounted vanities fail differently from floor-standing models. A wall-hung cabinet depends on studs or manufacturer-specified backing for support, so any loosening at the fastener points should be treated as a concern right away. A floor-standing vanity can still pull away if the top anchors failed, the back rail split, the floor settled, or the plumbing fixed the cabinet in the wrong position. Manufacturer instructions for wall-hung vanities commonly require direct fastening to framing or approved backing, not drywall alone; see examples from KOHLER and IKEA.
Loose, out of level, or actually moving
If the vanity rocks when you press on a front corner, the problem may be at the floor or cabinet base. If the top edge opens a gap while the base stays planted, look at wall fasteners or plumbing stress. If the reveal changes only after running water or after a countertop replacement, plumbing strain or added weight is worth checking first.
Say your 30-inch vanity has a 1/4-inch gap at the backsplash after a sink replacement. If the cabinet does not rock at the base but the screws at the back rail are stripped, the fix is structural reattachment, not more caulk. Caulk can seal the finish edge later. It will not hold the cabinet in place.
Vanity troubleshooting matrix
Use the symptom, not guesswork, to choose the repair. The table below separates stud-backed, drywall-only, wall-hung, and floor-standing vanities so you can match the failure mode to the right fix before adding new screws or patching anything.
| Vanity type | Visible signs | Likely cause | Confirmatory check | Exact repair path | Acceptable fastener types | Red-flag stop conditions |
|---|---|---|---|---|---|---|
| Stud-backed wall-mounted | Top gap grows at the wall; cabinet still feels solid side to side | Loose or stripped cabinet screws at studs | Open the cabinet and see whether the screw shanks spin, the heads pull through, or the wall flexes when loaded | Remove failed screws, verify stud contact, then reinstall into solid framing at the correct depth; add washers if the rail is slotted or soft | Cabinet screws into framing, lag screws into framing, washered structural screws sized to the cabinet rail and stud depth | Studs are split, the wall flexes when you press on it, or hidden plumbing blocks safe reattachment |
| Drywall-only wall-mounted | Screws pull through gypsum; hole edges crumble | Drywall failure or bad anchor choice | Probe the hole edge; if the face paper is torn or gypsum crumbles, the wall surface is not carrying the load | Patch or reinforce the drywall, then fasten into studs or added blocking; use a rated anchor only if the cabinet manufacturer allows that load path | Toggle bolts, molly bolts, cabinet screws into added blocking, structural screws into framing | The vanity is wide, heavy, wall-hung, or has loosened again after a prior repair |
| Wall-hung | Cabinet drops at one end or tilts after a top change | Insufficient mounting points, missed studs, missing blocking, or added countertop weight | Check the install instructions and confirm whether every required fastener line hits framing or approved backing | Rehang with direct stud attachment or open the wall to add continuous blocking/backer where the manufacturer requires it | Structural screws into studs, lag screws into framing, manufacturer-specified mounting hardware | You cannot verify framing, the wall is damaged behind the unit, or plumbing prevents safe access to the mounts |
| Floor-standing | Cabinet shifts after floor movement or a leak | Floor settlement, rotten cabinet base, swollen subfloor, or top anchor failure | Lift slightly at the front edge and inspect for rocking, soft spots, swelling, or cabinet base delamination | Repair the substrate, level the base with shims, then resecure the back rail or upper attachment points to wall structure | Cabinet screws, structural screws, washers, shims, limited-use anchors only where the manufacturer allows | The base is soft or rotten, the floor compresses under load, or the cabinet no longer sits flat after shimming |
| Floor-standing | Rear seam opens after tile work or a new countertop | Cracked tile/floor movement or added top weight changed the cabinet alignment | Watch the gap while pressing on the countertop and check for loose tile, grout cracking, or uneven floor lines | Stabilize the floor, reset shims, then reconnect the vanity to the wall without forcing it against the top | Cabinet screws, washered structural screws, shims, and approved anchors only if framing is unavailable and the load is light enough | Tile continues to crack, the floor moves under foot, or the wall connection cannot be tightened without stressing the top |
| Floor-standing | Gap shifts after sink or drain work; cabinet seems square until plumbing is used | Plumbing misalignment or drain piping is pushing the cabinet out of position | Run the faucet and look for movement at the trap, supply stops, or drain stub-outs | Fix the plumbing alignment first, then reset the cabinet and refasten it once the pipes are stress-free | Cabinet screws, structural screws, washers; do not use anchors to compensate for plumbing push | Leakage is present, the trap binds, or the cabinet shifts only when the plumbing is tightened |
Check the wall and framing
Start by finding the wall structure behind the cabinet. Most vanities need secure attachment points at studs or blocking. Standard framing is often about 16 inches on center, though 24-inch spacing also occurs. A stud finder can locate wood studs; for metal framing, use a detector made to read metal, or verify with a small inspection hole rather than assuming wood behind the wall. In vanity walls, plumbing lines and metal pipes can create false positives, so confirm any reading before drilling. For a closer step-by-step, see how to find studs.
Look for cracked joint compound, pulled-out anchors, crushed gypsum, or elongated screw holes. If the drywall is spongy or the fastener has chewed through the face paper, the wall surface cannot carry the load by itself. That failure needs patching or reinforcement before the vanity is tightened again. If the anchor hole is already damaged, repair the opening first with guidance from repair drywall around anchors.
How to tell whether the wall or cabinet failed
- Open the cabinet and inspect each fastener point.
- Press the vanity at the corners and watch the gap at the wall.
- Check whether the screw heads move in the cabinet rail, the wall, or both.
- Probe the drywall around the hole. Soft, crushed, or crumbling gypsum points to wall damage.
- Confirm whether the cabinet back rail or side panel has split near the screw.
If the cabinet wood is cracked but the wall is sound, repair or replace the damaged cabinet member before reinstalling fasteners. If the wall face is damaged but the cabinet is intact, patch the drywall first. Driving a new screw into crushed gypsum will not hold for long. If the issue is the hardware itself, use the approach in replace vanity mounting screws so the new fastener matches the existing rail and framing depth.
What to do if the fasteners failed
Replace stripped or rusted screws rather than reusing them. Use cabinet screws, structural screws, or lag screws sized for the cabinet back and the stud depth, with washers where the fastener head needs to spread load across a slot or soft back rail. A weak fastener can let the vanity drift even if the wall itself is fine. The exact screw diameter and length depend on the vanity rail thickness, the wall material, and whether the fastener is going into wood framing, metal framing, or an approved anchor.
Match screw length to the material stack. As a general example, a screw that passes through a cabinet back or rear rail and reaches framing should still leave at least 1 inch of embedment in wood framing without punching through plumbing or other hidden services. If the original screw rusted, bent, or spun freely, replace it instead of tightening it again. Structural screws are typically used where code-compliant framing attachment is required; lag screws are a heavier-duty option into wood framing when the rail and stud depth can accept them; cabinet screws are commonly used for cabinet-to-framing attachment when the installer needs a slimmer head and controlled pull-down.
Fastener choices that hold better
- Cabinet screws or lag screws: Best when you can reach wood or metal framing with enough depth for secure bite.
- Washers: Useful under screw heads to spread load and reduce tear-through on slotted holes or softer cabinet rails.
- Replacement hardware: Use it when the old screw is stripped, corroded, or too short for the current wall buildup.
- Not ideal: Plastic drywall anchors for a heavy bathroom vanity.
A common first-timer mistake is reinstalling the same short screw into the same enlarged hole. The cabinet may feel tighter for a day, then pull away again when the load shifts. A longer, better-matched fastener into actual framing gives the repair a chance to hold.
Can you fix it without studs?
Yes, but only in limited situations. If studs are unavailable at the mounting points, hollow-wall anchors can support only light loads and should not be treated as permanent structural support for a heavy vanity. Plastic anchors are generally a poor choice for this job and should not be treated as structural support. Manufacturer instructions for wall-hung cabinets typically require attachment to studs or approved blocking rather than relying on hollow-wall anchors alone; that is why a heavy or wall-mounted vanity should not be treated like a picture frame or towel bar. Building-product guidance such as manufacturer-style installation instructions and trade references like USG’s wall-anchor guidance consistently distinguish light-duty anchors from structural fastening.
The better repair is usually backer or blocking. Plywood or 2x blocking installed between studs gives you a solid fastening surface behind the finished wall and supports repeated screw fastening. That matters when a vanity’s mounting holes miss the studs by an inch or when the cabinet will need to be removed and reinstalled later. If you need to repair the wall after removing failed hardware, the next step is often repair drywall around anchors before reinstalling the vanity.
When blocking is the right fix
Use blocking when the vanity is wall-hung, when the screw pattern does not align with framing, or when previous repairs have widened the holes. Blocking is also the cleaner answer when repeated re-fastening is likely, such as after a countertop change or after the wall was opened for plumbing work. For wall-hung units, blocking is often the practical answer when the cabinet needs continuous support behind a finished wall, especially where manufacturer instructions call for it.
If you are working with a finished wall and cannot add blocking without opening the cavity, a temporary anchor may hold the cabinet in place until the wall can be repaired properly. Do not treat that as a permanent solution for a loaded vanity.
Level the vanity and reset the support
Use a carpenter’s level before tightening the cabinet down. If the vanity is twisted or rocking, add composite or cedar shims at the low points until the cabinet sits flat. Then fasten it. Shims are for support and alignment, not as a substitute for anchoring. If the floor is uneven, you may need to level a bathroom vanity with shims before the wall connection is tightened.
Trim shims flush after fastening so they do not interfere with the toe kick, drawers, or cabinet doors. If the vanity sits on an uneven floor, the base must be stable before the wall connection is tightened. A cabinet that is forced into a bend will often pull away again.
Resetting a loose vanity step by step
- Turn off water if plumbing lines will be moved.
- Empty the cabinet.
- Locate studs or blocking and mark the fastener points.
- Check for plumbing lines before drilling new holes.
- Shim low spots until the vanity sits level and does not rock.
- Install the correct screws or anchors and tighten them evenly.
- Trim exposed shims flush and recheck the fit.
Picture a 48-inch floor-standing vanity that leans forward after a bathroom floor repair. If the cabinet is level side to side but the rear edge has opened at the wall, the issue may be floor settlement or an unfastened top rail. Level the base first, then secure the top to framing.
Do you need to remove the countertop to repair a loose vanity?
Sometimes no. If the fasteners are accessible through the cabinet back or upper rail and there is enough room to drill and drive screws safely, the countertop can often stay in place. But if the sink, faucet, or drain connections block access, or if the vanity must be lifted to reset shims or blocking, top removal may be necessary.
Do not force the cabinet against a fixed countertop if the movement comes from plumbing. A rigid connection can stress the sink, crack the backsplash joint, or pull the vanity farther out of square. If the top was replaced recently and the gap appeared afterward, check whether the new countertop weight or alignment changed the load path.
Countertop removal decision
Remove the countertop only when one or more of these apply: fastener access is blocked, sink or drain plumbing prevents safe reach, the stone top is too heavy to move as a unit, the backsplash bond must be broken to avoid damage, or there is a meaningful risk of cracking the countertop while lifting or flexing the vanity. If none of those conditions are present, repair the vanity in place and preserve the top.
When plumbing means stop
Call a plumber or handyman when supply lines, the trap, or the sink drain prevent safe access to the fasteners, or when a leak has softened the cabinet base, swollen the floor, or stained the drywall. If the vanity shifts when the faucet runs or when pressure changes in the pipes, the movement is not only a fastening issue. If the drain needs attention, see fix a leaking P-trap before resetting the cabinet. If the backsplash joint is tight or failing after the top is moved, use caulk around a backsplash only after the structure is corrected.
Fix the source of the movement first, then seal the finish gap. Caulk at the backsplash edge or wall joint is a water-resistance detail, not a structural repair. Once the cabinet is secured to studs, blocking, or an appropriate anchor point, a paintable caulk or silicone joint can close the visible seam and help keep moisture out.
If the drywall was damaged, patch it before re-fastening. If the fasteners were the problem, replace them. If the wall lacks a solid attachment point, add blocking rather than relying on the finish surface. The repair should match the failure mode, not the gap size.
Frequently asked questions
Why is my bathroom vanity pulling away from the wall?
Most often, the cause is loose fasteners, damaged drywall, missed studs, or movement from plumbing or floor settlement. A wall-hung vanity is especially sensitive to fastener failure. A floor-standing vanity can also pull away if the top anchor points fail or the base shifts out of level.
How do I tighten a vanity that is coming loose from drywall?
Do not rely on drywall alone for a heavy vanity. First check whether the cabinet can reach studs or blocking. If the gypsum is crushed or the hole is enlarged, patch the wall before refastening. Use drywall anchors only in limited load situations, and choose toggle or molly bolts over plastic anchors when studs are unavailable.
Can I fix a vanity that is not anchored into studs?
Yes, but the durable fix is usually added blocking or backer material behind the wall. Some light-duty situations can use toggle or molly bolts, but plastic anchors are not a sound choice for a loaded bathroom vanity. If the cabinet is wide, heavy, or wall-hung, open the wall and add proper support.
What screws or anchors should be used for a bathroom vanity?
Use cabinet screws, structural screws, or lag screws sized to reach solid framing, with washers where the head needs extra bearing surface. Match the screw length to the cabinet back and stud depth. If studs are absent, toggle or molly bolts may be a temporary option in limited cases. Replace rusted or stripped hardware. Anchors are not equivalent substitutes for stud attachment on heavy or wall-hung vanities.
How do I tell if the vanity is loose or the drywall is damaged?
If the vanity rocks or shifts while the drywall stays intact, the cabinet or its fasteners are likely the issue. If the screw holes are crumbling, the face paper is torn, or the gypsum feels soft, the wall surface is damaged too. Crushed drywall needs repair before new fasteners go in.
Products related to this article
Sponsored / affiliate links. As an Amazon Associate I earn from qualifying purchases. I may earn additional commission from eligible campaigns.