How to Install Adjustable Shelf Pins
Install adjustable shelf pins by drilling matching holes in a straight, even row, using the pin size the hardware calls for, usually 5 mm or 1/4 inch, and keeping both sides of each shelf at the same height. Cabinet systems often use 32 mm spacing for repeatable positions, and load limits depend on the shelf, span, and hole quality rather than the pin alone.
Quick Answer
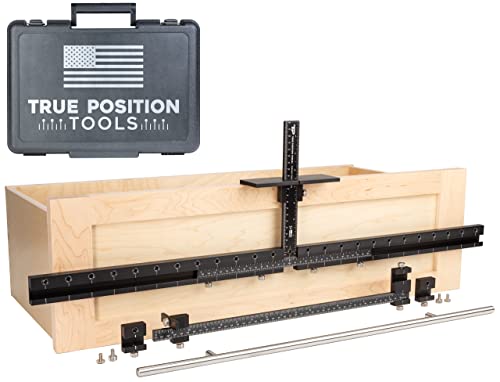
Choose the matching pin system first, then drill both cabinet sides from the same reference edge with the same setback and depth. For most cabinets, that means 5 mm or 1/4 inch holes, often laid out on a 32 mm pattern. A shelf that fits on four correctly placed pins should sit level without rocking or binding.
Tools and Sizes
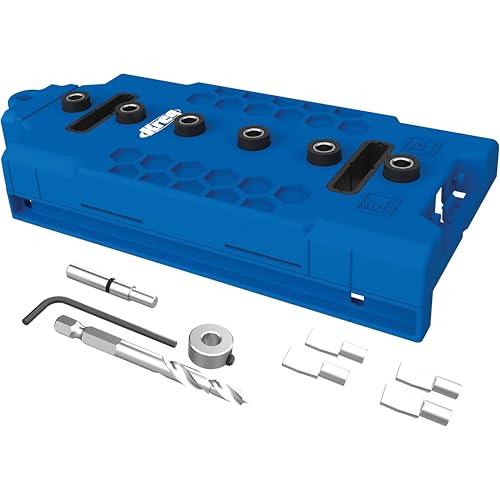
- Shelf pin jig sized for 5 mm or 1/4 inch holes
- Drill with a shelf pin drill bit
- Stop collar for depth control
- Clamp to hold the jig steady
- Shelf pins, matched to the hole size
- Shelves cut to the opening width
- Square or tape measure
- Scrap board for a test hole
If your cabinet or bookcase already has holes, compare the hardware before you drill anything new. Shelf pin holes are commonly drilled in 5 mm or 1/4 inch sizes, and the pin and hole need to match for a secure fit. Four pins support one shelf, so every support point has to use the same diameter.
If you are choosing a drilling guide, start with a jig that matches the system you plan to use. Shelf pin jigs are commonly sold as 5 mm or 1/4 inch systems, and many are designed around 32 mm spacing for repeatable shelf layouts.
Step-by-Step Installation
Use a jig first, not freehand marks. Set the setback, clamp the jig to one side panel, drill the first row with a stop collar, then repeat the same layout on the opposite panel so the shelf lands level. Keep every hole at the same spacing and depth.
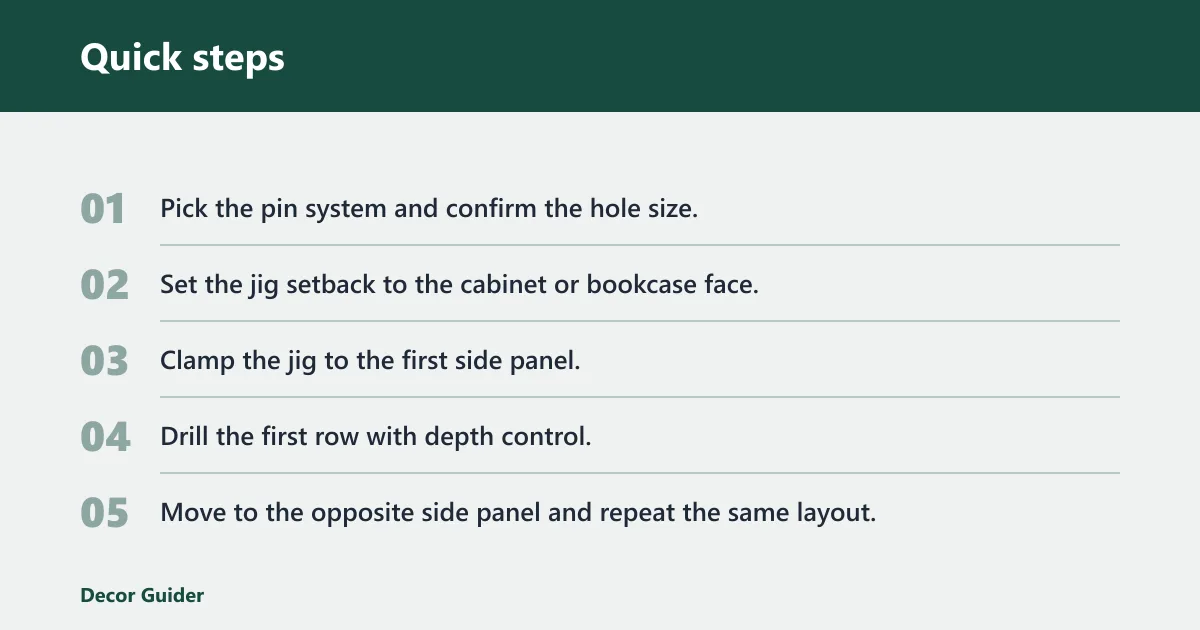
- Pick the pin system and confirm the hole size.
- Set the jig setback to the cabinet or bookcase face.
- Clamp the jig to the first side panel.
- Drill the first row with depth control.
- Move to the opposite side panel and repeat the same layout.
- Insert four pins at the chosen shelf height.
- Set the shelf on the pins and check for level.
1. Choose the pin system first
Use 5 mm pins with 5 mm holes and 1/4 inch pins with 1/4 inch holes. Shelf pins can be made from nickel plated steel or zinc alloy, and some are spoon style with a wider bearing surface. The pin style matters less than the match between the pin and the drilled hole, which is why the bit marking matters before you start.
2. Set the row spacing and setback
Many shelf pin jigs are set up with 32 mm spacing, which is common in cabinet work because it makes shelf positions repeatable. The jig can set holes 1 inch from the edge, and it can also set holes 2-1/8 inches from the edge. Use the same setback on both panels or the shelf will tilt front to back.
3. Drill the first side panel
Clamp the jig, set the stop collar, and drill one hole at a time with steady pressure. A common target is to drill only as deep as the pin shank needs to seat fully, typically leaving the pin shoulder flush or slightly proud depending on the pin design. A scrap-board test hole helps confirm the depth before you commit to the cabinet.
4. Mirror the layout on the opposite side
Use the same reference edge on the other panel so the rows match exactly. If you measured one side from the face and the other from the back, the holes can be level on paper and still miss in the cabinet. A front-to-back setback mismatch is one of the fastest ways to create a shelf that rocks or binds.
5. Fit the shelf and verify level
Insert four pins at the chosen height, set the shelf on top, and press each corner lightly. If one side dips, compare the hole height and setback on both panels before drilling any more holes. A single test fit catches most alignment errors before the row is fully committed.
Troubleshooting Table
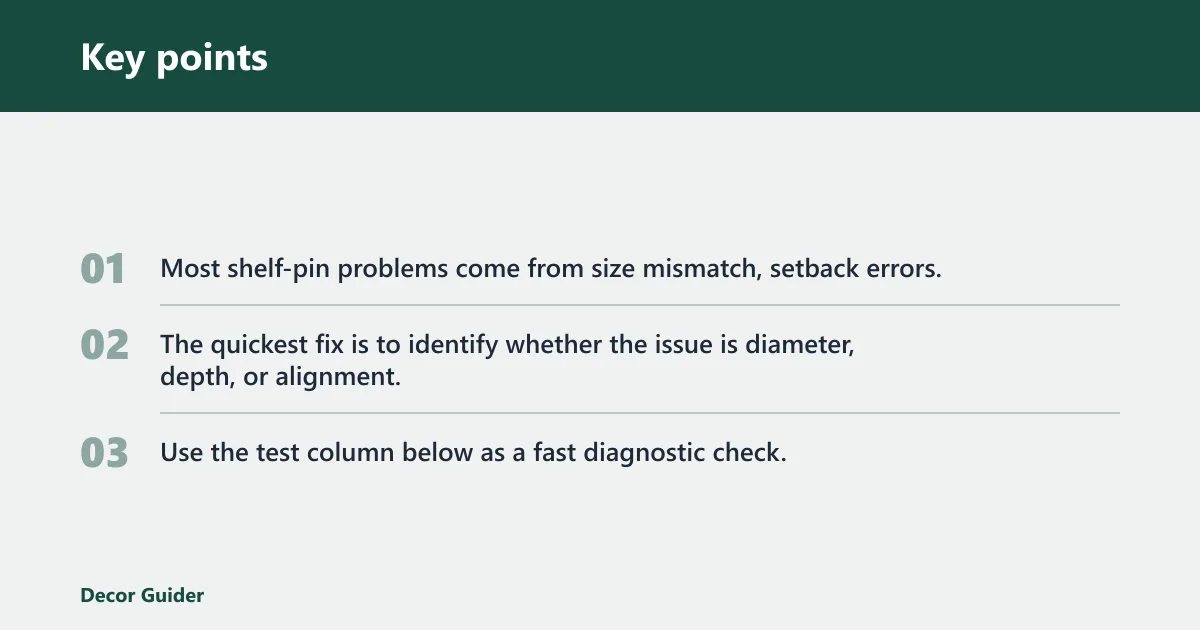
Most shelf-pin problems come from size mismatch, setback errors, or holes drilled too shallow or too deep. The quickest fix is to identify whether the issue is diameter, depth, or alignment, then correct that cause before drilling more holes. Use the test column below as a fast diagnostic check.
| Symptom | Likely cause | Quick test | Fix |
|---|---|---|---|
| Wobble | Rows are out of square or setback differs between sides | Place a shelf on four pins and press each corner | Recheck the reference edge and redrill the matching row |
| Loose pins | Pin size does not match the hole size | Insert one pin and see whether it slips or spins | Use the correct 5 mm or 1/4 inch pin, or sleeve the hole |
| Split holes | Bit drift, thin material, or drilling too aggressively | Inspect the edge around the first failed hole | Move the row farther from the edge and drill with a sharp bit |
| Mismatched pin size | 5 mm pins are being used in 1/4 inch holes, or the reverse | Compare the pin diameter to the bit size marked on the jig | Swap to matching hardware or drill a new matched row |
| Uneven shelf tilt | Front and back rows are not level | Set a straight shelf or board on both rows and check the gap | Re-set the jig at the same height and correct the row height |
| Setback error | One panel was measured from a different edge | Measure from the face of both panels to the hole center | Use the same setback setting, often 1 inch or 2-1/8 inches |
| 5 mm vs 1/4 inch decision | Existing hardware or jig size was not checked first | Look at the old pins, holes, and bit label together | Choose the size that matches the current system; do not mix them |
| Retrofit vs new-build | Face frames, backs, or damage make clean drilling hard | Dry-fit the jig at the intended setback | Use retrofit holes only if the jig clears and the panel stays square |
Retrofit existing cabinet
Yes, but face frames, backs, and tight clearances change the setup. You may need a jig with a smaller fence offset, a shorter bit access path, or a different drilling angle near fixed parts. Retrofit work is possible in cabinets, bookcases, and built-ins if the panel thickness and clearances allow it.
Work around fixed parts
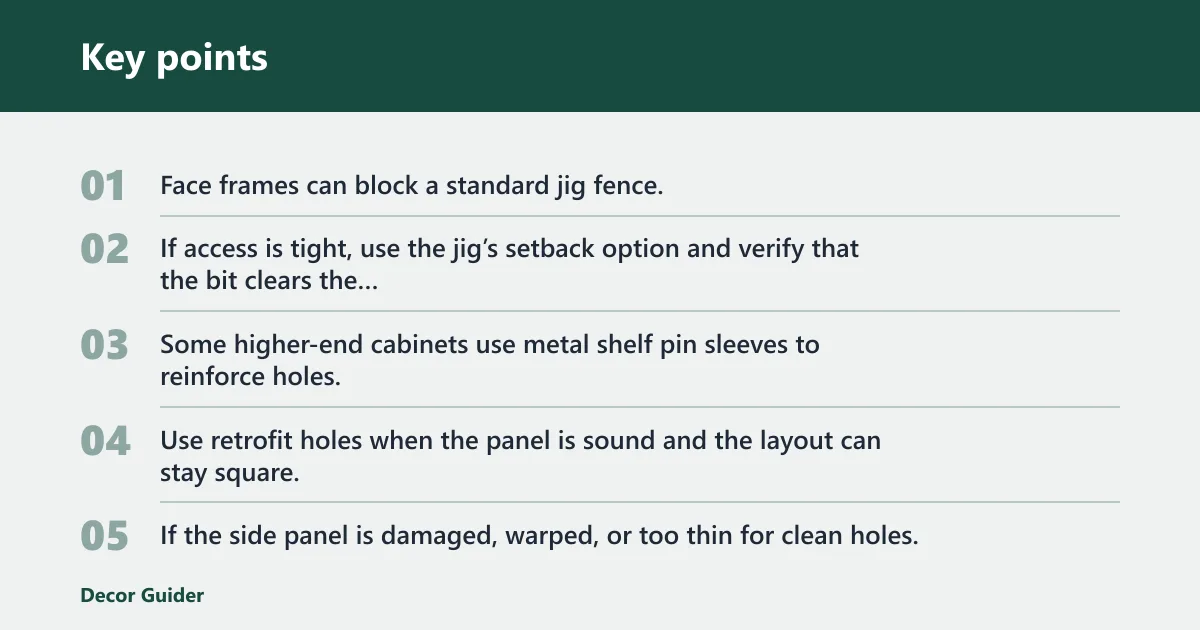
Face frames can block a standard jig fence, and a back panel can limit how far the drill can travel. If access is tight, use the jig’s setback option and verify that the bit clears the frame before drilling. Some higher-end cabinets use metal shelf pin sleeves to reinforce holes, which helps when the load is heavier.
Decide whether the retrofit is worth it
Use retrofit holes when the panel is sound and the layout can stay square. If the side panel is damaged, warped, or too thin for clean holes, a new panel or a different support plan may be safer. Shelf pins are useful for books and décor, but heavy books or media gear may need more support than standard pins alone can provide.
Shelf spacing and depth
32 mm spacing is common, especially on jigs made for cabinet work and repeatable shelf locations. That spacing helps you move a shelf by small increments without redrawing every hole. For mixed storage, leave taller zones where books or baskets need clearance, and use tighter moves where décor items need less height.
Set the hole depth to the pin shank
Use the pin shank length as the practical depth target: the hole should be deep enough for the shank to seat fully without bottoming out, but not so deep that the drill breaks through thin panels. If the pin does not sit flush, lower the stop collar slightly and retest in scrap before drilling the cabinet.
Check shelf load and support limits
Published load guidance varies by pin style, shelf material, and span, so treat any single number as approximate unless the hardware maker states it directly. Standard steel shelf pins are commonly used for light to moderate loads, but heavy books, dishes, or media equipment should be supported with shorter spans, thicker shelves, or reinforced hardware.
FAQ
How do you install adjustable shelf pins?
Clamp a jig to the side panel, drill matching holes to the correct depth, and repeat the same layout on the opposite panel. Use four pins per shelf, and keep the setback identical on both sides so the shelf sits level and does not rock.
What size shelf pins do I need for a shelf pin jig?
Use the size the jig is built for, usually 5 mm or 1/4 inch. The jig bit, the hole, and the pin all need to match. A 5 mm pin will not fit a 1/4 inch hole securely, so mixing sizes is not a workable shortcut.
How deep should shelf pin holes be drilled?
Drill just deep enough for the pin to seat fully without breaking through the panel. Set the stop collar on the drill bit before you start, then test one hole in scrap or an out-of-sight spot. If the pin bottoms out too early, lower the collar a bit and retest.
Can you add shelf pins to an existing cabinet?
Yes, if the side panels are sound and the jig can clear any face frame, back, or fixed shelf. Measure the setback carefully and use the same reference edge on both panels. If the existing holes are damaged or off-line, a new row is usually cleaner than patching the old one.
How do I tell 5 mm holes from 1/4 inch holes?
Use calipers if you have them: 5 mm is about 0.197 inch, while 1/4 inch is 0.250 inch. If you only have drill bits, compare the bit markings or test a known 5 mm pin and a known 1/4 inch pin. A clean, snug fit should not wobble or fall through.
Products related to this article
Sponsored / affiliate links. As an Amazon Associate I earn from qualifying purchases. I may earn additional commission from eligible campaigns.