How to Build a Corner Bookshelf: Step-by-Step
Build a corner bookshelf by matching the design to the corner: use a triangular unit for a true 90-degree corner, a floating shelf set for lighter storage, or a full-height anchored bookcase if it is taller than about 36 inches. Bad measuring leaves gaps, wobble, and weak anchoring that can pull out of the wall. Choose the build method by corner shape, expected load, and whether you can fasten into studs. Measure the corner first, then cut to the tightest dimension, and keep the structure sound from the start.
What kind of corner bookshelf fits your space?
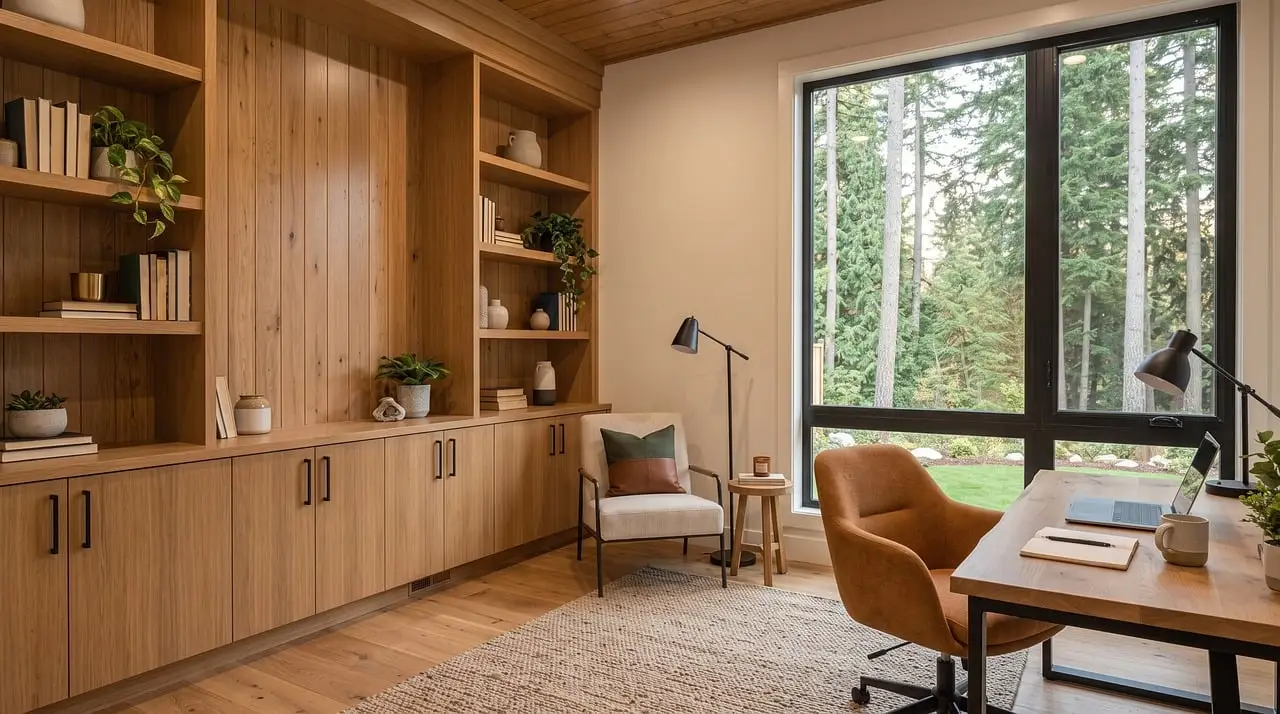


Choose the build type by corner shape, load, and whether you can fasten into studs. A triangular bookshelf fits a true inside corner and gives the most enclosed storage. Wall-anchored shelves suit light to medium loads. A rental-safe no-drill version works best for decor, paperbacks, and short-term use.
Freestanding triangular build
This is the best choice when you want a full bookshelf with side panels, shelves, and a visible frame. It works well for books because the structure carries its own weight, but it still benefits from wall anchoring if it is tall. Use plywood for the carcass and solid wood boards for front edges or trim.
Wall-anchored shelf build
Use this when the corner needs open shelving and the wall can take fasteners. It is a strong option for a small room, entry, or office corner. Stud placement matters here, and a stud finder should be paired with a level and tape measure before you drill.
Rental-safe no-drill option
Choose this for plaster you do not want to puncture, or for a lease that limits wall damage. The tradeoff is capacity. These builds should stay shallow, use wider bases, and carry lighter loads such as paperbacks, plants, and framed decor. They are not the best choice for heavy art books.
Corner bookshelf build planner
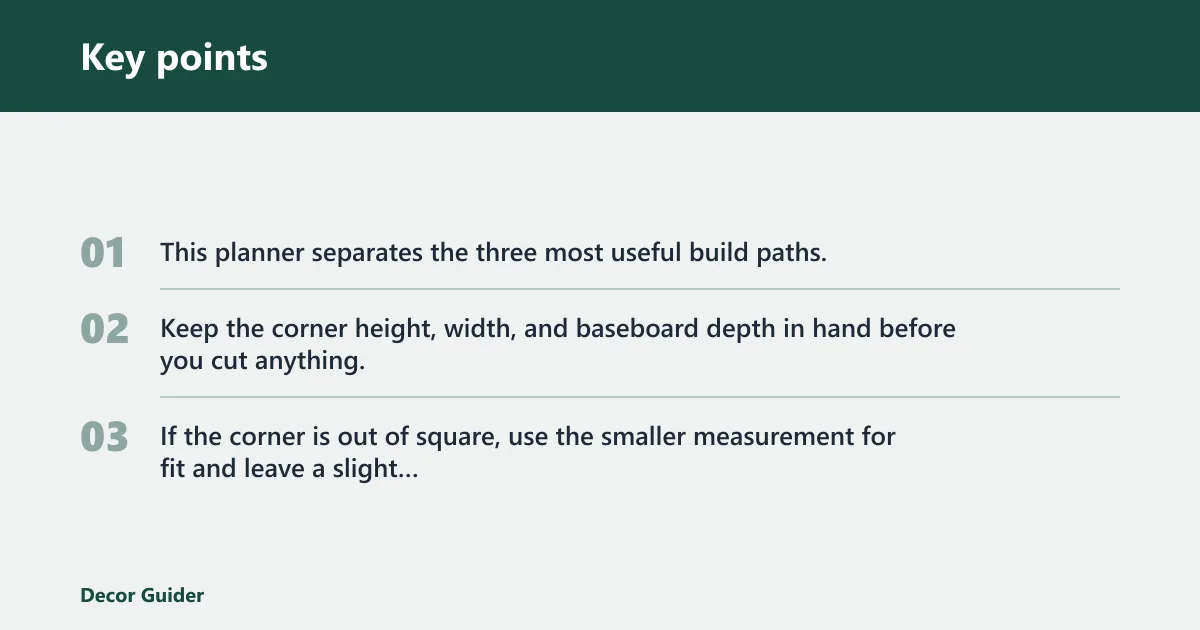
This planner separates the three most useful build paths. Keep the corner height, width, and baseboard depth in hand before you cut anything. If the corner is out of square, use the smaller measurement for fit and leave a slight back gap instead of forcing the unit into the walls.
| Build type | Required measurements | Material list | Cut sequence | Anchoring notes | Failure-risk checklist |
|---|---|---|---|---|---|
| Freestanding triangular corner bookshelf | Corner wall height, front width, side depth, baseboard depth, floor level | 3/4-inch plywood for sides and shelves, 1×2 or 1×3 solid wood for face frame, wood screws, wood glue, finish nails or pocket screws, shelf pins if adjustable shelves are wanted | Cut side panels first, then shelves, then top and bottom, then face trim | Anchor top rail to studs if the unit is over 36 inches tall or loaded with heavy books | Check for baseboard interference, shelf sag over spans above 24 inches, and racking if the back is open |
| Wall-anchored corner shelves | Corner wall height, shelf depth, stud spacing, baseboard depth, wall plumb at three points | 3/4-inch plywood or solid wood shelves, wall cleats or brackets, wood screws, wall anchors as fallback, level, stud finder | Cut shelves to depth first, then mark stud lines, then drill support points | Fasten into studs whenever possible; use wall anchors only when the wall type and load rating match the shelf weight | Check bracket spacing, anchor rating, and whether the corner is square enough for flush edges |
| Rental-safe no-drill version | Corner wall height, clear floor width, baseboard depth, usable shelf depth, ceiling height if a tension top is used | Plywood or solid wood shelves, freestanding side supports, anti-tip strap if allowed, felt pads, shelf pins or fixed cleats | Cut supports first, then shelves, then add a top tie or tension fit only if the room allows it | Avoid permanent wall holes; use only freestanding support or landlord-approved hardware | Check floor level, tip resistance, and shelf sag before loading the unit |
What you’ll need
- Stud finder, used with a level and tape measure for anchoring layout
- Measuring tape
- Level
- Plywood, usually 3/4 inch for panels and shelves
- Solid wood boards for face frames, trim, or exposed shelf fronts
- Wood screws sized to the material thickness
- Wood glue
- Wall anchors matched to drywall or plaster, if studs are not available
- Shelf pin system for adjustable shelves
- Miter saw or circular saw with straightedge guide
- Drill and drill bits
- Sandpaper or sanding block
- Paint, stain, or clear sealant
- Clamps
- Square and pencil
How do you measure the corner before cutting?
Measure the wall height, the usable corner width, and the baseboard depth before any cut. Then check whether the two walls meet at a true 90-degree angle. If the corner is not square, the front opening and shelf lengths need to be based on the tightest dimension, not the widest one.
Check wall height
Measure from floor to ceiling at both walls and at the corner itself. Use the shortest number if the ceiling slopes or the floor is uneven. That keeps the unit from binding at the top.
Measure corner width
Measure from the inside corner out to the point where you want the front edge to land on each wall. For a triangular unit, these side measurements decide the shelf depth. For wall shelves, they set the bracket location and load span.
Account for baseboards and uneven walls
Baseboards can push the unit away from the wall and leave a visible gap. Measure baseboard depth, usually from the wall face to the outer edge of the trim, and decide whether to notch the back or float the cabinet forward. A common first-timer mistake is forgetting that plaster walls can bow, so check at the top, middle, and bottom.
How do you build a corner bookshelf step by step?
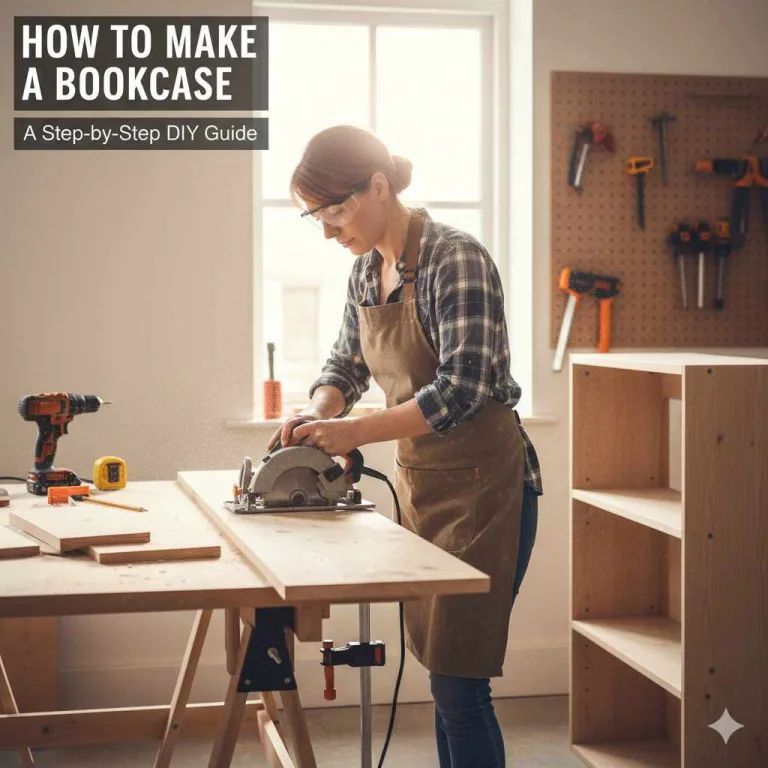
Build in this order: lay out the corner, cut the panels, assemble the frame, add shelves and supports, then sand, finish, and anchor. That sequence keeps the fit accurate and avoids repainting over parts that still need drilling or trimming.
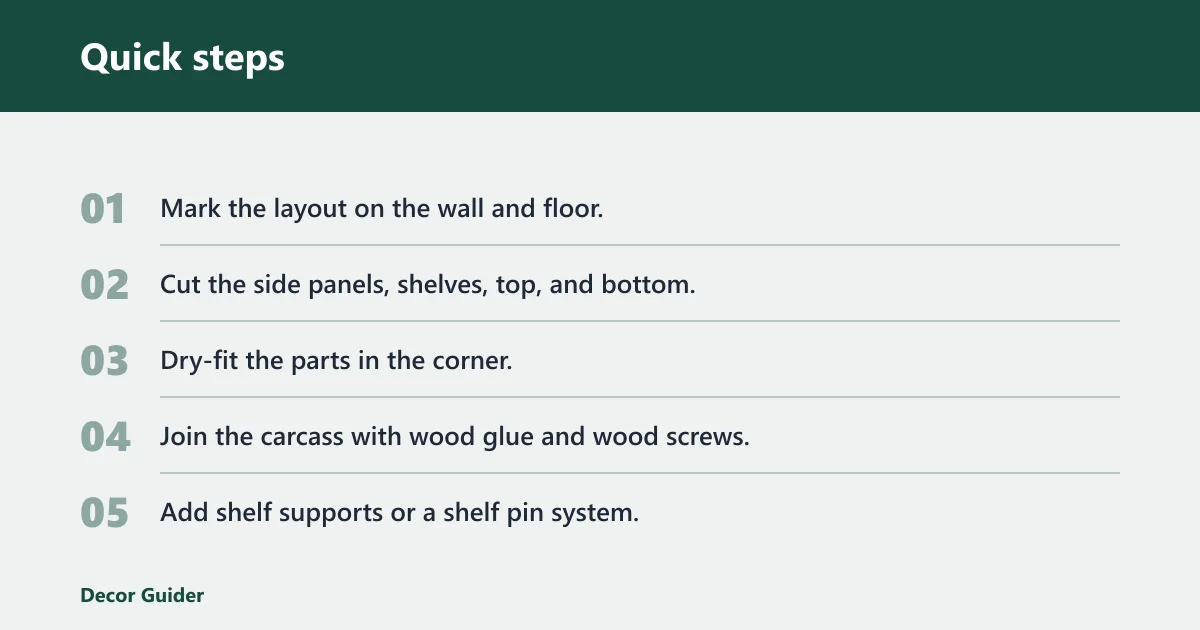
- Mark the layout on the wall and floor. Mark the finished height, shelf spacing, and baseboard line before you cut.
- Cut the side panels, shelves, top, and bottom. Use a miter saw or circular saw with a straightedge so the edges stay square and repeatable.
- Dry-fit the parts in the corner. Check for wall bumps, baseboard contact, and racking before fastening anything.
- Join the carcass with wood glue and wood screws. Keep screw length matched to the board thickness so the tips do not blow through the face.
- Add shelf supports or a shelf pin system. Drill pin holes evenly, or install fixed cleats if the shelves will carry heavier books.
- Sand the exposed edges and faces. Round sharp corners lightly so the finish bonds well and the shelf front does not chip.
- Apply paint, stain, or sealant after assembly. Let each coat dry fully before loading the unit.
- Anchor the unit if needed. Fasten into studs first; if studs are unavailable, use wall anchors only when their load rating matches the intended weight.
- Add books gradually, starting with about 5 to 10 pounds per shelf, then recheck the level and fasteners. Increase the load only after the unit stays flat and does not shift.
How do you make a corner bookshelf stable and safe?
Stability starts with the base, the fasteners, and the shelf span. Heavy books need deeper shelves, stronger joints, and less unsupported length. Tall units should be anchored to studs whenever possible. Wall anchors are a fallback, not a replacement for studs in a loaded bookcase.
Load by use case
Paperbacks are forgiving because they spread weight evenly and are usually lighter. Art books and hardcovers need thicker shelves, tighter support spacing, or a center divider. Decor-heavy shelves need extra attention to tip resistance because objects often sit near the front edge.
When to anchor to studs
If the bookshelf is taller than 36 inches, carries hardcovers, or stands in a household with children or pets, anchor it to studs. Use a stud finder to locate the framing, then confirm with a level and tape measure so the bracket line stays true.
When wall anchors are the fallback
Use wall anchors only when a stud is not where the bracket needs to land and the wall type matches the anchor. Drywall and plaster do not use the same hardware, and the wrong anchor can loosen over time. Follow the anchor’s weight rating and keep shelf loads modest.
What size should a corner bookshelf be for a bedroom or living room?
For a bedroom, a shorter unit around 30 to 48 inches tall often feels balanced and is easier to keep stable. For a living room, full-height storage often works better if the room has enough wall space. Shelf depth should match the load: shallow for decor, deeper for books.
Suppose a bedroom corner has a 40-inch usable wall span and a 6-inch baseboard. A shallow triangular unit with shelves around 10 to 12 inches deep will fit more cleanly than a deeper cabinet that fights the trim. A living room corner with heavier books may need thicker shelves and a back panel for stiffness.
Common mistakes
Most problems come from fit, not finish. The wrong depth, the wrong fastener, or a missed baseboard can turn a neat build into a wobbling one. Catch these issues before assembly, because fixing them after finishing takes more time and usually leaves visible damage.
- Skipping baseboard clearance: Measure trim depth and notch the back if needed.
- Using thin shelves for heavy books: Increase thickness or shorten the span before loading hardcovers.
- Ignoring out-of-square corners: Dry-fit and trim to the tightest measurement.
- Using screws that are too long: Match screw length to material thickness to avoid splitting or breakthrough.
- Relying on wall anchors for heavy loads: Use studs whenever possible and keep anchor loads conservative.
- Leaving shelf pins uneven: Drill pin holes with a consistent spacing so shelves sit level.
How do you build corner shelves for closet or pantry use?
Closet and pantry corner shelves usually need different depths and loading than a bookshelf. They often hold folded items, bins, or food storage, so the shelf spacing and support can be adjusted for accessibility rather than book height. For pantry use, wipeable finishes matter more than face-frame detail.
In a closet, shallow shelves around 12 to 16 inches deep often work well for folded items and small bins. In a pantry, shelf depth should still leave room to reach items at the back. If the goal is true book storage, use stronger shelf spans and more rigid supports than you would use in a closet corner.
Frequently asked questions
How do you measure a corner accurately before building shelves?
Measure wall height, corner width, and baseboard depth at more than one point. Then check for square by comparing the two wall legs. If the corner is uneven, build to the tightest measurement and leave a small back gap instead of forcing a flush fit.
What tools do you need to build corner shelves?
You need a tape measure, level, stud finder, saw, drill, square, clamps, and sanding tools. A miter saw or circular saw with a straightedge guide makes the cuts cleaner, and a shelf pin jig helps if you want adjustable shelf heights.
Should a corner bookshelf be anchored to the wall?
Yes, if it is tall, narrow, or loaded with heavy books. Fasten into studs whenever possible. If a stud is unavailable, use a wall anchor that matches the wall material and carries the load you plan to place on the shelf.
How do you finish and paint a corner bookshelf?
Sand after assembly, then wipe away dust before primer, paint, stain, or sealant. Exposed plywood edges usually need extra smoothing or edge banding. Apply thin coats and let each one dry fully before loading the shelves, especially if you plan to place books on them soon.
What wood is best for a DIY corner bookshelf?
Plywood is the common choice for side panels, shelves, and top and bottom parts because it stays flatter and cuts predictably. Solid wood boards work well for face frames, trim, and exposed shelf fronts, but they cost more and can move with humidity.
Products related to this article
Sponsored / affiliate links. As an Amazon Associate I earn from qualifying purchases. I may earn additional commission from eligible campaigns.
 12 Pack L16 x H 10" Black Heavy Duty Shelf Brackets with Screws Metal Shelf Brackets Shelf Support Angle Brackets for Shelves L Brackets Heavy Duty Floating Shelf
 BATODA - 8" Floating Shelf Bracket Heavy Duty (16 pcs)–Solid Steel Blind Shelf Supports - Hidden Brackets for Floating Wood Shelves - Blind Shelf Support Shelving Mounting Hardware Included (Pack 16)