How to Build a Floating Bookshelf
Build a hidden-support floating bookshelf by anchoring a cleat or concealed bracket into studs whenever possible, keeping shelf depth near 8 to 10 inches for common books, and using drywall anchors only for light display shelves within the maker’s stated limit. Skip that rule and the shelf can sag, pull out, or dump heavy books from the wall. This guide covers shelf sizing, cleat placement, stud layout, drywall-only limits, and the build steps, with safety guidance and load planning informed by This Old House, APA – The Engineered Wood Association, anchor manufacturer guidance, and related wall-mounting safety references.
Planning the shelf
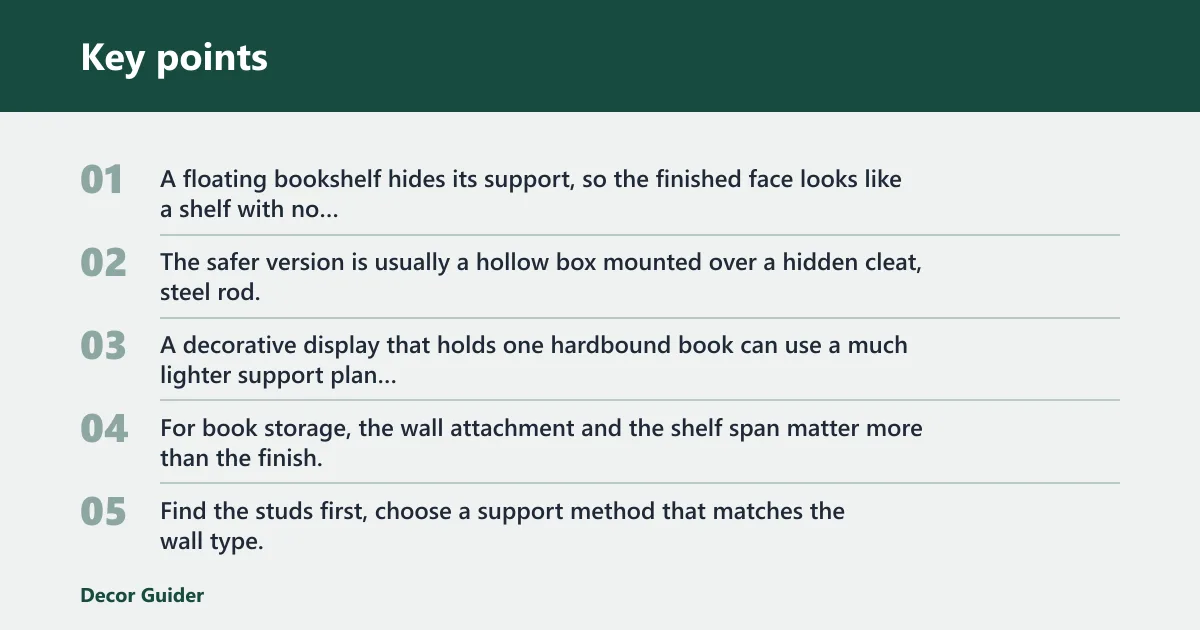


A floating bookshelf hides its support, so the finished face looks like a shelf with no hardware showing. The safer version is usually a hollow box mounted over a hidden cleat, steel rod, or concealed bracket system. That hidden support carries the weight. The front face only hides it.
Book weight changes the plan fast. A decorative display that holds one hardbound book can use a much lighter support plan than a shelf meant for several rows of books. For book storage, the wall attachment and the shelf span matter more than the finish. Find the studs first, choose a support method that matches the wall type, and keep drywall-only mounting limited to the hardware rating printed by the manufacturer.
A common visual target for the invisible-book look is a hardbound book with dust jacket, about 6×9 inches. That size works as a visible cover panel or prop face, but it does not make a shelf storage-safe by itself. For nominal lumber sizing, a “1×8” board is nominally 1 inch by 8 inches; its actual dimensions are smaller, typically about 3/4 inch by 7 1/4 inches according to standard lumber conventions and retailer specs. Always size the box from actual dimensions, not the nominal label.
Measure wall space and book depth
Use a tape measure to record the open wall width, nearby trim, and the deepest book you plan to store. Add a little clearance so books do not catch the wall above them when you slide them in.
Choose shelf thickness and span
A hidden box made from 1×8 boards is common for a compact shelf. A longer shelf needs more support points, because span increases flex and makes sag easier to see at the front edge. For a short shelf, use the cleat and box described below; for a longer shelf, add more studs or a longer rated support path.
Mark the final mounting height
Use a level to mark a straight shelf line on the wall. Mark the center of each planned stud before you cut or drill, so the cleat lands where the wood framing can actually take the load.
Tools and materials
- 1×8 boards for the shelf top and bottom
- 1×2 boards for spacer blocks
- A 2×2 cleat for a wall-mounted support
- Wood screws for wood-to-wood assembly
- 3-inch screws for stud attachment when the cleat lands on framing
- #10 x 1-1/4 inch flat head screws and #10 x 1-1/4 inch plastic anchors for light-duty drywall-only mounting
- Level
- Drill
- 1/4-inch drill bit, matched to the specific anchor or hardware you choose
- Tape measure
- Stud finder
- Saw for cutting the boards
- Sandpaper
- Wood glue, if you want a tighter box joint
- L-brackets, if you are building an invisible display shelf with concealed support; the eHow method uses two 4×4 L-brackets with top and bottom holes
Floating bookshelf table
| Wall type | Stud count | Fastener size / length | Max shelf span | Shelf material thickness | Estimated book load range | Recommended mounting method | Do not use |
|---|---|---|---|---|---|---|---|
| Wood studs in drywall | At least 2 studs for a 24-inch shelf | 3-inch wood screws into framing | About 24 inches for a compact box; shorten if load increases | 1×8 top and bottom; actual thickness about 3/4 inch | Light display to moderate book rows, depending on spacing and support | Stud-fastened 2×2 cleat or concealed bracket system | Do not rely on plastic drywall anchors alone for real books |
| Drywall only, no stud hit | 0 studs | #10 x 1-1/4 inch screws with matching plastic anchors only if the anchor rating allows | Short, decorative-only shelf | 1×8 or lighter decorative box shell | Very light display items only, within the anchor’s stated weight limit | Light-duty concealed bracket or display shelf with rated anchors | Do not use for hardcovers, textbooks, or full book rows |
| Masonry or specialty wall | Use wall-specific anchoring, not drywall assumptions | Use manufacturer-rated masonry hardware for that wall type | Depends on anchor and substrate rating | 1×8 or thicker box shell as needed | Only the load the masonry fastener system is rated to carry | Wall-specific rated anchor system | Do not use drywall anchors in brick, block, or plaster without confirming compatibility |
| Wood studs with heavier book load | 3 or more studs if the shelf length allows | 3-inch wood screws or hardware specified by the bracket system | 24 inches or longer only with added support points | 1×8 box shell with reinforced support path | Medium to heavier book rows, depending on span and bracket rating | Stud-fastened cleat plus extra support points | Do not use a single anchor point or a thin shelf shell for heavy rows |
To estimate book weight per linear foot, line up the books on a shelf edge, measure 12 inches of the row, and count the books in that span. Most mixed hardcovers and paperbacks fall roughly between 6 and 15 pounds per linear foot, but dense hardcovers can run higher. If the estimate pushes the shelf beyond a light display load, use studs and a reinforced support path instead of drywall anchors.
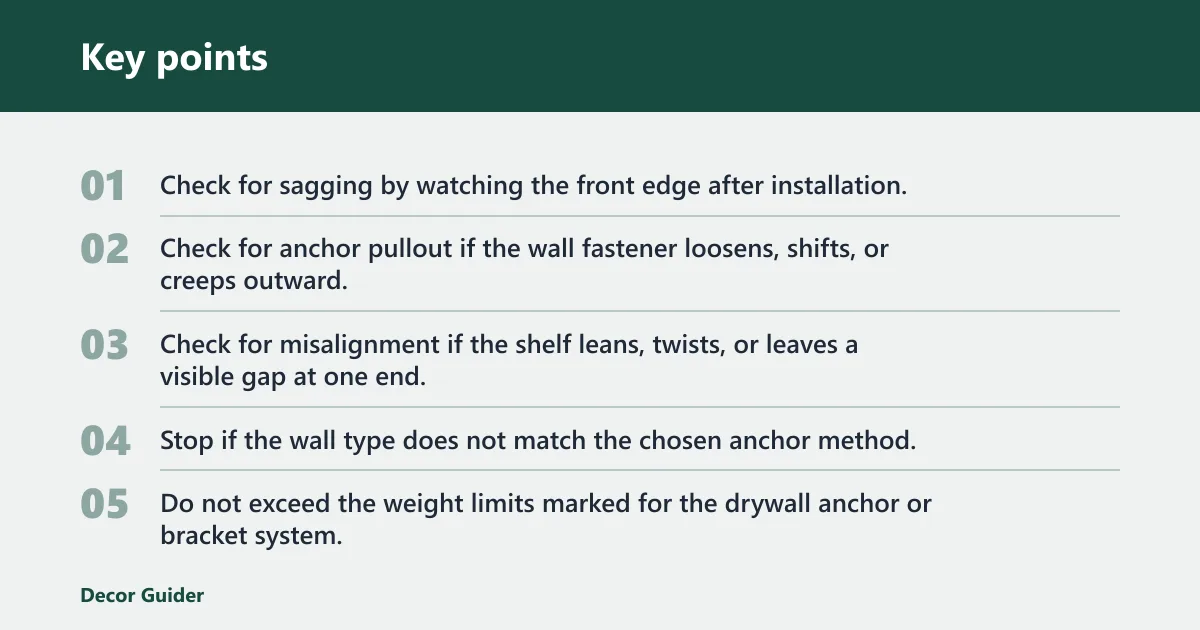
- Check for sagging by watching the front edge after installation.
- Check for anchor pullout if the wall fastener loosens, shifts, or creeps outward.
- Check for misalignment if the shelf leans, twists, or leaves a visible gap at one end.
- Stop if the wall type does not match the chosen anchor method.
- Do not exceed the weight limits marked for the drywall anchor or bracket system.
Build steps
Cut the top and bottom panels to length, then cut the spacer blocks and support parts so the shelf depth fits the books and the hidden support. For the published 24-inch by 8-inch project, cut two 1×8 boards to 24 inches long for the top and bottom panels, and cut the 1×2 spacer blocks to 7 1/4 inches long so the assembled box matches the actual width of the 1×8 stock.
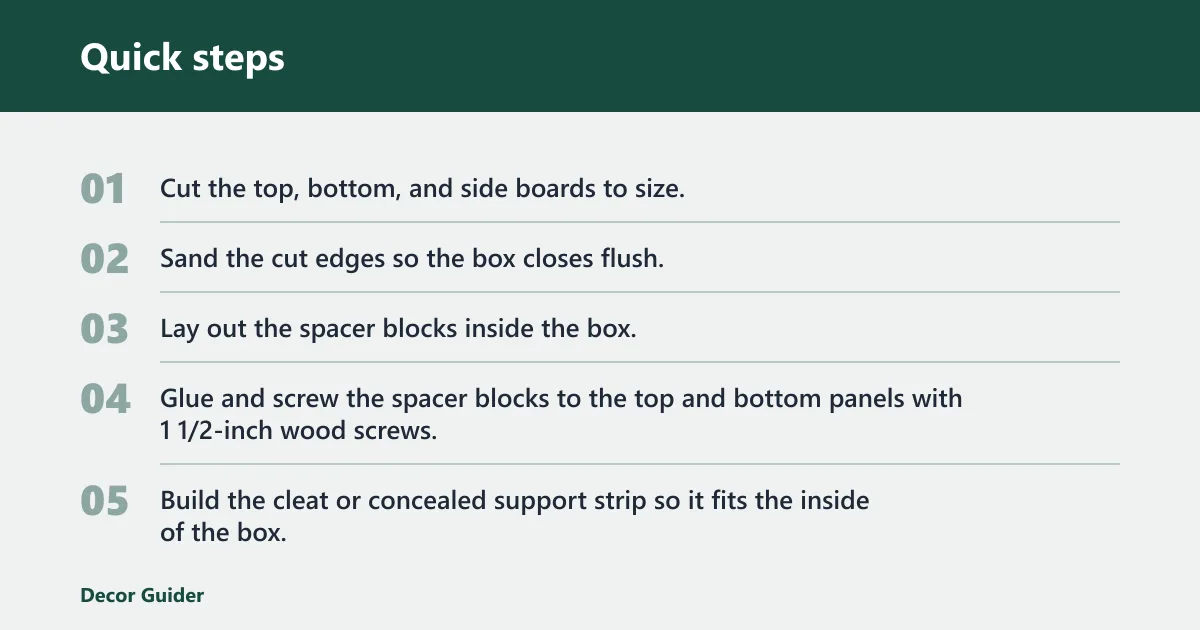
Build the box first, then fit the support path inside it. That order matters because it lets you check the cleat clearance before the shelf goes on the wall. The front face is made by the top and bottom panels on the outside edges, with the spacer blocks captured between them; glue and screw the spacer blocks to those panels so the front stays rigid and the hidden support can slide in behind it. Place the cleat low enough inside the box that the shelf can slide over it fully, but not so low that it weakens the bottom edge of the box.
- Cut the top, bottom, and side boards to size.
- Sand the cut edges so the box closes flush.
- Lay out the spacer blocks inside the box.
- Glue and screw the spacer blocks to the top and bottom panels with 1 1/2-inch wood screws.
- Build the cleat or concealed support strip so it fits the inside of the box.
- Dry-fit the box over the support to confirm clearance.
- Trim the opening if the box binds or rocks.
Suppose the shelf is only for a single visible hardbound book and nothing else. In that case, the hidden support can be sized for a light decorative load, but the wall fastener still has to match the wall type. A prop shelf that is screwed into weak drywall without the right anchors can fail even if the box itself is well built.
Wall mounting
Find studs first. Studs are the preferred mounting surface because they give a stronger attachment than drywall alone. When you can hit framing, wood screws are the stronger choice. If studs are unavailable, use drywall anchors only within the anchor’s stated weight limit, never beyond it.
This Old House uses a 2×2 cleat attached to wall studs with 3-inch screws, and that is the safer model for a book shelf. For drywall-only mounting, the eHow invisible shelf uses two 4×4 L-brackets, #10 x 1-1/4 inch flat head screws, and #10 x 1-1/4 inch plastic anchors. That setup is for lighter duty and must stay within the anchor rating. For a deeper look at fastener selection, match the fastener to the wall type and use the anchor package’s hole-size and load instructions.
- Locate the studs and mark their centers on the wall.
- Hold the cleat level at the marked height.
- Drill pilot holes into the cleat and wall surface with the bit that matches your fasteners.
- Use a smaller pilot hole for wood screws into studs, and a manufacturer-specified hole size for drywall anchors; do not guess the drill size when the anchor package lists it.
- Fasten the cleat into the studs with wood screws, or use the specified anchors only if no studs are available.
- Check the level again before tightening fully.
- Slide the shelf box over the hidden support and confirm that it sits flat.
- Test with a small load first, then add books in steps of one or two at a time and recheck for movement after each addition.
Picture a 24-inch shelf mounted on one stud and one weak anchor because the second stud missed the layout. The shelf may look straight on day one, then twist at the unsupported end as the books go on. The fix is not more finish work; it is a stronger wall attachment.
Invisible look
Use a concealed support and let the front face hide the hardware. The cleanest result comes from a box that fits over the hidden cleat or bracket with very little side play, so the support disappears behind the shelf edge. A visible book face can disguise the support in a display-only build, but it does not replace proper wall anchoring.
For the invisible-book style, the visible face is often sized around a hardbound book with dust jacket, about 6×9 inches. That makes the shelf read like a book rather than a bracket. Keep that version decorative unless the wall fastener and hidden support are rated for the real load.
Mistakes to avoid
Using drywall anchors beyond their limit is the fastest way to get a failed shelf. If the wall is not framed where you need it, lower the planned load or change the support method instead of assuming the anchor will carry book weight.
Another common mistake is misreading stud spacing and drilling before you confirm the center line. A shelf can still look level while the hidden support is slightly skewed, and that creates a gap or twist once the box is loaded.
Sagging usually comes from too much span, too little support, or a shelf box that is too thin for the load. If that happens, add another stud-fastened support point or shorten the shelf.
If the shelf face does not sit flush, loosen the fasteners, recheck the level, and realign before retightening. Do not force the box onto a crooked support; that hides the problem for a day and makes it worse later.
Frequently asked questions
How do I install a floating bookshelf securely?
Use a stud finder, mark at least two studs, and fasten the cleat with wood screws long enough to reach framing. Then check level, tighten fully, and load books in small steps. If you cannot hit studs, use only the anchor type and weight limit listed for your wall hardware.
How do I make a floating bookshelf look invisible?
Hide the support inside a close-fitting hollow box or behind a concealed bracket, then finish the front so the hardware disappears from view. A visible book face can work for a decorative display, but the clean look only lasts if the box sits flat and the support is centered.
What tools do I need to make a floating bookshelf?
At minimum, gather a drill, level, tape measure, stud finder, saw, and the correct drill bit for your fasteners. A 1/4-inch drill bit is useful for some anchor systems, but match the bit to the exact screw or anchor size you choose instead of assuming one size fits all.
Should I use studs or drywall anchors for a floating bookshelf?
Use studs whenever you can. Studs give the stronger attachment and are the better choice for books. Drywall anchors are only acceptable for lighter display shelves, and you must stay within the anchor’s stated weight limit. They are not equal to direct fastening into framing.
How many studs should a floating bookshelf hit?
For a shelf around 24 inches long, aim for at least two studs. Longer shelves should hit more studs or use additional rated support points. If the layout only gives you one stud, reduce the load or choose a different mounting plan.
How do I estimate whether books are too heavy?
Estimate one linear foot of books on the shelf, then multiply that by the weight range of your book mix. If the row feels dense or the shelf is planned for hardcovers, assume the load is heavier and mount to studs. When in doubt, treat it like a real storage shelf, not a decor piece.
What pilot hole should I drill?
Use a smaller pilot hole for wood screws into studs so the screw can bite without splitting the framing. For drywall anchors, use the exact hole size the anchor package specifies. If the hardware calls for a 1/4-inch hole, drill 1/4 inch; if it calls for another size, match that size instead.
How do I place the cleat inside the box?
Set the cleat so the shelf can slip over it without binding, but keep it low enough inside the box to preserve room for the books and the front face. Dry-fit the box before final fastening, and adjust if the box rocks or leaves a visible gap.
Sources
- This Old House for hidden-cleat floating shelf framing examples using a 2×2 cleat and 3-inch screws into studs.
- APA – The Engineered Wood Association for span, fastening, and wood-structure guidance related to shelf support planning.
- Anchor manufacturer guidance for drywall anchor hole sizing, load limits, and wall-type compatibility.
Products related to this article
Sponsored / affiliate links. As an Amazon Associate I earn from qualifying purchases. I may earn additional commission from eligible campaigns.