Sink Stopper Problems: Troubleshooting Bathroom Sinks
A bathroom sink stopper that won’t hold, drain, or release is often tied to a few common faults: misadjusted linkage, a disconnected pivot rod, a clogged drain, or a worn stopper seal. Skip the symptom check and you can replace the wrong part, then still end up with a sink that leaks or stays stuck. Read the symptom first, then trace the failure mode to the right fix.
What you’ll need


- Adjustable pliers
- Flathead screwdriver
- Small cleaning brush
- Bucket
- Gloves
- Paper towel or rag
- Replacement spring clip, if the original is bent or missing
- Replacement stopper gasket, if the seal is worn
- Replacement pop-up assembly, if parts are rusted, cracked, or seized
Sink stopper troubleshooting table
| Symptom | Likely cause | Quickest test | Tool needed | Repair step | Replace-or-call-plumber threshold |
|---|---|---|---|---|---|
| Won’t stay down | The pivot rod sits too low on the clevis strap, so the stopper does not drop far enough to seal. | Lift the rod and watch whether the stopper drops fully at the drain opening. | Adjustable pliers | Move the pivot rod to a higher hole on the clevis strap, then retighten the spring clip. A higher rod setting lets the stopper drop lower. | Replace the stopper if the linkage is straight but the plug is damaged or the seal will not hold after adjustment. |
| Won’t go up | The linkage is set too high, or the pivot rod is bound by corrosion or overtightening. | Disconnect the pivot rod and see whether the stopper rises freely by hand. | Flathead screwdriver, adjustable pliers | Move the pivot rod to a lower hole and free the rod before reattaching it. A lower rod setting lets the stopper rise higher. | Replace the assembly if the rod will not move, the threads are damaged, or the tailpiece is rusted. |
| Stuck in drain | Hair, soap scum, or corrosion has locked the stopper in place. | Pull up gently from the drain opening after loosening the linkage. | Gloves, small cleaning brush | Remove, clean, and inspect the stopper and drain opening. | Call a plumber if the pivot rod is seized in the tailpiece, the rod will not withdraw, or the drainpipe is damaged. |
| Won’t hold water | A worn stopper gasket or a poor fit at the seal surface may be the issue. | Fill the sink and watch whether water drops around the stopper edge. | None for the first test | Clean the seal surface, then replace the stopper gasket or the stopper if the sealing surface is worn. Check the stopper gasket where it contacts the drain. | Replace the stopper if the seal is cracked, hardened, misshapen, or still leaks after cleaning. |
| Slow draining | Debris in the stopper or buildup deeper in the drain line. | Open the stopper and run water with the linkage disconnected. | Small cleaning brush | Clean the stopper and opening first; if flow stays slow, clean the drain line. | Call a plumber if the drain still backs up after the stopper is removed and the opening is clear. |
Why is my bathroom sink stopper not working?
Quick test
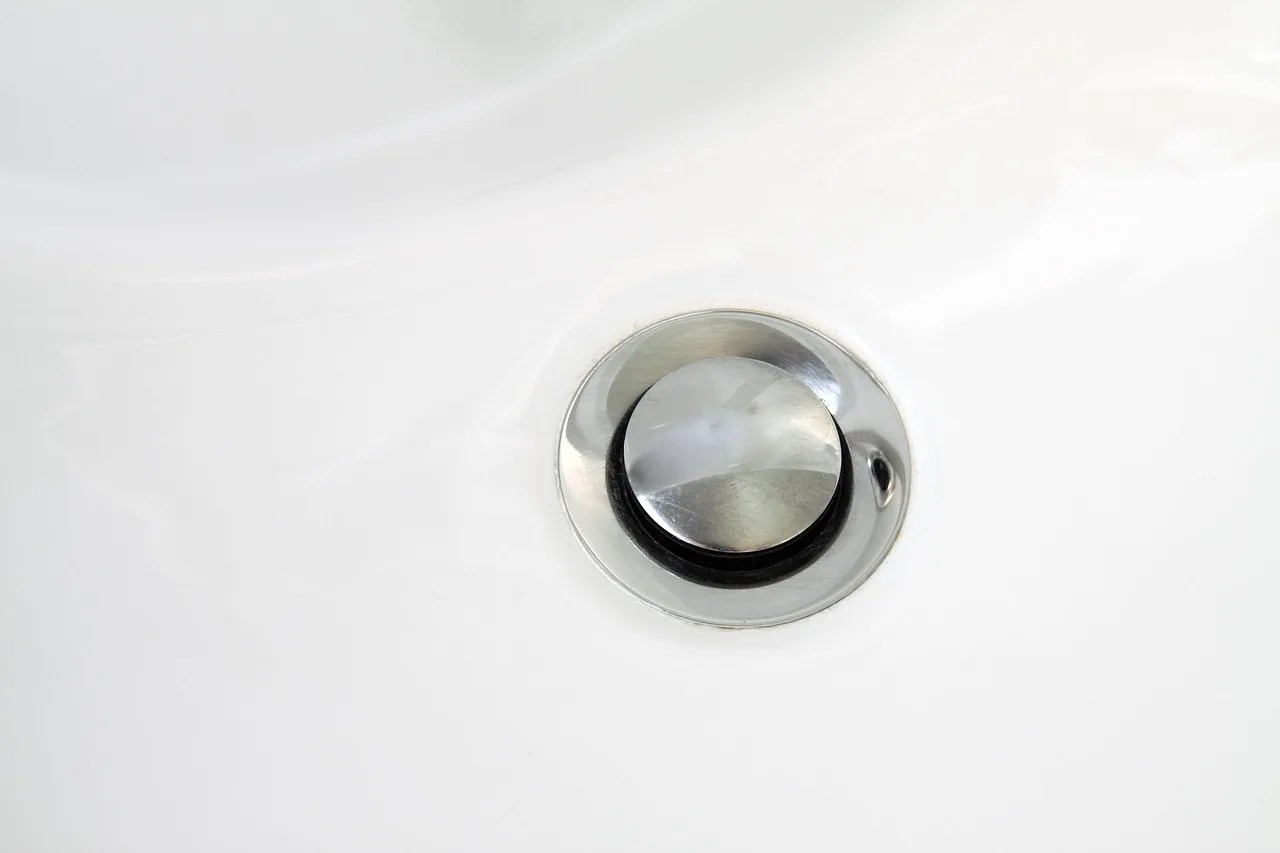
Check whether the stopper moves, seals, and releases normally before you loosen anything. Most bathroom sinks use a pop-up drain assembly, and the lift rod behind the faucet pulls the pivot rod through the side of the drainpipe. That motion reaches the stopper through the clevis strap and spring clip, so a bad setting can look like a dead part.
Likely cause
If the stopper moves but the sink still drains poorly, the problem may be deeper in the drain rather than in the linkage. If the stopper drops partway, then springs back up when you release the lift rod, the clevis strap hole is usually the issue, not a broken stopper.
Repair steps
Start with no disassembly. Confirm whether the stopper moves at all, whether it seals, and whether the drain is slow even when the stopper is open. If the stopper moves but water still lingers, clean the drain opening before adjusting the linkage.
When to replace
If the stopper keeps failing after a clean adjustment and a clean seal surface, the plug itself may be worn. At that point, replacement is more reliable than repeated repositioning of the rod.
How do you fix a stopper that won’t stay down?
Quick test: push the stopper down
Push the stopper down and release the lift rod. If it rises again, the linkage is likely set too high. A stopper that will not stay down often needs a higher pivot-rod position on the clevis strap so it can drop farther into the drain opening.
Likely cause: the pivot rod is usually
The pivot rod is usually in the wrong hole on the clevis strap. A higher rod setting lets the stopper drop lower; a lower rod setting keeps the stopper from sealing fully. Corrosion or a bent part can produce the same symptom.
Repair steps: test the closed position
- Test the closed position. Push the stopper down and release the lift rod. If it rises again, the linkage needs adjustment before parts are replaced.
- Loosen the spring clip. Use adjustable pliers to remove the spring clip that holds the linkage together. Keep the clip in a safe spot so you can reinstall it after the adjustment.
- Move the rod one hole. Place the pivot rod into a higher hole on the clevis strap if the stopper closes too little. A higher pivot-rod position makes the stopper drop lower.
- Retighten and retest. Reinstall the spring clip, then fill the sink partway and check for a full seal. If the stopper still will not stay down, inspect the stopper body for wear or damage.
Why won’t my sink stopper go up?
Quick test: disconnect the pivot rod
Disconnect the pivot rod and lift the stopper by hand. If the stopper rises freely by hand but not from the lift rod, the linkage is too high. If it still binds by hand, the issue is inside the drain body or at the rod connection.
Likely cause: the linkage may be set
The linkage may be set too high, or the pivot rod may be binding in the tailpiece. A lower pivot-rod position on the clevis strap makes the stopper rise higher, while corrosion or overtightening can keep it from moving at all.
Repair steps: release the linkage
- Release the linkage. Loosen the spring clip and disconnect the pivot rod from the clevis strap. This isolates the stopper so you can tell whether the problem is in the linkage or in the drain body.
- Lift the stopper by hand. Pull the stopper from the drain opening and check whether it rises and drops freely. If it binds, clean the stopper and the opening before touching the rod setting.
- Move the rod lower. Put the pivot rod in a lower hole on the clevis strap. A lower pivot-rod position makes the stopper rise higher.
- Secure the clip again. Reattach the spring clip and test the lift rod from behind the faucet. If the stopper still hangs low, the rod may be corroded or the drain body may be worn.
How do you adjust the linkage under the sink?
Quick test: find the rod connection
Find the rod connection under the sink and confirm the lift rod is still attached behind the faucet. The pivot rod enters the drainpipe, the clevis strap sits above it, and the spring clip holds the pieces together. A single hole change can correct a stopper that sits too high or too low.
Likely cause: the linkage is usually off
The linkage is usually off by one hole, not broken. If the stopper closes too little, the pivot rod is too low. If the stopper does not rise enough, the pivot rod is too high. Adjust only one hole at a time so the change is easy to read.
Repair steps: find the rod connection
- Find the rod connection. Look under the sink for the horizontal pivot rod entering the drainpipe and the vertical clevis strap above it. Confirm that the lift rod is still attached behind the faucet.
- Mark the starting hole. Note which hole the pivot rod uses now. That gives you a clear baseline if the next adjustment makes the fit worse.
- Change one hole only. Move the pivot rod up or down by one hole, then secure it with the spring clip. Adjust in one-hole increments so you can see which direction improves the stopper travel.
- Test water flow. Fill the sink with a few inches of water and check both closed and open positions. If the stopper still binds, remove it for cleaning and inspection.
When should you replace the whole assembly?
Quick test: replace the entire pop-up assembly
Replace the entire pop-up assembly when adjustment no longer changes the symptom. If the rod is seized, the finish is damaged, or the tailpiece is pitted, the drain parts are beyond a simple reset.
Likely cause: repeated alignment problems usually mean
Repeated alignment problems usually mean the metal is worn out, corroded, or bent. If the stopper keeps slipping out of the correct hole or the retaining nut will not hold position, the assembly may be too worn for a stable repair.
Repair steps: inspect for damage
- Inspect for damage. Check the stopper, pivot rod, clevis strap, and spring clip for rust, cracks, or bent metal. If more than one part is damaged, replacement is usually faster than repeated adjustments.
- Compare cost of effort. If the stopper keeps slipping out of the correct hole or the retaining nut will not hold position, the assembly may be too worn for a stable repair.
- Swap the assembly. Install a replacement pop-up assembly when the drain body is corroded or the stopper is damaged. A replacement stopper may be needed if the existing one is damaged.
- Retest the sink. Fill the basin, let it sit for a few minutes, and check for leaks, seal loss, and free movement.
Common mistakes
- Using the wrong clevis strap hole, which leaves the stopper too high or too low.
- Forgetting to reseat the spring clip after adjustment.
- Overtightening the pivot rod retaining nut, which can bind the linkage.
- Assuming every slow drain is a stopper problem when the drain line may be blocked.
- Replacing the stopper before checking the gasket, seal surface, and drain opening.
- Treating lift-and-turn, push-button, and rubber plug styles like a pop-up assembly. They fail differently, so confirm the style before buying parts.
Prevention
Clean the stopper and drain opening before buildup hardens. That simple step often restores full drainage speed and reduces the chance that the linkage needs repeated adjustment.
Frequently asked questions
How do I fix a bathroom sink stopper that won’t stay down?
Move the pivot rod to a higher hole on the clevis strap, then test the closed position again. That setting lets the stopper drop lower. If it still lifts on its own, the stopper gasket or stopper body may be worn and need replacement.
How do I fix a bathroom sink stopper that won’t go up?
Disconnect the pivot rod, clean the stopper, and move the rod to a lower hole on the clevis strap. That setting lets the stopper rise higher. If the rod drags even when disconnected, check for corrosion in the tailpiece or replace the assembly.
Why is my sink stopper stuck in the drain?
Hair, soap scum, or corrosion can lock the stopper in place. Remove the linkage, then pull the stopper straight up and clean the drain opening with a small brush. If the rod is seized inside the drainpipe, the assembly may need replacement or professional removal.
How do I adjust a pop-up sink stopper under the sink?
Find the spring clip, remove it, and change the pivot rod by one hole at a time on the clevis strap. Reattach the clip after each move and test the stopper with water. Adjust up or down until the stopper opens fully and seals cleanly.
Why does my sink drain slowly even after I fix the stopper?
If the stopper opens correctly but the sink still drains slowly, the blockage is often farther down the line. Clean the stopper and drain opening first, then flush the drain with the stopper removed. If flow stays slow, the drainpipe likely needs cleaning rather than more stopper adjustment.
Products related to this article
Sponsored / affiliate links. As an Amazon Associate I earn from qualifying purchases. I may earn additional commission from eligible campaigns.