How to Replace a Shower Curtain Rod
Replace a shower curtain rod by matching the fix to the failure: tighten tension rods that slipped, switch to a wall-mounted rod for bowed walls, and use anchors or new holes when hardware pulls out. Bad mounting lets the rod drop, scar tile, or leave fresh holes in drywall and grout. This guide shows how to remove, measure, replace, and reinstall the right rod for your wall surface and rod style.
Replace shower rod basics


Start with the failure, not the finish. A rod that slipped on tile needs more grip or a different type; a rod that bowed or rusted usually needs replacement; a rod that pulled anchors loose needs new hardware and often a better mounting method. The fastest fix is not always the safest one.
If the old rod is still straight, dry, and gripping firmly, retightening may be enough. If the tube is bent, the finish is flaking, or the end caps are worn smooth, replacement is the better call. A tension rod is quick to fit, but it can be more likely to fall than a fixed mount, especially on slick tile.
What you’ll need
- Measuring tape for wall-to-wall width and clearance checks
- Pencil for marking bracket holes
- Level for straight bracket alignment
- Drill for bracket holes in drywall or tile
- Masonry bit for tile pre-drilling
- Wall anchors for drywall or tile mounts
- Replacement shower curtain rod
- Replacement brackets and screws if the old hardware is worn
- Rubber end caps, if the tension rod uses them
- Shower curtain rings or hooks in good shape
Measure before you buy
Measure the shower opening wall to wall, then check the rod’s adjustment range and leave a little clearance for end caps, brackets, or a curved profile. A common fit check is to confirm the rod can extend past the opening without being forced to its limit. HORNEN, for example, extends from 47¼ inches to 78¾ inches and is a tension rod with no screws or drilling.
Suppose the opening is 60 inches wide and the old rod sat at full extension. That often points to the wrong size, not just a loose grip. In that case, choose a larger rod when the bar is too small rather than stretching the mechanism to its stop.
Which rod failed?
Identify the failure by where the problem appears. If the rod slipped from the wall, the issue is usually friction, end caps, or fit. If screws are loose or the finish around the bracket is damaged, the mount has failed. If a curved rod sags, the shape or support points are usually the problem.
Slipped tension rod
A slipped tension rod usually means the spring pressure is too low, the rubber end caps are worn, or the wall surface is too slick. Tile and fiberglass surrounds can reduce grip. If the rod keeps dropping after retightening, replace it with a better-fitting tension rod or move to a fixed mount.
Rusted or loose fixed-mount brackets
Rust around the screws, wobble at the wall, or cracked holes usually means the brackets need new fasteners, anchors, or a repositioning. Painted or plated steel can lose its finish over time, especially where shower rings scrape the bar. Stainless steel resists corrosion better than cheaper coated steel in damp bathrooms.
Bowed curved rod or stripped anchor
A bowed curved rod may be overloaded, mounted too far apart, or anchored into weak material. A stripped anchor usually means the screw no longer bites the wall. In either case, replacement is safer than trying to force the same hardware to hold again.
Shower rod decision table
| Failure symptom | Likely cause | Best replacement type | Required tools | Risk level |
|---|---|---|---|---|
| Slipped tension rod | Weak spring pressure, worn rubber end caps, slick tile | New tension rod with better fit, or fixed-mount rod if slipping repeats | Measuring tape, level, replacement rod | Low to medium |
| Rusted wall-mount brackets | Corrosion on screws, bracket, or painted steel finish | Fixed-mount rod with stainless steel or better-coated hardware | Drill, masonry bit, wall anchors, screwdriver | Medium |
| Bowed curved rod | Overload, weak support points, wrong span | New curved rod with stronger brackets or a simpler straight rod | Level, drill, anchors, measuring tape | Medium |
| Stripped tile anchor | Hole enlarged by repeated movement or wrong anchor type | Fixed-mount rod with fresh anchors and new hole placement | Masonry bit, drill, wall anchors, level | High |
| Too-short replacement rod | Wrong size range or skipped fit check | Longer tension rod or larger fixed-mount span | Measuring tape | Low |
For renters, the lowest-risk path is usually a tension rod if the opening falls within the stated range and the surface grips well. For permanent installs, a fixed mount makes more sense when the curtain is heavy, the rod slips repeatedly, or the bathroom needs a longer-term fix.
How do you remove the old rod?
Remove the rod by taking pressure off the ends first, then lifting or unscrewing it without dragging metal across tile, caulk, or paint. A clean removal matters because chipped glaze, torn caulk, and scraped plaster can make the next installation harder and more visible.
- Take the curtain and rings off the rod.
- For a tension rod, twist the tube shorter until it loses pressure.
- For a fixed-mount rod, back out the screws and hold the bracket while the last screw comes free.
- Lift the rod straight away from the wall instead of sliding the end caps across tile.
- Remove any old anchors, then patch or seal the holes before the new install if the hardware will move.
Picture a fiberglass surround with a tension rod that keeps scuffing the wall. Lifting the rod straight off after shortening it prevents the end caps from scraping a visible line into the panel.
If that didn’t work, try this next: slip a cloth or thin cardboard behind the end cap while you ease pressure off the spring. If a bracket screw spins in place, stop and cut power to the drill if you are using one nearby, then switch to pliers or a better driver before the head strips further.
Remove a tension rod without scraping tile
Turn the inner tube shorter one quarter turn at a time until the spring pressure eases. Do not pry the end cap sideways. Once loose, angle one end down first and carry the rod out of the opening.
Take down a fixed-mount rod safely
Support the rod with one hand while you remove the screws with the other. If the bracket is rusted to the wall, back the screw out slowly and avoid twisting the anchor hole larger than it already is.
How do you install the replacement?
Install the replacement by matching the rod type to the wall surface, then checking straightness before you lock anything in place. Tension rods need a snug fit and clean contact points. Fixed-mount rods need marked holes, level brackets, and anchors that match the wall material.
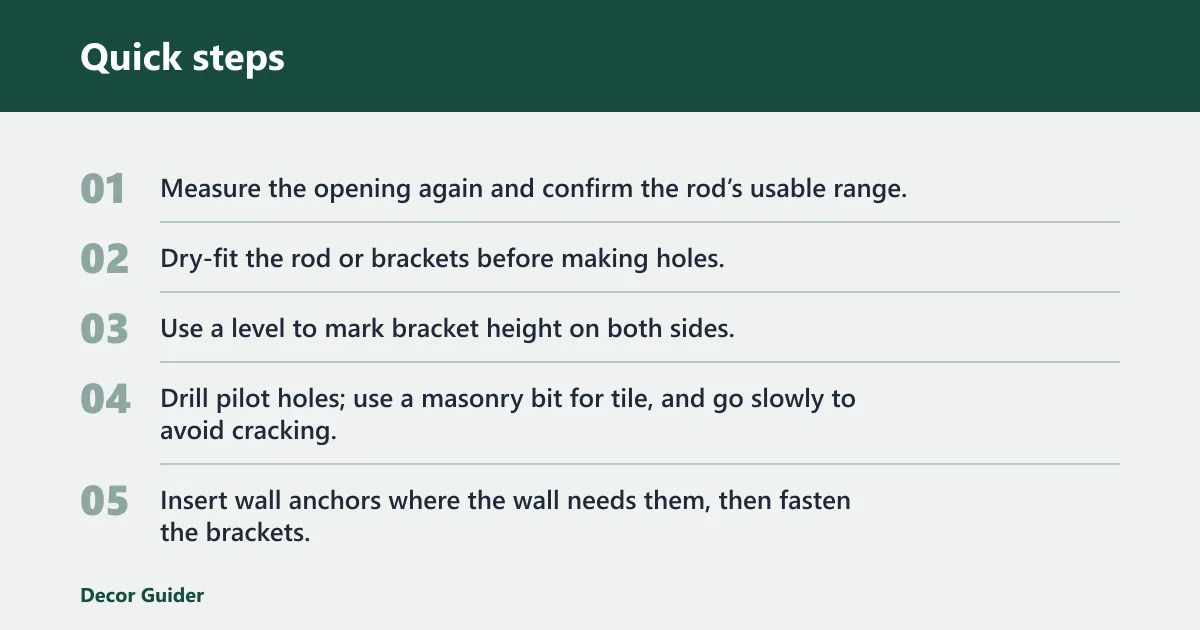
- Measure the opening again and confirm the rod’s usable range.
- Dry-fit the rod or brackets before making holes.
- Use a level to mark bracket height on both sides.
- Drill pilot holes; use a masonry bit for tile, and go slowly to avoid cracking.
- Insert wall anchors where the wall needs them, then fasten the brackets.
- Seat the rod, tighten the spring or screws, and recheck the level.
- Hang the curtain and liner, then test for movement and sag.
Fit and extend a tension rod
Set the rod slightly longer than the opening, then compress it into place and fine-tune the length until both rubber end caps sit flat. If the rod still slips, add felt furniture pads for extra friction or move to a fixed mount. Adding brackets to the rod ends can also help when the surface is smooth and the rod keeps sliding.
HORNEN’s 47¼-inch to 78¾-inch adjustment range gives an example of how much span one tension rod can cover, but the exact fit still depends on your opening and wall surface. A tension rod should not be forced beyond its intended range.
Mark, drill, and mount a fixed rod
Place the brackets so the rod will clear the curtain and the liner without rubbing the tub edge. Drill the marked holes, add anchors, then install the screws. On tile, use a masonry bit and slow pressure; rushing is a common way to crack the tile face.
For drywall, use wall anchors sized for the bracket screws. For tile, use anchors rated for the surface or mount into framing if the layout allows it. A fixed-mount rod usually gives better support for heavier curtains and for bathrooms where a tension rod has failed more than once.
Set up a curved rod for extra elbow room
Curved rods extend the curtain away from the shower area and give more shoulder room. They also need more careful alignment because a crooked mount shows quickly. Use the level before drilling, and confirm the curve does not push the curtain into the tub edge or the door swing.
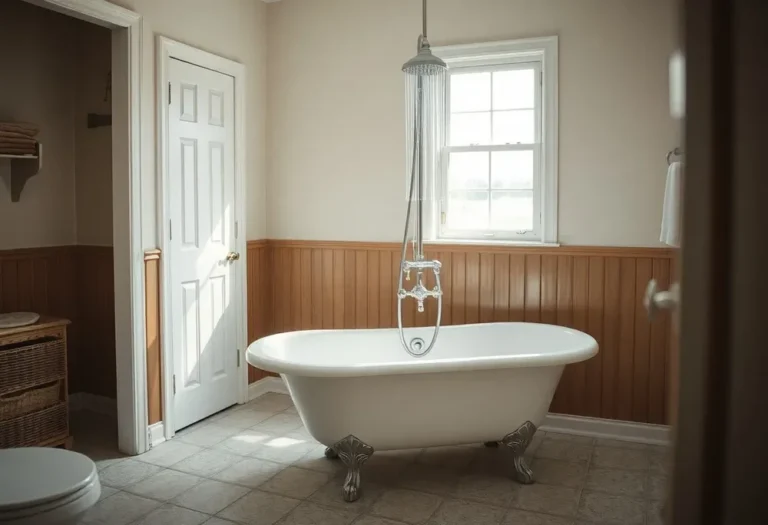
Suppose a small bathroom has a clawfoot tub and the old straight rod hit the shower liner every time the curtain closed. A curved rod can solve that spacing problem, but only if the bracket placement keeps the curve centered and the fasteners stay solid.
Common mistakes
Most repeat failures come from a skipped fit check, weak wall anchors, or worn parts reused one more time. If the rod slipped once, do not assume extra twist alone will fix it. A damaged end cap, stripped hole, or rusty bracket usually means the weak part should be replaced.
- Skipping the fit check before purchase: measure wall to wall and confirm the usable range before you buy.
- Mounting crooked brackets without a level: a slight tilt makes the curtain drag and puts uneven load on the screws.
- Reusing worn rubber end caps: old caps lose grip and can mar tile or painted walls.
- Using weak anchors in the wrong wall: drywall and tile need hardware that matches the surface.
- Ignoring ring wear: rough shower curtain ring/hooks can scrape the finish and add rust where the bar stays wet.
Prevention: Check rubber end caps, brackets, and hooks every few months. Tighten fixed-mount screws twice a month if the rod gets regular use, and replace any cap that feels hard, cracked, or slick. Clean soap film from the contact points so the rod does not lose grip over time.
Products related to this article
Sponsored / affiliate links. As an Amazon Associate I earn from qualifying purchases. I may earn additional commission from eligible campaigns.