How to Install a Shower Caddy Without Drilling
Use adhesive, tension, or suction based on wall type. Glazed tile and glass can take suction or adhesive. Painted drywall and textured stone usually need adhesive only if the maker allows it, or a tension pole. Wrong hardware falls in humidity, leaves residue, or pulls off tiles. This guide shows how to choose the right method and install it with a wall-by-wall checklist for material, moisture, and load.
Which no-drill mount should you use?
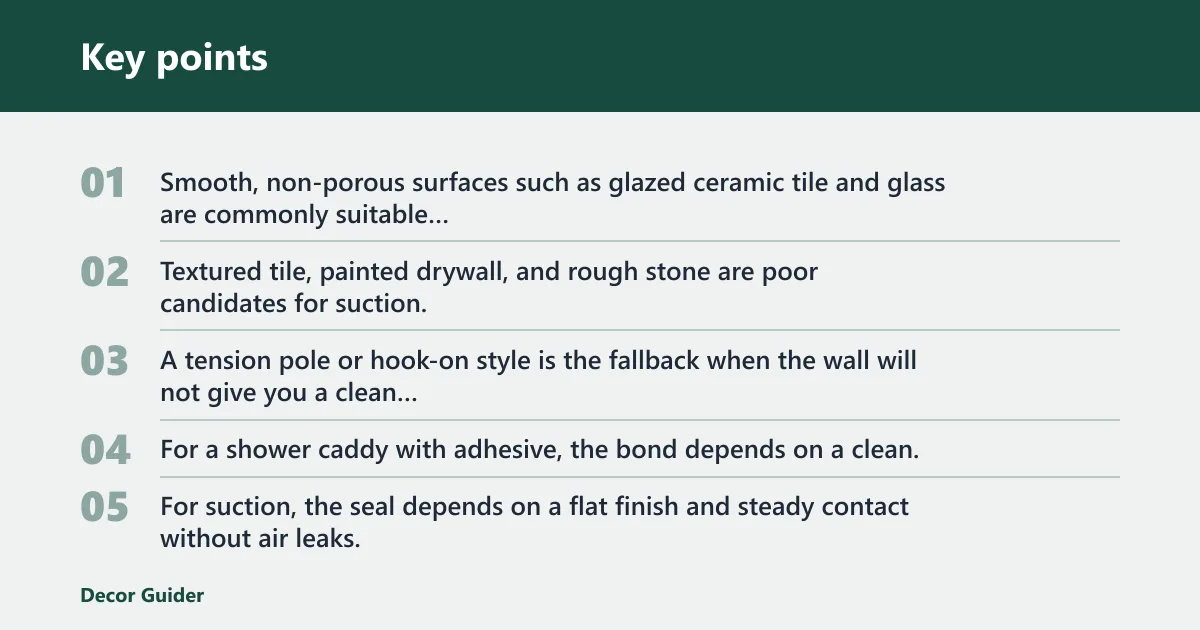


Start with the wall, then pick the mount. Smooth, non-porous surfaces such as glazed ceramic tile and glass are commonly suitable for adhesive pads or suction cups. Textured tile, painted drywall, and rough stone are poor candidates for suction, and some adhesive products will also fail there because air, moisture, or dust gets under the bond.
A tension pole or hook-on style is the fallback when the wall will not give you a clean bonding area. For a shower caddy with adhesive, the bond depends on a clean, dry surface and enough cure time before loading. For suction, the seal depends on a flat finish and steady contact without air leaks.
| Wall material | Compatibility | Prep required | Likely failure mode | Recommended mounting type |
|---|---|---|---|---|
| Glazed ceramic tile | Good if the tile is flat and the grout line is not in the bond area | Use about 70% or higher isopropyl alcohol to clean the surface, then dry it fully | Peel from residue or a bond that bridges grout | Adhesive shower caddy or suction cup shower caddy |
| Glass shower door or panel | Ideal when the glass is smooth and plain | Degrease, wipe dry, and avoid soap film | Suction loss from trapped air or edge lift | Adhesive or suction |
| Polished acrylic or fiberglass | Conditional; can work if the surface is flat and fully clean | Use light cleaning only and follow removal guidance to avoid damage | Surface marking, peel, or soft-surface scuffing during removal | Adhesive only if the maker allows it; otherwise tension pole |
| Textured tile | Poor | None fixes a rough profile reliably | Air gaps, slide, and early release | Tension pole or hook-on |
| Painted drywall | Poor for direct wet-area mounting | Not a good bonding base in a shower | Paint tear, peel, and moisture damage | Tension pole or over-the-door style, if the layout allows |
What to look for before you buy
Check the label for the mount type, the surface list, and the cure instructions. Some no-drill caddies use adhesive pads or tape; some use suction cups; some rely on a tension pole. 3M VHB tape appears on some models as an acrylic foam adhesive, and it generally has better weight capacity than plain foam tape, but it still needs the right surface and prep.
If the shower sees constant steam or a lot of direct spray, keep your expectations conservative. A glossy wall can still fail if the room stays wet, cold, or soapy.
What you’ll need
- The caddy hardware and any included adhesive pads, tape, suction cups, or brackets
- 70% or higher isopropyl alcohol
- Clean microfiber cloths or lint-free towels
- A dry towel for final wipe-down
- Painter’s tape for temporary alignment marks
- A level, if the caddy design calls for straight mounting
Can you install it on tile without drilling?
Yes, if the tile is glazed, flat, and the bond area avoids grout lines or chips. Glazed ceramic tile is often considered a strong no-drill surface because it is smooth and non-porous. Textured tile is a different case. The higher the surface texture, the more likely the caddy will slip or peel after a few showers.
Check for a flat patch larger than the adhesive pad or suction base. If the caddy spans a grout joint, the edge can act like a ramp and start a slow peel. That is a common reason a unit looks fine on day one and starts moving later.
When tile is a yes
Use tile only when the face is glossy, uncracked, and dry enough to feel squeak-clean after the alcohol wipe. A single flat tile is better than a corner made of multiple grout breaks. If the package calls for a temperature window, install within that range; adhesive bonds best between 65°F and 85°F, or 18°C to 30°C.
When tile is a no
Skip textured tile, cracked tile, and any area with heavy soap haze that keeps returning after cleaning. If the wall is cold from poor ventilation, wait until it dries and warms closer to the product instructions. Steamy conditions can weaken initial grab, especially for adhesive pads that need firm contact before the cure period.
How do you install a no-drill shower caddy?
Clean, dry, align, press, and wait. That order matters. A good no-drill install starts with surface prep, because residue and moisture are the two fastest ways to lose grip. After that, pressure and cure time do most of the work.
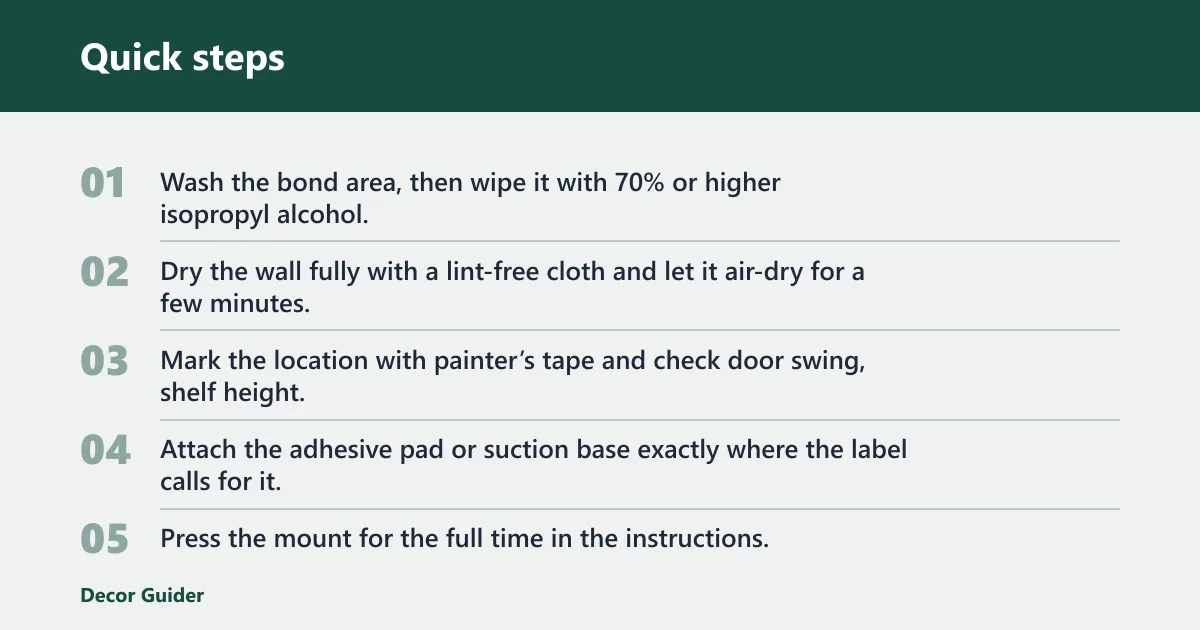
- Wash the bond area, then wipe it with 70% or higher isopropyl alcohol.
- Dry the wall fully with a lint-free cloth and let it air-dry for a few minutes.
- Mark the location with painter’s tape and check door swing, shelf height, and bottle clearance.
- Attach the adhesive pad or suction base exactly where the label calls for it.
- Press the mount for the full time in the instructions, then smooth from the center outward.
- Wait the full cure period before loading anything; 24 hours is common, and some products require 48 hours or longer.
- Add items by weight, starting with one bottle near the back, then recheck the mount before adding more.
Do not load the front edge first. That point gets the most peel force. A balanced shelf keeps the highest-stress point from working loose.
Say your shower caddy is mounted on a glass panel and starts to dip at the front after two days. The likely issue is load distribution, not just adhesion. Moving one shampoo bottle toward the back can reduce the pull on the outer edge and stop the slow slide.
If that didn’t work, try this next
If the caddy still shifts, remove it, clean both surfaces again, and reinstall within the maker’s temperature window. If the shower stays too wet for adhesive, switch to a tension pole or a hook-on style. Those options avoid relying on a wet wall bond.
Why is my shower caddy keep slipping?
A slipping caddy usually points to one of four issues: a dirty or damp surface, the wrong wall material, too much weight on the front edge, or conditions outside the product instructions. Suction cups can lose grip as air slowly leaks in. Adhesive pads can peel when the wall is wet, cold, or uneven.
Suppose a suction caddy holds fine on day one but drops after a week in a steamy bathroom. The seal probably degraded as moisture and micro-gaps worked under the cup. Reinstalling on a perfectly dry glass panel often helps; moving the same unit to textured tile usually does not.
If it falls
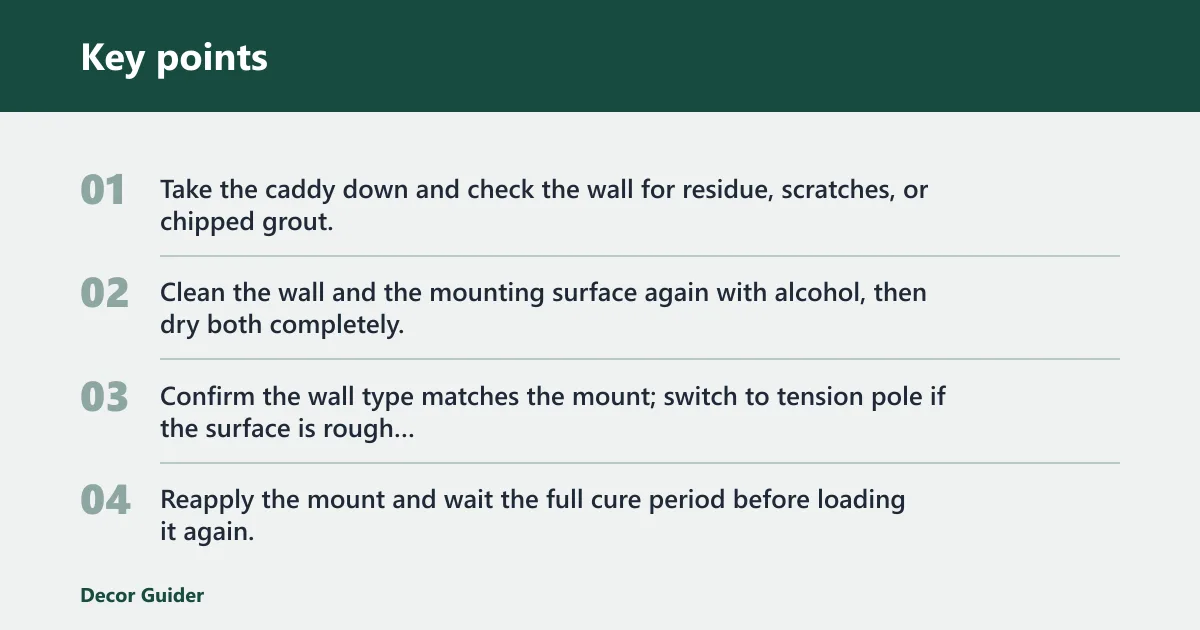
- Take the caddy down and check the wall for residue, scratches, or chipped grout.
- Clean the wall and the mounting surface again with alcohol, then dry both completely.
- Confirm the wall type matches the mount; switch to tension pole if the surface is rough or porous.
- Reapply the mount and wait the full cure period before loading it again.
Common mistakes
Most failures trace back to a short list of mistakes. They are easy to miss, and they explain why a caddy slips after a few days instead of immediately.
- Installing on a damp or steamy wall
- Skipping the alcohol wipe and dry-down
- Bridging grout lines with adhesive or suction
- Loading the caddy before the cure time ends
- Putting heavy bottles on the front lip first
- Using suction on textured surfaces
Prevention is simple: keep the wall dry, keep the load back, and follow the product’s cure instructions exactly. If the bathroom stays humid most of the day, choose a mount that does not depend on a fragile seal.
Frequently asked questions
How to install suction cup shower caddy
Use a perfectly smooth surface such as glass or glazed tile, then clean and dry both the wall and the cup. Press firmly to expel air and check the seal around the edge. If the cup loses grip in a few days, remove it, reclean, and reinstall on a flatter spot with less humidity nearby.
How long should I wait before loading a shower caddy?
Follow the package first. A 24-hour wait is common, but some products call for 48 hours or longer before any load goes on the caddy. That wait matters most for adhesive models, because early loading can start a peel before the bond has fully set.
What surface is best for a no drill shower caddy
Glass shower doors or panels and glazed ceramic tile are the best choices when they are smooth and non-porous. Those surfaces give adhesive pads and suction cups a flat, dependable contact area. Polished acrylic and fiberglass can work in some cases, but removal can damage or mark them, so follow the product label carefully.
Can you install a shower caddy on tile without drilling?
Yes, if the tile is glazed and flat. The bond area should stay clear of grout lines, chips, and heavy soap residue. Textured tile is much riskier because the mount cannot seat evenly. If the tile surface is uneven, a tension pole is usually a safer choice than trying to force an adhesive or suction base to hold.
Products related to this article
Sponsored / affiliate links. As an Amazon Associate I earn from qualifying purchases. I may earn additional commission from eligible campaigns.