How to Install a Towel Bar the Right Way
Install a towel bar by matching the wall and fastener first: use screws into studs or solid blocking, hollow-wall anchors for drywall, and tile-rated anchors or grout-line placement for tile; set the bar about 48 inches above the floor, with a common range of about 44 to 54 inches to suit the users. A weak mount can crack tile, pull loose, or leave you with a bar that wobbles under a wet towel. This guide shows how to choose the right mount, mark the holes, drill safely, and replace an old bar without damage.
Choose the right towel bar height
Set the height before you drill. Standard bath towel bars are usually centered at 48 inches from the floor, but hand towel placement can move lower or higher depending on who uses the room, where the sink sits, and whether the bar is above a toilet or beside a vanity.
Pick a height for the room, not just the bar
A 48-inch centerline works well for many bathrooms because it keeps a folded bath towel off the floor while staying reachable. A 24-inch bar can also suit a standard bath towel, which is about 28 inches wide, because it lets the towel hang folded in thirds. For a kids’ bath or a sink-side hand towel, a slightly lower placement is often easier to reach.
Keep the bar clear of door swing, trim, and nearby fixtures. If the bar sits above a toilet, leave enough space so the towel does not brush the tank lid or block access. If you are mounting beside a vanity, check the drawer pull and faucet arc before you mark the holes.
Choose the mounting style before you start
Hidden-bracket bars and exposed-bracket bars install differently. Hidden brackets usually slide over posts after the posts are screwed to the wall, so alignment matters more. Exposed-bracket hardware is easier to read visually, but the screws and bracket face stay visible.
Most towel bars come with mounting hardware or a template. The bracket spacing follows the bar length, and the mounting holes are typically marked on the bracket or template, not on the front of the bar. Use the template or the bracket holes to mark the wall, then level the brackets before drilling. If the posts are off even slightly, the bar will telegraph that error.
What wall are you mounting to?
Wall material decides the bit, anchor, and drilling method. Drywall, ceramic tile, plaster, and masonry all need different fasteners, and the wrong choice is how bars end up loose or surfaces crack. Find the wall type first, then look for a stud before you mark the brackets.
Find studs before you commit to the layout
Direct fastening into a stud is the strongest option because it does not rely on a plastic anchor. In U.S. residential construction, studs are typically 16 inches on center. If your bracket lands on a stud, use screws sized for the hardware and skip the drywall anchor.
If the stud does not match the ideal bar location, do not move the bar blindly. You can shift the layout a little, use one stud and one anchor when the hardware allows it, or choose a different bar length so both brackets land on solid structure. If neither bracket can hit a stud, use anchors rated for the wall type and the load.
Drywall anchors should match both screw diameter and wall type, and their capacity should exceed the expected towel load. Wet towels can be extremely heavy, so a light-duty anchor is a poor match for a family bath or a bar that may hold two damp towels.
Towel bar mounting table
| Surface type | Required bit/anchor | Install risk | Best fix if the hole fails |
|---|---|---|---|
| Drywall | Stud finder and screw into stud, or hollow-wall anchor matched to screw diameter | Anchor can spin or pull out if the load is too high | Move to a stud, or enlarge and reset with a better hollow-wall anchor |
| Ceramic tile | Tile drill bit, painter’s tape, and a tile-rated anchor or fastener into grout line if layout allows it | Tile can crack, chip, or open into an oversized hole | Shift to a new tile location or cover the damaged spot with a repair plug before re-drilling nearby |
| Plaster | Masonry or plaster-rated bit, plus plaster anchor or toggle suited to the wall thickness | Old plaster can crumble and break out around the hole | Move to solid framing or use a larger repair anchor after cleaning loose material |
| Masonry | Masonry bit and masonry anchor or sleeve anchor matched to the screw | Dust, wandering bit, or undersized hole can prevent the anchor from seating | Vacuum the hole, re-drill to the correct size, or relocate if the hole is too large |
| If the stud misses your layout | Use the best wall-specific anchor allowed by the surface | Bracket may sit where the fastener cannot reach framing | Shift the bar slightly, shorten the bar, or use a different mounting point that hits framing |
Mark the brackets before you drill
Use the template or the bracket holes, not the front of the bar, to mark the wall. The bar itself can mislead you because the posts and mounts have their own spacing. Level the bracket marks first, then check the spacing against the bar length before you make any holes.
Transfer marks cleanly
On glossy tile, painter’s tape helps the pencil mark show up and protects the surface while you drill. Tape also gives you a better spot for a center mark if the tile is slippery or curved. On drywall or plaster, a pencil and level are usually enough, but a light tape strip can still help keep the mark visible.
Suppose one bracket falls directly over a tile edge and the other lands on open tile. That is a layout problem, not just a drilling problem. Shift the bar a little so both posts land on solid tile field or a grout line if the hardware permits. A cleaner layout is easier to repair later, too.
How to install a towel bar on drywall or tile
Drill the right hole for the wall, then set the correct anchor before tightening the bracket. On drywall, that usually means a pilot hole and a hollow-wall anchor. On ceramic tile, use painter’s tape, a tile drill bit, slow pressure, and no hammer setting to reduce cracking.
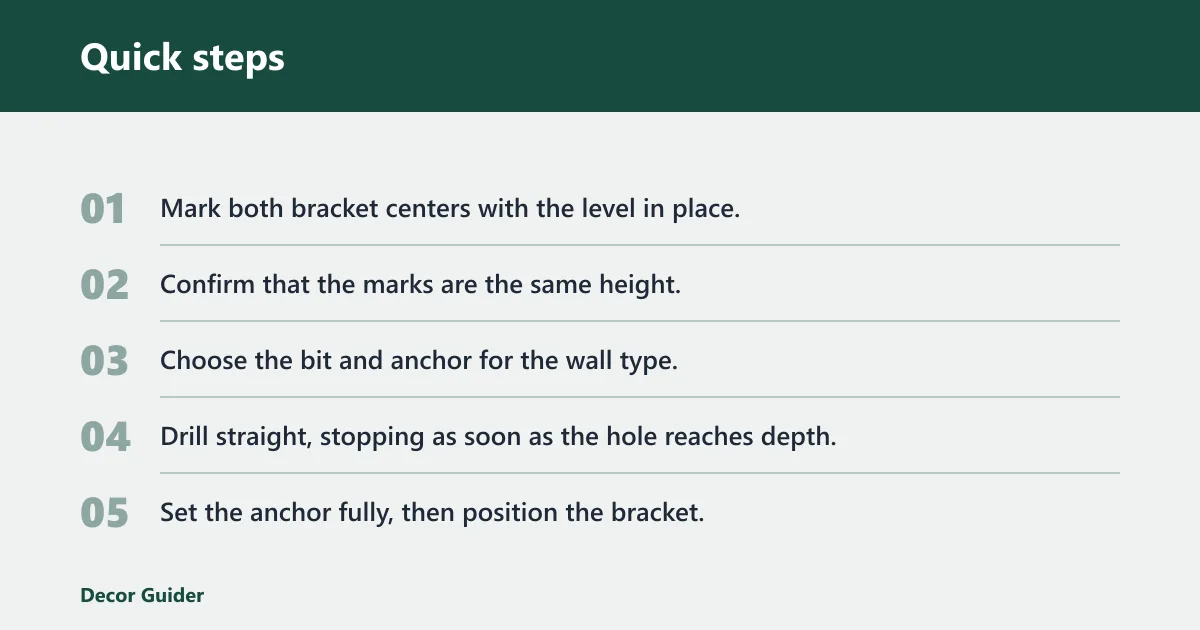
- Mark both bracket centers with the level in place.
- Confirm that the marks are the same height.
- Choose the bit and anchor for the wall type.
- Drill straight, stopping as soon as the hole reaches depth.
- Set the anchor fully, then position the bracket.
Drywall drilling and anchors
For drywall, drill a hole sized for the anchor you selected, then insert the anchor flush with the surface. Do not force a screw into plain drywall unless the hardware is designed for that load and the hole location hits a stud. If the anchor starts to spin, the hole is too loose or the wall material is damaged.
The best fix is usually to move the bracket slightly or use a larger anchor that still matches the screw diameter and wall type. If the old hole is already oversized, patch it and reset the bracket in fresh material nearby.
Ceramic tile drilling and crack prevention
For ceramic tile, cover the mark with painter’s tape, then use a tile drill bit with slow drilling and no hammer setting. Let the bit cut; do not push hard. Start at low speed so the bit does not skate across the glaze, then keep light pressure until you pass through the tile.
A common first-timer mistake is switching to hammer mode because the hole feels slow. That can crack the tile immediately. If the tile chips at the surface, stop and reassess before widening the damage. Often the safest fix is to move the bracket to a new spot rather than trying to save a split tile.
Fasten the brackets and fit the bar
Once the anchors are seated, fasten the brackets without over-tightening. Drive the screws straight so you do not strip the anchor or crack the finish around the hole. Then slide the bar into the posts and tighten the set screws that lock the bar in place.
Seat the bar and check the set screws
The set screw tightens the bar to the mounting post. It is commonly loosened during removal or when a bar has slipped. Tighten it only after the bar is fully seated and level. If you tighten one side too early, the bar can bind and end up crooked.
Before you load the bar with towels, tug gently on both ends. The bar should feel fixed, not springy. A small wobble usually means a loose anchor, a post that is not fully seated, or a screw that has not fully engaged the bracket.
How to replace or remove a towel bar
Remove a towel bar by loosening the set screws, sliding the bar off the posts, and backing out the bracket screws. Replacement is often easier than a first install because the hole locations are already known, but you should inspect them before reusing the same layout. Damaged holes need repair before a new bar goes up.
Fix failed holes before reusing the layout
If the anchor is loose, replace it with one that matches the wall type and screw diameter. If the hole is oversized, patch the area and move the bracket slightly. If the tile has cracked, do not mount on the damaged piece. Shift to a nearby tile or a grout-line location if the bracket design allows it.
Picture a bar that fell because the left anchor spun in drywall. Reusing the same hole with the same anchor usually repeats the failure. Move the bracket to a stud if possible, or use a better hollow-wall anchor in fresh drywall. The old hole can be patched after the new bracket is secure.
Replacement steps for a bathroom towel bar
If you are replacing a bathroom towel bar, measure the old bracket spacing before removal if the new hardware is different. Some styles share the same post spacing and others do not. Keep the old bracket layout only if the new bar matches it and the wall is still sound.
Products related to this article
Sponsored / affiliate links. As an Amazon Associate I earn from qualifying purchases. I may earn additional commission from eligible campaigns.