Can You Install a Shower Curtain Without Drilling?
Yes, you can install a shower curtain without drilling if the curtain is lightweight to medium and the wall surface gives the hardware enough grip. For many bathrooms, a tension rod is the easiest no-drill option. Adhesive mounts work best on clean, smooth, non-porous surfaces. If the fit is wrong, the setup slips, peels, or drifts out of square. Manufacturer guidance from spring-tension and adhesive hardware makers generally emphasizes staying within the stated span and load limits, while home-improvement guides note that wet fabric can add enough weight to change the result.
What you need before you buy


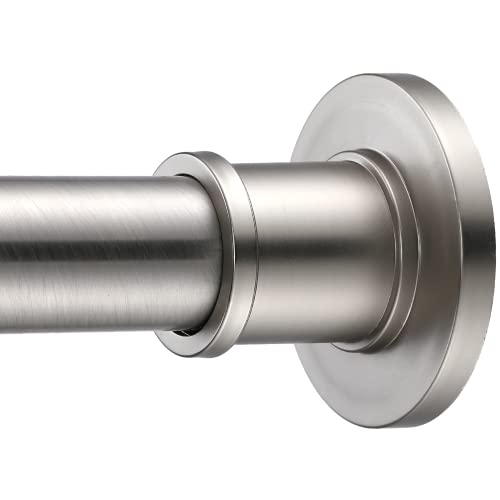
Start with the opening, not the rod. Measure the shower width at the top, middle, and bottom, then use the narrowest number so the rod does not bind in one spot and slip in another. For no-drill shower setups, that narrowest measurement is the one that matters most because shower walls and tub surrounds are often not perfectly square.
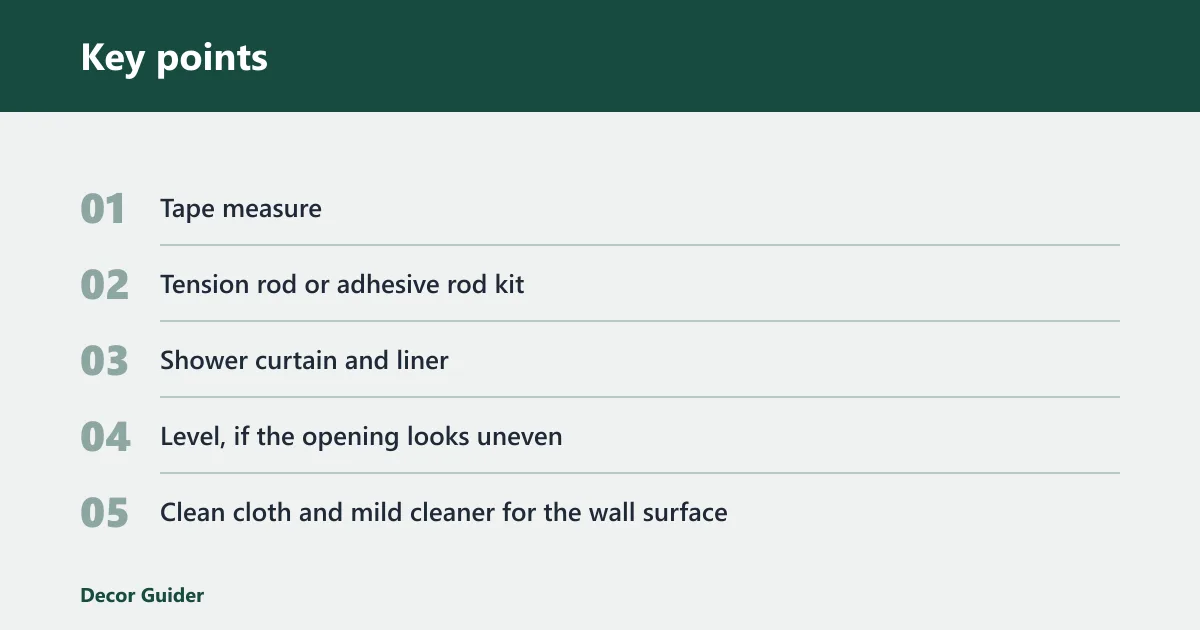
- Tape measure
- Tension rod or adhesive rod kit
- Shower curtain and liner
- Level, if the opening looks uneven
- Clean cloth and mild cleaner for the wall surface
- Optional: rubberized or anti-slip end caps
Check curtain weight and rod diameter
Weight matters more than many buyers expect. A light polyester or nylon curtain is easier on a no-drill rod than a cotton, linen, or vinyl setup with a wet liner. For diameter, 5/8 inch is often used for lightweight curtains, 3/4 inch is commonly used for medium setups, and 1 inch or larger can provide more stability for heavier curtains. That general sizing pattern matches the way many manufacturers position small, medium, and large tension rods for different spans and loads.
Confirm surface type and finish
Tension rods are commonly used on tile, fiberglass, glass, and some wallpapered walls when the fit is correct. Adhesive rods need clean, dry, smooth, non-porous surfaces. Painted drywall, textured walls, grout-heavy tile, and soft wallpaper are all higher-risk surfaces for adhesive mounts. Smooth non-porous surfaces usually give adhesives their best chance; porous or uneven finishes reduce contact and can shorten hold time.
Which no-Drill Shower curtain setup fits your bathroom?
Use this proof-based matrix to match the no-drill method to the bathroom, the opening, and the curtain load. The wrong match is where most failures begin, especially when the hardware rating is judged by the dry curtain instead of the wet load.
| Wall type | Shower opening width | Curtain weight | Recommended method | Risk of slipping | Notes for renters |
|---|---|---|---|---|---|
| Tile with tight grout lines | 48-75 inches | Light | Tension rod with rubberized ends | Low to medium | Good rental choice if the rod range sits near the middle, not the limit |
| Fiberglass alcove | 58-72 inches | Light to medium | Tension rod | Low | Usually renter-friendly when the surface is smooth and the rod is not overloaded |
| Glass or smooth non-porous panel | 27-76 inches | Light to medium | Adhesive rod or adhesive brackets | Low if prep is correct | Best only when the panel is clean, dry, and the adhesive is rated for the load |
| Wallpaper | 48-75 inches | Light only | Tension rod | Medium | Avoid adhesive unless the wall covering is specifically suitable for it |
| Painted drywall or textured wall | 58-72 inches | Medium to heavy | Drilling is usually the better option | High | No-drill options are less reliable here, especially with a wet liner |
Failure checklist: If any of these are true, expect more slip risk: the rod is near the edge of its adjustment range; the wall is textured, dusty, or damp; the liner is wet and heavy; the opening is out of square; or the adhesive is being asked to hold more than the maker’s stated load.
Weight-to-hardware guide
The source set places most tension rods around 5-15 lbs, with typical no-drill capacity around 10-20 lbs, and premium models at 20-30 lbs. Match that to the real setup, not just the dry curtain. A liner, a decorative curtain, and absorbed water can push a setup into the next bracket fast. Manufacturer specs for tension rods and adhesive mounts commonly list maximum supported spans and load limits separately, so both numbers matter.
| Example setup | Approximate load condition | Best hardware match | Why it fits |
|---|---|---|---|
| Single lightweight polyester curtain | Low dry weight, low wet gain | 5/8 inch tension rod | Light panels need less compression and put less strain on the ends |
| Curtain plus thin liner | Light to medium load | 3/4 inch tension rod | Extra diameter adds stability when the liner gets damp |
| Heavy decorative curtain with liner | Medium to high wet load | 1 inch rod only if rated for the wet load | Thicker hardware is needed when humidity and absorbed water increase the load |
- Light setup: 5/8 inch rod, single lightweight curtain, basic tension rod
- Medium setup: 3/4 inch rod, curtain plus liner, stronger tension rod or better adhesive hardware
- Heavier setup: 1 inch or larger rod, only if the product rating clearly supports the wet load
How do you install a tension rod?
Install the rod at 72-74 inches from the floor and about 2-3 inches inside the shower or tub edge. That placement keeps the curtain inside the splash zone while giving the rod a better line across the opening. A tension rod is the simplest no-drill option for many bathrooms, but it works only when the span and surface match the hardware. Manufacturer instructions for spring rods commonly call for firm compression within the listed span, and home-improvement guidance typically places the curtain high enough to clear the tub while staying below the ceiling line.
- Measure the opening at the top, middle, and bottom, then use the narrowest number.
- Set the rod length within its stated range before you compress it.
- Position the rod 2-3 inches inside the tub or shower edge.
- Raise it to 72-74 inches from the floor.
- Twist or spring-load the rod until both ends press firmly.
- Test grip with a light pull before hanging the curtain.
- Add the curtain and liner, then recheck alignment after a few minutes.
Suppose your alcove measures 60 inches at the top, 59 inches in the middle, and 58 inches at the bottom. The rod should be chosen for 58 inches, not 60, because the narrowest point controls the fit and helps prevent sudden slip when the rod reaches that tighter section. That is the same reason many manufacturers specify a minimum and maximum span rather than a single size.
How do you install an adhesive rod?
Adhesive rods can work well on smooth, non-porous walls, but only when the surface prep is exact and the weight stays within the adhesive’s real limits. They are not a better version of a tension rod; they are a different system with different failure points. Adhesive makers commonly require a clean, dry, residue-free surface and a full cure period before loading, and that curing window is what lets the bond reach its intended strength.
- Clean the wall with mild cleaner, then dry it fully.
- Confirm the surface is smooth and non-porous.
- Mark the mounting points at the same height on both sides.
- Press the adhesive plates or strips in place for the full set time listed by the maker.
- Wait the full curing time before hanging the curtain.
- Hang the curtain only after the adhesive has bonded.
- Check for movement before loading the rod with the liner.
On glass or glossy tile, adhesive hardware usually has a better chance than on painted drywall. On grout-heavy tile, the adhesive can bridge an uneven surface and fail early. The adhesive quality matters as much as the product shape. A cleaner, smoother surface increases contact area, while grout lines, soap residue, and trapped moisture reduce it.
What should you do if a no-drill shower rod keeps slipping?
Start with the most likely causes: the rod is at the edge of its width range, the surface is uneven, or the load is heavier than the hardware can hold. Slipping often shows up first on grout lines, in humid bathrooms, or when a wet liner adds more weight than the dry curtain suggested. The National Kitchen & Bath Association and home-improvement guidance both note that bathroom humidity and surface condition can affect hardware performance.
- Remove the curtain and remeasure the opening at all three points.
- Move the rod to a narrower, more centered part of its adjustment range.
- Clean the contact points and dry them fully.
- Check for grout lines, rounded corners, texture, or wall flex.
- Reduce load by swapping in a lighter curtain or thinner liner.
- If the rod still slips, move up to a larger diameter or a higher-rated model.
A common first-timer mistake is hanging a heavy decorative curtain plus a wet vinyl liner on a rod rated for a light single panel. The dry setup looks fine for a day, then humidity and extra weight push the ends outward and the rod starts to slide. Wet-load caution matters because the absorbed water can add enough mass to turn a borderline fit into a failure.
If that did not work, replace the hardware rather than forcing the same rod harder against the wall. A rubberized end cap can help on tile or painted walls because it improves grip and reduces scratching, but it will not fix a rod that is under-rated for the load.
Common mistakes
Most no-drill failures come from fit problems, not from the curtain itself. If the rod range is too close to the opening, the rod may not have enough compression to stay put. If the wall is textured, wet, or out of square, the contact points may never settle evenly.
- Using the wrong width range
- Mounting over grout, texture, or dust
- Ignoring the wet weight of the liner
- Choosing adhesive on a surface that is not smooth and non-porous
- Skipping the height check before tightening
- Using a thin rod for a heavy setup
Prevention: Recheck the rod after the first shower and after any deep cleaning. Humidity and a wet liner can shift the setup just enough to matter. If the wall or end caps have soap film, the grip can drop even when the hardware itself has not changed.
Frequently asked questions
What type of rod works best without drilling?
For most renters, a tension rod is the safest first choice because it installs without tools and fits many standard openings. Look for rust-resistant stainless steel, rubberized end caps, and a diameter that matches the curtain load. Heavier setups need a thicker rod, and the manufacturer’s span and weight limits should be checked together.
Will a tension rod work on tile walls?
Yes, if the tile is smooth and the rod ends can get solid contact. It is less reliable on grout-heavy or uneven tile, where the ends can creep or tilt. A rubberized end cap can help reduce slip and scratching on the surface, but it cannot make an undersized rod hold a heavy wet load.
How much weight can a no-drill shower curtain rod hold?
Most tension rods in the source set support roughly 5-15 lbs, with typical no-drill capacity around 10-20 lbs and premium models at 20-30 lbs. Wet fabric counts. A liner and a damp curtain can bring a setup closer to the limit than the dry weight suggests, so the real load is usually higher than it looks on the package.
Are adhesive shower curtain rods better than tension rods?
Not by default. Adhesive rods can be a better fit on smooth, non-porous walls when the load is light to medium and the prep is exact. Tension rods are usually simpler and more forgiving, especially in standard tub alcoves and rental bathrooms. The best choice is the one whose rating matches your wall and wet-load conditions.
Products related to this article
Sponsored / affiliate links. As an Amazon Associate I earn from qualifying purchases. I may earn additional commission from eligible campaigns.