How to Paint Laminate Kitchen Cabinets
Paint laminate kitchen cabinets only if the surface is solid, the finish is intact enough to scuff, and the boxes are not peeling; use a bonding primer, then two thin topcoats for the best chance of a durable finish. Skip the job or expect failure if the laminate is swollen, separating, or heat-damaged, because paint will chip and peel fast. This guide shows how to decide if the job is worth doing, prep the cabinets safely, and choose the finish that holds up.
When to paint vs replace laminate cabinets


Yes, but only when the laminate is clean, dry, and structurally sound. Laminate is slick and non-porous, so paint needs help sticking; that usually means cleaning, scuffing or deglossing, then a bonding primer before the topcoat. Manufacturer prep guides from primer and paint brands consistently call for a sound, contaminant-free surface before coating.
The project is worth doing when the cabinet boxes are stable and the problem is mostly color or sheen. It is not worth doing when the substrate is failing, because paint only covers the surface. For damaged cases, refacing or replacement is often the safer path.
If you are deciding whether the boxes themselves are worth saving, start with the substrate: laminate on stable plywood or MDF can be paintable, while water-swollen particleboard or MDF usually is not. Edge-banding repairs can help when only the edge strip has lifted, but once the board has swollen, crumbled, or separated at sink areas, the failure is usually structural, not cosmetic.
Laminate cabinet decision matrix
| Cabinet condition | Safest prep method | Expected risk level |
|---|---|---|
| Sound laminate | Clean, light scuff with 120-grit, then bonding primer | Low |
| Glossy laminate | Deglosser or light scuff, then bonding primer | Low to moderate |
| Peeled edges | Repair loose spots first; paint only after edges are stable | High |
| Warped doors | Do not paint until replaced or flattened by repair | High |
| Oak-trim hybrids | Prime all mixed surfaces; use stain-blocking primer on oak trim | Moderate |
| Water-damaged cabinets | Stop and assess; repair or replace before any coating | Very high |
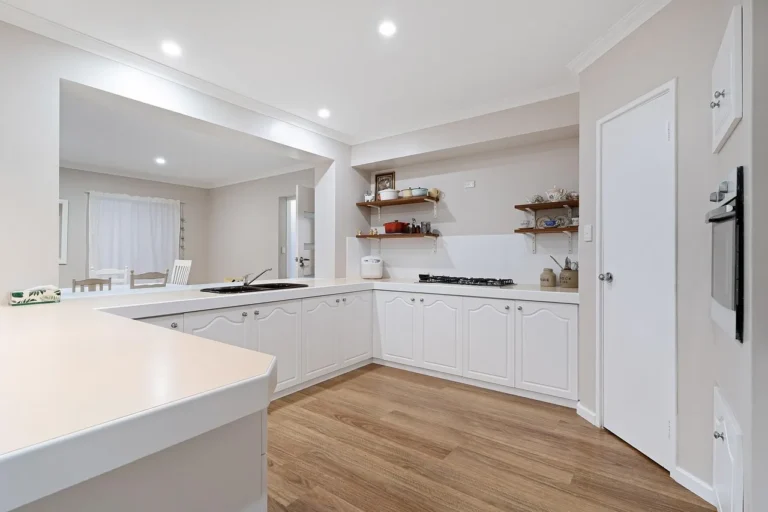
Say your base cabinets are flat-faced laminate with only a dull yellow finish. That is the safest repaint project, because the substrate is intact and the work is mostly prep and patience. Suppose the same kitchen has toe-kick swelling near the sink. That area needs repair before paint, or the finish will fail there first.
Remove hardware, clean off kitchen grease with a degreasing cleaner, and scuff the surface before primer. That order matters because dust or film left on the cabinet weakens adhesion. The laminate must be dry before sanding, priming, or painting begins.
- Remove doors, knobs, pulls, and hinges where possible, then label each piece for reassembly.
- Mask visible hinges or fixed hardware if the doors must stay in place.
- Lay down drop cloths and tape off adjacent walls, counters, and appliances.
- Wash the cabinets with a degreasing cleaner, especially near the stove.
- Rinse off residue if your cleaner requires it, then let every surface dry fully.
- Scuff the laminate with 120-grit sandpaper, or use deglosser on glossy panels when sanding is not the main prep path.
- Vacuum dust or wipe with a tack cloth before primer.
Use ventilation if you choose liquid sandpaper, and follow the manufacturer’s directions exactly. Deglosser works as a surface prep aid, not as a cure for damaged laminate. It helps on slick faces, but it does not fix lifting edges or swollen boards.
How to clean and degrease the laminate
Clean carefully around the range, hood, and sink wall cabinets, where grease and moisture collect fastest. Soap, vinegar solution, or TSP all appear in common guidance, but whatever you use must be fully removed or fully dry before primer goes on. If you need a deeper walkthrough, use the site’s cabinet cleaning and degreasing guide before you start priming.
A common first-timer mistake is rushing the dry time after washing. If moisture is trapped at the seams, paint can blister or stay soft longer than expected. Clean once, then let the cabinet surface dry to the touch and beyond. For reputable timing references, check the product label for the cleaner and primer, then follow the longer dry window when the instructions differ.
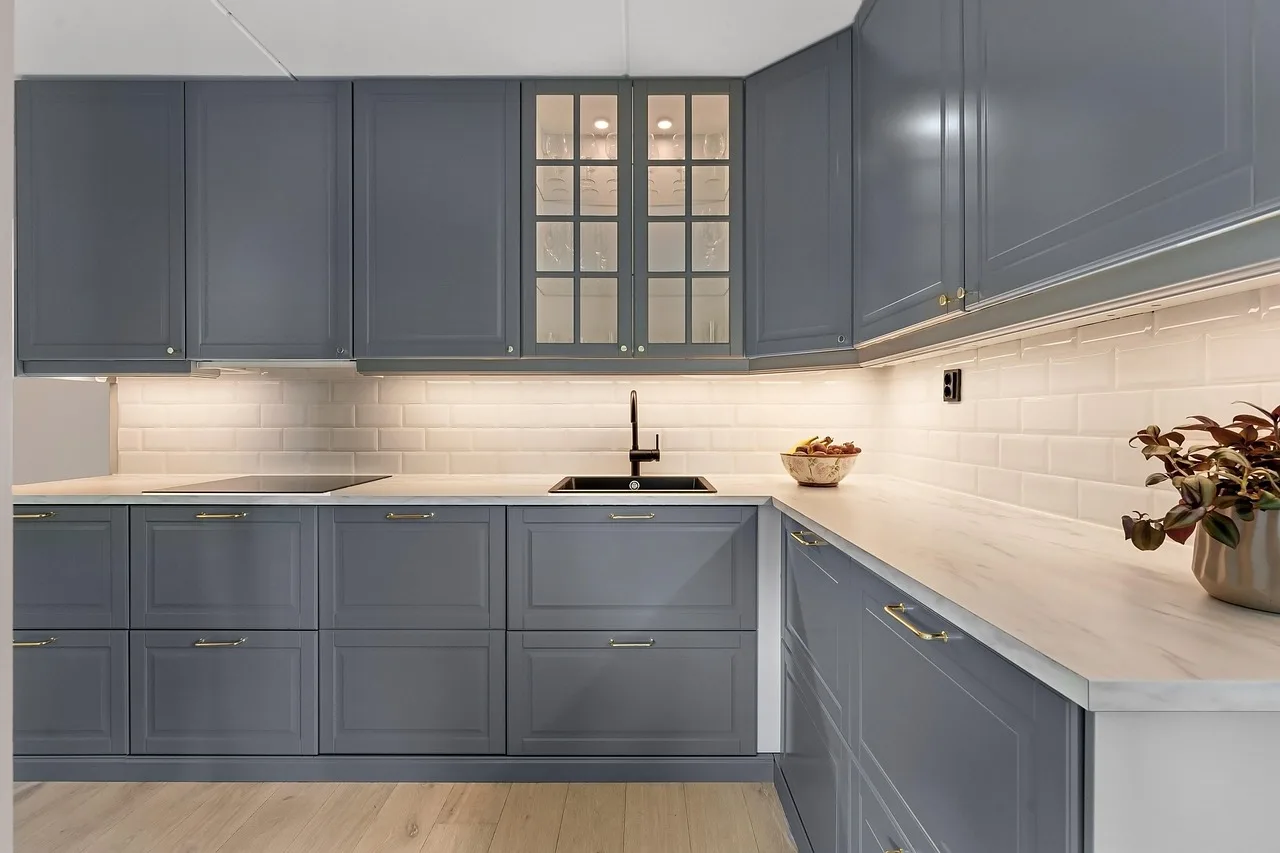
You can skip sanding on some glossy laminate if you use a deglosser and a strong bonding primer, but only on clean, sound cabinets. This path is best for cabinets that are smooth and intact, not peeling, warped, or water-marked.
The no-sanding path is a tradeoff. It saves time and dust, but it still depends on careful cleaning and full primer coverage. If the cabinet face has edge chips or loose laminate, sanding alone will not solve the adhesion problem.
Apply the primer
- Stir the bonding primer thoroughly.
- Brush the edges and profiles first with an angled brush.
- Roll the flat areas with a foam roller using light pressure.
- Let the primer dry fully, then add a second coat if the substrate still shows through.
- Lightly scuff the dried primer with 100- to 120-grit sandpaper if the surface feels rough, then remove dust.
Bob Vila’s guidance includes lightly sanding with 120-grit, and some primers are meant to be scuffed between coats. eHow cites four to six hours for primer dry time, while Bob Vila advises waiting a full week before normal cabinet use after the finish is complete. Always distinguish dry time from cure time: paint may feel dry enough to touch long before it has hardened enough for hardware, drawers, and daily handling.
Apply the topcoat
Use thin coats and keep the roller moving. Two coats are common, and some cabinets may need about three for even coverage. Satin or semi-gloss is a practical finish for kitchens because it is easier to wipe clean than a flatter sheen.
If a corner looks thin after the first coat, add another pass after full dry time rather than loading on a heavy layer. Thick paint can trap solvent, slow curing, and leave soft edges that dent during reassembly. Manufacturer data sheets are the best source for recoat timing and cure windows, and those windows can vary by temperature, humidity, and product line.
Do not paint over peeling laminate as-is. Loose edges need repair, and badly lifted sections often mean the cabinet should be replaced or refaced instead. Paint cannot hold a failing edge together for long.
Trim back any loose laminate only after you assess how much material is separating. If the peel is limited to a small spot, stabilize it first, then prime. If the damage spreads across doors or around sink bases, stop and consider a structural fix instead of coating over the problem. Edge-banding repairs are viable when the core board is still firm and the failure is localized; they are not a cure for swollen MDF or particleboard.
Common mistakes
- Painting over peeling, swollen, cracked, or warped laminate.
- Skipping degreasing in stove-side cabinets.
- Using too much water during cleaning and not letting the surface dry.
- Applying thick coats that leave brush marks and slow cure time.
- Skipping bonding primer or using a primer not meant for laminate.
- Rehanging hardware before the finish has hardened enough to handle.
Prevention is simple here: label every screw and hinge, and keep doors off until the finish has cured enough to avoid edge damage. That one step prevents a lot of chipped corners and scratched faces during reassembly.
What you’ll need
Keep the materials simple and choose products made for slick surfaces. A laminate cabinet repaint usually needs a cleaner, an adhesion-promoting primer, a durable cabinet topcoat, and basic masking and sanding tools. For a straightforward DIY project, the material set is small; the real investment is in prep and dry time.
- Dish soap or a degreasing cleaner
- Vinegar solution or TSP, if your chosen cleaner calls for it
- 120-grit sandpaper for light scuff sanding
- 100- to 120-grit sandpaper for primer scuffing
- 80-grit sandpaper if you are using the heavier laminate scuff method noted in some guidance
- Deglosser or liquid sandpaper, used with ventilation and label directions
- Bonding primer made for cabinet laminate or melamine surfaces
- Cabinet paint in satin or semi-gloss
- Foam roller for flat panels
- Angled brush for edges, corners, and profiles
- Tack cloth or shop vac for dust removal
- Painter’s tape and drop cloths
- Labels or masking tape for hardware organization
- Screwdriver for doors, knobs, pulls, and hinges
For planning, a common published estimate puts the project at 15 to 30 hours total, about one week from start to usable finish, with a cost of $200 to $400 in materials. That range fits a typical DIY repaint, not a full kitchen rebuild.
| Stage | Estimated time | What happens |
|---|---|---|
| Removal and labeling | 1 to 3 hours | Doors, hinges, pulls, and knobs come off and get marked for reassembly. |
| Cleaning and degreasing | 2 to 4 hours | Grease, residue, and cleaner film are removed before any abrasion. |
| Prep and scuffing | 2 to 5 hours | Laminate is dulled with sanding or deglosser, then dust is removed. |
| Priming | 2 to 6 hours | Bonding primer goes on in thin coats, with dry time between coats. |
| Painting | 3 to 8 hours | Two thin topcoats are applied with drying time between passes. |
| Cure time | Several days to 1 week | The finish hardens before normal cabinet use and rehanging stress. |
| Rehanging and hardware reset | 1 to 3 hours | Doors and hardware go back on once the finish can handle contact. |
What paint should you use on laminate cabinets?
Use a bonding primer made for cabinet laminate or melamine surfaces, then a durable cabinet topcoat in satin or semi-gloss. Those finishes clean more easily than flat paint and usually hold up better in kitchens with frequent wiping, steam, and grease. Product labels from major coating manufacturers are the best source for substrate compatibility, so choose by rating, not just by color.
Specialty melamine or cabinet paint is often the safer choice for laminate because it is made for hard, smooth surfaces. Water-based latex is mentioned in some guides, but the real test is whether the product is rated for cabinets and hard-to-stick substrates, not whether it is merely interior paint.
Choose the right primer and topcoat
A bonding primer is the key layer. It is made to bite into laminate and cut the odds of peeling, blistering, and bubbling later. Some cabinet projects need one coat; others need two if the substrate is still showing through after the first pass.
If the cabinets include oak trim or other mixed materials, use a primer that blocks tannin bleed. One practical reason to avoid skipping primer: raw wood trim can telegraph stains through the finish even when the laminate itself looks fine.
Refinishing laminate cabinets means rebuilding the surface in layers, not stripping them to bare material. Clean, scuff, prime, and topcoat. That process is only reliable when the cabinet structure is sound and the finish can bond to the existing skin.
Estimate time by stage, not by wishful thinking. A realistic budget for a small kitchen is a few hours of removal and cleaning, a sanding or deglossing block of time, then separate drying windows for primer and paint. Larger kitchens add more time because edges, doors, and hardware slow the work.
Frequently asked questions
What paint do you use on laminate kitchen cabinets?
Choose a bonding primer first, then a durable cabinet paint in satin or semi-gloss. Specialty cabinet or melamine paint is a strong option for hard, smooth surfaces. If you use a water-based product, make sure the label says it is suitable for cabinets and similar substrates.
Products related to this article
Sponsored / affiliate links. As an Amazon Associate I earn from qualifying purchases. I may earn additional commission from eligible campaigns.