How to Level Kitchen Cabinets
Level kitchen cabinets by finding the high point, setting a straight reference there, and adjusting each base cabinet until the tops are about within 1/16 inch of each other. If you skip diagnosis, doors bind, counters twist, and gaps spread as the run is fastened. This guide shows how to tell whether the floor, wall, or cabinet box is the problem and which fix to use.
What you’ll need
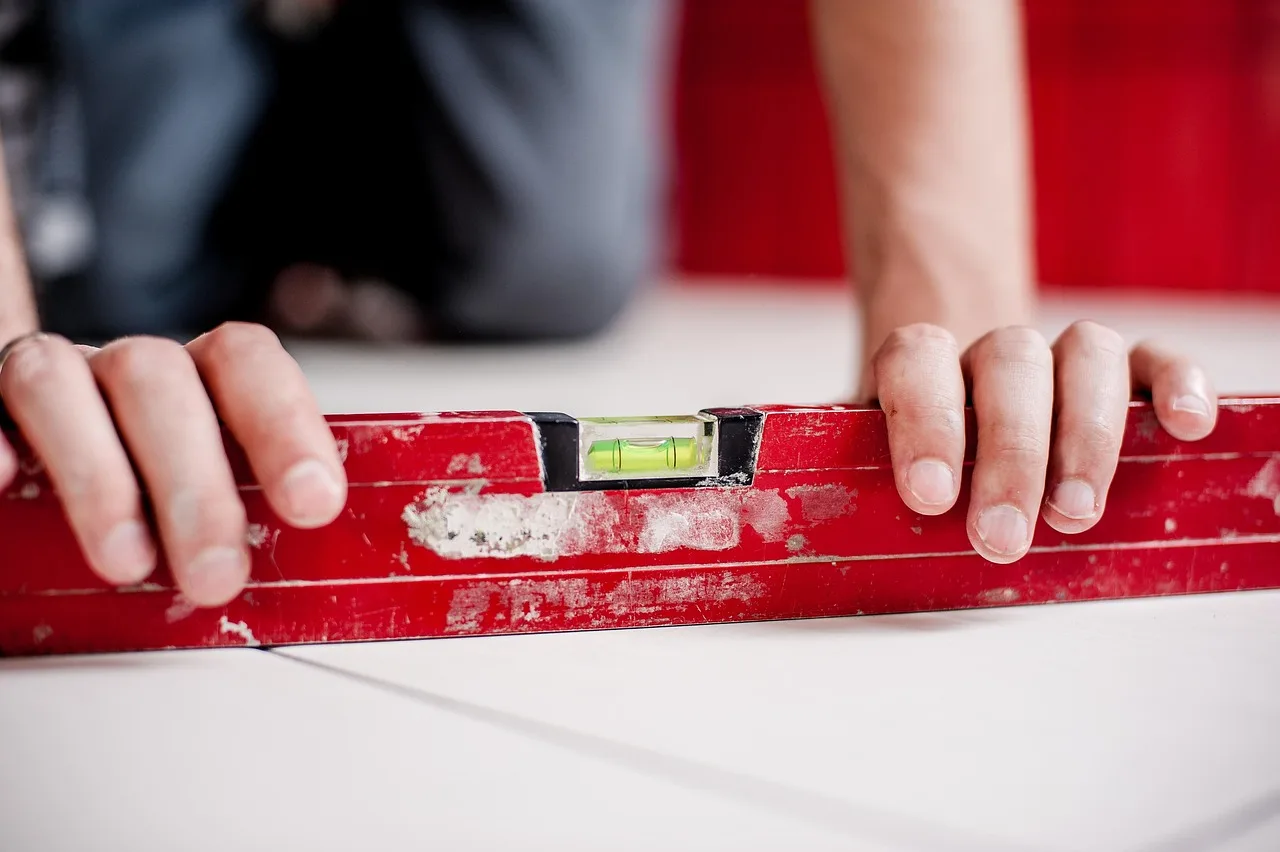
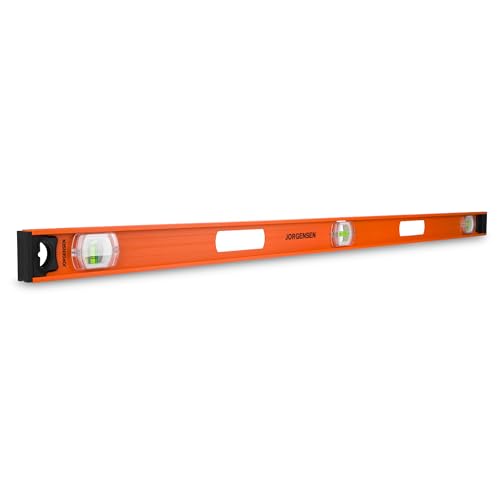


- 4-foot level for checking plumb, level, and corner square
- 6-foot level for longer cabinet runs
- Laser level with tripod
- Tape measure and pencil
- Shims in wood or composite
- Cabinet clamps
- Drill/driver and pilot bits
- 2.5-inch #8 construction screws for face-frame fastening
- Ledger board or cleat
- Stud finder and marking tool
- Cabinet jack or helper for upper cabinets
- Corner cabinet leveler hardware, if the system allows it
How to diagnose the problem first
Start with the floor, then the wall, then the box. A cabinet that seems “out of level” may actually be sitting on a slope, leaning against a bowed wall, or twisted from a bad fit at the corner. Fix the cause before you add shims.
Check the floor for slope and find the high point
Use a laser level or long level to project a reference line, then measure down to the floor at several points. The shortest floor-to-line distance marks the high point of the floor. Base cabinets should start there, not from the lowest spot.
Check the wall for bow or out-of-plumb sections
Set a 4-foot level against the wall and at inside corners. If the bubble shifts at different points, the wall is not plumb or the corner is not square. That matters most for upper cabinets, which need support from studs and often need rear shimming.
Check the cabinet box for twist or corner mismatch
Measure diagonals across the cabinet box and compare face-frame edges. If one corner stands proud or the cabinet rocks on a flat floor, the box may be twisted. Corner units need extra care because they are harder to shim and must meet adjacent cabinets cleanly.
Cabinet troubleshooting table
| Symptom | Likely cause | How to verify it | Correct fix |
|---|---|---|---|
| One end of the run sits higher than the other | Sloped floor | Measure down from a level line at several points; the shortest measurement marks the high point | Start base cabinets at the high point and shim low spots before fastening |
| Upper cabinet backs pull away from the wall in spots | Bowed wall | Check with a 4-foot level or straightedge; gaps show where the wall dips | Use rear shims at studs, then fasten to studs only |
| Cabinet rocks even on a flat floor | Twisted cabinet box | Set it on a flat surface and compare diagonals or corner contact | Reset, replace, or re-square the box before countertop work |
| Corner cabinet will not line up with the adjoining run | Corner unit mismatch | Check both adjacent cabinet faces and corner square with a 4-foot level | Adjust the neighboring boxes, use corner-specific leveler hardware if available, and clamp before fastening |
| Cabinet tops look level, but countertop templating still reads uneven | Countertop-ready flatness issue | Check the full run at multiple points; a tolerance of about 1/16 inch across the tops is a practical target before templating | Reset any cabinet that sits outside that range; stone tops need flatter support |
How do you level base cabinets?
Base cabinets should begin at the high point of the floor and end level to one another. A common layout starts from about a 34-inch or 34.5-inch reference line. Keep the run straight, shim low spots before fastening, and recheck after each cabinet is joined.
- Mark a level reference line from the high point of the floor.
- Set the first cabinet on shims until its top matches the line.
- Use a laser level or long level to keep the next cabinet at the same height.
- Clamp face frames flush before driving screws through the stiles.
- Fasten the cabinet to the wall and floor only after the level is confirmed.
- Add shims in about 1/8-inch increments, then recheck the run after each adjustment.
Picture a 10-foot run where one end drops 3/8 inch toward the sink wall. Start at the high end and shim the low end, rather than trying to “average out” the slope. That keeps the counter support continuous and prevents a hump in the middle.
If that didn’t work, reset the outlier cabinet
- Back out the fasteners from the cabinet that sits high or low.
- Remove the cabinet and inspect for a bowed side or twisted bottom.
- Rebuild the shim stack, then set the cabinet again from the reference line.
- Replace the cabinet if the box will not sit square after a second setup.
How do you level wall cabinets?
Upper cabinets hang from a level layout line, often with a temporary ledger board or cleat fastened into studs. Their bottom edge commonly sits about 17 to 19.5 inches above the base cabinet line, depending on the layout. Support them while you shim, clamp, and fasten to studs.
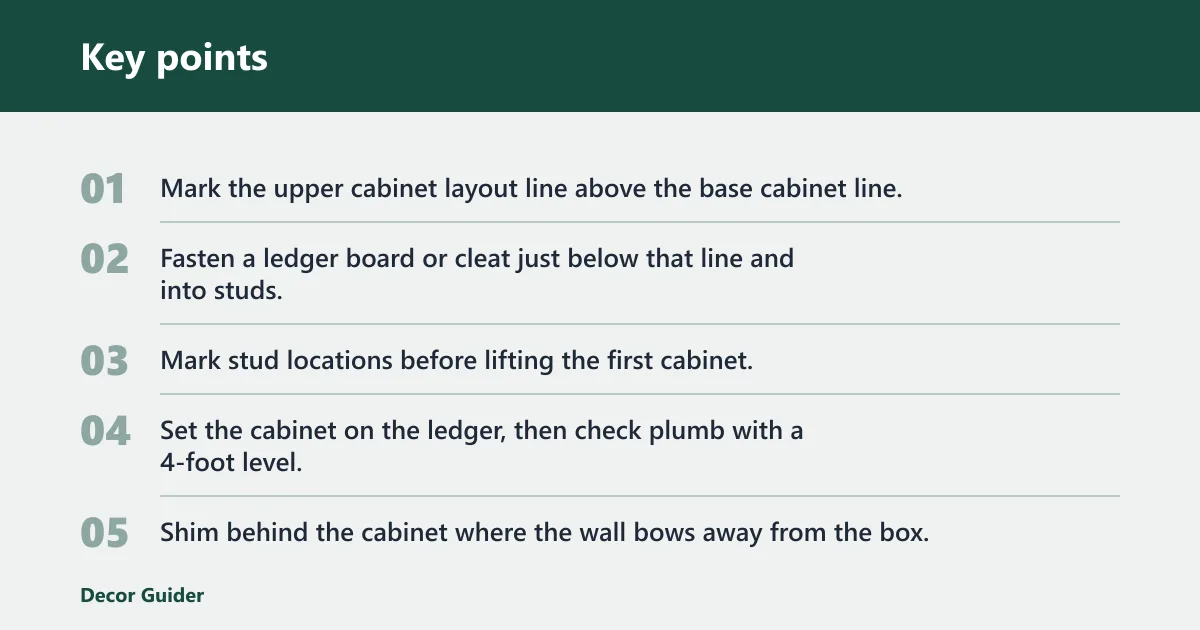
- Mark the upper cabinet layout line above the base cabinet line.
- Fasten a ledger board or cleat just below that line and into studs.
- Mark stud locations before lifting the first cabinet.
- Set the cabinet on the ledger, then check plumb with a 4-foot level.
- Shim behind the cabinet where the wall bows away from the box.
- Clamp adjacent cabinets, then fasten them together before driving wall screws.
This step depends on studs, not drywall. Drywall holds position only for a moment; studs carry the load once the cabinet is hung. This Old House recommends a helper or a cabinet jack for upper cabinet installation, which reduces strain while you line up screws and shims.
Say your 30-inch wall cabinet sits over a bowed backsplash wall. If the top is plumb but the bottom kicks out 1/4 inch, a rear shim at the stud line can square the face without forcing the box against the wall.
If that didn’t work, correct the wall or the box
- Remove the cabinet and check the wall with a 4-foot level at the suspect stud bay.
- Add or trim shims so the back of the cabinet sits flat against the support points.
- Reset the ledger if the whole line drifts out of level.
- Replace a twisted cabinet if the face will not stay plumb after shimming.
Countertop flatness and sink cutout checks
Countertops depend on dead-level cabinet installation. Popular Mechanics notes that stone countertops can crack if cabinet spans are not level. Granite and quartz both need a flat base, but stone is less forgiving of a cabinet run that varies across the full span or across a seam.
Before templating, check the cabinet tops in several places: front edge, back rail, and across any seam location. If the run varies by more than about 1/16 inch, reset the problem cabinet rather than hoping the countertop installer can hide it. That is especially important at a seam, sink cutout, or appliance opening.
Granite and quartz checks
- Granite: verify the full run is flat and level before the template is taken; stone slabs can bridge slight variation, but not a twisted run.
- Quartz: treat the cabinet tops as the final support plane; any dip or crown can telegraph into seams and cutouts.
Common mistakes
Shimming from the low point is the biggest setup error. It makes the layout chase the floor instead of correcting it. Start at the high point, then bring everything else up to that line.
- Relying on drywall: wall cabinets must fasten into studs.
- Over-shimming one spot: a tall shim stack can flex and shift later.
- Forcing a corner unit: corner cabinets often need dedicated adjustment, not brute pressure.
- Ignoring box twist: if the cabinet rocks, reset it instead of hiding the problem with extra shims.
- Skipping a final check: recheck level after every cabinet is joined and fastened.
Prevention
Mark stud locations, confirm the high point before the first cabinet goes in, and check the top line again before countertop templating. That sequence prevents most reruns.
Frequently asked questions
How to level kitchen cabinets on uneven floor
Start with a laser or long level, then find the high point of the floor by measuring down from a level reference line. Set the first base cabinet there, shim low spots in 1/8-inch increments, and keep the tops aligned before fastening. Do not build from the lowest point.
How to use a laser level for kitchen cabinets
Place the laser on a tripod and project a continuous reference line across the room. Use that line to mark the base cabinet height from the floor’s high point and to carry the upper cabinet line around corners. A helper makes it easier to keep the beam visible while you measure.
How level do kitchen cabinets need to be for granite countertops
For granite, cabinet tops should be dead level across the run before templating, with no noticeable hump or sag at seams or sink openings. A practical target is within 1/16 inch across the span. Popular Mechanics warns that stone can crack if cabinet spans are not level.
How level do kitchen cabinets need to be for quartz countertops
Quartz also needs a flat, level support plane. Keep the cabinet tops within about 1/16 inch across the run before templating, and recheck any seam location carefully. If a cabinet is twisted or high at one corner, reset it rather than relying on the countertop to hide the issue.
Products related to this article
Sponsored / affiliate links. As an Amazon Associate I earn from qualifying purchases. I may earn additional commission from eligible campaigns.