How to Reupholster a Sofa With Fixed Cushions: Step-by-Step Guide
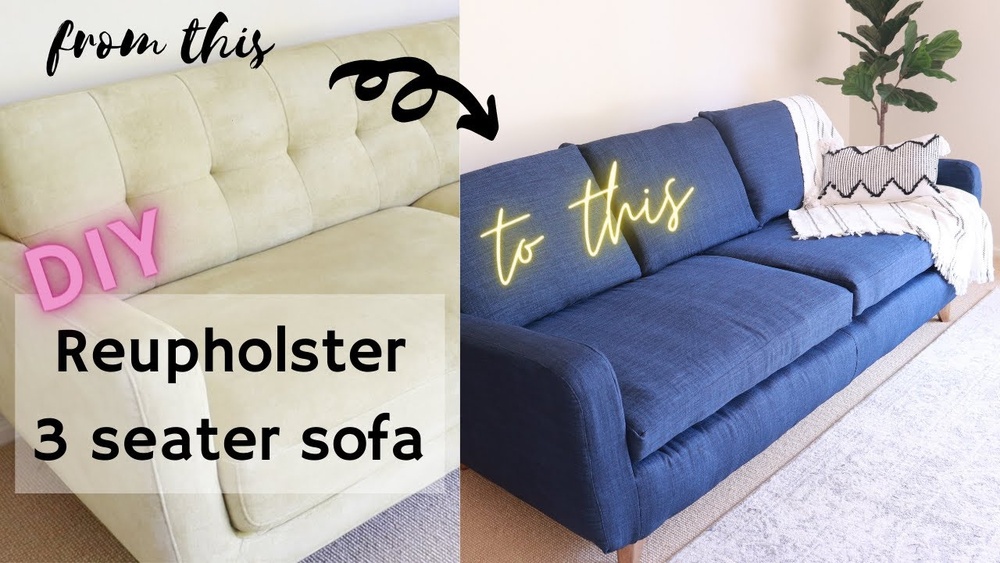
Reupholstering a sofa with fixed cushions can seem overwhelming, especially if you’ve never tackled furniture projects before. Many people think it’s impossible without professional help, but with careful planning, patience, and the right tools, you can transform your sofa and give it a fresh look.
Fixed cushions make the job trickier because they’re attached to the frame, but there are proven ways to work around this. In my experience, even beginners can succeed if they follow clear steps, avoid common mistakes, and understand the unique challenges.
This guide breaks down everything you need to know, including materials, techniques, hidden pitfalls, and practical advice for a satisfying result.
Understanding Fixed Cushions And Reupholstery Basics
Before you start, it’s important to understand what fixed cushions are. Unlike removable cushions, fixed cushions are sewn or stapled directly onto the sofa frame. This design is popular for modern sofas and certain vintage styles. The main challenge is that you can’t simply take off the cushion and cover it separately.
Reupholstering means removing the old fabric, padding, and sometimes springs, then replacing them with new materials. It’s not just about aesthetics; it can improve comfort, hygiene, and durability. According to upholstery experts, doing it yourself can save between 60, 80% compared to hiring a professional, especially for labor-intensive jobs like fixed cushions.
There are two main approaches:
- Full reupholstery: Removing all fabric and replacing padding.
- Partial reupholstery: Covering only the outer fabric, keeping the padding.
For fixed cushions, most people opt for full reupholstery to ensure a smooth, professional finish.
Tools And Materials Needed
Gathering the right tools and materials is crucial. Missing items can cause delays or make the job impossible. Here’s what you’ll need:
- Upholstery fabric (measure carefully, add 10, 20% extra for mistakes)
- Staple gun (electric or manual, but electric is easier for thick fabrics)
- Staples (1/4 inch to 1/2 inch depending on frame thickness)
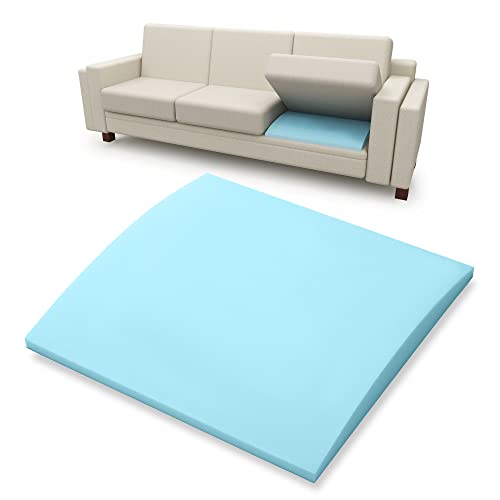
- Upholstery foam (optional, for renewing cushion padding)
- Batting (cotton or polyester, for a smooth surface)
- Upholstery thread and needle
- Fabric scissors
- Screwdriver (flathead and Phillips, for removing legs or panels)
- Pliers (for removing old staples)
- Seam ripper
- Chalk or fabric marker
- Measuring tape
- Dust mask (old foam can be dusty)
- Safety gloves (to protect hands from staples)
Pro Tip: If you’re unsure about fabric quantity, measure each section and consult an upholstery calculator online.
Planning Your Reupholstery Project
Success starts with a solid plan. Rushing can lead to wasted materials and frustration. Here’s how to plan:
- Assess the sofa: Check for damage beyond the fabric. Loose frames or broken springs may need repair before reupholstering.
- Choose fabric wisely: Durable fabrics like polyester, canvas, or microfiber are best for high-use sofas. Avoid light colors if you have pets or children.
- Decide on padding: If the cushions are saggy, replace or add foam. For firm cushions, you may only need new batting.
- Schedule enough time: Most DIY jobs take 8, 16 hours, depending on sofa size and your experience.
Example: When I reupholstered a mid-century sofa, I spent two evenings removing staples and another two days attaching new fabric.
Removing Old Upholstery
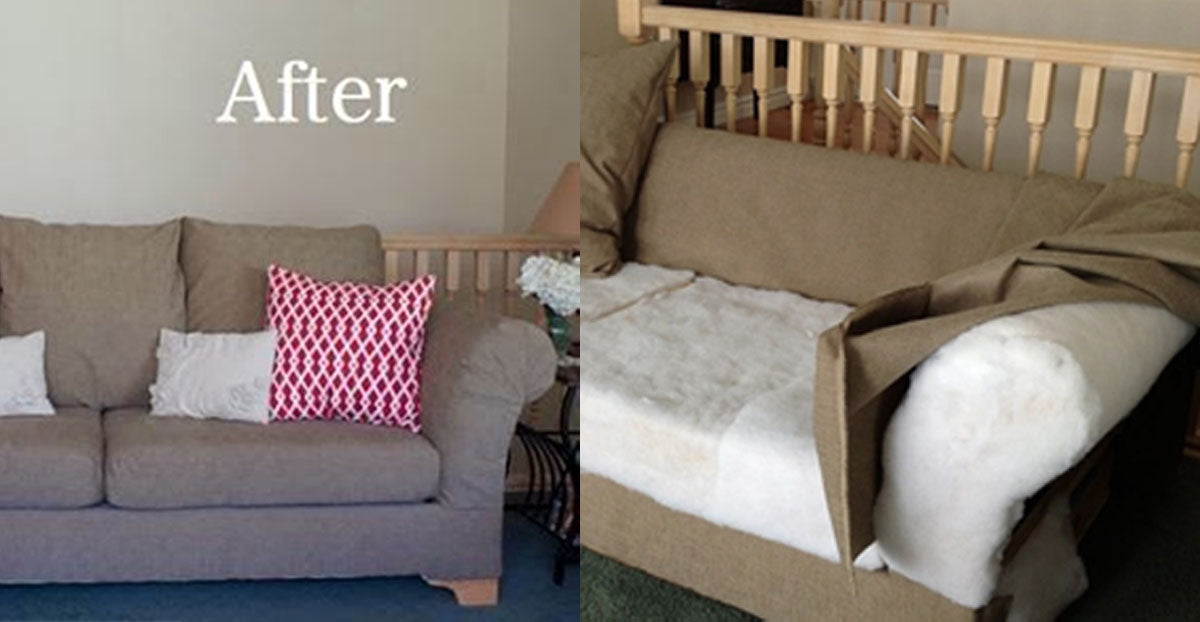
Getting rid of the old fabric is the first real step. It’s messy and slow, but taking your time prevents damage.
- Start by removing any legs, panels, or trim. Use a screwdriver.
- Use pliers and a seam ripper to pull out staples and stitches. Be careful not to tear the foam or wood.
- Work section by section, noting how each part is attached. Take photos as you go, these are invaluable when you reassemble.
- For fixed cushions, pay attention to how they’re sewn or stapled into the frame. Some cushions may have hidden zippers or Velcro, check carefully.
If the foam is crumbly or has an odor, replace it. Otherwise, you can reuse it.
Credit: alivinghome.com
Measuring And Cutting New Fabric
Precise measurement is key. Too little fabric means patchwork fixes; too much means waste.
- Measure each sofa section: Back, arms, seat, and each fixed cushion.
- Add at least 2 inches to each side for stapling and tucking.
- Mark the fabric with chalk, cutting slowly and checking twice.
If your sofa has patterns or stripes, align them carefully. Misaligned patterns are a common beginner mistake.
Here’s a quick comparison of common upholstery fabrics:
| Fabric Type | Durability | Ease of Cleaning | Cost Range |
|---|---|---|---|
| Microfiber | High | Easy | $$ |
| Cotton | Medium | Moderate | $ |
| Leather | Very High | Easy | $$$$ |
| Polyester | High | Easy | $$ |
| Velvet | Medium | Hard | $$$ |
Choose the best fabric for your needs and budget.
Reupholstering The Frame And Arms
Start with the easiest parts: the frame and arms. This builds confidence and lets you practice stapling without the complexity of fixed cushions.
- Lay the new fabric smoothly over the area.
- Pull it tight, but not so tight that it distorts the shape.
- Staple every 2, 3 inches, starting from the center and working outward.
- Fold the corners neatly, tucking excess fabric underneath.
Keep staples hidden beneath the frame or trim. For curved arms, cut small slits in the fabric to help it fit smoothly.
If you notice puckering or wrinkles, gently pull and restaple before moving to the next section.
Reupholstering Fixed Cushions: Step-by-step
Fixed cushions need a different approach. Here’s a detailed guide:
- Prepare the cushion area: Clean and inspect the foam. Add new foam or batting if needed.
- Cut fabric for the cushion section: Allow extra for tucking and stapling.
- Attach fabric at the back: Start from the back, pulling the fabric tight and stapling every 2 inches.
- Tuck fabric into the seams: Use a blunt tool (like a butter knife) to push fabric into seams between the cushion and frame.
- Staple beneath the cushion: Reach under and staple fabric to the wooden base. This is tricky, use safety gloves.
- Smooth and finish edges: Fold excess fabric and staple securely. For visible seams, sew by hand using upholstery thread.
Example: On my own sofa, I found that stapling too close to the cushion edge caused the fabric to pull out over time. Stapling deeper into the base solved this.
Finishing Touches: Trim, Details, And Accessories
Once the main fabric is in place, add finishing touches:
- Replace or clean the legs and panels.
- Add decorative trim or piping for a professional look.
- Attach buttons or tufting if desired. For tufted sofas, use a long upholstery needle and strong thread.
- Vacuum the sofa to remove dust and stray threads.
If you want to add extra comfort, place a layer of batting beneath the fabric. This makes the cushions softer and more inviting.

Credit: www.reddit.com
Common Mistakes To Avoid
Many beginners make the same errors. Here’s how to avoid them:
- Skipping photos: You’ll forget how parts fit together. Take photos as you remove each section.
- Using weak staples: Upholstery staples must be strong. If they bend, the fabric will sag.
- Not aligning patterns: If your fabric has patterns, make sure they match across sections.
- Rushing the process: Take breaks and check your work as you go.
- Ignoring foam quality: Old foam can ruin the new look. Replace if it’s misshapen or crumbling.
Pro Tip: Test a small area first. If you’re unsure about your stapling technique, practice on a scrap piece.
Cost Comparison: Diy Vs Professional Reupholstery
Wondering if DIY saves money? Here’s a comparison:
| Method | Average Cost | Time Required | Quality Control |
|---|---|---|---|
| DIY | $150, $400 (materials only) | 8, 16 hours | High (you control) |
| Professional | $600, $2,000 | 1, 2 weeks (wait time) | Medium, High (depends on shop) |
DIY is more affordable, but requires patience and skill. Professionals offer convenience, but at a higher price.
Tips For Choosing Upholstery Fabric
Picking the right fabric affects comfort, durability, and appearance. Consider these factors:
- Durability: For busy homes, choose sturdy fabrics like polyester or microfiber.
- Stain resistance: Look for stain-resistant coatings if spills are likely.
- Colorfastness: Fabrics should resist fading, especially in sunny rooms.
- Texture: Smooth fabrics are easier to clean; textured fabrics hide wear.
Example: Families with pets often prefer microfiber because it resists scratching and is easy to vacuum.
How To Maintain Your Newly Upholstered Sofa
Proper care keeps your sofa looking great for years.
- Vacuum regularly to remove dust and debris.
- Spot-clean spills immediately using mild soap and water.
- Avoid harsh chemicals, they can damage fabric.
- Rotate seat cushions (if possible) to distribute wear.
For fixed cushions, use a handheld vacuum to reach seams and edges.
If you notice loose staples or threads, repair them quickly to prevent bigger problems.

Credit: www.reddit.com
When To Call A Professional
Some jobs are best left to experts. If your sofa has:
- Broken springs or frame: Repairing these needs special tools and skills.
- Complex shapes: Unusual designs may be hard to cover neatly.
- Valuable antiques: Professional restoration preserves value.
Consult a certified upholsterer for these cases. For most standard sofas, DIY is safe and effective.
Real-life Example: Tackling Fixed Cushions
When I reupholstered my own sofa with fixed cushions, I faced several challenges. The foam was glued to the frame, making removal impossible. Instead, I added new batting over the old foam, tucked fabric into the seams, and stapled underneath.
The result was smooth, comfortable, and looked professional.
Pro Tip: If the cushion is very firm, use thinner foam or just batting to avoid making the seat too high.
Hidden Insights: What Beginners Often Miss
Two non-obvious insights:
- Fabric stretch direction matters: Some upholstery fabrics stretch more one way than the other. Always staple along the stretch for a tight, wrinkle-free finish.
- Staple placement affects durability: Staples too close to the edge can pull out. Place them at least 1 inch from the fabric edge, and always staple into solid wood.
These details make a big difference in the final look and how long your sofa lasts.
Environmental Benefits Of Reupholstery
Reupholstering isn’t just about saving money, it’s eco-friendly. According to the EPA, furniture waste contributes millions of tons to landfills each year. By reusing your sofa frame, you reduce waste and carbon footprint.
If you use sustainable fabrics (like recycled polyester), you help even more. Check for green certifications when buying materials.
Comparing Upholstery Methods For Fixed Cushions
Here’s a comparison of common methods:
| Method | Best For | Difficulty | Tools Needed |
|---|---|---|---|
| Stapling Underneath | Standard sofas | Medium | Staple gun, gloves |
| Tucking & Sewing | Vintage styles | High | Needle, thread, seam ripper |
| Slipcover Approach | Temporary fixes | Easy | Fabric, pins |
Stapling is most common for fixed cushions, but sewing gives a more seamless finish if you have the skill.
Frequently Asked Questions
Can I Reupholster A Sofa With Fixed Cushions Without Removing The Cushions?
Yes, you can reupholster without removing fixed cushions by tucking the new fabric into the seams and stapling underneath. You may need to use a blunt tool to push fabric into tight spaces. This method keeps the original cushion structure intact.
What Type Of Fabric Is Easiest For Beginners To Use?
Microfiber and polyester are easiest. They don’t fray easily, stretch enough for tight stapling, and resist stains. Avoid velvet or leather unless you have experience, they require special tools and skills.
How Do I Know If My Sofa Needs New Foam?
Check the cushion for sagging, lumps, or odors. Press down: if the foam doesn’t spring back, it’s likely worn out. For fixed cushions, you can add new foam or batting over the old layer for extra support.
Is It Possible To Add Tufting Or Buttons To Fixed Cushions?
Yes, you can add tufting or buttons after reupholstering. Use a long upholstery needle and strong thread. Push through the cushion, attach a button, and tie off tightly. This works best with thick foam or batting.
Where Can I Find Reliable Guides Or Videos For Upholstery Techniques?
You’ll find helpful tutorials at Sponsored / affiliate links. As an Amazon Associate I earn from qualifying purchases. I may earn additional commission from eligible campaigns.Products related to this article