How to Replace a Drawer Lock on an Antique Dresser
Replace an antique dresser drawer lock by identifying its type, measuring the lock body and keyhole, and choosing a period-appropriate replacement that fits the original mortise or surface mount without enlarging the opening. A poor fit can split the drawer front, weaken the wood around the escutcheon, and leave the lock unusable. This guide shows how to identify the lock, measure for the right replacement, and repair the surrounding wood so the drawer stays original.
What you’ll need


- Tape measure
- Calipers
- Depth gauge
- Screwdriver set
- Wood chisel
- Utility knife
- Needle-nose pliers
- Silicone-based lubricant
- Wood filler
- Epoxy repair putty
- Pilot drill bits
- Patch blocks
- Finish-matching supplies
- Labels or small bags for screws
How do I identify the lock type before replacing it?
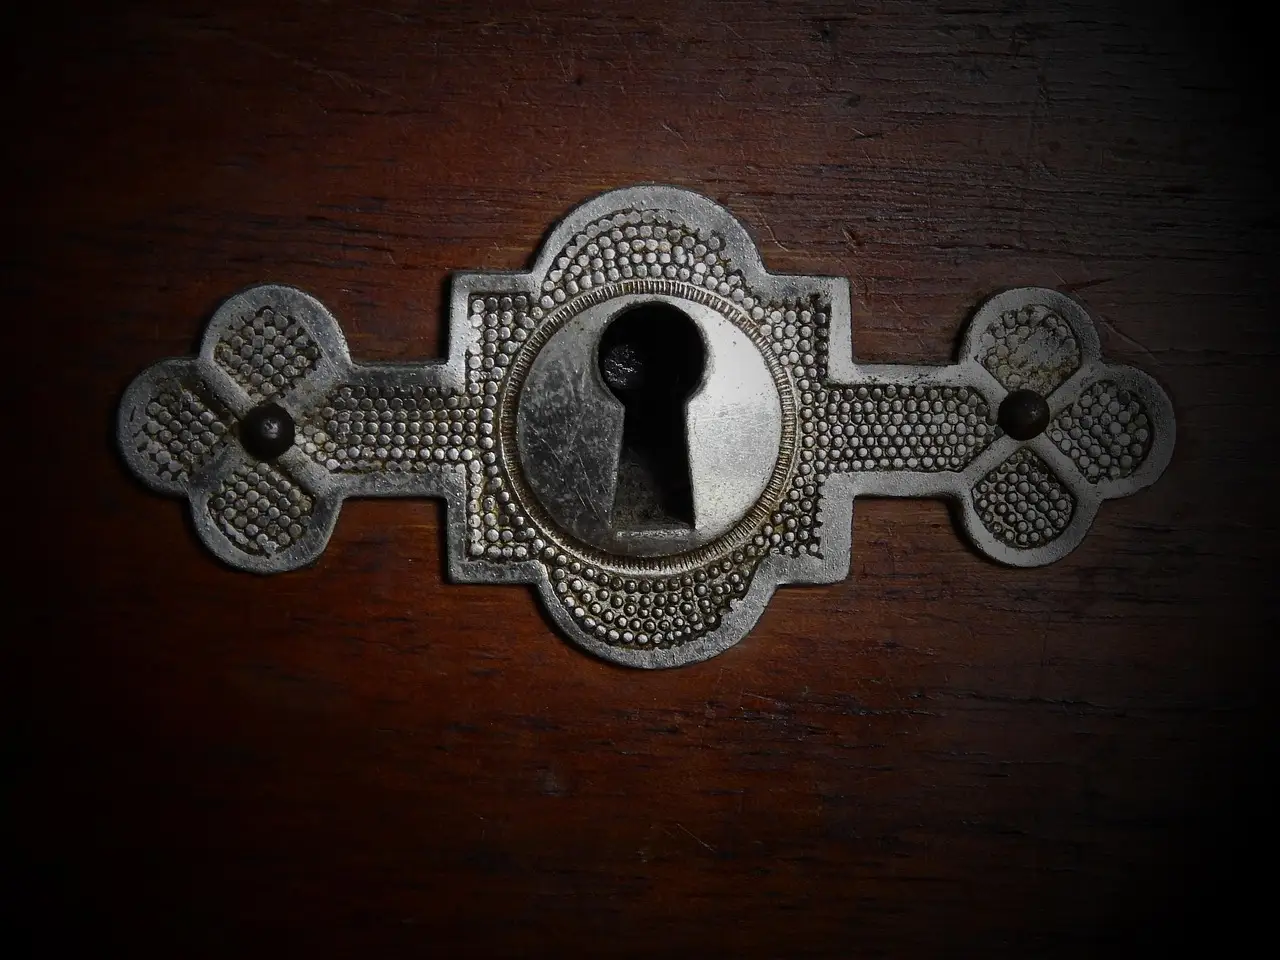
Identify the lock body style before you buy anything. Antique dresser locks are often rim locks, inset locks, or skeleton key locks, and the replacement usually needs to match both the keyhole location and the left-right orientation. Check whether the body is surface-mount or inset, because that changes the mortise, screw pattern, and visible faceplate. Hardware terminology such as backset, faceplate, keeper, and strike is commonly used by antique hardware suppliers and restoration references, so matching the original terms matters when you compare parts.
How do I identify the body and orientation?
Look for brass or steel construction, a visible faceplate, and the direction the bolt throws. If the latch or bolt faces the wrong side, a mirrored replacement may look close but will not line up with the drawer catch. Photograph the lock in place before removal so the orientation and screw locations are easy to match later.
How do I check the keyhole and mortise fit?
The keyhole should line up with the drawer front escutcheon and the lock barrel. Measure the mortise opening, not only the faceplate, because many antique locks sit in a shallow recess that modern hardware will not fill correctly. If the mortise is chipped or oversized, repair it first rather than forcing the new lock into place.
When should I restore it instead of replacing it?
Keep the original mechanism when the body is sound, the bolt moves freely, and only the spring, key, or screws have failed. Replace it when the case is cracked, the bolt is bent beyond straightening, or the keyway is so worn that a proper key will not hold. A matching period replacement is better than a modern substitute that changes the drawer front.
What drawer mechanism type should I identify before removing the drawer?
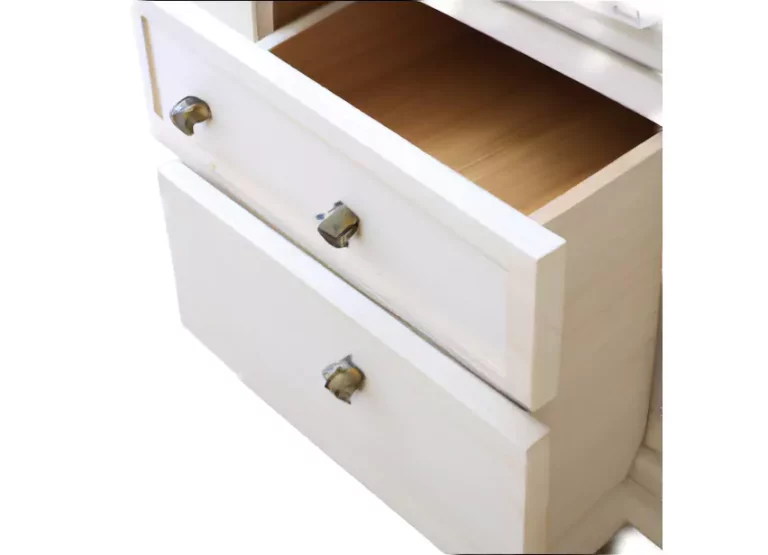
Identify the drawer support system first so you can remove the drawer without breaking runners or prying against the front. Antique dressers may use wood runners, a center guide, side-mounted metal slides, or hidden release tabs. For slide hardware, use the removal method that fits the mechanism rather than forcing the drawer straight out. If the dresser uses modern slides, see the guidance on ball-bearing slides for the release-tab style most likely to need a latch-style disengage.
How do wood runners and a center guide come out?
Wood-runner drawers usually lift slightly and then slide out once they clear the stop. A center guide often means the drawer must be kept level so the tongue stays engaged until the drawer is fully free. If the drawer hangs up, inspect the runners for worn wax, swelling, or a hidden stop before pulling harder.
How do side-mounted metal slides and hidden release tabs work?
Side-mounted metal slides may have a spring lever, plastic tab, or clip that must be pressed or lifted on both sides. Hidden release tabs are often tucked under the drawer front or inside the side channel, so look closely before forcing the drawer. Once both sides are released, pull the drawer straight out and set it on a padded surface before touching the lock.
How do I measure a replacement lock for an antique dresser?
Measure the old lock, not the empty opening, so the new part matches the original hardware and fits without trimming the drawer front. You typically need the backset, faceplate width and height, screw spacing, drawer thickness, and mortise depth. Match the key type and any maker markings before you order a replacement key or lock body. Antique hardware references generally use backset to mean the distance from the faceplate to the keyhole centerline, and faceplate dimensions to describe the visible plate that must align with the drawer front.
What dimensions should I measure?
- Measure the backset from the faceplate to the keyhole centerline.
- Measure faceplate width and height with calipers.
- Measure screw spacing from center to center.
- Measure drawer thickness at the lock edge.
- Measure mortise depth with a depth gauge.
How do I match the key type and markings?
Look for a key code, maker stamp, or blank type on the lock face or barrel. If the original key is missing, bent, or worn thin, compare the code with a period-correct skeleton key blank that matches the warding and barrel size. A good fit should turn cleanly without side play, but it should not force the bolt.
Picture a lock with a 1/2-inch backset and a faceplate that is 3/8 inch too wide for the mortise. Trimming the drawer front would change the original opening. In that case, the better choice is a replacement that matches the mortise, even if it takes longer to source.
How do I remove an old dresser drawer lock without damaging the wood?
Remove the drawer first, then back out the screws and lift the lock straight out so you do not tear veneer or chip the finish. If the hardware is frozen, soften grime with lubricant, work the screws gently, and protect the surrounding wood with a utility knife and thin chisel cuts only where needed. For old locks, use lubricant sparingly; conservation and restoration sources commonly caution against heavy oiling because excess lubricant can attract grit, soften residues, or migrate into finishes and wood fibers.
How do I remove the drawer for access?
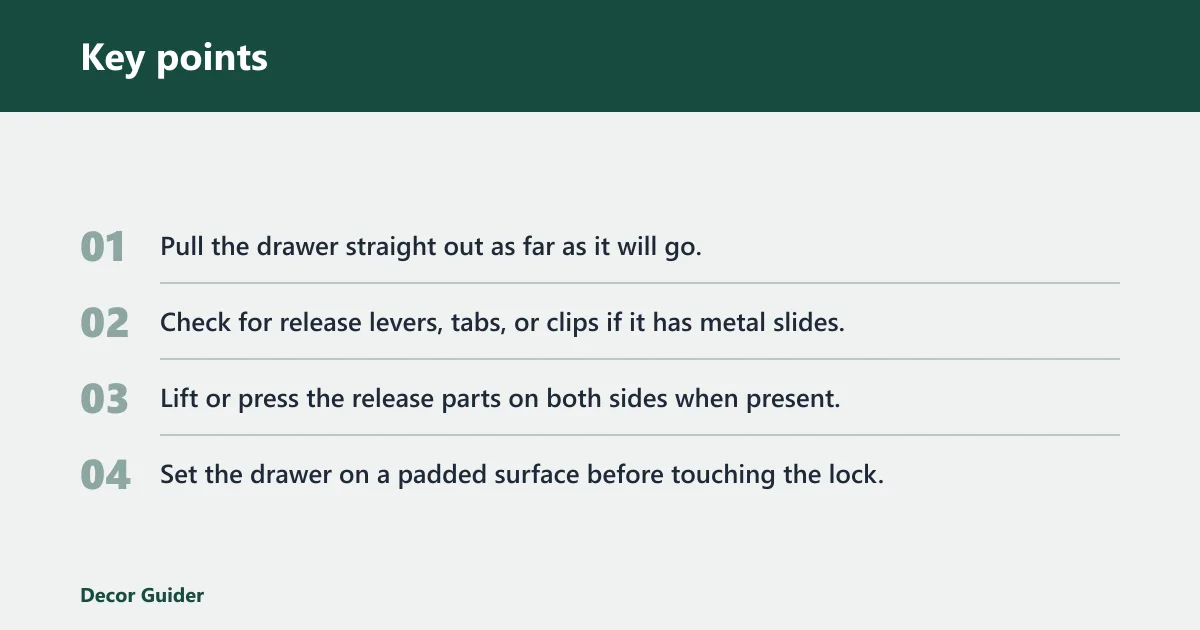
- Pull the drawer straight out as far as it will go.
- Check for release levers, tabs, or clips if it has metal slides.
- Lift or press the release parts on both sides when present.
- Set the drawer on a padded surface before touching the lock.
Most old dressers can be removed by sliding them out. Side-track drawers may have a plastic lever that must be pushed up or down on both sides, while ball-bearing slides can use release tabs. Soft-close hardware may use latches or clips underneath. Do not force the drawer; gentle force prevents broken runners and chipped lock plates.
How do I release stuck hardware without cracking the wood?
Use a screwdriver that fits the slot tightly. If a screw resists, add a drop of lubricant and wait before turning again. For paint, shellac, or dirt around the faceplate, score the edge lightly with a utility knife so the plate does not lift finish fibers. Needle-nose pliers can help pull a stubborn screw once it loosens.
How do I label screws and protect the finish?
Label each screw location before removal, especially if the faceplate has mixed-length screws. Wrap the driver shaft with tape near the plate to reduce accidental slips. Keep hardware in separate bags so original screws can return to the same holes, which matters when the wood has already been compressed by age.
How do I install a new lock on an old dresser drawer?
Test-fit the lock before fastening, repair the mortise and screw holes if needed, and align the keyhole before final tightening. The new body should sit flush without prying the drawer front outward. If it shifts during tightening, stop and adjust the mortise or pilot holes before the faceplate is locked in place. Conservation-safe wood repair methods generally favor minimal intervention: remove only what is necessary, reinforce weakened areas with fitted patches or reversible-compatible fill where appropriate, and avoid overbuilding the mortise so the original edge remains readable.
How do I repair the mortise and pilot holes?
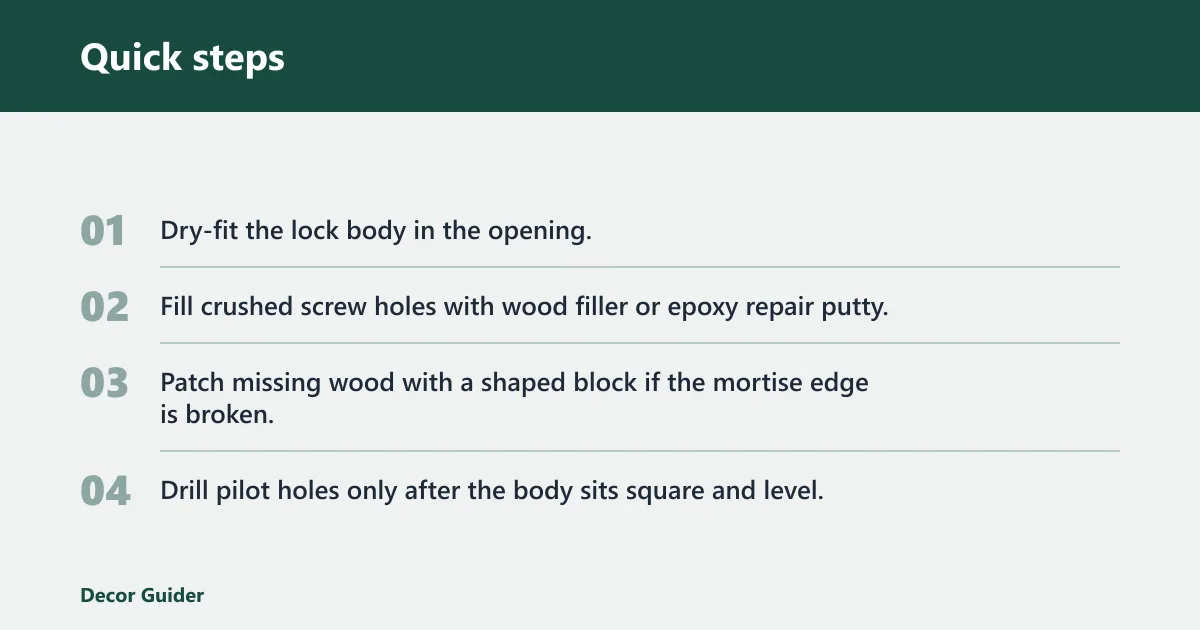
- Dry-fit the lock body in the opening.
- Fill crushed screw holes with wood filler or epoxy repair putty.
- Patch missing wood with a shaped block if the mortise edge is broken.
- Drill pilot holes only after the body sits square and level.
If the mortise is shallow or uneven, pare it carefully with a chisel until the faceplate sits flat. Use finish-matching supplies only after the hardware fits, not before. A common first-timer mistake is filling too much wood around the opening, then filing the new lock to fit. That can ruin the original drawer front.
How do I align the keyhole and tighten carefully?
Insert the lock body, check the keyhole alignment, and start each screw by hand. Tighten in small turns so the faceplate stays centered. Stop after each half-turn and confirm the bolt still moves freely. If the lock binds, back out the screws and correct the fit instead of forcing the hardware.
Suppose the drawer front has a thin veneer and the lock plate is slightly high on one side. Shift the plate by hand before the final turn to keep the mortise edge from splitting. That is safer than pulling the plate into place with the screws.
How do I know if my antique dresser uses a rim lock or cam lock?
A rim lock mounts on the surface and is visible from inside the drawer, while a cam lock is usually smaller and uses a rotating cam behind the keyhole. Antique dressers more often use a surface-mount or inset skeleton key lock than a modern cam lock, so identify the body shape before searching for parts.
How do I compare the visible features?
Rim locks have a larger case, a clearer faceplate, and a bolt that moves straight into a keeper. Cam locks are compact and usually use a small rotating arm. If the lock sits in a mortise with a skeleton key opening, that is a strong sign you need a period-style replacement rather than a modern cabinet lock.
How do I decide whether to restore or replace the lock?
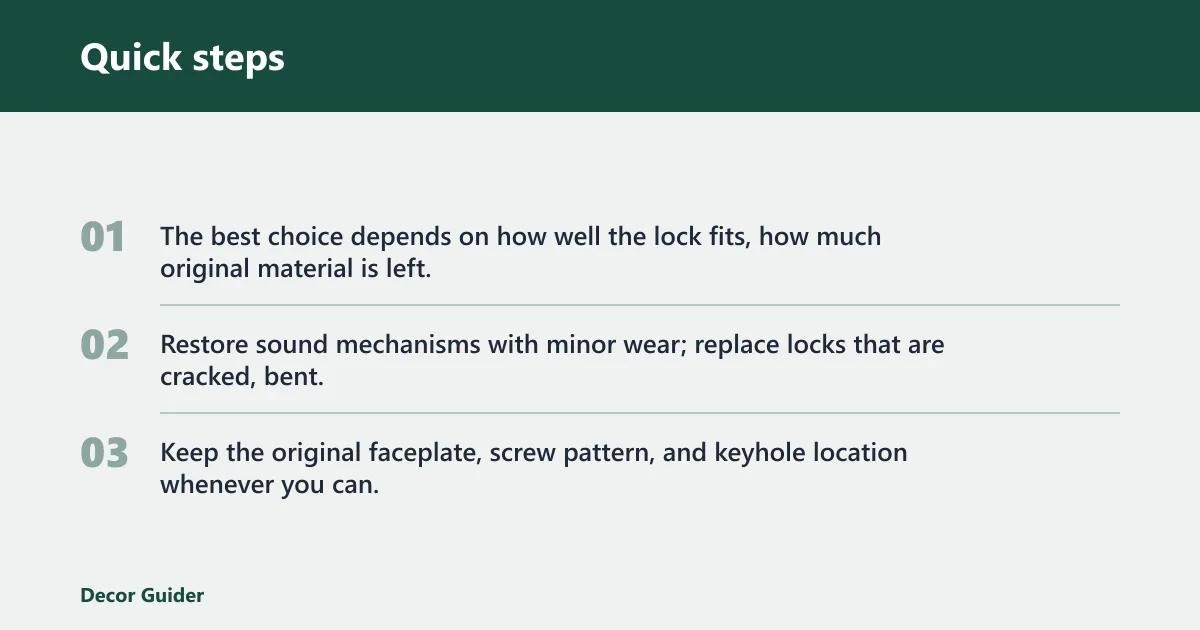
The best choice depends on how well the lock fits, how much original material is left, and whether the hardware still works without forcing the drawer front. Restore sound mechanisms with minor wear; replace locks that are cracked, bent, or so mismatched that correcting them would enlarge the opening. Keep the original faceplate, screw pattern, and keyhole location whenever you can.
| Lock type | Left/right handing | Bolt throw direction | Escutcheon alignment | Keeper/strike fit | Restore-vs-replace trigger |
|---|---|---|---|---|---|
| Rim lock | Match the original handedness before ordering | Must match the side the bolt throws toward | Keep the keyhole centered in the visible opening | Keeper must meet the bolt without forcing the drawer front | Restore if the case is straight and the spring is serviceable; replace if cracked or bent |
| Inset skeleton key lock | Handing must mirror the drawer front layout | Confirm the bolt clears the mortise in the correct direction | Escutcheon and keyhole must remain visually centered | Strike must align with existing wear marks, not a new cut | Restore if only the key or screws failed; replace if the keyway is worn through or the mortise is damaged beyond patching |
| Cam lock | Usually less critical, but still verify orientation | Cam rotation must suit the drawer stop | Escutcheon must cover the existing drilling cleanly | Cam must catch securely without overtravel | Replace if it was a later alteration; restore only if it is already part of the drawer’s original use pattern |
| Surface-mount lock | Check left/right before tightening any screws | Throw must match the original keeper position | Plate edges must sit square to the drawer front | Keeper should not require a new mortise or enlarged slot | Restore when the body is intact; replace when the mounting points are broken or the plate no longer aligns |
How do I maintain the lock after installation?
Test the bolt, key, and drawer action several times before loading the drawer. The lock should turn smoothly, seat fully, and close without rubbing the front or side walls. After the first fit check, maintain it with light cleaning and the smallest effective amount of lubricant so old debris does not collect in the mechanism.
How do I test the lock and drawer together?
Open and close the drawer slowly with the key in place. Listen for rubbing or scraping that suggests the bolt is not centered. If the drawer binds, stop and inspect the mortise, screw tension, and keeper alignment before repeated use damages the wood.
How do I care for an old lock over time?
Dust the faceplate, keep the keyway clear, and use lubricant only when movement is stiff. Avoid flooding the mechanism, since excess lubricant can carry dirt into the case and stain nearby wood. If the lock begins to stick again, clean before adding more lubricant, and keep the surrounding finish dry.
Common mistakes
Most problems come from sizing the replacement to the opening instead of to the original lock. The safest approach is to preserve the drawer front, match the old dimensions, and repair wood only where the fit is already damaged. Keep the faceplate, keyhole, and screw holes original whenever possible.
- Forcing an oversized lock into the mortise: this can split veneer and crack the drawer front. Rework the mortise only if the new lock is the correct period style and the dimensions are off by a small amount.
- Ignoring loose screw holes: old holes can strip again if you reuse them dry. Add filler, epoxy putty, or a patch block, then drill fresh pilot holes.
- Skipping the test fit: the bolt may bind even when the plate looks centered. Check open-close action before final tightening.
- Using a modern substitute without checking appearance: a lock that functions but looks wrong changes the drawer front and hurts originality.
Drawer lock checklist table
| Lock type | Key type | Backset | Faceplate width/height | Screw spacing | Drawer thickness | Mortise condition | Restore or replace |
|---|---|---|---|---|---|---|---|
| Rim lock | Skeleton key | Measure from faceplate to keyhole centerline | Match the original plate exactly | Center-to-center match only | Check both front and edge thickness | Sound, shallow, or chipped | Restore if the body is straight; replace if cracked or bent |
| Inset skeleton key lock | Period key blank with matching warding | Critical for escutcheon alignment | Keep the same visible outline | Reuse original holes when possible | Confirm enough wood for the case | Deep enough for flush seating | Restore if the bolt and spring still move; replace if the case is worn through |
| Cam lock | Matched cam key or replacement key code | Less common on antique dressers | Usually smaller than antique plates | Must fit existing drilling pattern | Verify there is enough material around the hole | Often modern and non-original | Replace only if the dresser was already altered for it |
| Surface-mount lock | Skeleton key or barrel key | Measure against the old body | Keep the same profile on the drawer front | Check every screw hole before buying | Confirm the edge will not split | May need patching at screw holes | Restore when the lock body is intact; replace when mounting points are broken |
Frequently asked questions
How do I replace a desk drawer lock?
Remove the drawer, measure the old lock body, and match the replacement to the existing mortise and screw pattern. Desk drawers often use the same skeleton key hardware as dressers, so the key point is preserving the opening size and faceplate location rather than upgrading to a modern lock.
How do I find a replacement key for a dresser lock?
Read any key code or maker marking on the lock, then match it to a period-correct skeleton key blank. If the original key is missing, a locksmith or hardware specialist can compare the warding and barrel size. The key should turn smoothly with minimal side play and no forced pressure.
What tools do I need to install a drawer lock?
Use a screwdriver set, tape measure, calipers, depth gauge, wood chisel, utility knife, needle-nose pliers, lubricant, and pilot drill bits. Add wood filler, epoxy repair putty, patch blocks, and finish-matching supplies if the mortise or screw holes need repair before the new lock goes in.
How do I repair antique furniture drawer locks?
Start by cleaning the case and checking the spring, bolt, and screws. Light rust, dirt, or stuck movement can often be corrected with careful cleaning and lubricant. Replace cracked parts only when the lock body is warped, the bolt is bent, or the keyway no longer supports a proper key fit.
How do I put locks on dresser drawers?
Measure the drawer front, choose a period-appropriate lock, and make sure the mortise or surface mount matches the hardware. Mark the screw locations, drill pilot holes, and test the bolt before tightening fully. If the wood around the opening is damaged, repair it first so the lock sits flat.
Products related to this article
Sponsored / affiliate links. As an Amazon Associate I earn from qualifying purchases. I may earn additional commission from eligible campaigns.