
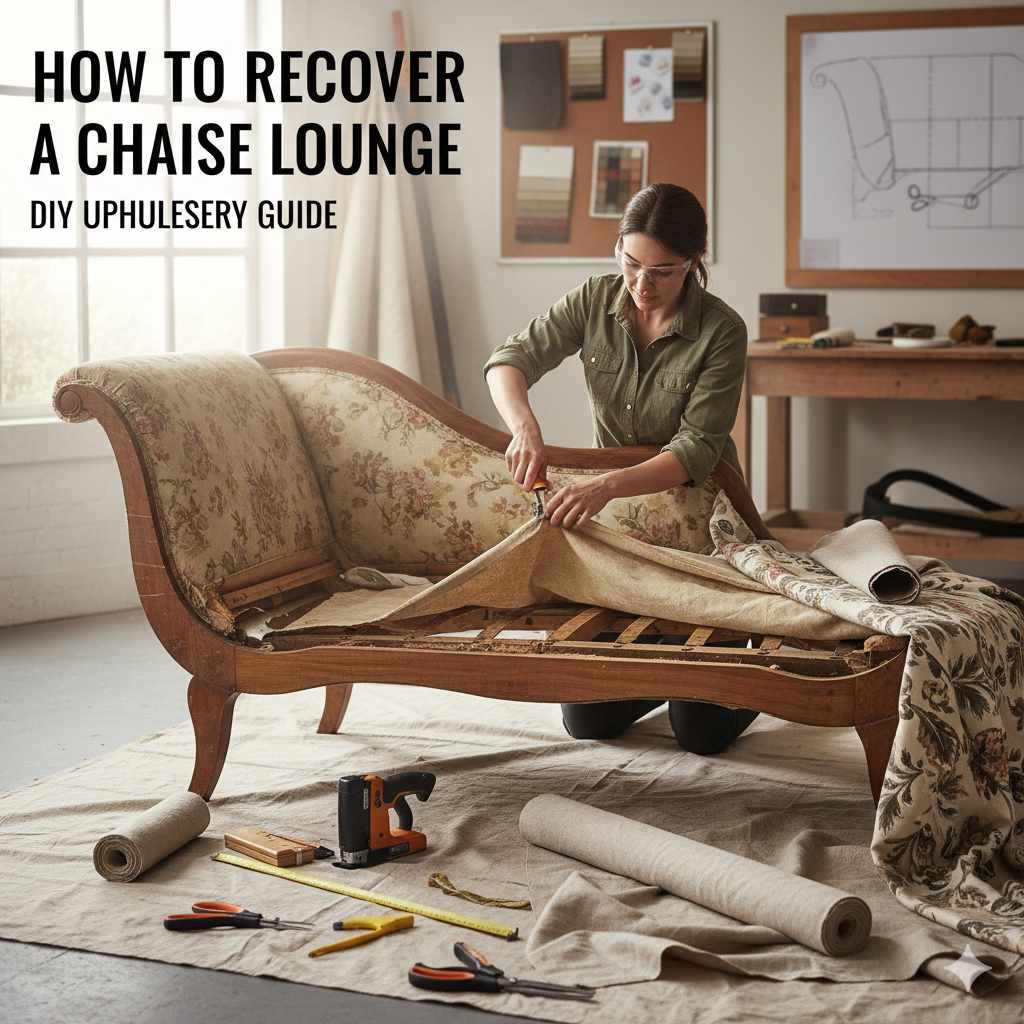
Are you looking to give your old chaise lounge a fresh new look? Maybe the fabric is worn out, or the color just doesn’t fit your style anymore. You might think that reupholstering a chaise lounge is a tough job, especially for someone new to DIY projects.
But don’t worry! It’s actually quite manageable with the right guidance. This guide will walk you through How to Recover a Chaise Lounge (Step-by-Step) in a simple way.
We’ll break down the process into easy steps so you can refresh your furniture with confidence.
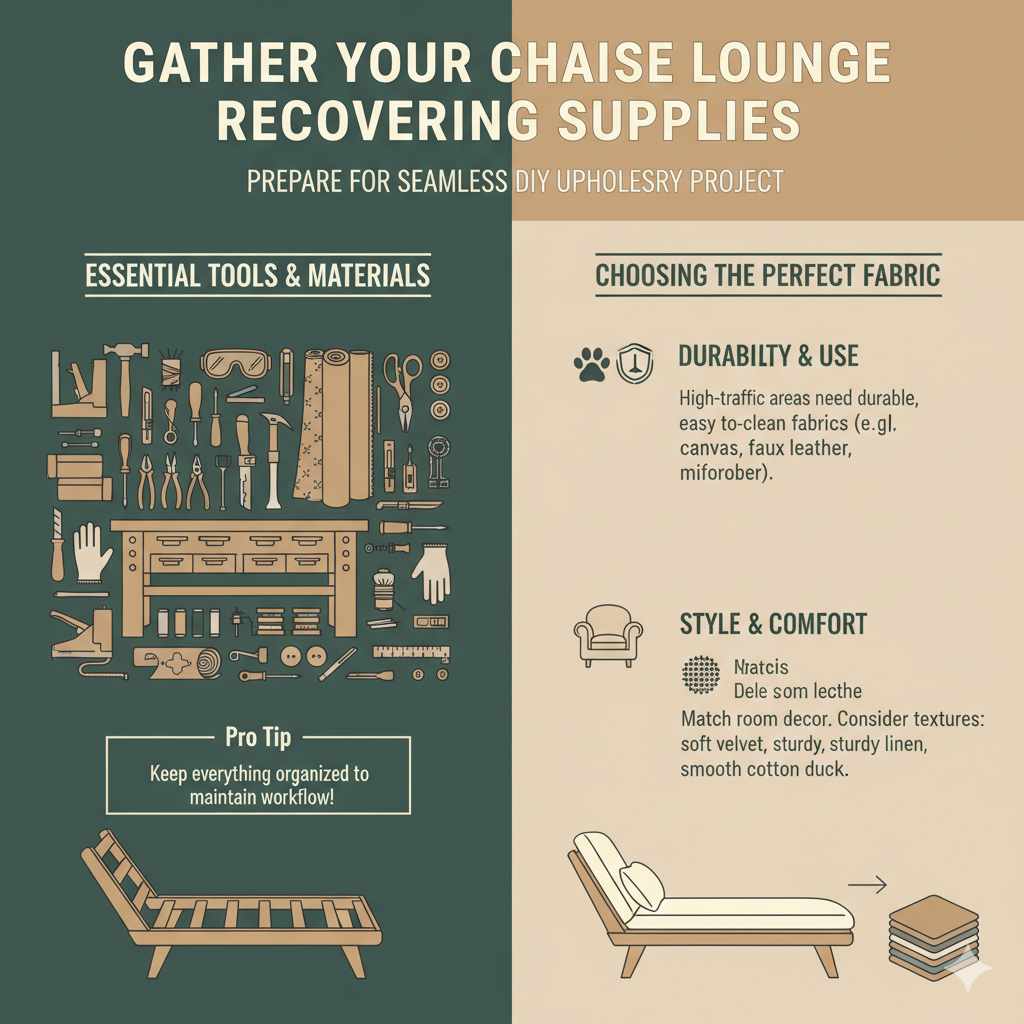
Gather Your Chaise Lounge Recovering Supplies
Before you can begin transforming your chaise lounge, it’s essential to have all the right tools and materials ready. This preparatory stage is key to a smooth and successful project. Having everything at your fingertips means you won’t have to stop midway to search for a missing item, which can disrupt your workflow and enthusiasm.
It’s like packing for a trip; being prepared makes the journey much more enjoyable and efficient.
Selecting the correct fabric is one of the most important decisions you’ll make. Your choice impacts not only the appearance but also the durability and comfort of your chaise lounge. Consider the room’s existing decor and the intended use of the furniture.
For high-traffic areas or homes with pets and children, durable and easy-to-clean fabrics are a smart option. Think about textures, too – some people prefer a soft velvet, while others might opt for a sturdy linen or a smooth faux leather.
Choosing the Right Fabric
The fabric for your chaise lounge should be both beautiful and functional. For everyday use, look for fabrics that can withstand wear and tear. Many modern upholstery fabrics are designed for durability and come with stain-resistant treatments.
Consider woven fabrics like chenille, durable cotton blends, or even performance fabrics that are specifically engineered for longevity and easy cleaning.
The amount of fabric you need depends on the size and complexity of your chaise lounge. It’s always better to have a little extra fabric than not enough. A general rule of thumb is to measure the largest dimensions of your chaise lounge and add at least 10-20% for waste, pattern matching, and potential mistakes.
It’s wise to consult with your fabric supplier or a professional upholsterer if you’re unsure about the quantity.
- Durable Fabrics For High Traffic Areas
Fabric durability is often measured in “double rubs.” A higher number of double rubs indicates a stronger fabric that will last longer under constant use. For residential furniture, a fabric with at least 15,000 double rubs is usually recommended, but for a frequently used piece like a chaise lounge, aiming for 30,000 or more is a good idea. Performance fabrics like Crypton or Sunbrella are excellent choices, offering resistance to stains, moisture, and UV rays. - Aesthetic Considerations
Beyond durability, think about the look and feel you want. Bold patterns can make a statement, while solid colors offer a more classic and versatile look. Consider the texture too – a smooth microfiber might be comfortable, while a textured weave adds visual interest. The color should complement your existing decor. Lighter colors can make a space feel larger, while darker colors can create a cozier atmosphere. - Ease of Care
For a chaise lounge that will see a lot of use, especially in family homes, consider how easy the fabric is to clean. Fabrics with stain-resistant finishes or those that are machine washable (though rare for upholstery) are ideal. Natural fibers like cotton can be beautiful but may stain more easily. Synthetic blends often offer better stain resistance and are easier to spot clean.
Essential Tools and Notions
Gathering the right tools makes the process much smoother. You’ll need a staple gun (electric or pneumatic is best for ease), staples that match your staple gun, a powerful pair of scissors for cutting fabric, and a seam ripper to carefully remove the old fabric. A long, flathead screwdriver or a putty knife is useful for prying apart and tucking fabric.
Don’t forget measuring tape for accuracy.
You might also need a tack puller or pliers to remove old staples. Upholstery needles and heavy-duty thread can be helpful for any hand-sewing repairs or reinforcements. A spray adhesive can be useful for securing fabric edges before stapling in some cases.
Having a good work surface, like a large table or even a clean floor space, is also important.
- Staple Gun and Staples
An electric staple gun offers consistent power and ease of use, making it ideal for driving staples through thick fabric and into wood frames. Pneumatic staple guns offer even more power but require an air compressor. For a one-time project, a heavy-duty manual staple gun can work, but it requires more physical effort. Ensure you have plenty of staples of the correct size for your gun. Staples that are too short won’t hold the fabric securely. - Cutting Tools
Sharp scissors are a must for clean, precise cuts. Fabric shears are designed to cut through various textiles without snagging or fraying. Invest in a good pair that you’ll dedicate solely to fabric. A rotary cutter and mat can also be useful for cutting straight lines on large fabric pieces, especially if you plan to use them for quilting or other crafts later. - Fastener Removal Tools
A seam ripper is invaluable for carefully taking apart the old upholstery. It allows you to remove stitches without damaging the underlying fabric or foam. A tack puller, similar to a small pry bar, is excellent for lifting out old staples and tacks. Pliers can be used to grip and pull stubborn staples. Patience is key when removing old fasteners to avoid damaging the chaise lounge frame.
Disassembling Your Chaise Lounge
The first practical step in recovering your chaise lounge is to carefully take it apart. This allows you to work with individual pieces and create templates for your new fabric. It also gives you a chance to inspect the frame and cushion for any damage that needs repair.
Working methodically will prevent you from losing any parts or breaking delicate components.
Begin by examining how the different parts of the chaise are put together. Many chaise lounges have cushions that can be removed. Look for zippers, Velcro, or clips that hold them in place.
The main body of the chaise might have fabric panels attached with staples or screws. Always keep fasteners and small parts organized, perhaps in labeled baggies, so you can reassemble everything correctly.
Removing Cushions and Upholstery
Start with the cushions. Most cushions have a fabric cover that is removable, often via a zipper. Carefully unzip the cushion cover.
If the padding inside is also upholstered, you will treat that as a separate piece to recover. For cushions that are not easily removable, you might be able to work around them, but removing them often provides better access.
Once the cushions are dealt with, turn your attention to the main chaise body. Look for staples along the edges of the fabric, especially underneath where the fabric is tucked. A seam ripper or a flathead screwdriver can be used to gently pry up the old staples.
Work slowly and deliberately.
- Documenting the Process
Take pictures as you go. Before you remove any piece of fabric or unscrew any part, snap a photo. This visual record is incredibly helpful when it comes time to reassemble. You can see how pieces fit together and in what order they were attached. This step is especially useful for chaise lounges with intricate designs or multiple layers of fabric. - Organizing Hardware
As you remove staples, screws, nuts, bolts, and any other fasteners, place them into separate, clearly labeled containers or baggies. For example, one bag for the screws holding the legs, another for the staples from the back panel, and so on. This prevents mix-ups and ensures you have all the original hardware for reassembly. - Careful Fabric Removal
When removing the old fabric, try to keep it as intact as possible. This old fabric will serve as your pattern for cutting the new material. Use your seam ripper and staple remover to gently lift staples and peel back the fabric. Avoid tearing it if you can. If a piece is glued or attached in a way that might damage it upon removal, assess if you can simply cut around it and use another method for your new fabric.
Inspecting the Frame and Padding
With the old fabric off, you can now inspect the chaise lounge’s frame. Look for any loose joints, cracks, or signs of wood rot. If you find any issues, it’s the perfect time to make repairs.
Wood glue and clamps can fix loose joints, and minor cracks can often be filled with wood filler.
Also, check the padding. Is the foam still in good condition, or is it flattened and worn out? You might want to replace the foam for added comfort.
If there’s a layer of batting (a thin, soft material over the foam or frame), check that too. Sometimes, old batting can become compressed or torn, and replacing it will give your chaise a smoother, more professional finish.
- Frame Integrity
A sturdy frame is the backbone of your chaise lounge. Gently rock the furniture to check for wobbles or loose connections. Tighten any visible screws or bolts. For joints that appear to be separating, apply wood glue into the gap and clamp them together until the glue dries. This ensures the chaise lounge is stable and safe to use after recovering. - Foam and Batting Condition
The comfort of your chaise lounge largely depends on its padding. Feel the foam to see if it has lost its resilience. If it feels lumpy, uneven, or has sunken areas, it’s time for new foam. Upholstery supply stores can cut foam to size. Batting adds a soft, finished look and can hide minor imperfections in the foam or frame. If the old batting is compressed or torn, - Structural Repairs
Minor repairs to the frame can extend the life of your chaise lounge significantly. If you find splinters or rough spots, sand them smooth. For larger structural issues, like a broken piece of wood, you may need to consult a carpenter or furniture restorer. However, most common issues can be addressed with basic woodworking skills and readily available materials.
Cutting and Fitting the New Fabric
Now comes the exciting part where your chaise lounge starts to take on its new identity. This stage requires precision and patience to ensure the fabric fits perfectly and looks smooth. Using your old fabric as a guide is the most effective method.
Lay out your old fabric pieces on top of your new fabric. Make sure the right sides of the fabric are facing each other if you’re working with a pattern that needs to align. Carefully trace around the old fabric pieces, adding a few extra inches all around for trimming and stapling.
This extra margin is crucial for giving yourself enough fabric to work with when attaching it to the frame.
Using Old Fabric as a Template
The old upholstery you carefully removed is your best friend here. Lay each piece flat on the wrong side of your new fabric. If your fabric has a pattern, pay close attention to how the pattern is oriented on the original piece to ensure it matches when you reapply it.
For example, if there’s a floral motif, you want the flowers to face the same direction on the new fabric as they did on the old.
When tracing, don’t just trace the exact outline. Add about a 3-4 inch border around each piece. This extra fabric, often called a “bleed,” will be used to wrap around the edges of the chaise frame and secure it with staples.
It’s much easier to trim excess fabric than to realize you don’t have enough to wrap around and staple.
- Pattern Matching
If your chosen fabric has a repeating pattern, careful alignment is essential. Lay out your old fabric pieces and identify a key element in the pattern. Then, carefully place your new fabric so that this same element aligns correctly on the new piece. You might need to cut larger sections than you think to ensure good pattern continuity across the entire chaise lounge. - Adding Seam Allowances
The extra inches you add around each traced piece are called seam allowances. For upholstery, a typical seam allowance is 3 to 4 inches. This allows you to pull the fabric taut and wrap it smoothly around corners and curves without it tearing or exposing the frame. Ensure your tracing pencil or chalk line is visible but can be easily removed later. - Cutting Techniques
Use sharp fabric shears to cut along your traced lines. For curves, try to make smooth, continuous cuts. If you’re using a rotary cutter, a self-healing cutting mat will protect your surface and ensure straight lines. When cutting multiple layers, like if you’re reusing the old fabric as a template over the new fabric, pin them together securely to prevent shifting.
Securing the Fabric to the Frame
This is where the staple gun comes into play. Start by loosely attaching the fabric to the frame in a few key places to ensure it’s positioned correctly. Then, begin stapling more permanently.
Work from the center outwards, pulling the fabric taut as you go. This creates a smooth, wrinkle-free finish.
For corners and curves, you’ll need to make small pleats or folds. Imagine you’re wrapping a gift; you want the fabric to lie as flat and smoothly as possible. Always pull the fabric snug before driving a staple.
Ensure staples are driven fully into the wood frame.
- Strategic Stapling
Begin stapling from the center of one edge and work your way towards the corners. Pull the fabric tautly across the frame and drive a staple. Move to the opposite side, pull the fabric taut again, and drive another staple. This opposing tension method helps to keep the fabric even and prevent wrinkles. Repeat this process for all sides. - Handling Corners and Curves
Corners can be tricky. For inside corners, you might need to make a small diagonal cut in the fabric’s bleed to help it lay flat. For outside corners, you will likely need to create a neat fold or pleat. Pull the fabric firmly and staple it securely in place. Practice on a scrap piece of fabric if you’re unsure about how to handle a particular corner or curve. - Trimming Excess Fabric
Once the fabric is securely stapled all around, you can trim any excess fabric that is still hanging loose. Trim it close to the staples, but be careful not to cut into the fabric that is attached to the frame. This will give your finished chaise lounge a clean, professional look.
Reassembling Your Recovered Chaise Lounge
The final stage is bringing your beautifully recovered chaise lounge back together. This is the moment you get to see all your hard work pay off. Reassembly is generally the reverse of disassembly, but pay close attention to how each piece was originally attached.
Start by reattaching any components that you removed first, like legs or armrests. Then, carefully place the cushions back onto the chaise. Ensure they fit snugly and look as they should.
Double-check that all screws are tightened and all parts are secure.
Attaching Legs and Other Structural Elements
If your chaise lounge has legs or other decorative structural elements, reattach them now. Use the screws or bolts you organized earlier. Make sure they are tightened securely but not so tight that you strip the threads or damage the wood.
The legs provide stability, so ensuring they are firmly attached is important for safety.
For any panels or decorative trim that were removed, reattach them carefully. Align them properly before securing them. This might involve screwing them into place or using upholstery tacks for a more decorative finish.
The goal is to make sure everything looks as it did before, but with a fresh new fabric.
- Secure Leg Attachment
Legs are typically attached with screws or bolts. Ensure you are using the correct hardware for each leg. Hand-tighten them first, then use a tool (like a wrench or screwdriver) for final tightening. If the legs screw into pre-drilled holes, ensure they are straight and go in smoothly to avoid cross-threading. - Decorative Trim and Panels
Some chaise lounges have decorative trim or panels that are attached with small nails or staples. Reattach these carefully, ensuring they are aligned straight and provide a finished look to the piece. If you are using upholstery tacks, hammer them in gently and evenly spaced. - Final Frame Check
Once all structural elements are reattached, give the entire chaise lounge a gentle shake to ensure it’s stable. Tighten any fasteners that may have loosened during the reassembly process. It’s better to find and fix any wobbles now rather than after you’ve finished.
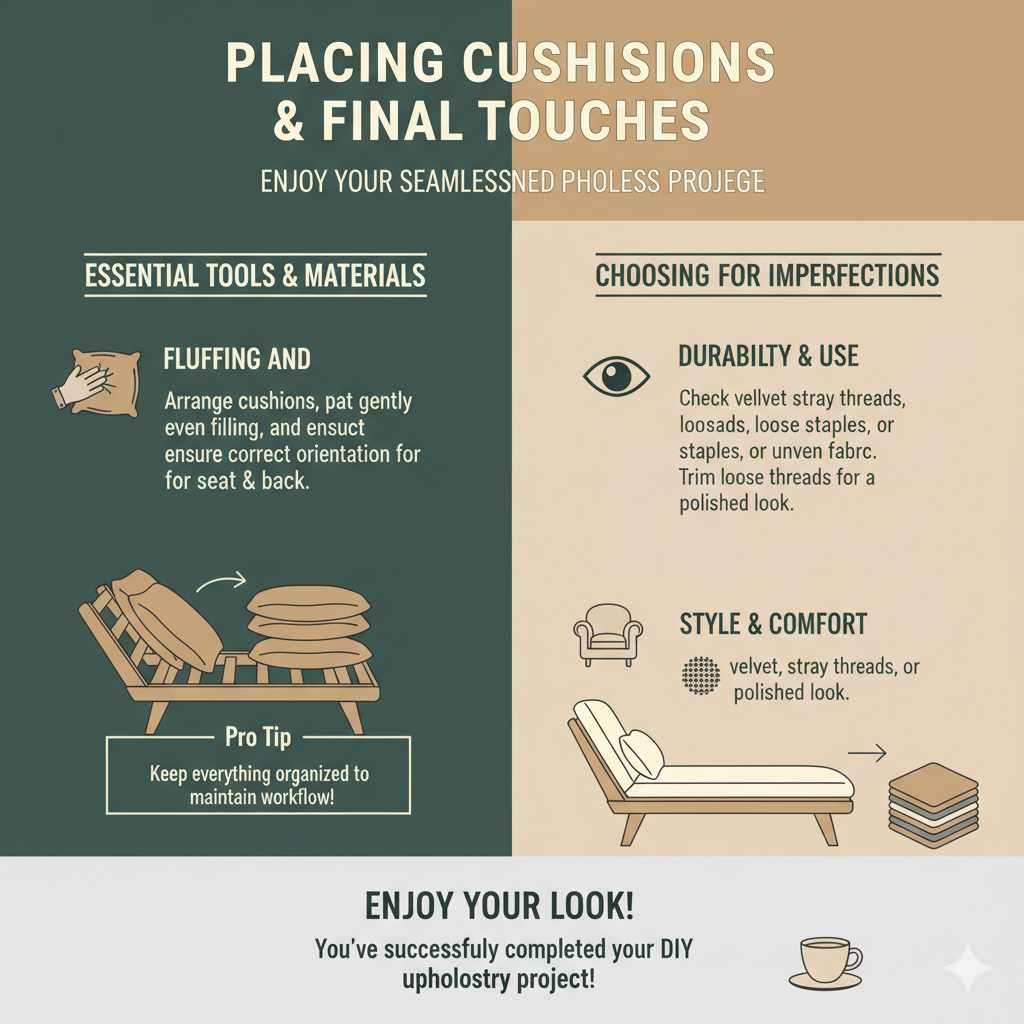
Placing Cushions and Final Touches
Place the recovered cushions back onto the chaise. If they have removable covers, ensure the new covers are zipped or secured properly. Fluff them up to give them a full appearance.
Take a step back and admire your work. Look for any stray threads, loose staples, or areas that might need minor adjustments. A quick trim of any loose threads will give your chaise lounge a polished, professional look.
You’ve successfully transformed your furniture!
- Fluffing and Positioning Cushions
Once the cushions are in place, take time to arrange them perfectly. If they have a specific orientation (e.g., a seat cushion and a back cushion), make sure they are correctly positioned. Gently pat and fluff the cushions to ensure they are evenly filled and look inviting. - Inspection for Imperfections
Do a final walk-around inspection. Look for any stray threads that need trimming, any staples that might have partially pulled out, or any fabric that isn’t lying perfectly smooth. Small touch-ups can make a big difference in the overall appearance of your recovered piece. - Enjoy Your New Look
The most important final step is to sit back and enjoy the fruits of your labor. You’ve successfully completed the task of How to Recover a Chaise Lounge (Step-by-Step), saving money and gaining a beautiful, refreshed piece of furniture.
Frequently Asked Questions
Question: How much fabric do I need to recover a chaise lounge
Answer: The amount of fabric needed varies based on the size and style of your chaise lounge. A general guideline is to measure the largest dimensions and add 10-20% for waste and pattern matching. It’s always better to have a little extra.
Question: Can I recover a chaise lounge without special tools
Answer: While some specialized tools like a staple gun make the job easier, you can recover a chaise lounge with basic tools like a strong staple remover, heavy-duty scissors, and a manual staple gun. It may require more effort and time.
Question: How do I ensure the fabric is smooth without wrinkles
Answer: The key to a smooth finish is to pull the fabric taut as you staple it. Work from the center outwards, using opposing tension on opposite sides. Practice pleating and folding on corners and curves before stapling permanently.
Question: What type of fabric is best for a chaise lounge
Answer: Durable and easy-to-clean fabrics are best for a chaise lounge. Consider options like performance fabrics, chenille, durable cotton blends, or even faux leather, especially if you have pets or children.
Question: How long does it take to recover a chaise lounge
Answer: For a beginner, recovering a chaise lounge can take anywhere from 6 to 12 hours, or even longer, depending on the complexity of the piece and your experience level. It’s a project that rewards patience.
Wrap Up
Recovering your chaise lounge is a rewarding DIY project. By following these simple steps, you can update your furniture’s look and feel. You learned about choosing fabric, taking apart the old upholstery, cutting new pieces, and securing them with care.
Putting it all back together transforms your piece, making it both stylish and comfortable.


