
Making your own ladder shelf can seem tricky, especially if you’re new to DIY projects. Many people wonder where to start or if they have the right tools. This guide is here to help!
We will walk you through How to Make a Ladder Shelf (Simple DIY Guide) step by step. You will see it’s much easier than you think to build a stylish and functional ladder shelf for your home. Get ready to create something wonderful!
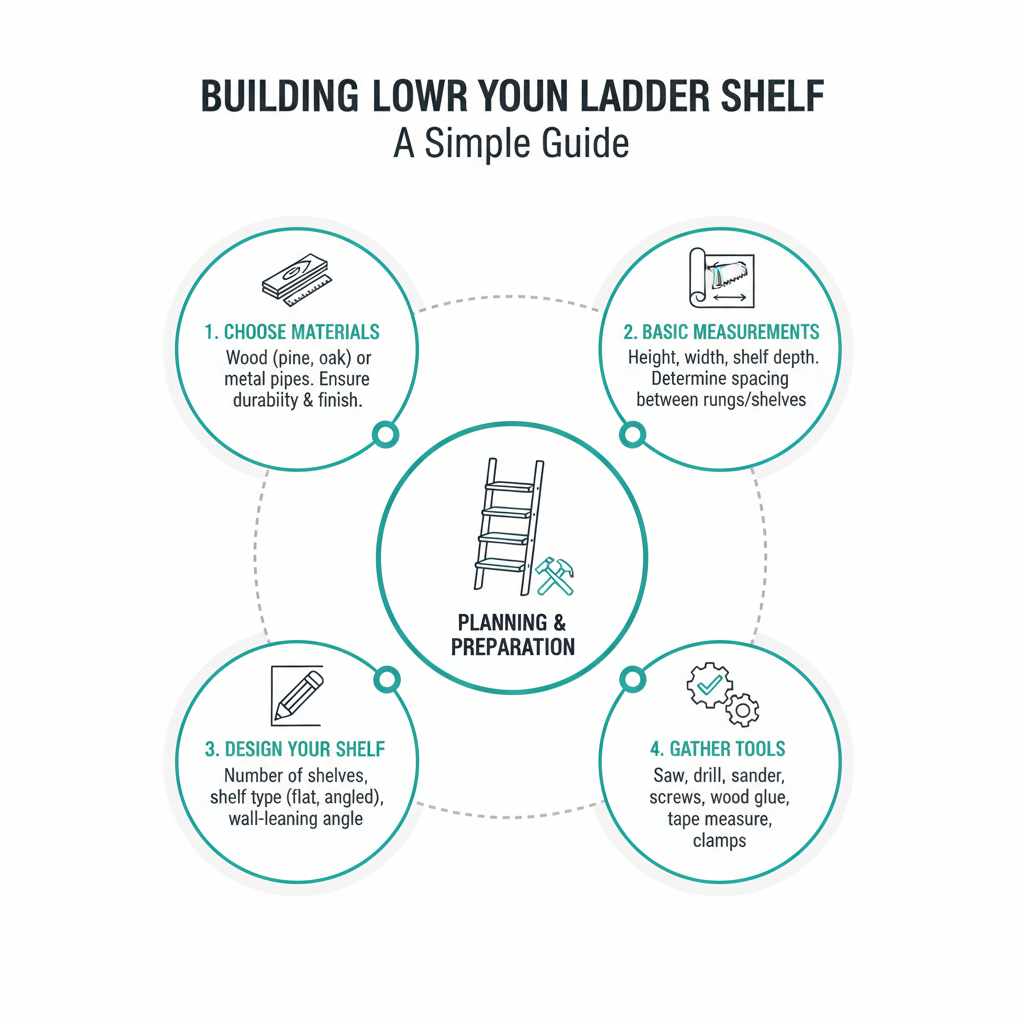
Building Your Own Ladder Shelf A Simple Guide
Creating a ladder shelf is a fantastic way to add vertical storage and a touch of rustic charm to any room. Whether you need a place for books, plants, or decorative items, a DIY ladder shelf offers a personalized solution. This section will cover the fundamental aspects of planning and preparing for your project.
We will discuss choosing the right materials and understanding basic measurements. You’ll learn what makes a good ladder shelf design for your needs. This preparation is key to a smooth building process.
A well-planned project leads to a satisfying result.
Gathering Your Materials and Tools
Before you start building, it’s important to gather all the necessary supplies. Having everything ready makes the building process much smoother. You’ll need wood for the main structure and the shelves.
Common choices include pine, cedar, or even reclaimed wood for a rustic look. Ensure the wood is straight and free of large knots.
You will also need screws, wood glue, and sandpaper. For tools, a saw (hand saw or power saw), a drill with drill bits, a measuring tape, a pencil, and safety glasses are essential. A level will help ensure your shelves are straight.
You might also want clamps to hold pieces together while the glue dries.
- Wood Selection: Choose lumber that is sturdy and looks good. Pine is affordable and easy to work with. Cedar offers a nice scent and natural resistance to insects. Reclaimed wood gives a unique, vintage feel. For a ladder shelf, you’ll need pieces for the sides and the shelves themselves. Aim for wood that is at least 1 inch thick for durability.
- Fasteners and Adhesives: Wood screws are great for strong joints. Use screws that are long enough to go through both pieces of wood but not so long that they poke out the other side. Wood glue adds extra strength to screw connections. Apply it generously to the surfaces before screwing them together.
- Essential Tools: A good measuring tape ensures accuracy. A pencil marks your cuts. A saw cuts the wood to size. A drill makes pilot holes for screws and drives them in. Safety glasses protect your eyes from sawdust and debris. Sandpaper smooths out rough edges.
Having these items prepared in advance means you can focus on the actual construction. This prevents interruptions and keeps your project moving forward efficiently. Think about the size and scale of the ladder shelf you want before you buy wood.
This will help determine how much lumber you need.
Measuring and Cutting Your Wood
Accuracy in measuring and cutting is crucial for a well-built ladder shelf. It ensures that your shelves will be level and the entire structure will be stable. Take your time and double-check your measurements before making any cuts.
This step prevents waste and frustration later on.
You will need to cut four pieces for the uprights of the ladder and several pieces for the shelves. The length of the uprights will determine the overall height of your shelf. The shelf pieces should be cut to your desired width.
When cutting the uprights, you might want to cut them at a slight angle at the top and bottom so they sit flush against the wall and floor.
- Measure Twice Cut Once: Before making any cut, measure the desired length. Mark it clearly with your pencil. Use a ruler or speed square to ensure your line is straight and perpendicular to the edge of the wood.
- Cutting the Uprights: Decide on the height of your ladder shelf. Cut two identical lengths for the front uprights and two identical lengths for the back uprights. These will form the sides of your ladder. If you want a traditional ladder look, the back uprights might be slightly longer than the front ones.
- Cutting the Shelves: Determine how many shelves you want and how wide they should be. Cut all your shelf pieces to the same length. Ensure that the length you choose will fit comfortably in the space where you plan to put the ladder shelf.
- Creating the Angle: For a stable ladder that leans against the wall, the top and bottom of the uprights should have a slight angle. You can achieve this by setting your saw to a small degree, perhaps 5-10 degrees. Cut the top and bottom ends of all four uprights with this angle.
Once all your pieces are cut, it’s a good idea to lightly sand the edges. This removes splinters and makes the wood safer to handle. Smooth edges also give your finished ladder shelf a more polished appearance.
This is a small step that makes a big difference in the final product.
Assembling Your Ladder Shelf
Now that you have all your pieces cut and ready, it’s time to put your ladder shelf together. This is where the project really starts to take shape. We will go through the steps of attaching the shelves to the uprights.
This process requires careful alignment to ensure everything is straight and secure. Following these instructions will help you build a sturdy and attractive ladder shelf.
Attaching the Shelves to the Uprights
This is the core assembly step. You need to attach the shelves securely to the uprights. Decide how far apart you want your shelves to be.
You can mark these positions on the inside of each upright. Using a level here is very important to make sure each shelf is perfectly horizontal.
Start by attaching the bottom shelf. Place one upright flat on your work surface. Position the bottom shelf at the desired height, ensuring it’s flush with the edge of the upright.
Apply wood glue to the end of the shelf where it meets the upright. Then, pre-drill pilot holes through the upright into the shelf. Drive screws through the pilot holes to secure the shelf.
Repeat this process for the other end of the bottom shelf on the second upright.
- Marking Shelf Positions: Lay your two front uprights side-by-side. Use your measuring tape and pencil to mark the exact positions for each shelf on both uprights. Ensure the marks are at the same height on both pieces for each shelf.
- Gluing and Screwing the First Shelf: Take one upright and the bottom shelf. Apply wood glue to the end of the shelf. Align the shelf with its marked position on the upright. Clamp it in place if possible. Pre-drill two pilot holes through the upright into the shelf. Drive screws to secure it.
- Attaching the Second Upright: Now, attach the other upright to the other end of the bottom shelf using glue and screws. Make sure the shelf is level and the uprights are parallel.
- Adding Subsequent Shelves: Repeat the process for each remaining shelf. Work your way up the ladder, attaching one shelf at a time. Always use a level to check that each shelf is straight before permanently attaching it.
- Ensuring Stability: Once all shelves are attached, gently test the stability of the ladder shelf. If anything feels wobbly, reinforce the joints with more screws or glue.
Properly attaching the shelves is what gives your ladder shelf its strength. Don’t rush this step. The use of both glue and screws provides the strongest bond.
This ensures your ladder shelf can hold the weight of your items safely. The pilot holes prevent the wood from splitting when you drive in the screws.
Adding Support and Finishing Touches
Once the main structure is assembled, you might want to add some extra support or decorative elements. This can improve the overall sturdiness and appearance of your ladder shelf. Finishing touches are what make a DIY project look professional.
Consider adding small blocks or braces on the underside of each shelf where it meets the uprights. This adds significant strength, especially if you plan to put heavier items on the shelves. These supports can be simple triangular pieces of wood or small rectangular blocks.
- Reinforcing the Shelves: For added support, especially on wider shelves, attach small wooden brackets or cleats to the underside of each shelf where it joins the upright. Cut small triangular pieces of wood and glue and screw them into place.
- Sanding for Smoothness: Once the glue is dry and the shelf is fully assembled, give it a final sanding. Start with a coarser grit sandpaper (like 80 or 100) to remove any rough spots or unevenness. Then, move to a finer grit (like 150 or 220) for a smooth finish.
- Painting or Staining: This is where you can really personalize your ladder shelf. You can paint it a bold color to make a statement, or stain it to match your existing furniture. Apply primer before painting for better adhesion and coverage. For staining, apply an even coat and wipe off the excess according to the product’s instructions.
- Sealing for Protection: After painting or staining, apply a clear sealant or varnish. This protects the wood from moisture and wear. It also gives the surface a nice sheen. A polyurethane or polycrylic sealant works well for this purpose.
These finishing steps transform a basic wooden structure into a beautiful piece of furniture. They protect your work and enhance its visual appeal. Taking the time for these details will make your DIY ladder shelf look like it was professionally made.
Using Your Ladder Shelf Effectively
Now that you’ve successfully built your ladder shelf, it’s time to think about how to best use it. A ladder shelf is versatile and can be used in many different ways and in various rooms. This section will provide ideas and tips on displaying items and maximizing its functionality.
Consider its placement and the types of items you want to showcase.
Decorating and Displaying Items
Ladder shelves are excellent for displaying a variety of items. Their tiered design creates visual interest. You can arrange books, plants, photos, candles, or decorative accents on each level.
Consider the items you place on each shelf and how they relate to each other. Grouping items by color, theme, or size can create a pleasing arrangement.
For a cozy living room, stack your favorite books on a few shelves and add a small potted plant or a framed photo. In a bedroom, it can hold a collection of perfume bottles, jewelry, or skincare products. A kitchen ladder shelf can display cookbooks, spices, or small decorative kitchenware.
The possibilities are endless, and it’s a great way to add personality to your space.
- Book Display Ideas: Arrange books by size, color, or author. You can also mix in decorative items like small sculptures or picture frames between books to break up the monotony. Leaning books against the back of the shelf can create a more dynamic display.
- Plant Arrangements: Small to medium-sized potted plants thrive on ladder shelves. Consider plants that cascade down, like Pothos or Spider Plants, for an added visual effect. Ensure the shelves get enough light for your chosen plants.
- Seasonal Decor: Ladder shelves are perfect for seasonal decorations. In the fall, you can add mini pumpkins, gourds, and autumn-themed accents. During the holidays, decorate with fairy lights, ornaments, or small festive figurines.
- Creating Vignettes: Grouping 3-5 items together to tell a small story or create a miniature scene is called creating a vignette. This could be a collection of travel souvenirs, a coffee table book with a mug and a small decorative object, or a series of matching picture frames.
The key to decorating a ladder shelf is balance and intention. Don’t overcrowd the shelves. Leave some empty space to allow each item to stand out.
This makes the display feel curated and sophisticated.
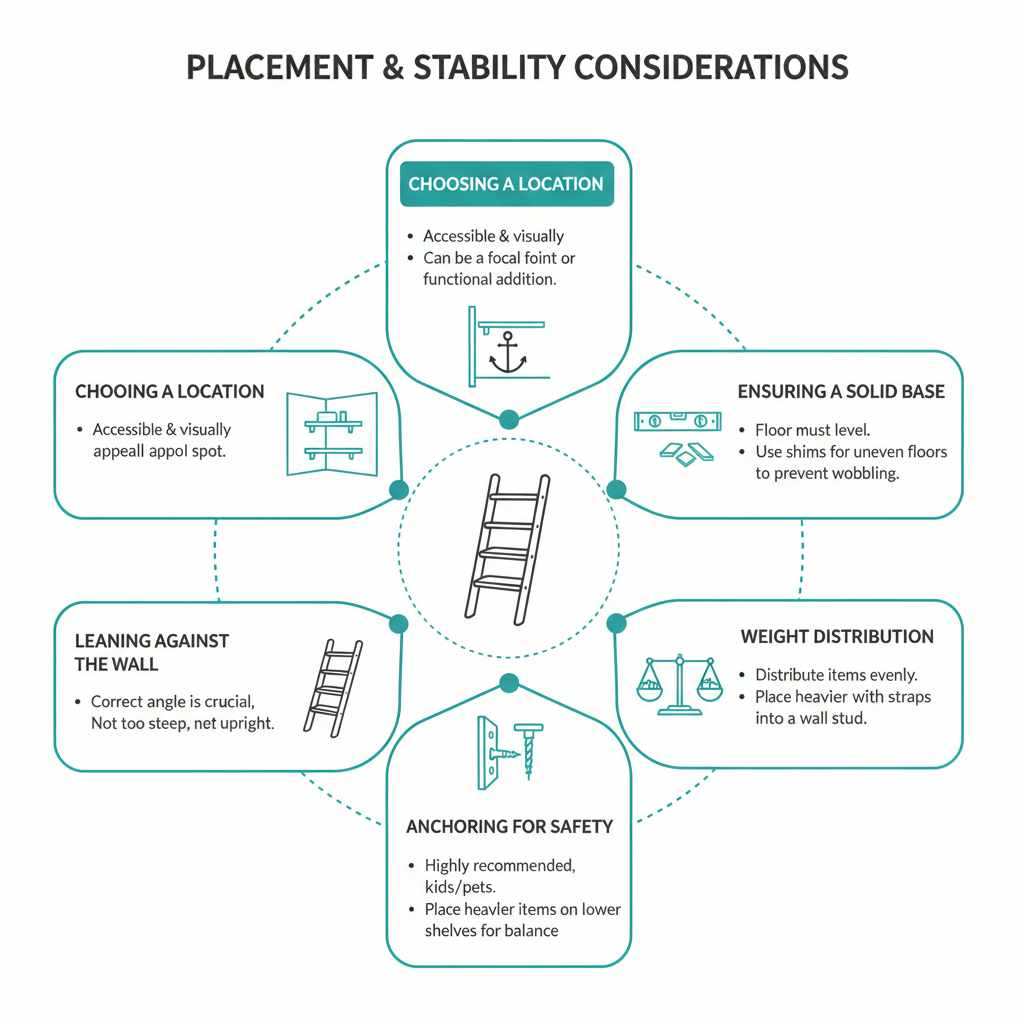
Placement and Stability Considerations
Where you place your ladder shelf is important for both its stability and its aesthetic impact. Ladder shelves are designed to lean, so they need a stable surface to rest against. Ensure the wall you choose is solid and can support the weight of the shelf and its contents.
Avoid placing it on uneven floors or against flimsy walls.
For added safety, especially in homes with children or pets, consider anchoring the ladder shelf to the wall. This is a simple step that can prevent accidents. You can use L-brackets or furniture straps to secure the top of the shelf to a wall stud.
Always make sure the wall you are attaching it to is sturdy.
- Choosing a Location: Select a spot where the ladder shelf will be both accessible and visually appealing. It can serve as a focal point in a corner or be a functional addition to a blank wall.
- Ensuring a Solid Base: The floor beneath the ladder shelf should be level. If your floor is uneven, you might need to use shims under the feet of the ladder to ensure it sits firmly and doesn’t wobble.
- Leaning Against the Wall: The angle at which the ladder shelf leans against the wall is important for stability. It should be leaning enough to be secure but not so much that it feels precarious.
- Anchoring for Safety: To prevent tipping, it is highly recommended to anchor the ladder shelf to the wall. Use appropriate hardware, such as L-brackets, and attach them to a wall stud for maximum security.
- Weight Distribution: Distribute the weight of items evenly across the shelves. Place heavier items on lower shelves and lighter items on upper shelves to maintain balance and prevent the shelf from tipping forward.
Taking these precautions ensures your ladder shelf is not only beautiful but also safe for everyone in your home. A stable shelf allows you to enjoy your decorations without worry.
Frequently Asked Questions
Question: What type of wood is best for a ladder shelf
Answer: Pine is a great choice because it’s affordable and easy to work with. Cedar offers a nice aroma and is naturally resistant to pests. Reclaimed wood gives a unique, vintage look.
For durability, choose wood that is at least 1 inch thick.
Question: How do I ensure my ladder shelf is stable
Answer: Make sure the floor is level where you place it. The angle of the lean against the wall is also important. For extra safety, especially with kids or pets, anchor the shelf to the wall using L-brackets attached to a stud.
Question: Can I make a ladder shelf without power tools
Answer: Yes, you can. A hand saw, a manual screwdriver, and a measuring tape are sufficient for basic construction. You might need to put in more effort for drilling pilot holes or for very precise cuts, but it is definitely achievable.
Question: How many shelves should a ladder shelf have
Answer: This is entirely up to your preference and needs. Most DIY ladder shelves have between 3 to 5 shelves. Consider the height of the space where it will go and the items you plan to display when deciding on the number of shelves.
Question: What is the best way to finish a DIY ladder shelf
Answer: After sanding smooth, you can paint or stain it to match your decor. Applying a clear sealant like polyurethane or polycrylic afterwards will protect the finish and the wood from moisture and wear, giving it a nice shine.
Summary
Building your own ladder shelf is a rewarding project that adds style and function to your home. You’ve learned how to select materials, measure and cut wood accurately, and assemble the structure securely. Finishing touches like sanding and painting or staining will give it a professional look.
Finally, creative display ideas and stability tips will help you enjoy your handmade ladder shelf for years to come.


