How to Reassemble an IKEA Dresser After Moving
Reassemble an IKEA dresser by matching each labeled part, tightening the frame square, and anchoring it before you load the drawers. Replace any missing cam lock, dowel, or cracked back panel first. Skip those checks, and drawers can bind, the case can rack, and a partly damaged dresser can tip under load. This guide covers move-safe reassembly, hardware checks, squaring and leveling steps, and final safety checks before use.
Find the model instructions

- Includes cam locks and dowels for reassembly
- Compatible with IKEA furniture
- Handy assortment for mixed missing hardware
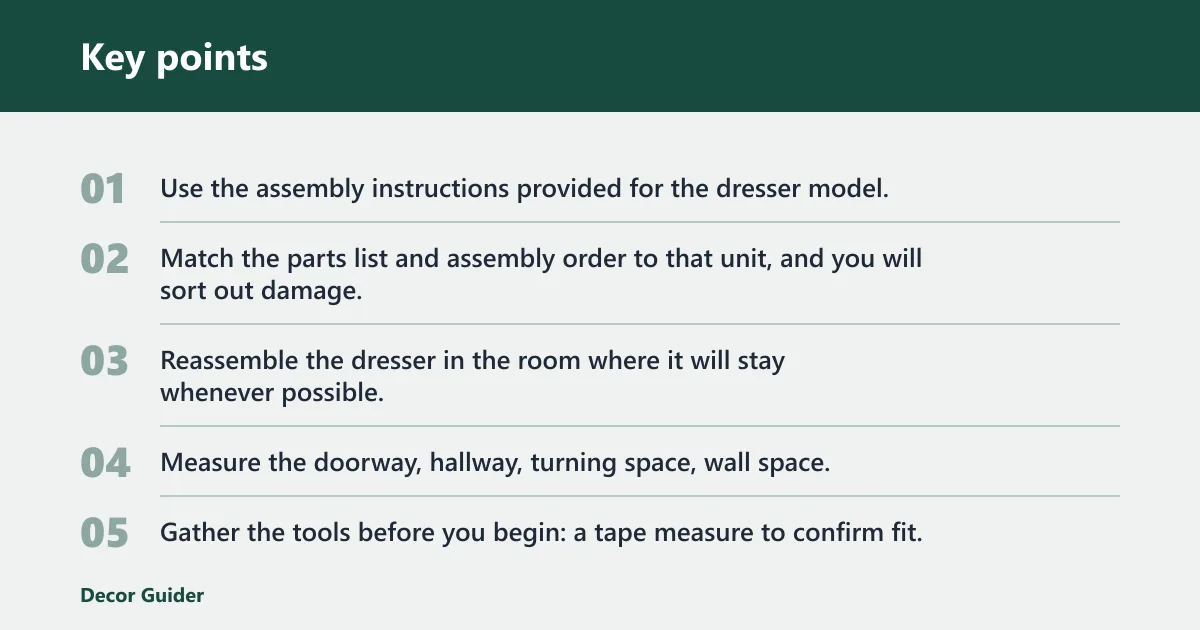
Use the assembly instructions provided for the dresser model, from the label or original paperwork if you have them. Match the parts list and assembly order to that unit, and you will sort out damage, mixed panels, and missing hardware much faster.
Reassemble the dresser in the room where it will stay whenever possible. Measure the doorway, hallway, turning space, wall space, and final clearance so you do not build a piece that cannot reach its spot or open its drawers cleanly.
Gather the tools before you begin: a tape measure to confirm fit, a level to check the cabinet and drawers, a stud finder to locate framing for anchoring, and a drill for the anti-tip restraint and wall fasteners that match the wall type.
Use a drill carefully. Avoid outlets, light switches, and suspected plumbing or other hidden lines when you choose fastening points. A stud finder helps narrow the search, but it does not reliably identify everything behind drywall.
What tools do you need to reassemble an IKEA dresser?
Keep the tool list simple: the IKEA instructions, a tape measure, a level, a stud finder, a drill with the correct bits, and any hex key or driver that came with the dresser. Add a flashlight and painter’s tape if you want to mark panels and hardware bags clearly.
Dresser move checklist
Before you tighten anything, sort the parts and decide what can still be rebuilt safely. A move often loosens hardware, but split particleboard, swollen edges, stripped cam lock holes, and warped panels point to damage, not normal looseness.
Say your dresser was taken apart into three main panels, two side panels, and a bag of mixed fasteners. A quick inventory can show that one cam lock is missing and one drawer runner is bent, which is a very different problem from a loose screw that simply backed out during the move.
What parts should you check before reassembling an IKEA dresser?
Check every structural panel, the cam locks, dowels, screws, back panel fasteners, drawer slides or runners, and any anti-tip hardware. Compare each part to the model instructions, then sort the hardware by type so you can spot missing pieces before you start the rebuild.
| Hardware part | What to look for after a move | What usually means stop and replace |
|---|---|---|
| Cam lock | Round metal piece turns and locks the joint | Cracked body, rounded slot, or a loose fit in the panel |
| Dowel | Straight, snug in its hole, not split or bent | Missing dowel, broken tip, or a hole that is blown out |
| Screw | Correct length and thread, drives in without spinning | Stripped hole, damaged head, or screw that will not hold torque |
| Back panel fastener | Secures the rear panel evenly along the edge | Missing fasteners or a back panel that is torn or split |
Look for move damage in the panels themselves. Small scuffs are common. Split particleboard around joinery, torn cam lock holes, bulging corners, or a bowed top panel can make the dresser unsafe to tighten fully.
Do not assume every missing screw can be ignored. If a screw holds a side panel, slide rail, or back panel in position, that fastener is structural. Replace it with the correct size or official IKEA replacement parts before you load the dresser. A mismatched screw can hold briefly and then pull out under drawer weight.
How do you reassemble the frame?
Rebuild the frame in the order the instructions use for that model. If the sequence calls for the base and side panels first, then the top, then the back panel, then the drawer slides or runners, follow that order to keep the cabinet square before any drawers go back in.
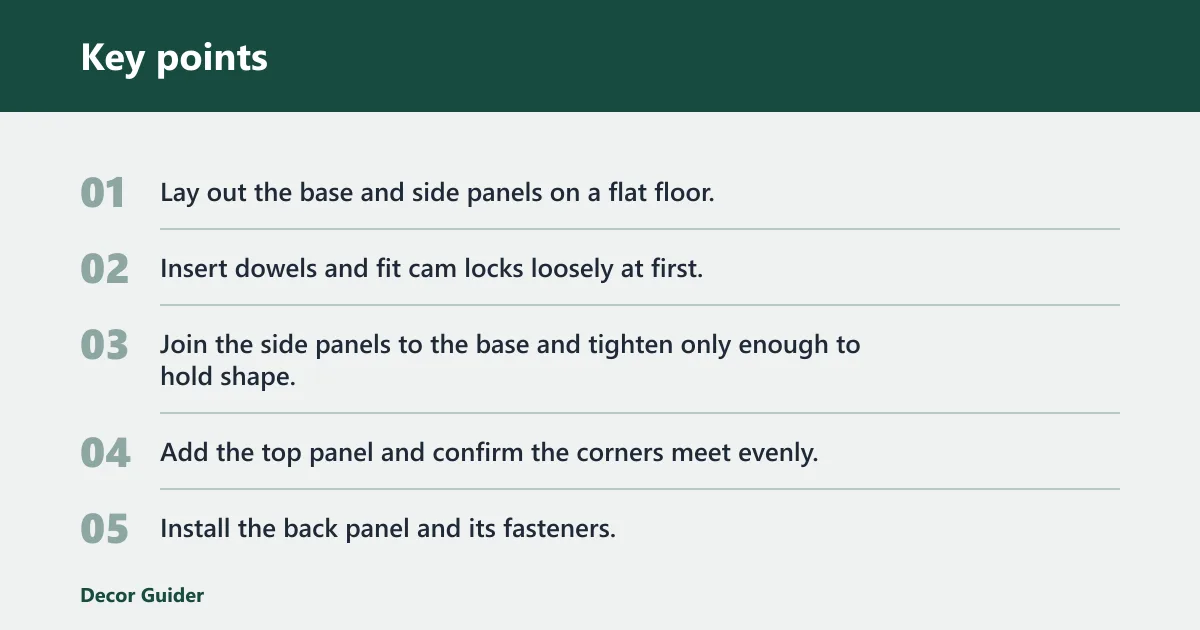
- Lay out the base and side panels on a flat floor.
- Insert dowels and fit cam locks loosely at first.
- Join the side panels to the base and tighten only enough to hold shape.
- Add the top panel and confirm the corners meet evenly.
- Install the back panel and its fasteners.
- Attach drawer slides or runners in the correct positions.
- Square the cabinet, then fully tighten the frame.
- Reinstall drawers in their original order.
The back panel helps keep the case from racking. On flat-pack particleboard furniture, the back panel often keeps the cabinet from twisting out of square. If the back panel is damaged or missing fasteners, the dresser can look assembled and still pull out of square.
Picture a dresser that stands upright but twists slightly when one corner is pressed. That small shift usually means the frame is not square yet, or the back panel is not holding the cabinet in alignment. Finish the square check before you load any drawers.
How do you fix drawer fit after moving?
Drawer misalignment often comes from an out-of-square frame, a bent slide, or a runner installed in the wrong hole set. If drawers rub on one side or stop short, inspect the frame first, then the slide pair, then the drawer box itself.
Reinstall the drawers one at a time. Do not force a sticky drawer into place. If one drawer suddenly binds after the frame is squared, the runner may be bent or the drawer bottom may have shifted during the move.
A common first-timer mistake is to blame the drawer when the case is the problem. If the cabinet is slightly racked, the drawer opening changes shape enough to make otherwise intact drawers scrape, tilt, or catch at the front edge.
How do I reassemble an IKEA dresser if I lost some screws?
Stop and identify the exact fastener type before replacing anything. IKEA dressers use model-specific hardware, and a random screw can be too long, too short, or the wrong thread for particleboard. Use the instruction sheet to match size and function.
If the lost screw holds a structural joint, drawer rail, or anti-tip bracket, do not improvise. Replace it with the correct hardware before loading the dresser. Get official IKEA replacement parts if you need them. A mismatched screw can hold briefly and then pull out under drawer weight.
IKEA dresser size and fit
Fit checks matter even when the dresser is already in pieces. Measure the assembled dimensions, the doorway, and the wall space before you start final tightening so you do not rebuild a unit that cannot pass through the room or sit in place with clear drawer travel.
How do I make sure the dresser is level after reassembly?
Set the dresser where it will stay, then check it with a level before loading drawers. The case should sit level and stable, with no rocking at the corners. If the floor is uneven, adjust placement or use the manufacturer’s approved leveling method if provided.
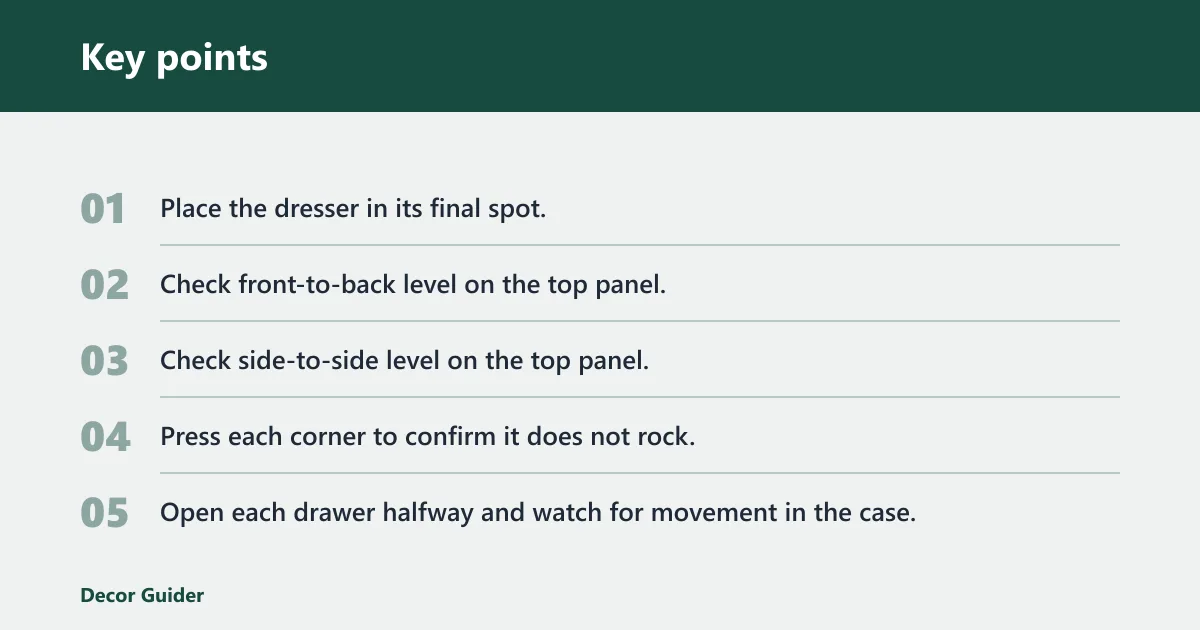
- Place the dresser in its final spot.
- Check front-to-back level on the top panel.
- Check side-to-side level on the top panel.
- Press each corner to confirm it does not rock.
- Open each drawer halfway and watch for movement in the case.
- Recheck after any shift in position.
- Do not load drawers until the cabinet sits steady.
A level check is a fit check, too. If the dresser leans forward or side to side, drawer slides can bind and the fronts may not line up evenly. Correct the floor contact before you assume the drawer parts are the problem.
How do you anchor the dresser safely?
Anchor the dresser before use if the model includes an anti-tip wall restraint. Install the restraint with fasteners that match the wall type and with the stud or other mounting point specified by the IKEA instructions. Do not treat anchoring as optional once drawers or other loads will go inside.
Use a stud finder to locate framing, then confirm the fastening plan for your wall type. Drill only where it is safe to do so, and avoid outlets, plumbing, and other hidden lines. The right fastener depends on the wall, not just the dresser.
IKEA described one recalled chest as not properly attached to the wall. The company offered a free anchoring kit to consumers. Those numbers are a clear reminder that anchoring is part of safe use, not an afterthought.
Do I need to anchor an IKEA dresser to the wall after moving it?
Yes, if the dresser came with an anti-tip wall restraint or the instructions call for one. Reinstall it after the move and before normal use. Use fasteners suited to drywall or another wall type, and follow the dresser’s instructions rather than guessing at the anchor method.
Dresser rebuild checklist
Use this checklist as a last pass before you fill the drawers. It helps you catch square and level problems, missing hardware, and move damage that would make the dresser unsafe or annoying to use.
10-point square and level check
- All labeled panels match the model instructions.
- Cam locks turn and lock fully.
- All dowels seat snugly.
- Structural screws hold without spinning.
- The back panel is attached evenly.
- Measure both diagonals from corner to corner and keep adjusting until the two measurements match.
- No corner gaps open when the cabinet is tightened.
- The dresser sits level front to back.
- The dresser sits level side to side.
- Drawers clear nearby walls, trim, and fixtures.
Stop and replace parts if you find damaged particleboard, torn cam lock holes, missing structural parts, warped panels, or a back panel that will not sit flat. Those problems are not normal move looseness. They are failure points.
After the dresser is square and level, test each drawer one by one. Open it, close it, and watch the side gaps. If a drawer still binds, the frame may still be racked or the slide may have shifted during reassembly.
Frequently asked questions
How do I reassemble an IKEA dresser after moving?
Match the parts to the model instructions, rebuild the frame in order, square the cabinet, then reinstall the drawers. Check for move damage before tightening everything. If cam locks, dowels, or a back panel are missing or cracked, replace them first so the dresser is safe to finish.
What if my IKEA dresser drawers no longer line up after moving?
Start with the frame, not the drawers. An out-of-square cabinet, a bent slide, or a runner mounted in the wrong position can throw off alignment. Recheck the back panel, tighten the frame evenly, and test each drawer one at a time after the case is square.
How do I find the right IKEA assembly instructions for my dresser?
Use the exact model name and, if available, the product number from the label or original paperwork. IKEA dressers often share similar parts, but the assembly order and hardware can differ. The right instruction sheet is the fastest way to match fasteners and avoid forcing the wrong parts.
Products related to this article
Sponsored / affiliate links. As an Amazon Associate I earn from qualifying purchases. I may earn additional commission from eligible campaigns.