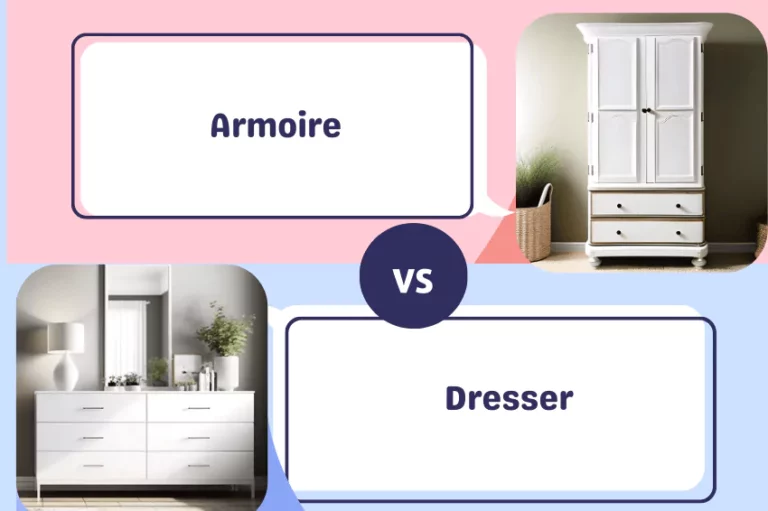
How to Make an Old Dresser Look New
To make an old dresser look new on a budget, clean it first, fix loose joints and damage, then update hardware and only refinish if the finish is worn beyond cleaning alone. Skip those steps and the piece can still look tired, uneven, or cheap after repainting. This guide shows the lightest-touch fixes, when to stop at a refresh, and how to choose paint, stain, or new hardware.
What should you need before starting?


Gather the tools and supplies that match the least-invasive repair first, then add stripping and refinishing materials only if the existing finish truly needs them. For chemical stripping, plan for strong ventilation and protective gear because solvent vapors and skin contact are the main safety risks; EPA guidance also emphasizes reading the label and using products exactly as directed.
- Vacuum with a brush attachment
- Mild cleaner and soft cloths
- Knob and pull screwdriver
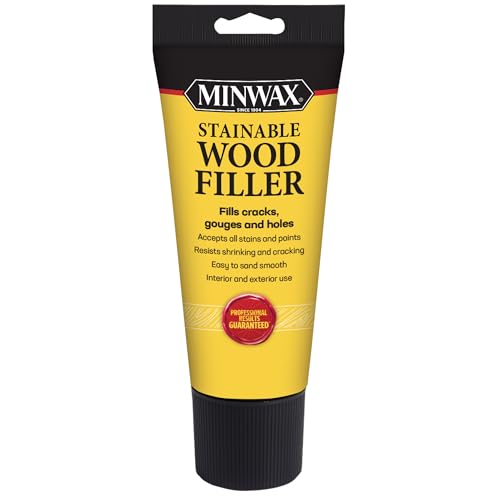
- Wood filler or epoxy, if needed
- Wood glue and clamps for loose joints
- 80 grit sandpaper for aggressive removal
- 120 grit sandpaper for intermediate smoothing
- 150 grit sandpaper for further smoothing
- 220 grit sandpaper for final hand sanding
- Power sander for broad surfaces
- Chemical paint or finish stripper for detail work
- Tack cloth
- Stain, if you want natural wood visible
- Sealant or top coat
- Flat waterbased polyurethane for a low-sheen finish
- Replacement knobs or drawer pulls, if the old hardware is dated
- Respirator, gloves, and eye protection
Which makeover path fits your dresser?
Use the condition of the wood, the finish, and the odor to decide whether you can refresh, need to refinish, or should stop and repair first. Solid wood can usually tolerate more sanding than veneer, while intact finishes often only need cleaning, a scuff, and a top coat. Strong smoke odor or active water damage usually makes refinishing a poor short-term fix because the problem can come back through the new finish.
| Dresser condition | Recommended fix | Tools needed | Risk level | Time estimate | When to avoid sanding |
|---|---|---|---|---|---|
| Dull finish only | Clean, then re-seal or top coat if the old finish is intact | Vacuum, cleaner, tack cloth, sealant | Low | 1 to 3 hours | Avoid sanding if the finish is even and you only need a refresh |
| Scratches only | Light sanding, spot repair, then stain or top coat as needed | 120 grit, 150 grit, 220 grit, filler | Low to medium | 2 to 4 hours | Avoid aggressive sanding on veneer or thin edges |
| Sticky drawers plus worn finish | Adjust drawers, clean tracks, then refinish the visible surfaces | Screwdriver, wax or plane, sandpaper, top coat | Medium | 3 to 6 hours | Skip sanding inside drawers unless the roughness is causing binding |
| Veneer damage | Repair chips or lift, then sand only lightly or spot-strip | Glue, filler, scraper, 220 grit | High | 4 to 8 hours | Avoid heavy sanding; it can cut through the veneer fast |
| Smoke or musty odor | Clean deeply, de-odorize, then seal only after the smell is reduced | Cleaner, vacuum, odor treatment, sealant | Medium | Same day to several days | Avoid sealing in odor before cleanup; sanding alone will not fix the smell |
| Outdated hardware | Remove knobs and pulls, then reuse or replace them | Screwdriver, new hardware | Low | 30 minutes to 1 hour | No sanding needed if the finish itself is sound |
Should you sand or strip first?
Use sanding for most finish removal and smoothing. Choose chemical stripper when the dresser has carved details, trim, or layered finish that sanding cannot reach cleanly. On veneer, thin edges, and sharp corners, stop before you sand through the surface. Good ventilation matters here: OSHA and EPA both recommend strong airflow and careful label-following whenever chemical strippers are involved.
Use sanding for broad, flat surfaces
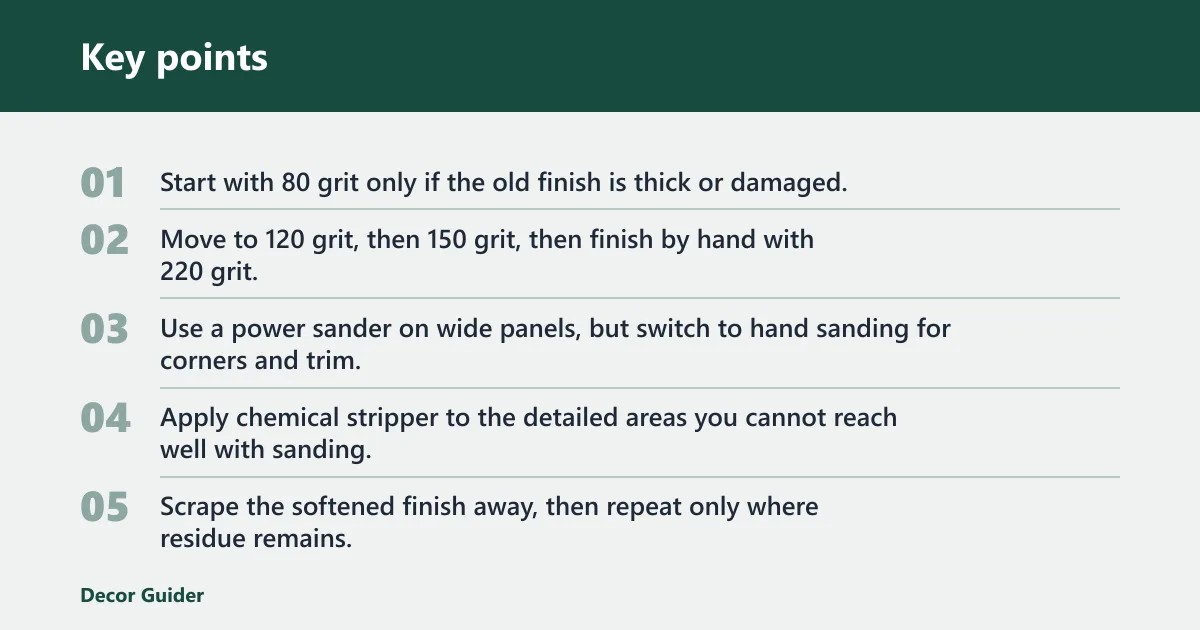
- Start with 80 grit only if the old finish is thick or damaged.
- Move to 120 grit, then 150 grit, then finish by hand with 220 grit.
- Use a power sander on wide panels, but switch to hand sanding for corners and trim.
Use stripper for detail work
- Apply chemical stripper to the detailed areas you cannot reach well with sanding.
- Scrape the softened finish away, then repeat only where residue remains.
- Wear chemical resistant gloves, a respirator if ventilation is limited, and eye protection.
Step 1: Clean and remove hardware
Remove knobs and drawer pulls before refinishing. Vacuum the dresser with a brush attachment, wipe away grime, and let the surface dry. A tack cloth removes the fine dust that stays behind before stain, sealant, or top coat goes on. If the finish is staying intact, this prep alone may be enough for a clean-and-refresh result.
- Unscrew every knob, pull, and backplate.
- Bag the screws by drawer so reassembly stays simple.
- Vacuum the body, drawer fronts, edges, and corners.
- Wipe with a damp cloth and let the wood dry fully.
- Use a tack cloth right before any finish goes on.
Step 2: Repair drawers and damaged surfaces
Fix sticky drawers before you finish anything. A dresser that drags, swells, or binds will still look off after a new stain or top coat. Address chips, scratches, and small veneer issues now, then reuse or replace worn hardware for a faster visual update. For drawers that stick because of swelling, use the same checks you would for swollen drawer fronts: confirm the rub points, reduce friction, and repair moisture damage before refinishing.
- Test each drawer outside the frame.
- Plane or sand any rubbing edge lightly.
- Glue loose joints and clamp them until set.
- Fill small chips or gouges and level the patch after it cures.
- Replace damaged knobs or pulls if the originals look tired or mismatched.
Step 3: Sand or strip the finish
Follow the grit progression from 80 to 220 only as far as the surface needs. A power sander does most of the work on broad panels, but detailed areas still need hand sanding. If the dresser is veneered, keep pressure light and stop as soon as the old finish is even. Veneer identification matters because the outer layer is thin; a visible edge grain pattern, a paper-thin face at chips, or a different substrate at corners are common clues that the top layer is not solid wood.
- Sand the flat faces first with the coarsest grit you actually need.
- Move through 120 grit and 150 grit to smooth the surface.
- Finish with 220 grit by hand on edges, corners, and trim.
- Strip only the detailed or stubborn areas that sanding misses.
- Wear gloves, eye protection, and a respirator during stripping.
Step 4: Refinish and protect the surface
Choose stain if you want to keep the wood grain visible and stay close to the dresser’s original color. Choose paint if you want a completely different color. Either way, the final protective layer matters; a top coat shields the surface from scuffs and future dullness. Flat waterbased polyurethane is one low-sheen option. Follow the manufacturer’s drying and recoating schedule, because many finishes need a specific wait time before the next coat and before normal handling.
- Apply stain to bare wood only, following the grain.
- Let the stain dry fully before top coating.
- Brush or wipe on the top coat in thin, even passes.
- Add a second coat only after the first has dried per label directions.
- Reinstall hardware after the finish is hard enough to handle.
Which finish should you choose?
The best finish depends on budget, skill, and whether you want the grain to stay visible. Paint hides more flaws and changes style fastest, stain keeps a wood look, a clear coat refresh preserves an already-good finish, and hardware-only updates cost the least when the surface is already solid.
| Option | Typical cost | Skill level | Durability | Wood grain visible? |
|---|---|---|---|---|
| Paint | Low to medium | Medium | High when properly primed and top coated | No |
| Stain | Low to medium | Medium to high | High on solid wood with a proper sealer | Yes |
| Clear coat refresh | Low | Low | Medium to high if the existing finish is sound | Yes |
| Hardware-only update | Lowest | Low | Depends on the existing finish | Yes |
Common mistakes
Sanding veneer too hard can cut through the outer layer and leave a patchy repair. Skipping dust removal before finishing can leave grit under the top coat. Replacing hardware before checking screw spacing can turn a quick refresh into a drill-and-fill job. Smoke odor and swollen drawer fronts need their own fix; sanding alone will not solve either problem.
- Veneer damage: Sand lightly and repair chips before any aggressive prep.
- Dust left behind: Vacuum first, then use a tack cloth before stain or sealant.
- Wrong odor fix: Clean and de-odorize before sealing, or the smell can stay trapped.
- Hardware mismatch: Measure screw spacing before buying replacements.
Budget and style choices that change the result most
The fastest visual change per dollar usually comes from hardware, cleaning, and a careful top coat. If the finish is still solid, those steps can make a dresser feel fresh without a full refinish. If the color is outdated but the wood is sound, stain or paint becomes the next best move.
Suppose a six-drawer dresser has dull lacquer, brass pulls, and one sticky top drawer. Cleaning, new pulls, and a fresh clear coat may be enough. Suppose the same piece has deep scratches and flaking veneer on the top. Then repair first, and stop sanding as soon as the surface is even enough to refinish safely.
For an old wood dresser, preserve as much original wood as possible. For painted furniture, aim for a smoother, cleaner coat unless the finish is failing and must come off.
Frequently asked questions
How to make old furniture look new without painting
Start with cleaning, then repair loose joints, add fresh hardware, and apply a clear top coat if the existing finish is sound. If the surface is only dull, a careful re-seal often changes the look more than a full repaint and keeps the wood grain visible.
How do I refinish a dresser without ruining the wood?
Use the least aggressive prep that gets the surface even. If detail work is the issue, use stripper there instead of forcing the sander deeper.
What supplies do I need to refinish an old dresser?
You need a screwdriver, cleaner, vacuum with brush attachment, sandpaper from 80 grit through 220 grit, tack cloth, and a finish product such as stain, sealant, or flat waterbased polyurethane. Add gloves, eye protection, and a respirator if you plan to strip finish.
Should I sand or strip an old dresser first?
Sand first for broad, flat areas with wear. Strip first for carved details, layered finish, or spots where sanding would leave marks. On veneer, choose the gentlest route that still removes the failed finish, because sanding through the surface is a common and costly mistake.
How do I fix scratches, dull finish, and worn hardware on a dresser?
Use spot sanding and filler for scratches, clean and re-seal a dull finish, and remove worn hardware before deciding whether to reuse or replace it. If the drawers still work well, updated pulls often give the biggest visual change for the least effort.
Products related to this article
Sponsored / affiliate links. As an Amazon Associate I earn from qualifying purchases. I may earn additional commission from eligible campaigns.