How to Strip Paint From an Old Dresser
Strip paint from an old dresser with chemical stripper for veneer and detail, sanding for flat solid wood, and heat only on sturdy surfaces where the finish and construction can take it. Rush the job and you can burn veneer, round over carvings, swell joints, and leave drawers sticking. This guide helps you match the right method to solid wood, veneer, trim, and lead-paint risk before you start.
What you’ll need


- Chemical paint stripper suited to furniture details or flat panels
- Plastic scraper in a few widths
- Steel wool in fine grades
- Mineral spirits, or the after-wash recommended on the stripper label
- Disposable brushes for thick stripper application
- Plastic wrap for keeping stripper wet where the label allows it
- Lead paint test kit for pre-1978 furniture
- Chemical-resistant gloves
- Safety glasses
- Respirator or mask appropriate to the product fumes and any dust risk
- Long sleeves and pants
- Drop cloths or plastic sheeting
- Painter’s tape and masking paper for hardware and drawer edges
- Clean rags
- Sandpaper for light smoothing after stripping
- Heat gun only if the dresser is sturdy and the finish can tolerate heat
What finish is on the dresser?
Start by checking whether you are dealing with paint, or a clear finish such as varnish, shellac, or lacquer. A paint remover is the right starting point for paint; clear finishes often respond differently, and using the wrong method can create smears, clouding, or damaged wood fibers.
How do you test the coating before choosing a method?
Look at an edge, back panel, or hidden spot. Paint usually sits as an opaque film. Shellac, varnish, and lacquer usually read as clear or amber and may show wood grain beneath the film. If the dresser is old enough to be pre-1978, use a lead paint test kit before sanding or dry scraping.
If lead is detected, change the plan before you create dust. EPA guidance for lead-safe renovation stresses containment, wet methods where appropriate, and avoiding dry sanding or open-flame removal on lead-painted surfaces. Use the least dusty method that still fits the piece, and follow the product label plus local lead-safe rules.
When should you decide stripping is the right first move?
Stripping often fits dressers with detailed molding, carved legs, or thick paint that would be hard to sand evenly. It is a poor choice for fragile veneer, water-damaged wood, loose joints, or very delicate antique pieces where heat, liquid, or scraping can do more harm than good.
Say your dresser is a 1950s piece with a thin veneer top and built-up paint on the drawers. That is a poor candidate for aggressive sanding, and a chemical stripper with careful cleanup is usually safer for the surface.
Which stripping method fits the dresser condition?
| Dresser condition | Recommended method | Setup time | Expected dwell time | Cleanup difficulty | When to stop and switch methods |
|---|---|---|---|---|---|
| Solid wood | Sanding for flat panels, or chemical stripper where profiles are present | 15-30 minutes | Varies by product | Moderate | Stop if grain starts to fuzz or the finish is not leveling evenly |
| Veneer | Chemical stripper with a plastic scraper | 20-40 minutes | Follow the label; keep the surface wet | Moderate to high | Stop if the veneer lifts, blisters, or feels soft under the scraper |
| Carved details | Chemical stripper, then fine steel wool for residue | 30-45 minutes | Long enough to soften all recesses | High | Stop sanding and switch back to stripper when grooves stay clogged |
| Lead-paint risk | Lead test first, then the least dusty method that fits the surface | 10-20 minutes for testing | Product-dependent | Moderate | Stop if the chosen method creates dust or if the label does not fit lead-safe work; dry sanding is ruled out when lead is positive |
| Thick multilayer paint | Thick chemical stripper application; repeat as needed | 20-40 minutes | Often a few hours on stubborn stacks | Moderate | Stop and reapply if the top layer lifts but lower coats stay hard after one pass |
| Fragile antique pieces | Test a hidden area first; consider leaving the finish or using a conservator | 30 minutes or more | Use only if the surface tolerates it | High | Stop at the first sign of veneer lift, joint movement, or color bleed |
Should you use stripper, sanding, or heat?
Chemical stripper usually fits detailed or ornate profiles best, and a thick application works better than a thin coat on built-up paint. Sanding makes sense on flat, solid wood when you need to remove a thin layer and smooth afterward. Heat is the last-resort option, because old finish and residue can scorch, and careless use can damage glue lines or nearby wood.
When is chemical stripper the better choice?
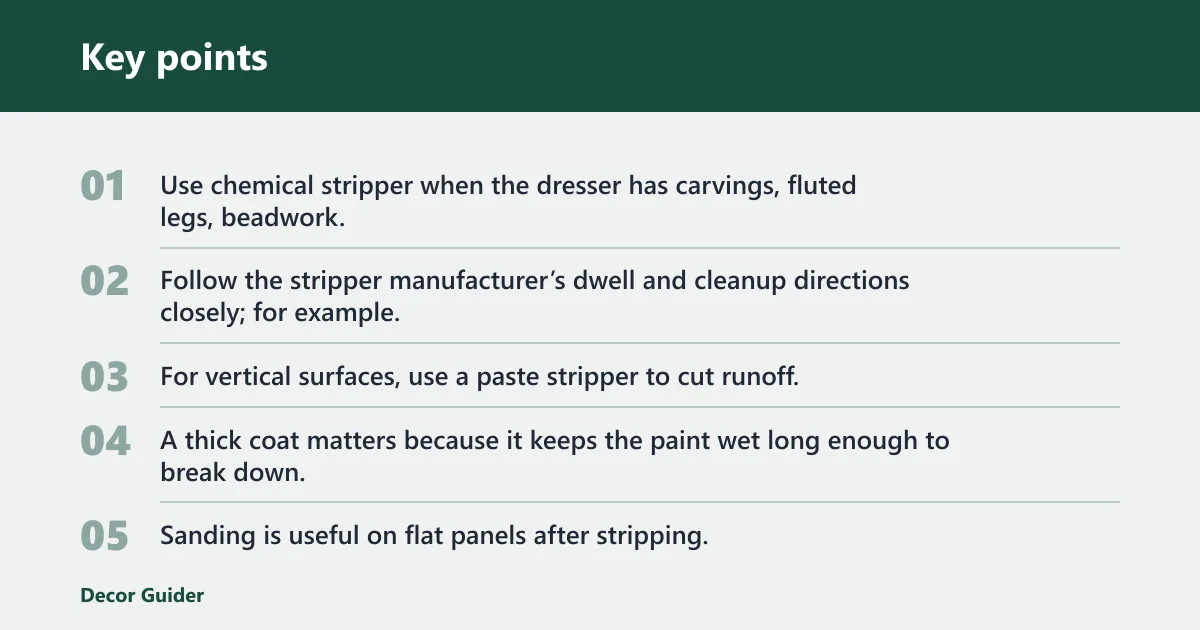
Use chemical stripper when the dresser has carvings, fluted legs, beadwork, or other shapes that a sander would round over. Follow the stripper manufacturer’s dwell and cleanup directions closely; for example, most labels direct you to keep the surface wet, then remove softened coating before the product dries out. That timing matters more than force.
For vertical surfaces, use a paste stripper to cut runoff. A thick coat matters because it keeps the paint wet long enough to break down.
When does sanding make sense?
Sanding is useful on flat panels after stripping, or on sturdy solid wood with a thin finish that does not justify chemical work. It can damage profiles on detailed furniture, and it can chew through veneer fast. Use it as a finishing step, not the first response to thick paint or detail work.
When is heat the last-resort option?
Use heat only where the dresser is solid, the finish seems suitable, and the manual or product guidance allows it. Keep the gun moving, stay alert for smoke or softening glue, and stop if the wood darkens or smells burnt. Fire risk is real with old finishes and residue.
When should you stop and choose a different method?
If the coating is not softening after the label’s dwell time, if the stripper dries too fast, or if the grain still looks ghosted after scraping, pause and change tactics. A second pass with stripper is often better than pushing harder with a scraper or jumping to sanding too soon.
Suppose a dresser drawer front has three paint layers and one carved edge. The flat field may release after one application, but the carving can hold residue. Switch to a fresh stripper pass and a fine steel wool cleanup instead of forcing the detail with a blade.
How do you strip an old dresser?
Apply a thick stripper coat, let the finish soften, then lift it with a plastic scraper. Clean residue with the right wash, repeat only where layers remain, and finish with a light sanding pass. That sequence protects the wood better than jumping straight to aggressive scraping or sanding.
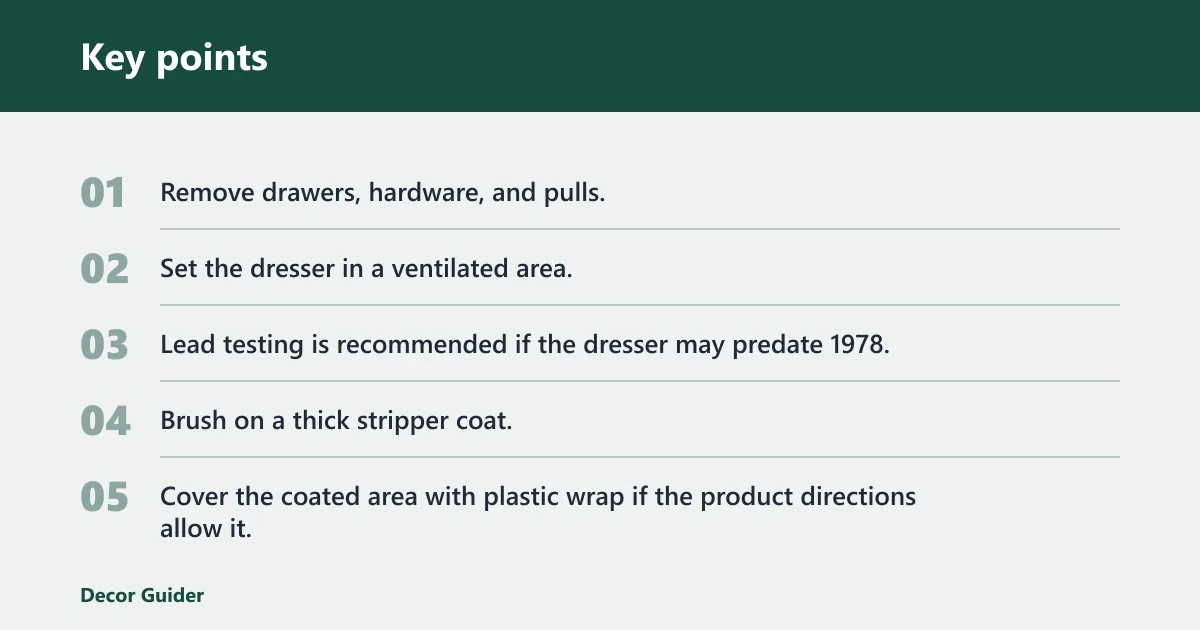
- Remove drawers, hardware, and pulls. Label pieces so they go back in the same places and the drawer fit stays consistent.
- Set the dresser in a ventilated area. Open windows or work outdoors if possible, then put on chemical-resistant gloves, safety glasses, long sleeves and pants, and a respirator or mask matched to the product and dust risk.
- Lead testing is recommended if the dresser may predate 1978. If the test is positive, avoid dry sanding and choose the least dusty method you can use safely.
- Brush on a thick stripper coat. Do not brush it out thin; a heavier layer stays active longer and works better on built-up paint.
- Cover the coated area with plastic wrap if the product directions allow it. That helps slow drying on larger panels.
- Wait for the paint to bubble or soften. Follow the manufacturer’s dwell time and cleanup directions on the label; a delayed scrape is better than scraping too soon and dragging half-softened paint across the grain.
- Scrape with a plastic scraper at a low angle. Use controlled passes so you lift softened paint without gouging the wood.
- Use steel wool with mineral spirits, or the manufacturer’s recommended wash if the label calls for something different. This clears residue from pores, corners, and grooves.
- Repeat on stubborn sections. Add another pass in 1-2 mm thick coverage where lower layers remain, then recheck after the dwell time.
- Let the wood dry fully before sanding or refinishing. Refinishing guidance commonly calls for waiting until stripped wood is fully dry before sanding and topcoating; do not rush this step if the surface still feels cool or tacky.
- Finish with light sanding only where needed. Smooth the surface, but do not chase carved details or veneer edges with coarse paper.
What common mistakes cause damage?
Letting stripper dry out too soon is one of the biggest problems. The fix is simple: recoat the spot, keep the product wet, and cover it if the label allows it. If the paint never softens, the stripper may be wrong for that finish or too thinly applied.
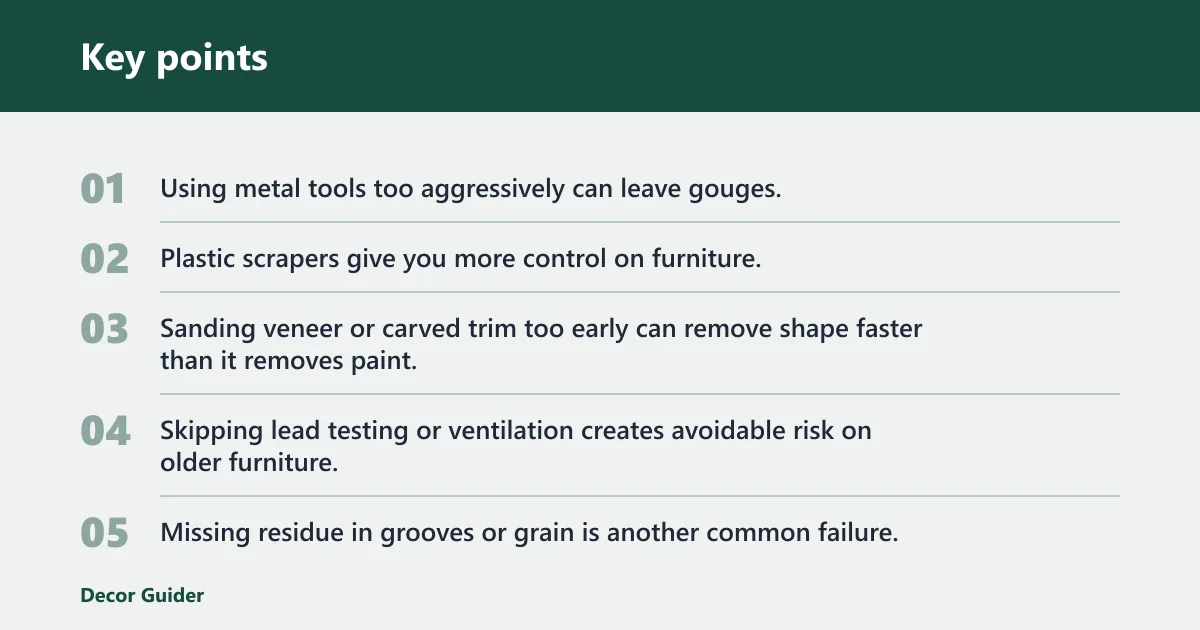
Using metal tools too aggressively can leave gouges. Plastic scrapers give you more control on furniture. Sanding veneer or carved trim too early can remove shape faster than it removes paint, so save that step for flat areas and final smoothing.
Skipping lead testing or ventilation creates avoidable risk on older furniture. Missing residue in grooves or grain is another common failure, and it usually shows up as sticky patches, pale streaks, or paint dust that returns after drying. Use steel wool and the correct wash to clear those spots.
Frequently asked questions
How do you strip paint off an old dresser?
Start with a lead test if the piece may be pre-1978, then choose the least destructive method for the surface. Apply a thick chemical stripper coat on detailed areas, scrape softened paint with a plastic scraper, clean residue with the right wash, and sand lightly only after the wood dries.
What is the best way to strip paint from old furniture?
For most painted dressers, chemical stripper is the safest starting point when there is veneer, carving, or layered paint. Sanding fits flat, sturdy wood better. Heat is useful only on solid surfaces where the finish and construction can take it without scorch or glue failure.
How do you remove paint from old furniture without damaging the wood?
Use a plastic scraper after the paint softens, not a heavy metal blade. Keep stripper thick enough to stay wet, work with fresh air moving through the area, and stop as soon as the finish starts to lift cleanly. On veneer and trim, avoid aggressive sanding and keep cleanup gentle.
How do you strip paint from antique furniture safely?
Test for lead first, protect the surface with the least aggressive method that still works, and avoid heat on fragile parts. Antique furniture with loose joints, thin veneer, or soft carved details may be better left partially finished or referred to a restorer if the risk of damage is high.
How long should paint stripper sit before scraping?
Follow the product label, because dwell time varies by product and coating thickness. Some products work in a few hours, while others need longer. Scrape only when the paint has bubbled or softened; if it is still hard, leave it on longer or reapply.
What do you use to clean residue after stripping paint?
Use mineral spirits with fine steel wool for stubborn spots unless the label calls for water or a different after-wash. A soft rag can handle loose residue on flatter areas. Always match cleanup to the stripper instructions, since some products do not want the same wash.
How do you protect veneer and trim while stripping?
Keep the stripper wet, use a plastic scraper, and stop the moment a veneer edge starts to lift. On decorative profiles, move with the grain and clear residue with a soft pad instead of forcing corners. That approach protects fragile edges while still removing softened paint.
Sources
- EPA Renovation, Repair and Painting Program
- EPA lead-safe renovation guidance for DIYers
- Citristrip product information and directions
- Wood magazine: how to strip finish from wood
Products related to this article
Sponsored / affiliate links. As an Amazon Associate I earn from qualifying purchases. I may earn additional commission from eligible campaigns.
 All-in-One Water-Based Wood Refinishing Paint - Low VOC, Fast-Drying, for Furniture, Cabinets & Doors - Easy Furniture Makeovers, with Paint Roller (Orange Brown, 16 Fl Oz)
 Jungarian Wood Grain Furniture Paint 17.6oz with Tools - One-step No Need Prime No Need Varnish - Water-based & Low Odor - Outdoor & Indoor Wood Paint for Furniture and More - Black