How to Anchor an IKEA Dresser to the Wall
Anchor an IKEA dresser to at least one wall stud whenever possible; if the wall is masonry or metal stud, use the wall-specific fastener IKEA specifies for that surface. Skip the correct anchor, or rely on weak drywall alone, and the dresser can tip forward and crush anyone pulling on a drawer. This guide shows how to choose the right anchor for your wall type and IKEA model, including Hemnes and PAX.
Tip-over risk rises when drawers are open, the top is loaded, or the unit is tall and narrow. That is why IKEA includes anti-tip hardware with many dressers and wardrobes: the load should move from the furniture into the wall framing, not into a loose panel or weak anchor point.
Why anchoring an IKEA dresser matters

- Hidden design stays discreet behind furniture
- Quick-release cable allows easier furniture moving
- Includes anchors, brackets, screws, and wall anchors
Drawers matter because they move the center of gravity forward. A dresser that feels stable with closed drawers can shift fast when two or three drawers are open at once.
Why drawers and top loading change the load
Open drawers act like levers. Heavy shoes, folded denim, or stacked decor on top all increase the forward pull on the strap or bracket. The taller the unit, the more that force matters.
That is also why a PAX wardrobe needs more caution than a short drawer chest. The same wall attachment idea applies, but the height makes the overturn force higher.
Why IKEA includes anti-tip hardware
Most IKEA wall anchoring kits are intended for anti-tip use. They usually use a strap or bracket plus mounting hardware, and the load direction is designed to resist forward tipping rather than support shelf weight.
Do not treat the included kit as a universal match for every wall. The correct fastener depends on drywall, plaster, masonry, paneling, and what is behind the wall surface.
Check the manual and hardware first
Start with the model manual and the included anti-tip parts before choosing anything else. IKEA dressers do not all use the same bracket layout, and some backs have pre-drilled points or approved fastening zones while others require different placement.
The manual tells you where the strap or bracket belongs on that specific dresser or wardrobe. It also tells you when a wall screw, plug, or strap is part of the approved setup.
Identify the IKEA wall anchoring kit
An IKEA wall anchoring kit may use a strap, a bracket, or both. The part is generally intended for anti-tip use, not for supporting the full weight of the furniture from the wall.
Check the mounting hardware in the box. If the manual calls for a specific screw size or plug type, use that, not a random drywall fastener.
Check the dresser back panel
IKEA dresser back panels are often thin fiberboard or particleboard. That means the best fastening zones are the ones the manual allows, usually near solid side panels or designated points, not the thin center of the back.
Pre-drilled bracket positions are common on some models, but not all. If the back panel looks flimsy, do not improvise with oversized screws.
Choose the right anchor for your wall
Wall material changes the fastener choice. Drywall, plaster, concrete or masonry, and paneling each behave differently, so the safest anchor for one wall can be the wrong choice for another.
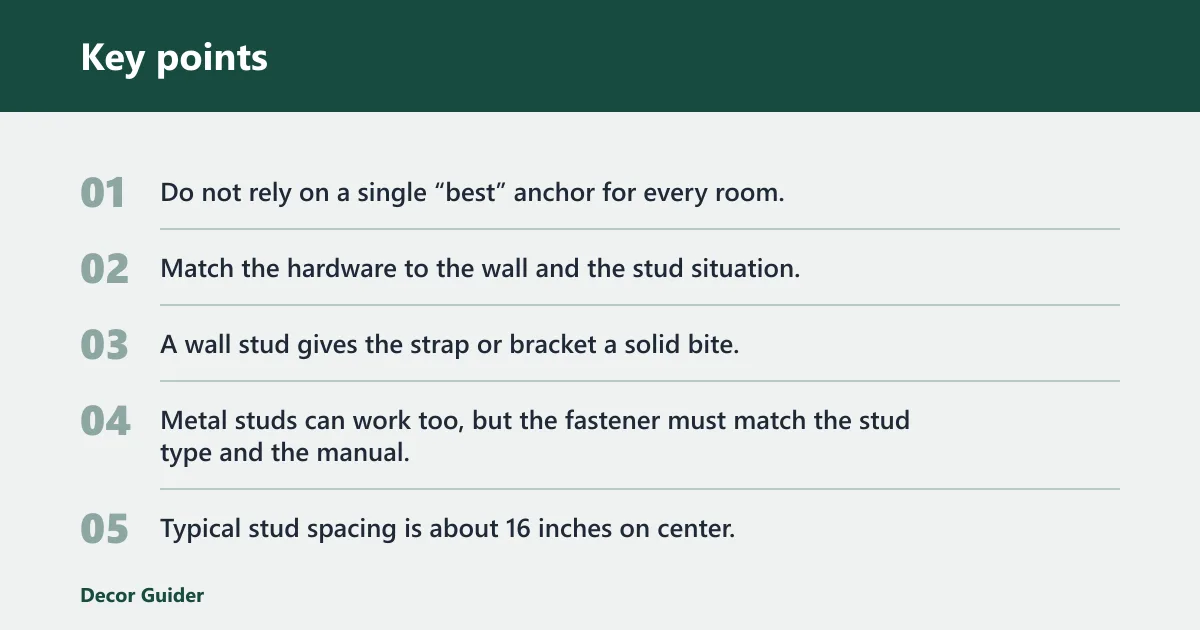
Do not rely on a single “best” anchor for every room. Match the hardware to the wall and the stud situation.
| Wall material | Stud availability | Recommended hardware type | Drilling note | Failure risk |
|---|---|---|---|---|
| Drywall | Stud available | Wood or metal stud screw with the IKEA strap or bracket | Pre-drill a pilot hole sized for the screw and follow the manual | Lowest, if the fastener fully bites into framing |
| Drywall | No stud at the anchor point | Toggle or molly drywall anchor with the included anti-tip hardware | Use only where the manual allows; a hollow-wall anchor needs clean hole placement | Higher; not ideal for high tip-over loads |
| Plaster | Stud available | Stud screw into framing, with care for brittle plaster surface | Drill slowly to avoid cracking the plaster face | Low to moderate, depending on wall condition |
| Plaster | No stud at the anchor point | Heavy-duty hollow-wall anchor only if the manual allows it | Drill carefully; old plaster may crumble around the hole | Moderate to high |
| Masonry | Not used in the same way | Masonry plug or screw specified for the surface | Use a masonry bit and the correct plug depth | Low if the plug and screw match the wall |
| Paneling | Stud preferred | Fasten through paneling into framing whenever possible | Paneling alone is rarely the best anchor point | Higher if the paneling is used by itself |
Drywall with studs: the preferred path
This is the strongest common setup. A wall stud gives the strap or bracket a solid bite, and a wood stud is usually preferred over hollow drywall alone. Metal studs can work too, but the fastener must match the stud type and the manual.
Typical stud spacing is about 16 inches on center, though older homes and some remodeled walls vary. Confirm the spacing instead of assuming it.
Hollow drywall without studs: a weaker option
A drywall anchor can be used when no stud is available, but it is not the best choice for heavy anti-tip loads. Toggle or molly styles hold better than a simple plastic expansion plug, yet they still do not match a direct stud connection for tip-over resistance.
Use this only when the manual allows it and the wall will not take a stud screw at the needed point. If the dresser is tall, top-heavy, or in a child’s room, find another anchor point or a better wall location.
Plaster, masonry, and paneling
Plaster needs a slow, controlled approach because the face can crack even when the framing is solid behind it. Masonry needs the right plug or screw for concrete, brick, or block. Paneling often hides the real structure, so the stud check matters even more.
If paneling flexes under light hand pressure, do not trust it as the only attachment layer.
Find studs and mark anchor points
Use a stud finder to locate framing before you drill. Magnetic and electronic stud finders both have a place, and both should be used with a quick check for pipes and wires before any hole is made.
Wood studs are the preferred target for anti-tip straps. Metal studs can work in some walls, but you need the correct screw or anchor for that framing type.
Confirm stud spacing and the best mounting spot
Studs are often about 16 inches on center. Once you find one, trace the rest of the wall so you know where the strongest anchor point sits behind the dresser.
Choose a point that lines up with the manual’s strap or bracket position and avoids baseboard conflicts. If the baseboard pushes the dresser forward, you may need to space the furniture correctly before fastening.
Check for pipes and wires
Do not drill after only a visual check. A stud finder with wire and pipe detection, plus a quick look at nearby outlets, switches, and plumbing runs, reduces the chance of hitting hidden services.
If the wall gives an unclear signal, stop and reassess the drill spot.
Install the strap or bracket
Position the attachment point on the dresser back or top exactly where the manual shows. The strap should run tight and straight enough to hold the furniture back without bowing the case or pulling the back panel out of square.
Drill pilot holes only where the manual allows it. That matters because the back panel on an IKEA dresser is often thin and can tear if you force oversized hardware through it.
Set the strap without bowing the furniture
The strap should be snug, but not so tight that it bends the dresser or lifts one side off the floor. A bracket can sit flatter than a strap in some models, but the same rule applies: secure, straight, and not strained.
If the dresser shifts when you pull a drawer open, the connection is too loose.
Follow model-specific placement
An IKEA Hemnes dresser often uses the same basic anti-tip idea as other IKEA dressers, but the exact hole locations and hardware can differ by assembly manual. Do not assume every Hemnes generation uses the same bracket position.
An IKEA PAX wardrobe is taller and more likely to overturn, so the wall attachment should be treated with even more care. Its anchor point may sit higher and the manual may call for a different layout than a drawer chest.
Dresser anchor table
This table puts the wall type, stud situation, and hardware choice into one view. Use it to narrow the safe option before you drill.
| Wall material | Stud availability | Recommended hardware type | Drilling note | Failure risk |
|---|---|---|---|---|
| Drywall | Stud found at anchor point | Strap or bracket into a wood stud | Pre-drill per manual; confirm stud center first | Lowest |
| Drywall | No stud available | Toggle or molly anchor only if allowed | Use a clean hollow-wall hole; do not over-tighten | Higher |
| Plaster | Stud found | Stud screw with anti-tip strap or bracket | Drill slowly to limit cracking | Low to moderate |
| Plaster | No stud available | Heavy-duty hollow-wall anchor only if manual permits | Expect brittle surface behavior | Moderate to high |
| Masonry | Not applicable in the same way | Masonry plug and screw matched to the wall | Use the right bit and plug depth | Low when matched correctly |
| Paneling | Stud behind paneling | Fasten into the stud through the paneling | Paneling alone should not carry the load | Higher if used without framing |
Ikea dresser wall safety checklist
- Confirm the manual’s anchor points and hardware type.
- Use a stud finder and verify wood or metal framing.
- Check for pipes and wires before drilling.
- Inspect for stripped screws or damaged holes in the dresser back.
- Look for uneven walls, bowed baseboards, or gaps that keep the dresser from sitting flat.
- After moving the dresser, recheck the anchor and the drawer load.
Common mistakes and failure cases
Stripped screws are a common failure point. If the screw spins, the anchor is no longer doing its job, and the strap can loosen under a forward pull.
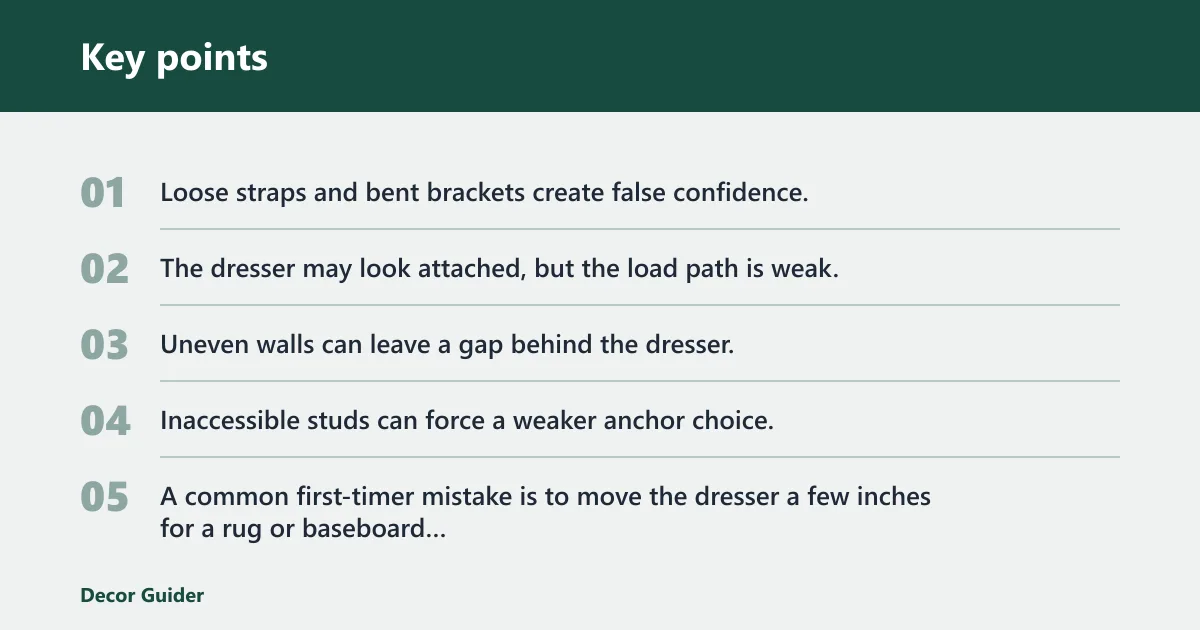
Loose straps and bent brackets create false confidence. The dresser may look attached, but the load path is weak.
Uneven walls and inaccessible studs
Uneven walls can leave a gap behind the dresser, which changes the strap angle and can keep the unit from sitting flat. Inaccessible studs can force a weaker anchor choice, but that does not make the weaker choice equal to a stud connection.
A common first-timer mistake is to move the dresser a few inches for a rug or baseboard and leave the old anchor as-is. That can change the angle enough to loosen the connection.
When to stop and reassess
If the wall surface crumbles, the screw will not hold, or the manual does not allow the fastener you planned to use, stop. The safest move may be a different wall position, a different anchor type, or help from a pro who can handle masonry, metal studs, or damaged plaster.
Suppose a Hemnes dresser sits against drywall with no stud where the manual wants the bracket. In that case, a hollow-wall anchor may fit the hole, but it is still a weaker tip-over path than moving to a stud or another approved wall position.
Frequently asked questions
How do I anchor an IKEA dresser to the wall?
Use the dresser manual first, then attach the included anti-tip strap or bracket to the approved point on the furniture and fasten it into the correct wall material. A stud is the best target on drywall. If the wall is masonry or metal stud, use the surface-specific hardware the manual calls for.
Do IKEA dressers have to be attached to the wall?
For tip-over safety, yes, that is the safest approach for many tall or top-heavy units, especially in homes with children. The need is strongest for dressers with open top space, multiple drawers, or a narrow footprint. Check the product manual every time, because the exact requirement can vary by model.
How do I secure an IKEA dresser to the wall without damaging it?
Use the manufacturer’s approved fastening points and the smallest hardware that still matches the manual. A tight strap should hold the unit without bowing the back panel or crushing the fiberboard. If the wall side needs drilling, that is still required in many cases; “gentle” does not mean “no hole.”
What anchor should I use for an IKEA dresser and wall type?
For drywall with a stud, a common recommendation is to use a stud screw with the IKEA strap or bracket. For hollow drywall, a toggle or molly anchor is stronger than a basic plug but still weaker than a stud. For plaster or masonry, use the plug or screw type made for that surface, not a general drywall anchor.
Can I attach an IKEA dresser to drywall studs?
Yes. That is usually the preferred path because the strap or bracket can bite into framing instead of relying on the drywall face. A stud finder should confirm the stud location first, and the fastener should match whether the framing is wood or metal.
How do I anchor an IKEA Hemnes dresser to the wall?
Follow the Hemnes assembly manual for the exact anchor point and hardware, because the layout can vary by model year and size. The basic method is the same as other IKEA dressers: find a stud, use the included anti-tip hardware, and keep the strap tight without bending the dresser.
Can I secure IKEA furniture to the wall without drilling?
Not in a way that should be treated as the normal safety solution. Anti-tip hardware usually depends on a wall fastener, and a no-drill approach is not a universal substitute. If drilling is not possible, the safer answer is to reassess the wall type, the model, and whether a proper anchor can be installed.
What is the best way to childproof an IKEA dresser?
Anchor it to the wall with the correct hardware for the wall type, then keep heavy items out of the top drawers and off the surface. Recheck the strap after moving the dresser and after a major change in drawer load. That combination reduces tip-over risk better than any single step alone.
Products related to this article
Sponsored / affiliate links. As an Amazon Associate I earn from qualifying purchases. I may earn additional commission from eligible campaigns.