How to Take Apart a Hemnes Dresser
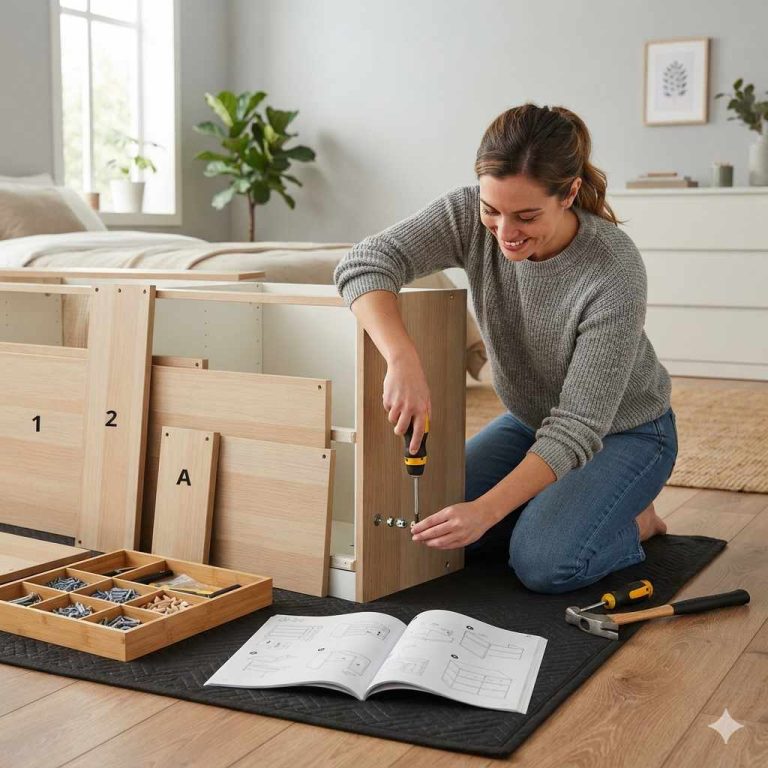
Take out every drawer first, then remove the back panel, then separate the top, side panels, and bottom on a HEMNES dresser. Skip that order and you can jam the drawer interlock, strip cam fittings, or crack the frame. IKEA’s product pages and assembly instructions also point to the pull-out stop, drawer runners, and wall-anchoring requirement, which is why this teardown order matters.
Before you start

- Replacement for IKEA part #120076
- Comes in a pack of 4
- Check your manual for the correct part number
Clear floor space on all sides and disconnect the dresser from any wall anchoring before you move it. IKEA warns that HEMNES chests and dressers must be securely anchored to the wall to reduce tip-over risk, so treat the anchor as a required step, not an optional one. Keep the hardware bagged until the unit is ready to be reinstalled.
Take photos of the back, the drawer runners, and each fastener location before you loosen anything. Those images help when you put the unit back together after moving or repair, especially around the back-panel access points and runner locations.
Decide if you are moving, repairing, or storing it
Moving calls for full teardown and labeled hardware bags. Repair may only require drawer removal and panel access. Storage usually needs the same teardown as a move, plus extra padding for the solid pine edges and back panel.
What you’ll need
- Phillips screwdriver
- Plastic bags or small parts cups
- Painter’s tape or adhesive labels
- Marker for labeling drawer positions
- Blanket, cardboard, or foam for panel protection
Labels, bags, and padding for hardware
Use one bag per panel or drawer bay. Label each bag with the part name, such as “top,” “left side,” or “drawer 3.” Keep screws, cam fittings, and pins separate from the larger drawer hardware so the reassembly order stays clear.
A helper for larger units
The 6-drawer and 8-drawer units are easier to control with two people. One person can steady the case while the other removes the last panel fasteners. That matters when the frame is partially loose and the solid pine parts can shift unexpectedly.
How do you identify your HEMNES model?
Start with the drawer count, then confirm the size, package count, and date stamp so you follow the right removal order. HEMNES comes in multiple size variants, and the drawer stop and interlock behavior changes the sequence on the larger units. Use the IKEA product page and assembly manual for your exact model before you begin.
3-drawer HEMNES dresser details
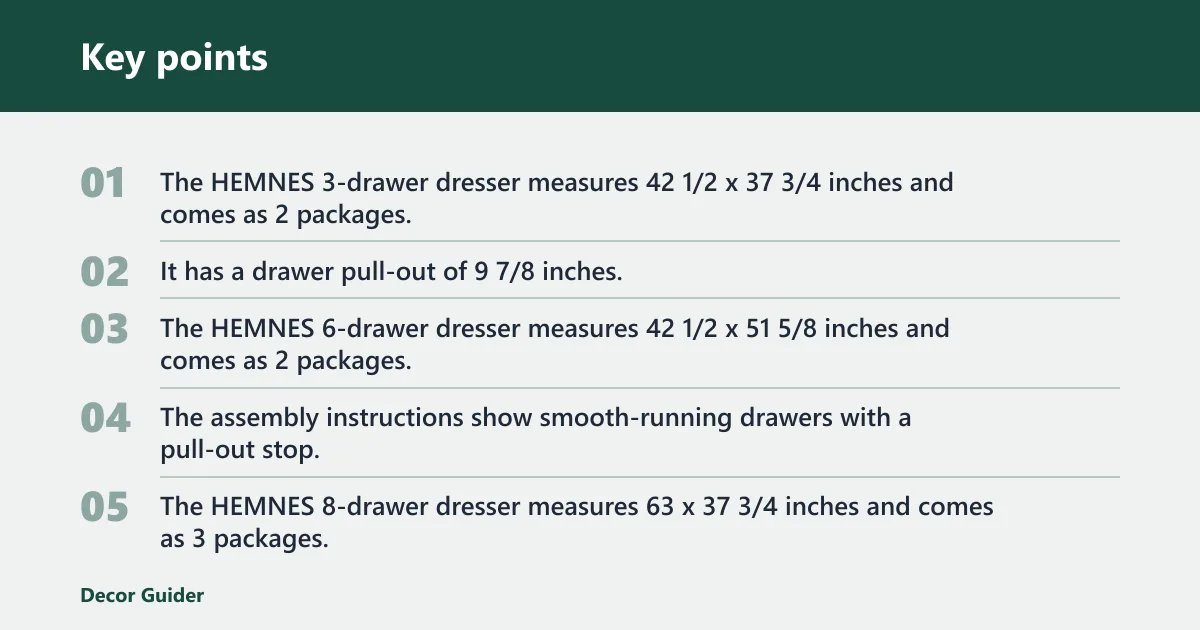
The HEMNES 3-drawer dresser measures 42 1/2 x 37 3/4 inches and comes as 2 packages, according to the IKEA product page. It has a drawer pull-out of 9 7/8 inches, so you can remove the drawers without forcing them past a deeper extension than the slides allow.
6-drawer HEMNES dresser details
The HEMNES 6-drawer dresser measures 42 1/2 x 51 5/8 inches and comes as 2 packages, according to the IKEA product page. The assembly instructions show smooth-running drawers with a pull-out stop, so the drawer comes forward to a controlled limit before you angle it free from the runners.
8-drawer HEMNES dresser details
The HEMNES 8-drawer dresser measures 63 x 37 3/4 inches and comes as 3 packages, according to the IKEA product page. IKEA also shows a drawer interlock on this model, so only one drawer per column can be opened at a time in normal use. That feature reduces tip-over risk and affects the order you can remove drawers during teardown.
Find the date stamp and check for recalled units
Look under the top panel or inside a side panel for the date stamp. IKEA’s recall information says some chests with a date code lower than 1622 fall within the recalled group, so stop and verify that threshold against the recall page before you continue disassembly. If the code is at or below that threshold, follow the recall instructions first.
HEMNES teardown checklist
| Model size | Drawer count | First removals | Interlock constraint | Hardware to bag | Packing priority |
|---|---|---|---|---|---|
| 3-drawer | 3 | Top drawer, then middle, then bottom | No stated column interlock; check each drawer stop before lifting out | Drawer runners, pull hardware, panel screws, cam fittings | Low-to-high stack of drawers by number |
| 6-drawer | 6 | Top drawer in each column, then the lower drawer in that column | Remove one drawer per column at a time because of the stop and runner layout | Runner screws, side panels, back panel fasteners, cam locks | Keep each column’s parts in separate bags |
| 8-drawer | 8 | Top drawer in one column, then the lower drawer in that same column | Only one drawer per column opens at a time | Interlock hardware, runner screws, base connectors, back panel fasteners | Bag by column before you remove the next drawer |
| Model size | Exact first removals | What can stay assembled for a short move | Reassembly cross-check |
|---|---|---|---|
| 3-drawer | Remove all three drawers in number order, then the back panel | Nothing should stay assembled if you need to move it through stairs or narrow doors | Match each drawer to its original opening and confirm the stop faces the same direction |
| 6-drawer | Remove the upper drawer in each column first, then the lower drawer in that column | Short in-room shifts can leave the case intact only if the drawers are empty and the unit stays upright | Verify each column’s runner pair before tightening the back panel |
| 8-drawer | Remove one drawer per column before opening the next drawer in that column | For very short repositioning, the assembled case may stay together only if it remains anchored-free, empty, and carried by multiple adults | Check the interlock path and confirm every drawer closes flush before finalizing the frame |
How do you remove the drawers safely?
Remove the drawers in the order the runners and interlock allow. On the 8-drawer dresser, that means one drawer per column at a time. On the 6-drawer unit, work column by column. The pull-out stop keeps the drawer from coming out too far, so you have to lift and angle the drawer rather than force it straight out. For runner-specific reference, see the linked drawer removal and panel access guide.
- Open one drawer fully, stopping at the pull-out stop.
- Pull the drawer forward until the runners clear.
- Remove the next drawer only if the interlock allows it.
- Label the drawer and its matching opening before setting it aside.
If you have the 6-drawer dresser and the top-left drawer opens normally, but the drawer below it will not move yet, remove the upper drawer first. Then return to the lower one after the column is clear. If the drawer still resists, stop and recheck the stop position and runner engagement rather than forcing the motion.
Set the drawers aside in order for reassembly
Place each drawer face up and in sequence. Keep the left and right sides separate if a drawer uses handed hardware. That saves time when you rebuild the case and need the runners aligned correctly.
How do you take the case apart?
Once the drawers are out, remove the back panel first if you can reach it without stressing the frame. Then separate the top, sides, and bottom in a controlled order. The solid pine construction can chip if you twist the panels apart while fasteners are still engaged, so use the back-panel opening only after the drawer bays are clear. If you need a more specific access reference, use the linked drawer removal and panel access guide for the runner and back-panel sequence.
- Remove the back panel fasteners and lift off the panel.
- Bag the back-panel screws and mark the panel position.
- Loosen the top panel connectors before freeing the sides.
- Separate the side panels from the base one side at a time.
- Protect the edges as you stack each panel flat.
Protect the back panel and solid pine edges
Lay the back panel on cardboard or a blanket so it does not crease. Put foam or folded cloth between stacked pine panels to reduce edge damage. Do not slide the panels across concrete or tile without padding.
Common mistakes
Forcing a drawer past the stop can bend the slides and make reassembly harder. Use the stop as the cue to lift and angle the drawer, not as something to overpower.
Ignoring the drawer interlock order is another common error. If one drawer in a column is still engaged, the next drawer may not release cleanly, especially on the 8-drawer model.
People also pull the frame apart before labeling hardware. That turns a controlled teardown into a sorting job later. Bag each panel’s fasteners as soon as they come off.
Skipping the date stamp check is risky on older units. If the code is lower than 1622, stop and verify recall status before you continue.
When to stop and inspect again
If a drawer resists the normal removal motion, stop and check the interlock, the stop, and the column order. If the dresser has no visible date stamp where expected, inspect the alternate location before you proceed.
Frequently asked questions
How do I take apart a HEMNES dresser?
Remove the drawers first, then the back panel, then the top, sides, and base. Keep the 8-drawer unit to one drawer per column at a time because of the interlock. Label every bag before you loosen the next panel.
How do I take apart an IKEA HEMNES dresser for moving?
Photograph the back, remove wall anchors, empty every drawer, and bag the hardware by panel. Move the drawers in numbered order and protect the back panel with cardboard or a blanket so it does not crease in transit.
How do I remove a HEMNES drawer safely?
Pull the drawer to the stop, lift the front slightly, and draw it out while keeping the slides level. On interlocked models, remove the active drawer in that column before opening the next one. Do not force the runners past their limit.
Can I take apart an IKEA dresser without damaging it?
Yes, if you use the release order the unit was built for and keep fasteners grouped by panel. The biggest damage risks are forced drawer removal, twisted side panels, and mixed hardware bags. Padding and labels prevent most of that.
How many packages does a HEMNES dresser come in?
The 3-drawer dresser comes as 2 packages, the 6-drawer dresser comes as 2 packages, and the 8-drawer dresser comes as 3 packages. Use those package counts as a packing check after teardown so no panel or hardware bag gets left behind.
Do HEMNES drawers have a pull-out stop?
Yes. IKEA says the pull-out stop extends 9 7/8 inches on the 3-drawer model, and the assembly instructions for the other HEMNES units show stop-controlled drawer travel as well. That stop is why you lift and angle the drawer during removal instead of pulling straight until it drops free.
Products related to this article
Sponsored / affiliate links. As an Amazon Associate I earn from qualifying purchases. I may earn additional commission from eligible campaigns.