How to Make Paper Chair: Easy DIY Steps for Creative Seating
Crafting a paper chair may sound unusual, but this creative project combines art, engineering, and sustainability. It’s more than just a fun activity; making a paper chair teaches problem-solving, material science, and patience. Whether you’re a student, hobbyist, or teacher looking for an engaging project, building a sturdy paper chair is a rewarding challenge.
The process can be simple or complex, depending on your design and goals. This guide walks you through everything you need to know, from planning and materials to advanced techniques. You’ll find practical advice, clear steps, and useful comparisons to help you succeed, even if you’ve never built furniture before.
Why Build A Paper Chair?
A paper chair is not just a craft, it’s a lesson in creativity and resourcefulness. People make paper chairs for many reasons:
- Learning: Schools and universities use paper chair projects to teach engineering concepts, design, and teamwork. It’s a common assignment in architecture and design courses.
- Sustainability: Using paper encourages recycling and upcycling. It’s a way to explore furniture design with minimal impact on the environment.
- Cost: Paper is cheap and easy to find. You don’t need expensive tools or materials, making this project accessible for almost anyone.
- Creativity: With only paper and glue, you can experiment with shapes, structures, and color.
In my experience, building a paper chair is one of the best ways to learn about structural strength using everyday materials. It challenges you to think differently and find solutions that are both strong and beautiful.
Materials And Tools Needed
Before starting, gather the right materials. Using quality supplies can make a big difference in your chair’s strength and appearance.
Essential Materials
- Paper: Choose sturdy paper like newspaper, printer paper, or cardstock. Avoid thin, flimsy types.
- Adhesive: Strong glue, such as white PVA glue or a glue gun. Tape can help hold things while glue dries.
- Cutting Tools: Scissors or a craft knife for clean, straight cuts.
- Ruler and Pencil: For measuring and marking.
- Clamps or Weights: To hold glued parts together while drying.
Optional Materials
- Decorative paper for finishing touches
- Spray varnish for extra durability
- Colored markers for design
Pro Tip: Use recycled paper for a more eco-friendly project. Newspapers and old magazines work well and add visual interest.

Credit: www.wikihow.com
Planning Your Paper Chair
Good planning is key to a successful chair. Start by deciding how you want your chair to look and function.
Choose A Style
Paper chairs can be simple or advanced. Common styles include:
- Folding chairs
- Stool shapes
- Armchairs
- Abstract art pieces
For beginners, a simple stool or box shape is best. Advanced builders might create chairs with curves or even moving parts.
Consider Strength
Paper is not as strong as wood or metal, but you can make it sturdy by:
- Rolling or folding: Rolled tubes or folded beams are much stronger than flat sheets.
- Layering: Gluing several sheets together increases thickness and strength.
- Triangles and arches: These shapes distribute weight well.
Set Goals
Ask yourself:
- Who will use the chair? (Adults, kids, just for display?)
- How much weight should it hold?
- How much time do you have?
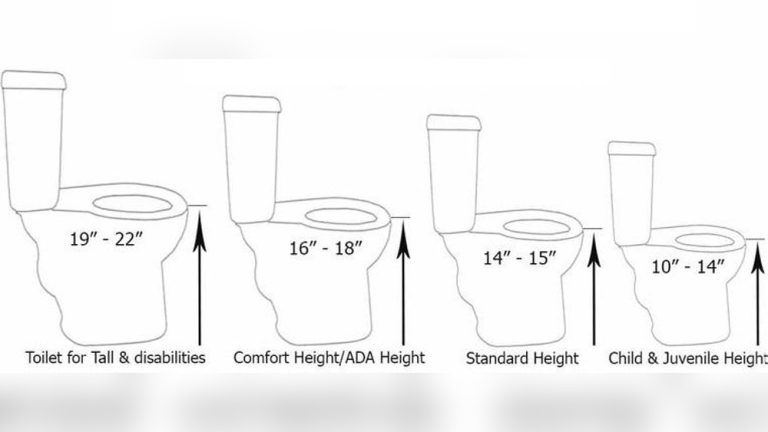
Begin with a clear plan. Sketch your design and measure the dimensions. A seat height of 16, 18 inches (40, 45 cm) is comfortable for most adults.
Step-by-step Guide: Building A Basic Paper Chair
Let’s walk through a simple, sturdy paper chair design. This version uses rolled paper tubes and a box-style seat, which balances ease of construction and strength.
Step 1: Prepare The Paper Tubes
- Cut paper sheets into strips about 8 x 11 inches (A4 size works well).
- Roll each sheet tightly around a pencil or dowel to make tubes.
- Glue the edge as you roll to keep the tube tight.
- Remove the pencil and let the glue dry.
You’ll need about 40, 60 tubes for a medium chair. The more tubes, the stronger the frame.
Step 2: Build The Seat Base
- Arrange 8, 10 tubes side by side to form a flat panel.
- Glue them together along their edges.
- Place heavy books or weights on top while the glue dries to keep the panel flat.
Repeat to make a second panel for extra thickness.
Step 3: Make The Legs
- For each leg, bundle 4, 5 tubes together and glue them side by side.
- Wrap another sheet of paper around the bundle and glue again for stability.
- Make four legs, all the same length (about 16, 18 inches).
Step 4: Assemble The Frame
- Stand the legs upright and glue them to the corners of the seat base.
- Use extra tubes to create cross-braces between the legs for more strength.
- Let the glue dry completely, overnight is best.
Step 5: Add The Backrest (optional)
- Make another panel of glued tubes for the backrest.
- Attach it to two of the legs with glue and secure with tape until dry.
Step 6: Finish And Decorate
- Cover rough edges with strips of paper.
- Paint, draw, or glue decorative paper for style.
- For extra strength, brush a thin layer of white glue over the entire chair and let it dry clear.
Example: A high school design class tested paper chairs by having students sit on them. Chairs with double-thick seats and cross-bracing held up to 150 pounds for several minutes. Designs using only flat sheets without rolling or folding failed quickly.
Comparing Paper Chair Designs
Not all paper chairs are created equal. Let’s compare three common designs: rolled-tube, folded-beam, and honeycomb.
| Design Type | Strength | Difficulty | Best For |
|---|---|---|---|
| Rolled Tube | High | Easy | Beginners, quick projects |
| Folded Beam | Medium | Medium | Intermediate builders |
| Honeycomb | Very High | Hard | Advanced, display pieces |
Rolled tube designs are easiest and surprisingly strong. Folded beam chairs use accordion-style folds, which add strength but require careful folding. Honeycomb structures (like cardboard) distribute weight well but take time to assemble.
Tips For Maximum Strength
Building a strong paper chair is about more than just using lots of glue. Here are strategies I’ve found effective:
- Roll tight tubes: Loose rolls collapse easily. Use a dowel or stick for consistent results.
- Double up panels: Two or three layers glued together are much stronger than one.
- Use cross-bracing: Diagonal supports between legs stop wobbling.
- Distribute weight: Avoid weak points by spreading the user’s weight across the frame.
Pro Tip: Allow plenty of drying time between steps. Rushing can weaken your chair.
Common Mistakes And How To Avoid Them
Even experienced builders make mistakes. Here are errors I’ve seen and how to fix them:
- Using thin paper: Flimsy paper tears and folds under weight. Use at least 80gsm printer paper or recycled newspaper.
- Weak joints: Not enough glue or poor contact leads to parts popping apart. Press and hold joints until set.
- No cross-bracing: Skipping supports makes chairs wobbly. Always add bracing under the seat and between legs.
- Overloading: Testing with too much weight too soon can break your chair. Start with light loads.
Customizing Your Paper Chair
Personalizing your chair makes the project more fun. Here are ways to make your chair unique:
- Color and pattern: Use colored paper, paint, or markers.
- Shape: Try curves, armrests, or unique leg designs.
- Function: Add storage under the seat, or make a foldable version.
Some builders add a thin cushion or fabric cover. Just remember, extra weight can affect strength.
How Strong Can A Paper Chair Be?
People are often surprised by how much weight paper can support when designed well. For example, the Cardboard Furniture Project at MIT showed that properly engineered paper chairs can support an adult over 200 pounds, though these used special honeycomb cardboard. With standard paper, expect a well-built chair to safely hold 80, 150 pounds for a short period.
Here’s a quick comparison of weight limits for different designs:
| Chair Type | Estimated Weight Limit | Durability |
|---|---|---|
| Simple Rolled Tube | 80, 120 lbs | Temporary |
| Honeycomb Structure | 120, 200+ lbs | Moderate |
| Flat Panel Only | 30, 60 lbs | Low |
Warning: Never stand on a paper chair or use it as a ladder. These chairs are for sitting only.
Advanced Techniques
If you want to push your skills, try these advanced ideas:
Modular Construction
Build separate parts (legs, seat, backrest) and connect them with joints. This makes repairs or changes easier.
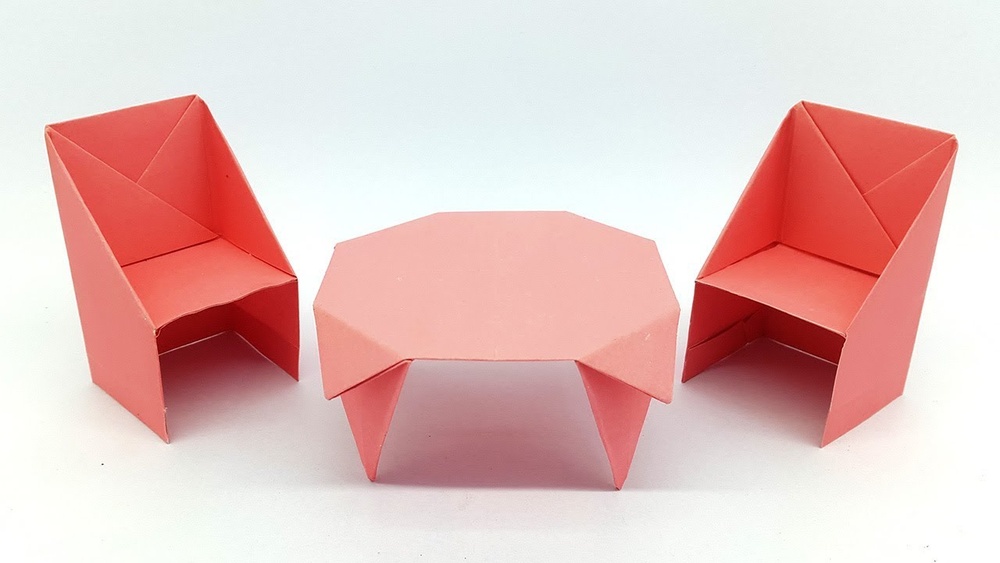
Origami Folding
Use origami techniques to fold strong beams and shapes. This method increases strength without extra glue or layers.
Honeycomb Core
Cut paper into strips and glue them in a zig-zag pattern, then sandwich between two flat panels. This design is common in lightweight furniture and aircraft.
Experiment With Shapes
Try rounded seats or angled legs for a modern look. Curves require more planning and careful cutting but can be very strong.
Safety And Environmental Considerations
Paper chairs are generally safe, but keep these points in mind:
- Avoid water: Paper absorbs moisture and loses strength. Use in dry places only.
- Supervise children: Scissors and glue guns can be dangerous.
- Recycle leftovers: Dispose of scraps properly. Most paper is recyclable or compostable.
Paper furniture is a good example of sustainable design. It uses less energy and creates less waste than plastic or metal. For more on paper recycling and reuse, see the Wikipedia page on paper recycling.
Real-world Examples
Artists and designers have created impressive paper chairs for exhibitions and contests. For instance, Japanese designer Shigeru Ban is famous for using paper tubes in emergency shelters and furniture. His designs proved that with careful engineering, paper can be practical and beautiful.
Schools and colleges often hold “paper chair challenges” where teams compete to build the strongest, lightest, or most creative chair. These events show that simple materials can lead to complex and inspiring results.
Troubleshooting: When Things Go Wrong
Sometimes, things don’t work as planned. Here’s how to fix common problems:
- Wobbly chair: Add extra cross-bracing under the seat or between legs.
- Seat sags: Double or triple the number of tubes or add another panel underneath.
- Joints come apart: Re-glue and press until fully dry. Use tape to hold pieces in place during drying.
If your chair breaks during testing, look at where and how it failed. Weak spots are usually at joints or where flat panels meet. Reinforce these areas next time.
Testing Your Paper Chair
Careful testing helps you understand the limits of your design.
- Start by pressing down gently on the seat.
- Place a lightweight object (like a book) and check for movement.
- Gradually add weight, watching for bending or shifting.
- If the chair holds, try sitting carefully. Have someone nearby for safety.
Example: In a classroom test, most failures happened at glue joints. Adding extra glue and drying time improved results by 30%.

Credit: www.youtube.com
How To Store And Maintain A Paper Chair
Paper chairs are not meant for long-term outdoor use, but with care, they can last for weeks or months indoors.
- Keep dry: Moisture is the biggest threat.
- Dust regularly: Use a dry cloth.
- Avoid heavy loads: Use for decoration or light sitting only.
If you want to keep your chair for a long time, consider sealing it with clear spray varnish or a mixture of water and white glue (let it dry completely before use).
Ways To Use A Paper Chair
Paper chairs are more than just art projects. Here are practical uses:
- School competitions
- Stage props for theater
- Temporary seating at parties
- Display pieces in art galleries
- Teaching tools for engineering classes
They’re also great for teaching kids about recycling and creative problem-solving.

Credit: www.wikihow.com
Frequently Asked Questions
How Long Does It Take To Make A Paper Chair?
Most simple designs can be finished in 3, 5 hours, including drying time. More advanced chairs with complex shapes or decorations may take a full day or longer. Drying glue between steps is the main time factor.
What Type Of Paper Is Best For Building A Chair?
Strong, flexible paper works best. Newspaper and printer paper are common choices. Cardstock is stronger but harder to roll or fold. Recycled paper is a good option for eco-friendly projects. Avoid glossy magazine pages, which resist glue.
Can A Paper Chair Really Support An Adult?
Yes, if built correctly with strong joints, rolled or folded beams, and enough cross-bracing. However, they are not as durable as wood or metal. Always test with light loads first and do not use for standing or rough play.
How Can I Waterproof A Paper Chair?
You can add a light coat of clear spray varnish or brush on diluted white glue (let it dry fully). This helps resist spills and moisture but does not make the chair fully waterproof. Always keep paper furniture indoors and away from water.
Are There Competitions For Building Paper Chairs?
Yes, many schools and colleges hold design challenges where students compete to build the strongest or most creative paper chair. These events help teach teamwork, problem-solving, and design. Some professional designers also create paper furniture for art shows and exhibitions.
Building A Paper Chair Is A Journey Of
Products related to this article
Sponsored / affiliate links. As an Amazon Associate I earn from qualifying purchases. I may earn additional commission from eligible campaigns.