How to Install a Floating TV Stand
Install a floating TV stand by fastening its rail into wall studs whenever possible, using masonry anchors only on solid brick, concrete, or block, and setting the centerline at about 42 to 48 inches from the floor for typical seated viewing height. That height range is a planning guide, not a rule; the right position depends on seating, screen size, and the manufacturer’s mounting layout [mounting-height and load-path guidance varies by product manual]. A poorly mounted stand can pull out of drywall, crack masonry, or drop the TV and components. This guide shows wall checks, anchor choices, height planning, and the installation sequence step by step.
What do you need before you start?


Which tools should you gather?
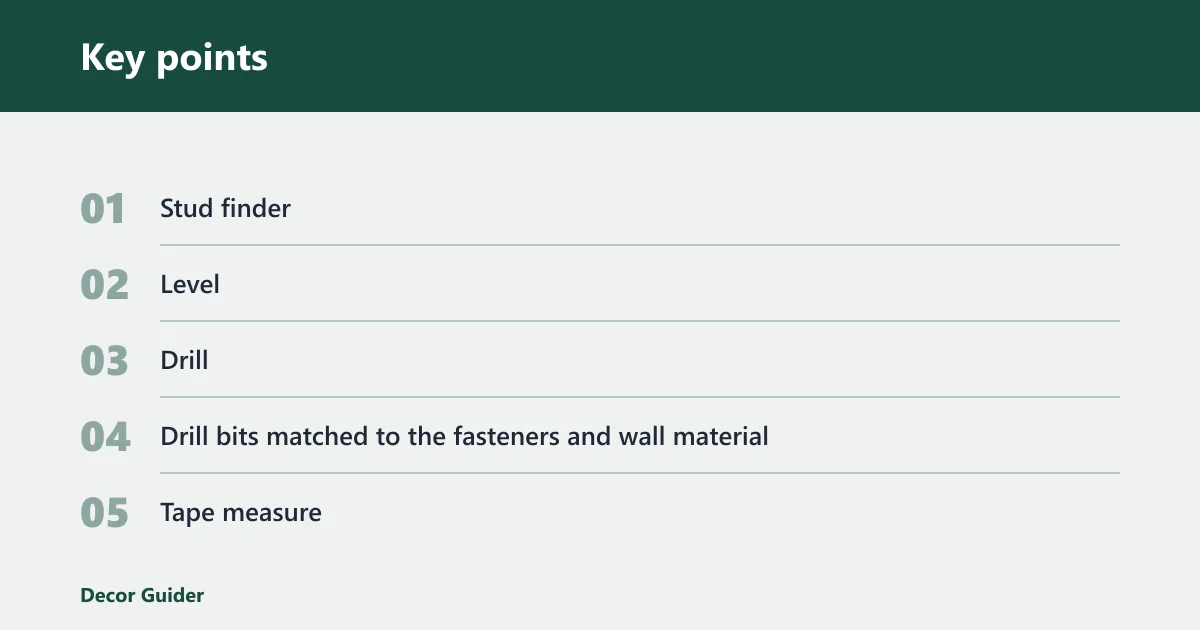
- Stud finder
- Level
- Drill
- Drill bits matched to the fasteners and wall material
- Tape measure
- Pencil
- Screwdriver or driver bit set
Which materials should you have on hand?
- Mounting bracket or rail system
- Rated fasteners from the stand manual
- Wall anchors or toggle bolts when the wall calls for them
- Shims for slight wall unevenness
- Cable clips or ties
- Grommets, channels, or other cable-routing parts supplied with the unit
What safety check should you do first?
Confirm the wall type, the unit’s weight rating, and whether the TV mounts separately from the cabinet. The manufacturer’s instructions control the weight rating, fastener type, spacing, and any limits on wall conditions; do not guess from the shelf alone [manufacturer instructions determine the valid load rating and fastener path]. If the TV is wall-mounted above the stand, follow the TV mount manual for that hardware. For lifting and load-bearing installation, follow the product manual, never work under a unit held only by temporary support, keep cords out of pinch zones, and check local laws where applicable.
Which wall and fastener path should you choose?
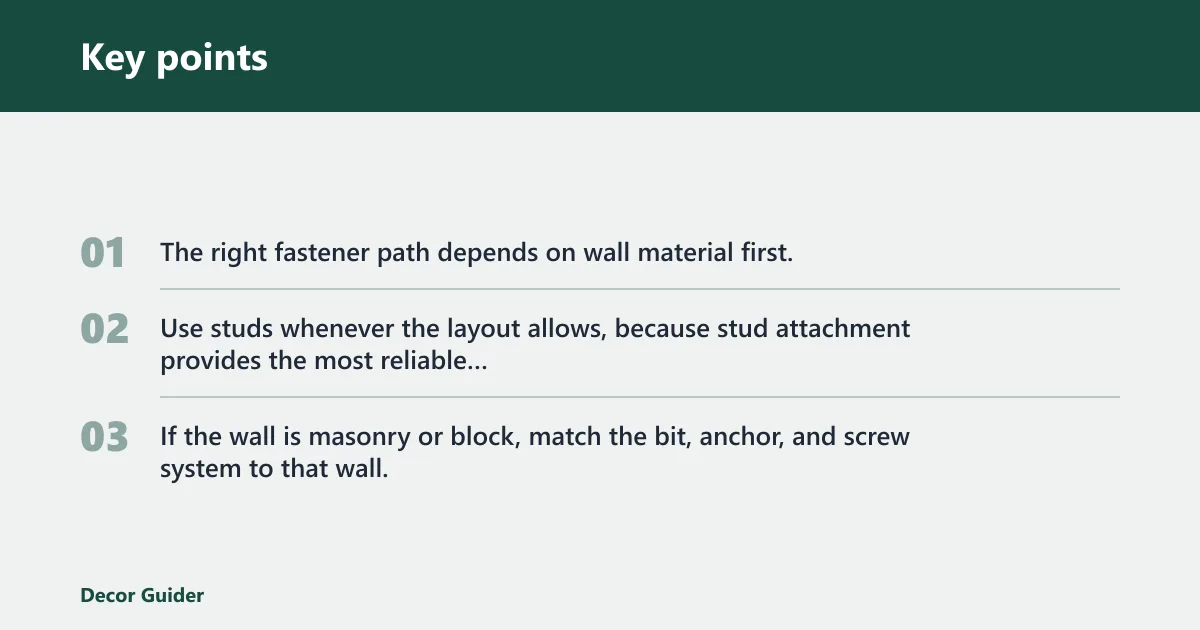
The right fastener path depends on wall material first, then on the size and span of the unit. Use studs whenever the layout allows, because stud attachment provides the most reliable load path for heavy cabinets. If the wall is masonry or block, match the bit, anchor, and screw system to that wall, not to drywall hardware [stud-first preference and masonry-specific hardware are standard installation requirements].
| Wall type | TV size band | Fastener type | Minimum helper count | Pre-drill checklist |
|---|---|---|---|---|
| Drywall over studs | Up to 55" | Lag screws into studs through the rail | 1 helper | Find both stud edges; verify centerline; mark rail holes; check for wires and outlet placement |
| Drywall over studs | 60–65" | Lag screws into as many studs as the bracket layout allows | 2 helpers | Confirm stud spacing; dry-fit rail; mark all holes; check for level over the full span |
| Drywall over studs | 70–75" | Lag screws into studs, with the widest safe span the bracket allows | 2 helpers | Verify wall layout twice; check cabinet width against stud locations; plan cable exits before drilling |
| Masonry | Up to 55" | Masonry anchors or sleeves rated for the wall and unit | 1 helper | Mark mortar or solid face only as allowed by the anchor maker; match masonry bit size; clear dust from holes |
| Masonry | 60–65" | Masonry anchors matched to the rail pattern | 2 helpers | Confirm anchor embedment depth; keep the rail level; plan for wire pass-through before drilling |
| Masonry | 70–75" | Higher-rated masonry anchor path or professional install | 2 helpers | Check the manual for hole depth, edge distance, and anchor spacing; verify the wall is solid and sound |
| Concrete block | Up to 55" | Anchors approved for block, placed in sound faces or cells as directed | 1 helper | Confirm block condition; avoid cracked areas; match bit and anchor to the block type |
| Concrete block | 60–65" | Block-rated anchors with the rail spread across the strongest points available | 2 helpers | Lay out the rail before drilling; check for hollow cells; clear dust from pilot holes |
| Concrete block | 70–75" | Block-rated anchor system or installer review | 2 helpers | Check block integrity, hole depth, and rail span; confirm the cabinet does not overreach the wall layout |
What failure modes should you check before loading the stand?
A quick failure-mode review helps catch problems before you add devices. Check the rail, the wall, and the cable path for visible warning signs after hanging the cabinet but before full loading. If any of these issues appear, stop, unload the unit, and correct the cause first; adding weight usually makes the defect worse.
| Failure mode | Likely cause | Best fix |
|---|---|---|
| Sagging | Fasteners not seated in studs or approved anchors, rail span too wide, wall surface uneven, or weight beyond the manual | Re-anchor to the correct load path, add approved fastening points, and shim only where the manual allows it |
| Misalignment | Rail not leveled before drilling, inconsistent hole marking, or wall irregularities | Remove the cabinet, re-level the rail, re-mark all holes, and recheck the layout before drilling again |
| Rail pullout | Wrong fastener class, insufficient embedment, stripped pilot hole, or overloaded drywall attachment | Replace with manufacturer-approved hardware, move to studs where possible, and repair damaged holes before reinstallation |
| Hollow-block blowout | Anchor set in a weak block face, hole too large, or fastener chosen for solid concrete instead of hollow block | Use a block-rated anchor system matched to the cell or face condition and follow the specified hole diameter and depth |
| Cable pinch points | Cords routed after mounting, no slack behind the cabinet, or a tight rear gap at doors and edges | Reroute cables through the intended opening, add slack, and secure cords away from moving panels or sharp edges |
How do you choose the right wall?
Pick a wall that gives you a verified load-bearing path, clear outlet access, and enough width for the rail or bracket. For drywall, the preferred anchor point is a wall stud. If the wall is masonry or concrete block, use only anchors made for that material and follow the drilling method in the manual [masonry drilling and anchor selection must match the wall substrate].
- Run a stud finder across the install zone and mark each stud edge.
- Confirm the load path by finding the rail positions that hit the most secure fastening points.
- Check for plumbing, wiring, and outlet placement before any pilot hole.
- Stop and call a pro if the wall is crumbly, bowed, patched heavily, or uncertain in structure.
When should you call a pro?
If the wall type is unclear, the unit is extra long, or the rail lands between studs with no approved anchor option, a professional installer reduces the risk of pullout and wall damage. Say your 75-inch console spans wide enough that only one fastener lands on wood. That layout needs a different plan, not a guess.
How high should you mount it?
Set the stand height first, then set the TV height separately if the TV mounts on its own bracket. The center of the TV screen should normally be at or just below eye level when seated, but exact height depends on seating distance, TV size, and the manufacturer’s mounting instructions. Keep sightlines, doorway clearance, and the path for cords in mind before you mark the wall [viewing-height guidance is a starting point, not a substitute for the manual].
Which height checks matter most?
Leave room above the cabinet for ventilation and for access to media devices. If the unit has a hollow compartment or rear gap, make sure plugs, adapters, and a power strip fit without bending the cords sharply. A floating fireplace TV stand combo needs extra heat-clearance planning, and the TV and fireplace focal points must line up before drilling. Heat-clearance and ventilation limits come from the fireplace cabinet manual, not from a generic wall-mount rule [fireplace clearance depends on the product’s specified heat rating and spacing].
How do you mark and level the bracket?
Transfer the measurements from the wall to the rail or bracket, then use a level to keep the cabinet straight. A tilted rail leaves the cabinet visibly off even when the hardware is tight. Dry-fit the bracket against the wall before drilling so you can catch spacing problems early.
- Hold the rail at the target height and mark the top line.
- Check the line with a level from end to end.
- Mark every fastener hole from the rail pattern.
- Recheck stud or anchor alignment before the drill comes out.
How do you mount the stand safely?
Drill pilot holes with the correct bit for the wall material, then install the fasteners or anchors exactly as the manufacturer directs. Hang the cabinet body after the rail is secure, and confirm that it seats fully. If the stand feels loose at this stage, stop and correct the fastener path before loading it. Do not rely on drywall anchors or toggle bolts for heavy floating consoles unless the stand manual and wall condition explicitly allow that method [heavy-console support depends on approved hardware and the wall substrate].
- Drill pilot holes to the required depth for wood, masonry, or block.
- Insert the approved fasteners or anchors without forcing them.
- Tighten hardware until snug, not crushed into the wall surface.
- Lift the cabinet body onto the rail with a helper.
- Check that the cabinet locks, hangs flat, and does not rock.
What should you do after the first hang?
If the manual allows final tightening after the cabinet hangs, turn each fastener in a small, equal increment and recheck level after each pass. A practical increment is one-quarter turn per screw, then inspect the rail, cabinet face, and wall contact again.
How should you route cables and finish the install?
Route power and signal cables with enough slack that doors, doors on nearby furniture, and the cabinet rear edge do not pinch them. Floating designs often use built-in grommets, concealed channels, or hollow compartments for cable routing, and the gap behind the unit can hide power strips and larger adapters. Keep the outlet position in mind before final tightening.
- Feed cords through the designed opening, not through a crushed gap.
- Leave slack for plug removal and device changes.
- Secure loose cords with clips or ties away from moving edges.
- Load media devices, then check for sag, misalignment, and loose hardware.
Suppose a 65-inch setup hangs level before loading, then sags slightly after a game console and router go inside. That usually points to a rail or fastener issue, not the devices themselves. Recheck the wall fasteners and the bracket seat before adding more weight. For separate TV-on-wall setups, treat the TV mount and cabinet as two load paths: the cabinet supports its own weight, while the TV bracket carries the display above it.
What are the most common mistakes?
Missed studs, the wrong anchor class, and pinched cables cause many failed installs. Overtightening can deform the rail or crush drywall paper. Uneven walls also make a straight cabinet look crooked unless you shim the bracket where the manual allows it.
- Missing studs: Rescan the wall and mark both edges before drilling.
- Wrong anchor choice: Match the fastener to drywall, masonry, or concrete block only.
- Uneven mounting: Level the rail before every pilot hole.
- Cable pinch points: Route cords before the cabinet hangs fully.
- Heat-clearance mistakes on fireplace combos: Keep the fireplace layout and the TV layout distinct, and follow the unit manual.
A common first-timer mistake is mounting the rail to whatever holes line up first. That often leaves one end unsupported. Move the layout, or switch anchor strategy if the wall type does not give you a solid fastening path.
Frequently asked questions
What is a floating TV stand?
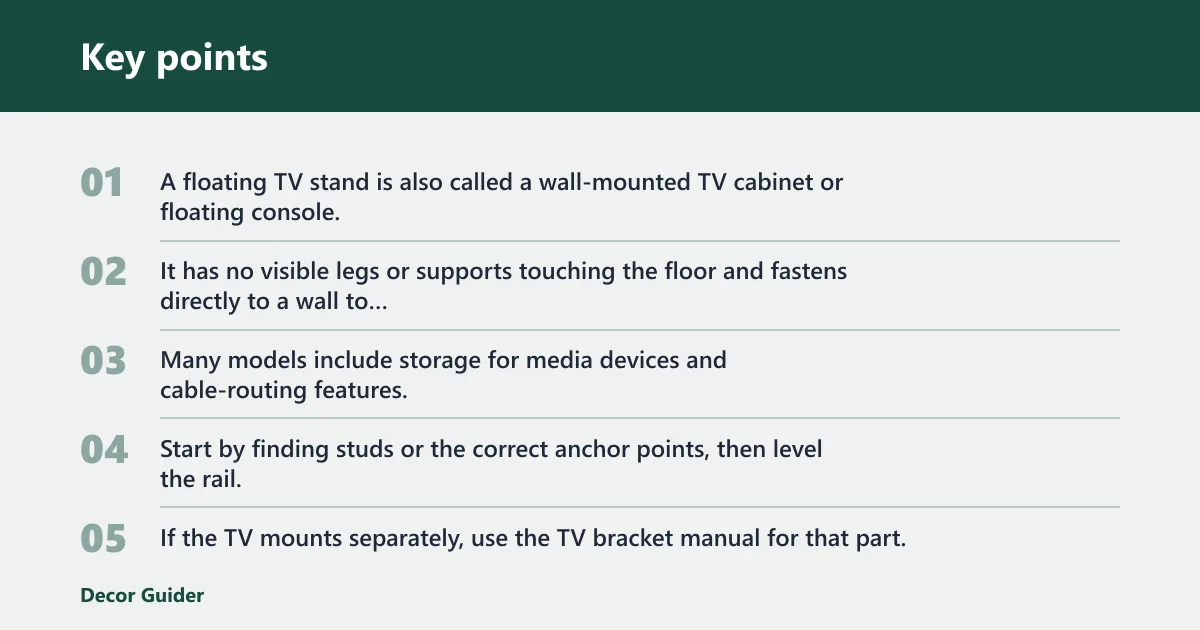
A floating TV stand is also called a wall-mounted TV cabinet or floating console. It has no visible legs or supports touching the floor and fastens directly to a wall to create the floating look. Many models include storage for media devices and cable-routing features.
How to install a wall mounted tv stand
Start by finding studs or the correct anchor points, then level the rail, drill the proper pilot holes, and hang the cabinet body. If the TV mounts separately, use the TV bracket manual for that part. Do not treat drywall, brick, and block the same.
How to install a 75 inch floating tv stand
Plan the wall layout first, because 75-inch setups need the widest safe span the bracket allows and often two helpers. Use the correct wall-specific fasteners, check stud or anchor spacing twice, and confirm that cable exits and outlet placement work before drilling.
Can you put a floating tv stand on the floor?
A wall-mounted floating TV stand is made to fasten to a wall, not to sit on the floor like a standard console. If a product listing shows floor placement, treat it as a different design and follow that model’s instructions rather than wall-mount guidance.
Products related to this article
Sponsored / affiliate links. As an Amazon Associate I earn from qualifying purchases. I may earn additional commission from eligible campaigns.