
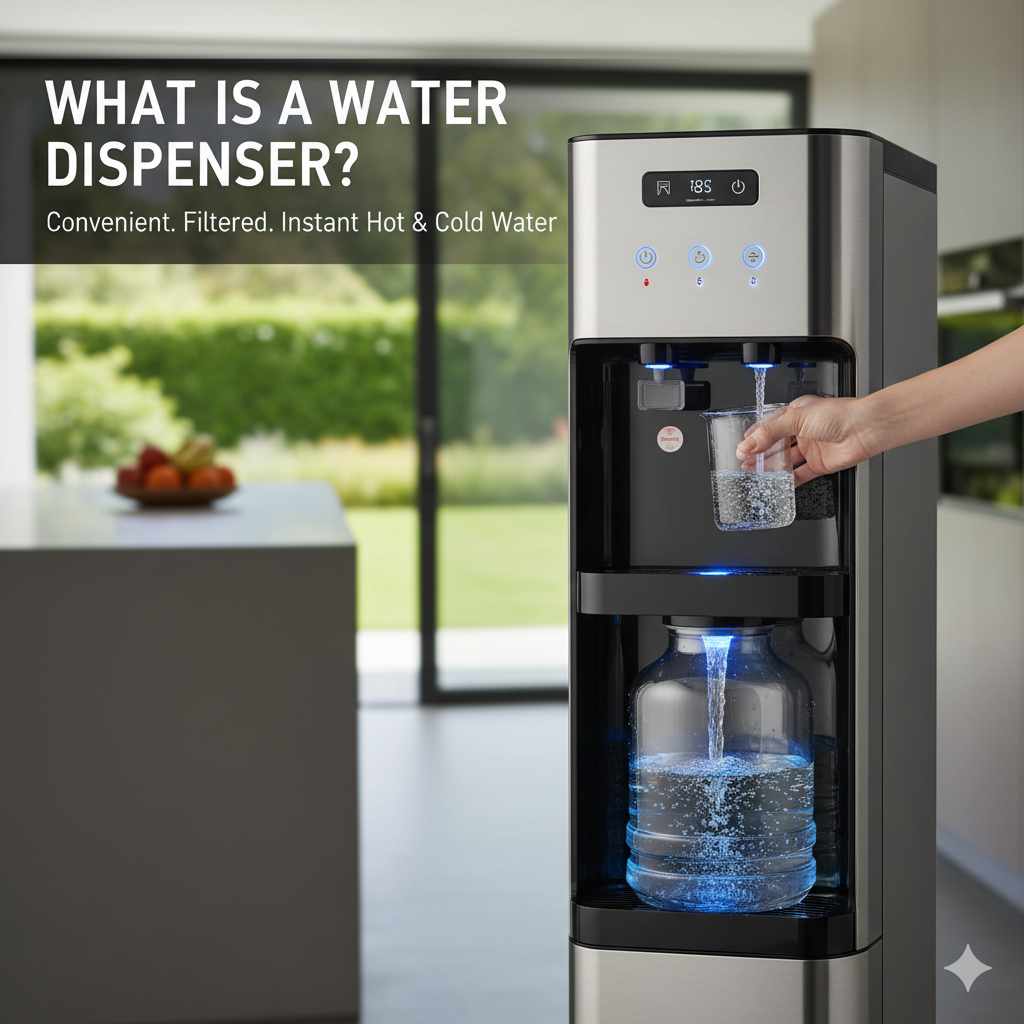
A water dispenser is a handy appliance that reliably provides instant access to cold, hot, or room-temperature drinking water, often using large bottles or a direct waterline connection. It’s an excellent addition to any home or office, simplifying hydration by eliminating the need for constant filtering or boiling.
Welcome! Are you tired of juggling bulky plastic bottles, waiting for the kettle to boil, or realizing you’re out of filtered water right when you need it? Many homeowners feel the same way. Setting up new appliances can seem overwhelming, but choosing the right water dispenser should be simple and stylish. Think of this appliance as your personal hydration station, ready to dispense perfectly chilled or soothingly hot water with just a touch. Don’t worry if you feel lost among the confusing types and features. I’m here to walk you through everything you need to know, making this choice easy, practical, and even a little bit fun for your home setup. Let’s dive in and discover how a water dispenser can truly elevate your daily routine!
What Is A Water Dispenser? A Simple Explanation
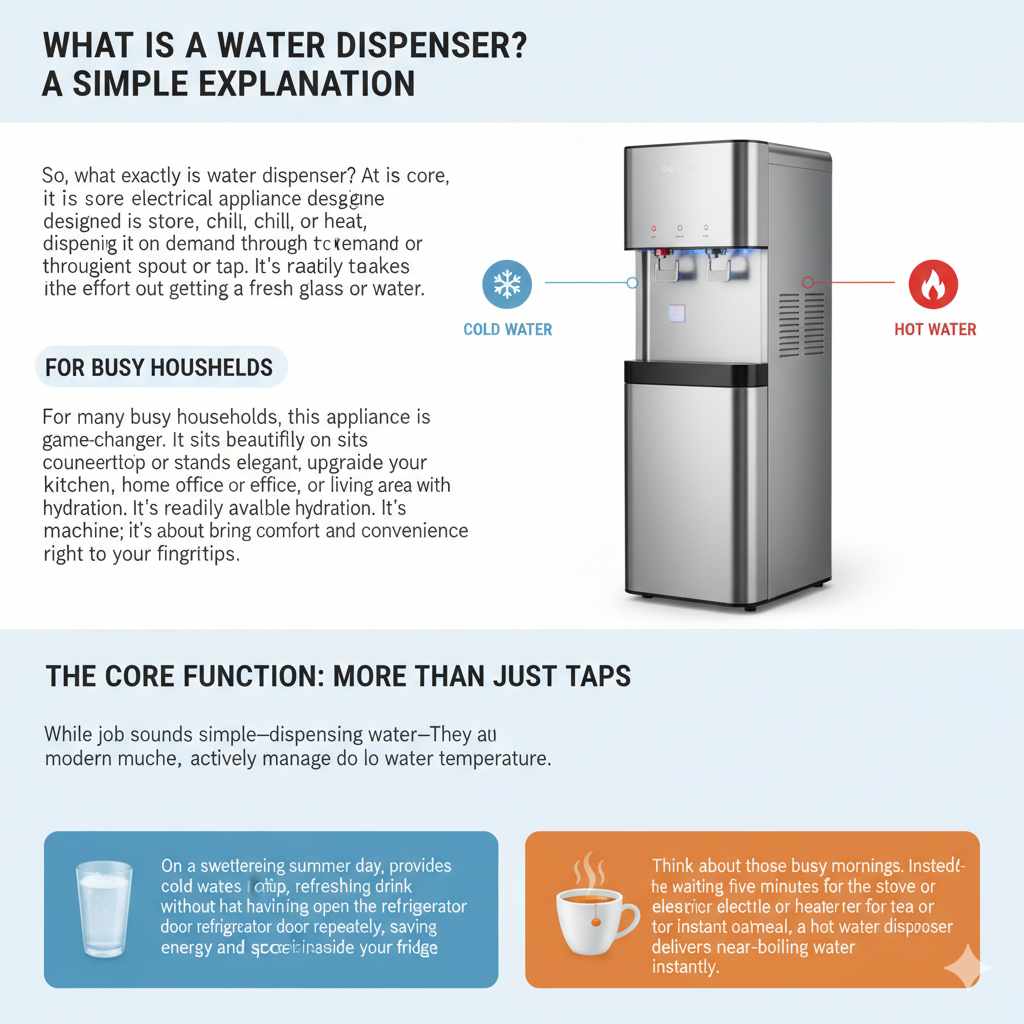
So, what exactly is a water dispenser? At its core, a water dispenser is an electrical appliance designed to store, chill, or heat water, dispensing it on demand through a convenient spout or tap. It takes the effort out of getting a fresh glass of water.
For many busy households, this appliance is a game-changer. It sits beautifully on a countertop or stands elegantly on the floor, instantly upgrading your kitchen, home office, or living area with readily available hydration. It’s more than just a machine; it’s about bringing comfort and convenience right to your fingertips.
The Core Function: More Than Just Taps
While the job sounds simple—dispensing water—modern dispensers do much more. They actively manage the water temperature.
Think about those busy mornings. Instead of waiting five minutes for the stove or electric kettle to heat up water for your tea or instant oatmeal, a hot water dispenser delivers near-boiling water instantly. On a sweltering summer day, the cold water feature provides that crisp, refreshing drink without having to open the refrigerator door repeatedly, saving energy and space inside your fridge.
Types of Water Dispensers: Finding Your Perfect Match
Choosing a water dispenser involves deciding which type best fits your space, lifestyle, and budget. There are a few main categories, each with its own unique method of supplying water. Understanding these differences is the first step to making a great choice.
1. Bottled Water Dispensers (Top Load and Bottom Load)
These are perhaps the most recognizable type. They use large, removable five-gallon (or three-gallon) jugs of pre-purified water placed right on top or loaded into the base of the unit.
Top-Load Dispensers: The Classic Choice
These look exactly like what most people picture. The heavy water jug sits right on top of the machine. They are easy to set up and usually have indicator lights to show when the hot water tank or cold water reservoir needs refreshing.
- Pros: Very affordable startup cost, easy to see the water level, no plumbing required.
- Cons: You must manually lift and lift the heavy bottles onto the machine, which can be tiring.
Bottom-Load Dispensers: The Modern Solution
These are sleeker and often look more integrated into modern kitchen decor. The water bottle is hidden away inside the lower cabinet of the unit. A small internal pump brings the water up to the cooling/heating mechanisms.
This design is a wonderful solution if you struggle with lifting heavy objects. It keeps the look tidy and often makes the machine more stable.
- Pros: Very easy bottle changing (no heavy lifting!), clean, modern aesthetic.
- Cons: Often slightly more expensive than top-load models, the pump adds a minor potential point of maintenance down the line.
2. Point-of-Use (POU) Water Dispensers (Plumbed-In)
If you want the ultimate in convenience and never want to change a bottle again, a Point-of-Use dispenser is your answer. These units connect directly to your existing cold water line, usually under your kitchen sink, similar to how a refrigerator ice maker taps into the water supply.
These systems often include powerful internal filtration—sometimes multi-stage—to clean the tap water right before it’s dispensed. This is a fantastic, high-end feature that keeps your water tasting crisp and clean, straight from the source.
Pros: Endless supply of water, typically better filtration capabilities, eco-friendlier (no plastic bottle waste).
Cons: Requires professional installation or some basic plumbing know-how, higher initial cost.
Tip for Homeowners: If you are planning a major kitchen refresh, look into integrating one of these plumbed systems—it’s a lovely, seamless upgrade that adds real value to your space. For more technical details on safe residential water connections, you can review guidelines from sources like the U.S. Environmental Protection Agency (EPA) regarding drinking
water standards.
3. Countertop vs. Freestanding Dispensers
This choice is all about space planning in your home:
Freestanding (Floor Model): These are tall units designed to sit on the floor. They usually accommodate the largest bottles and offer the most robust cooling/heating capabilities, making them ideal for busy families or entertaining.
Countertop Models: Perfect for smaller kitchens, apartments, or home offices. These are compact and sit directly on your counter. They typically use smaller bottles or rely on an internal reservoir that you fill manually.
Key Features to Look For: What Makes a Dispenser Great?
Once you know the basic types, you need to decide on the features that will make your daily life easier and more beautiful in your home. As a design enthusiast, I believe functionality should always blend seamlessly with style!
Temperature Options
The magic of these machines is multitasking with temperature. Most models offer three settings:
- Cold: Essential for iced tea, cold water refreshment, or mixing powdered drinks. The cooling is usually done via simple electrical refrigeration or ice cooling.
- Hot: Perfect for instant coffee, tea bags, hot cocoa, or soup mixes. Standard hot taps range between 180°F and 205°F (about 82°C to 96°C).
- Room Temperature (Ambient): A nice middle ground for those who don’t like their water icy or piping hot. Not all models offer this third option.
Dispensing Mechanism and Safety
How the water comes out matters, especially if you have children or pets running around.
- Push-Button/Lever: The most common. You press a button or push a lever to dispense the water.
- Child Safety Lock: This is non-negotiable if you have small children. The hot water dispenser must have a lock or protective cover to prevent accidental scalds. Always check for this feature!
- Touch Screen or Sensor: Found on premium models, these offer contactless dispensing, which is neat and hygienic.
Filtration Quality
If you are using a Point-of-Use (POU) system, excellent filtration is vital. Even bottled water can benefit from an added filter at the dispensing point to ensure the freshest taste.
Look for systems that specify what they filter out. Common filtration methods include activated carbon (great for taste/odor) and reverse osmosis (for removing nearly all dissolved solids). Check the manufacturer’s specifications to ensure it meets your needs. You can learn more about water testing and filtration standards at resources like the NSF International website.
Maintenance Requirements
Every machine requires a little TLC. Keep these maintenance factors in mind:
| Dispenser Type | Primary Maintenance Task | Frequency Concern |
|---|---|---|
| Bottled (Top/Bottom Load) | Changing the 5-gallon bottle. | Weekly/Bi-weekly (depending on use). |
| Point-of-Use (POU) | Replacing the internal filter cartridges. | Every 6–12 months. |
| All Types | Sanitizing internal reservoirs. | Every 3–6 months. |
Setting Up Your New Water Dispenser: A Beginner’s Guide
You’ve picked your perfect style—now it’s time to get it running! Don’t let the setup intimidate you; it’s usually very straightforward.
Step 1: Unpacking and Positioning
1. Unbox Carefully: Remove all packaging, tape, and protective film. Keep the manual handy!
2. Choose the Spot: Place the unit on a flat, stable surface (for countertop models) or firmly on the floor (for freestanding). Ensure there are several inches of space around the back and sides for proper ventilation, especially since the cooling elements generate a little heat.
3. Level Check: Give it a gentle wiggle. It shouldn’t rock. If it does, adjust any leveling feet if provided.
Step 2: Preparing the Unit for First Use (Bottled Models)
If you bought a Bottled Dispenser, this is the crucial first stage:
1. Initial Rinse: Before plugging in, most manufacturers recommend running a few pints of room-temperature or cold water through the spouts just to flush out any dust from manufacturing.
2. Install the Bottle:
For Top-Load: Remove the protective seal from the new bottle. Flip it upside down and carefully align the neck with the adapter/piercing mechanism until it locks into place. You will hear bubbling as the bottle empties into the reservoir.
For Bottom-Load: Slide the bottle into the cabinet, ensuring the intake hose/tube is securely attached to the bottle’s opening. Close the door.
3. Plug In: Once the water reservoir has sufficient water (the machine won’t cool or heat if it’s empty!), plug the unit into a grounded wall socket.
Step 3: Initial Heating and Cooling Cycle
This is where patience comes in! Your dispenser needs time to reach ideal temperatures.
Wait at least 30 to 45 minutes after plugging it in before taking your first glasses of hot or cold water.
The indicator lights will show when the hot and cold tanks have reached their target temperatures.
Step 4: Installation for Point-of-Use (POU) Models
If you chose a plumbed-in model, the process is slightly more involved but still achievable for the handy homeowner:
1. Locate the Water Line: You need an existing cold water line, usually under the sink where your faucet connects.
2. Install the Saddle Valve (or Tee Fitting): This fitting splices into the existing copper or PEX line. While professional installation is recommended for absolute beginners to prevent leaks, a basic saddle valve is relatively simple to clamp onto the line.
3. Run the Tubing: Connect the small plastic tubing from the saddle valve fitting to the back inlet port on your water dispenser unit.
4. Check for Leaks! This is the most important part of POU installation. Briefly turn on the water supply and closely inspect all connections for drips. Seal anything that leaks before proceeding.
5. Flush the Filter: Follow the manual’s directions exactly, usually involving running several gallons of water through the new filter to remove harmless carbon dust before drinking.
Keeping It Clean: Simple Sanitizing Tips for Longevity
A beautiful appliance functions best when it’s clean and well-maintained! This step is crucial for taste and the health of your machine.
Why Cleanliness Matters
Water reservoirs, even those housing filtered water, can sometimes develop harmless biofilm or mineral buildup over time. This doesn’t mean the water is unsafe, but it can certainly affect the taste. A quick clean every few months keeps things fresh and running smoothly.
Sanitizing Checklist (For Bottled Models)
This process takes about an hour, mostly waiting time, and vastly improves water quality.
- Unplug and Empty: Always unplug the machine first! Remove the empty water bottle and drain all remaining water from the spigots into a large bucket.
- Prepare the Solution: Mix one gallon of warm water with about two tablespoons of unscented, pure household bleach (or use a specialized NSF-approved dispenser sanitizing solution).
- Fill the Reservoir: Pour this solution directly into the top reservoir (or fill manually if it’s a bottom-load unit).
- Soak Time: Let this solution sit inside the machine for 15 minutes. This allows it to sanitize the interior surfaces and tanks.
- Drain Completely: Drain the entire bleach mixture through both the hot and cold spigots into your bucket. You may need to repeat draining a few times.
- Rinse Thoroughly (Crucial Step!): Refill the reservoir with clean, fresh water (use a small bottle or pitcher). Drain this clean water completely. Repeat this rinsing process at least three more times until you can no longer smell any residual bleach at the spigots.
- Reassemble: Plug the unit back in, install a fresh water bottle, and wait for it to cool/heat up before enjoying!
Filter Changes for POU Systems
If you have a plumbed-in unit, you must follow the filter replacement schedule provided by the manufacturer. Usually, this means unscrewing the old cartridge and screwing in the new one. Many higher-end POU units have a digital monitor that alerts you when it’s time for a change—a wonderful, stress-free feature!
Style Meets Function: Integrating Your Dispenser into Your Home Decor
As someone passionate about home style, I know that appliances shouldn’t look like industrial additions to your beautiful living spaces! Water dispensers come in many finishes now—stainless steel, matte black, white, and even retro colors.
Placement Matters for Flow and Aesthetics
The Kitchen Hub: If your kitchen is the center of your home, place the dispenser where it fits seamlessly with your existing stainless steel or white goods. A sleek, plumbed-in model looks custom-made here.
The Home Office Nook: For a dedicated workspace, a compact counter model keeps hydration close without cluttering the main cooking area. Choose a color that complements your desk area—perhaps a modern black finish.
* The Family Zone: If it’s in a high-traffic area accessible to kids, prioritize safety locks and durability. A freestanding model can anchor a corner of a breakfast nook beautifully.
It’s amazing how a simple appliance, chosen thoughtfully, can enhance the overall comfort and efficiency of a room.
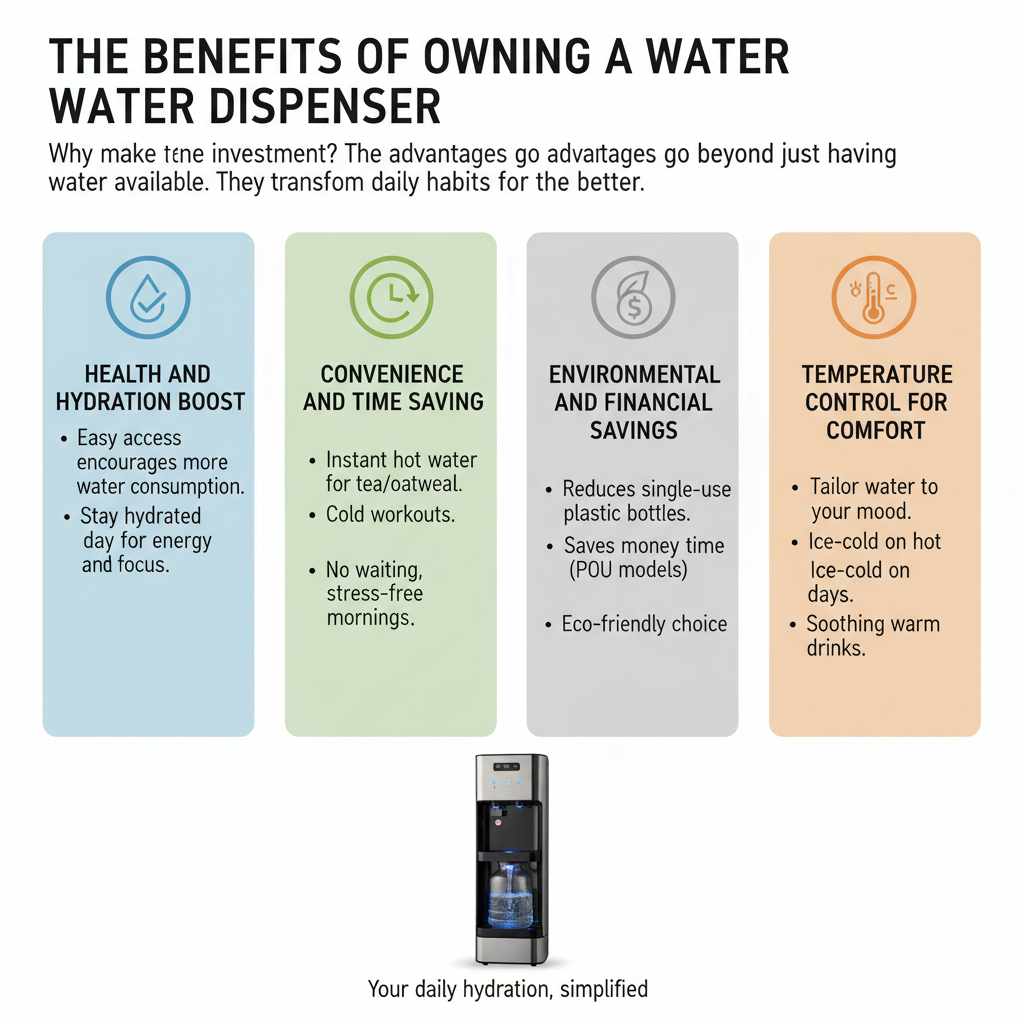
The Benefits of Owning a Water Dispenser
Why make the investment? The advantages go beyond just having water available. They transform daily habits for the better.
Health and Hydration Boost
When water is easy and appealing to access, you drink more of it! Having readily available cold, fresh water encourages everyone in the household to stay hydrated throughout the day, which is wonderful for energy and focus.
Convenience and Time Saving
Imagine getting ready for work: hot water in seconds for your tea, cold water instantly for your morning workout bottle. No waiting, no hassle. This small convenience adds up to saved minutes, stress-free mornings, and smoother evenings.
Environmental and Financial Savings (POU Models)
If you switch from buying dozens of single-use plastic water bottles or even large 5-gallon jugs, a POU system saves you money over the long term while significantly reducing your household plastic waste. It’s a win for your wallet and the planet!
Temperature Control for Comfort
We all have personal preferences. Some days call for ice-cold water; others demand a soothing warm drink. A dispenser gives you that control instantly, tailoring the water to your exact mood and need at that moment.
Quick Comparison: Bottled vs Plumbed-In Costs
To help you decide where to invest, here is a brief overview of the typical cost structure when purchasing your unit. Remember, these are general estimates, and prices vary widely based on brand and features.
| Factor | Bottled Dispensers (Top/Bottom Load) | Point-of-Use (POU) Dispensers |
|---|---|---|
| Upfront Appliance Cost | Low to Moderate ($100 – $350) | Moderate to High ($300 – $650+) |
| Installation Cost | None (DIY Setup) | Low to Moderate (If professional plumbing is needed) |
| Ongoing Supply Costs | Cost of gallon refills (approx. $5 – $10 per bottle) | Cost of filter replacements (approx. $40 – $100 semi-annually) |
| Long-Term Operating Cost | Higher due to continuous bottle purchasing. | Lower, often more budget-stable, especially if you have good municipal water. |
Frequently Asked Questions (FAQ) for New Water Dispenser Owners
Q1: Can I use tap water in a bottled water dispenser?
A: Bottled dispensers are specifically designed for pre-filled water jugs, so you shouldn’t pour tap water directly into them. However, if you want to use tap water, consider a Point-of-Use (POU) dispenser or a countertop model with a refillable tank.
Q2: How often should I clean my water dispenser?
A: It’s best to sanitize your water dispenser every 3 to 6 months. Regular cleaning prevents buildup, keeps the water tasting fresh, and ensures the appliance runs efficiently over time.
Q3: Why is my water dispenser making noise?
A: Some noise is completely normal, especially when the unit is heating or cooling water. However, loud or unusual sounds could indicate air in the system, a loose component, or the compressor working harder than usual. Checking placement and ensuring proper ventilation usually helps.
Q4: Is it safe to drink hot water directly from a dispenser?
A: Yes, but with caution. Hot water from dispensers is usually near boiling, so it’s safe for beverages like tea or coffee. Always use the child safety lock feature and handle with care to avoid burns.
Q5: How do I know when to replace the filter in a POU water dispenser?
A: Most manufacturers recommend replacing filters every 6 to 12 months, depending on usage and water quality. Some modern units include indicator lights to remind you when it’s time for a replacement.
Conclusion: Effortless Hydration, Smarter Living
A water dispenser isn’t just another appliance—it’s a simple upgrade that brings comfort, convenience, and efficiency into your daily routine. From instant hot water for your morning tea to refreshing cold water on a busy afternoon, it quietly transforms how you stay hydrated at home or work.
By understanding the different types, features, and setup process, you can confidently choose a dispenser that fits your space, style, and lifestyle perfectly. Whether you prefer the simplicity of bottled models or the seamless convenience of a plumbed-in system, there’s a solution designed just for you.
The real beauty lies in how something so practical can make such a noticeable difference. Fewer plastic bottles, less waiting, and more control over your water—these small changes add up to a smoother, more enjoyable day.
So go ahead, make the switch. With the right water dispenser, staying hydrated becomes easier, cleaner, and effortlessly built into your everyday life.


