
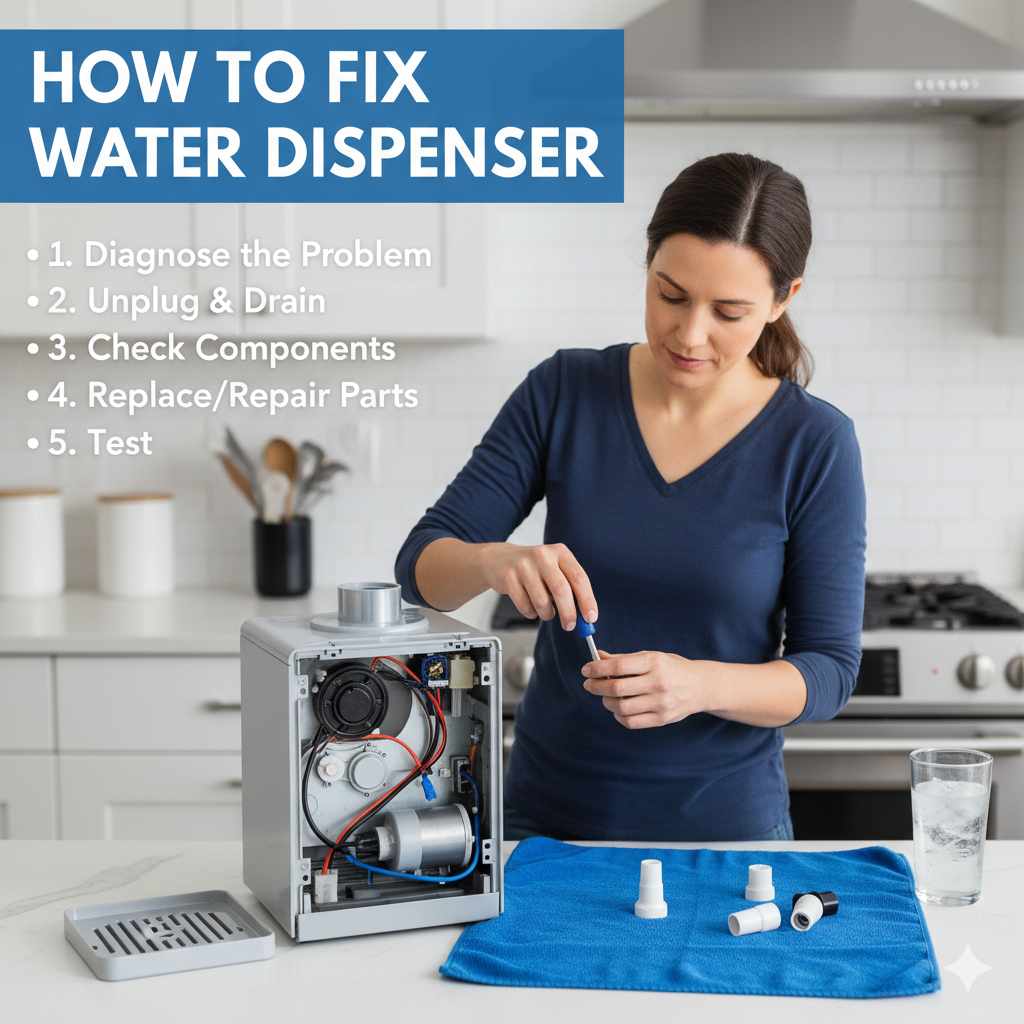
To fix a water dispenser, start with simple checks: ensure the cooler is plugged in and the intake valve is open. If water still won’t dispense, check for common clogs in the lines or a frozen cooling tank. These proven essential steps will help you troubleshoot most issues without needing a professional.**
It’s frustrating when you reach for a refreshing glass of cold water, and nothing comes out—or worse, it drips slowly. A non-working water dispenser can throw off your whole kitchen vibe and ruin a perfectly good moment of relaxation. Don’t worry! Most dispenser problems are easy to solve right where your unit stands. You don’t need complicated tools or professional training to get that cool, crisp water flowing again. We will walk through simple fixes together, step-by-step. Let’s turn that frustration into a feeling of accomplishment as we restore your dispenser’s perfect performance.
We’ll start with the easiest things everyone overlooks and move toward slightly more detailed checks. By the end of this guide, you will feel confident knowing exactly how to approach fixing your water dispenser.
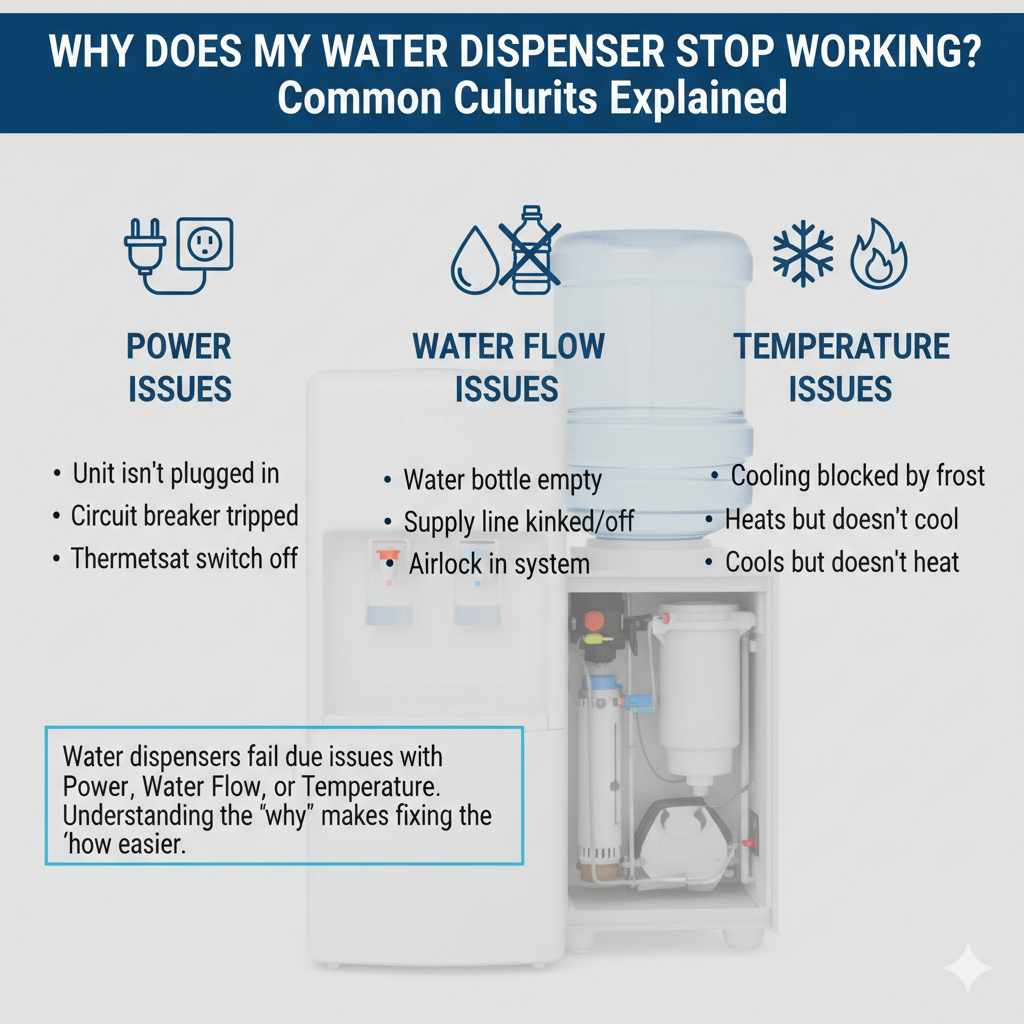
Why Does My Water Dispenser Stop Working? Common Culprits Explained
Water dispensers, whether they are part of your refrigerator or a standalone bottle cooler, are designed to be helpful. When they fail, it’s usually due to one of three main categories of issues: Power, Water Flow, or Temperature.
Understanding the ‘why’ makes fixing the ‘how’ much easier. Think of this as diagnosing a simple home issue, like a lightbulb that won’t turn on. Is it unplugged? Is the switch on? If the basics are covered, we check the internal components.
- Power Issues: The unit isn’t plugged in, the circuit breaker is tripped, or the internal thermostat switch is off.
- Water Flow Issues: The water bottle is empty, the supply line (for plumbed-in units) is kinked or turned off, or there is an airlock in the system.
- Temperature Issues: The cooling system is blocked by frost, or the unit heats up water but fails to cool it (or vice versa).
The Essential First Steps: What to Check Immediately
Before you grab any tools, perform these three checks. These fixes solve over half of all water dispenser complaints and require zero technical knowledge. This is your foundation for learning how to fix water dispenser issues completely.
Step 1: Check the Power Supply
It sounds obvious, but a surprising number of calls to repair technicians start here. A dispenser needs consistent electricity to run the cooling or heating elements.
- Is it Plugged In? Check the wall socket to ensure the cord is seated firmly.
- Test the Outlet: Plug a small lamp or phone charger into the same outlet to confirm the outlet itself has power.
- Check the Breaker: If nothing works in that outlet, look at your home’s main electrical panel. See if the circuit breaker for that area has flipped to the “Off” or middle position. Reset it by pushing it firmly to “Off,” and then to a solid “On.”
Step 2: Inspect the Water Source and Connections
If your unit runs on a large, inverted bottle, simply replacing the bottle might solve the problem. If your unit is plumbed into your home’s water line (often found in refrigerators), the process is different.
For Bottled Coolers:
When you replace a bottle, sometimes the seal gets inserted incorrectly, creating an airlock that prevents water from flowing into the reservoir. Lift the bottle, wait a few seconds, and press it firmly back down, ensuring the spike punctures the seal completely.
For Plumbed-In Units (Refrigerator Dispensers):
If you have an ice maker and dispenser, they share a water line. Check the valve leading to the refrigerator, usually located behind the unit or under the sink.
- Ensure the external shut-off valve is fully open (turned counter-clockwise).
- Look at the thin plastic water line running into the back of the fridge. Make sure it is not sharply bent or pinched by the refrigerator being pushed too close to the wall. A kink stops water flow instantly!
Step 3: Examine the Child Lock and Controls
Many modern dispensers, especially for hot water, have safety features that prevent accidental dispensing. If you press the lever and nothing happens, check these indicators:
- Is the Child Lock Active? Usually, you must press two buttons simultaneously (like the “Cold” button and the “Lock” icon) for three seconds to deactivate it. Check your owner’s manual for the specific sequence for your model.
- Is the Dispense Lever Stuck? Sometimes, residue builds up around the lever mechanism. Gently wiggle it up and down to ensure it’s moving freely.
Troubleshooting Specific Dispenser Failures
If the essential checks didn’t work, we move to diagnosing whether the problem is related to water flow (no water) or temperature (water is the wrong temperature).
Problem A: Water Dispenser Is Not Working (No Water Flow)
This is usually a blockage or an empty supply. If you’ve confirmed the power is on and the bottle/line is connected, the next steps focus on clearing internal pathways.
1. Defrosting a Frozen Cooling Tank (Common in Refrigerators)
The most common internal culprit for “no-cold-water” issues is a frozen reservoir inside the freezer compartment, which impacts the dispenser line. This often happens if the refrigerator temperature setting is too low.
How to Defrost Safely:
- Unplug the refrigerator entirely. This is crucial for safety and proper defrosting.
- Remove the water bottle or turn off the main water supply line if plumbed.
- Leave the refrigerator doors open for at least 4-6 hours, possibly overnight, to allow the ice blockage to melt completely. You can place towels near the defrost drain pan to catch melting water.
- Once fully thawed, plug the unit back in. Allow 12-24 hours for the cooling system to reach its standard temperature before testing the dispenser again.
2. Addressing Air Locks and Low Pressure (Bottle Coolers)
If you are using a bottle cooler and replacing the bottle didn’t work, there might be an air lock. This is when air enters the dispenser tube faster than water can enter the bottle, creating a vacuum.
Try this technique: Briefly remove the full bottle, then swiftly reinsert it, ensuring you push it down firmly until you hear a definite “glug” sound. This sound usually indicates the air bubble has been released and water is flowing into the base valve.
3. Clearing the Internal Filter (Plumbed-In Units)
If your refrigerator draws water through an internal filter, a clogged filter can drastically reduce flow, making the dispenser seem broken. While these filters are designed to be replaced rather than fixed, you can sometimes temporarily relieve pressure by bypassing or removing it.
If you suspect the filter is the issue, performing a filter bypass test (following your manufacturer’s instructions, often involving capping the filter head housing) can confirm this. If water flows perfectly after bypassing, you need a new filter. We recommend checking resources like those provided by the Environmental Protection Agency about water quality standards before installing any new component.
| Symptom | Likely Cause (Easy Fix) | Next Step (If Basic Fails) |
|---|---|---|
| No water, no ice | Power cord unplugged or tripped breaker. | Check for frozen lines (refrigerator) or empty bottle. |
| Water drips slowly | Clogged internal water line or low water pressure (plumbed). | Check the physical position of the water line for kinks. |
| Water is warm/not cold | Thermostat set too high, or unit is unplugged. | Check the condenser coils for dust buildup (applies mainly to fridges). |
| Hot water doesn’t heat | Heating element control switch is off. | Check the safety fuse associated with the heating circuit. |
Problem B: Water Dispenser Temperature Is Wrong (Too Warm or Too Hot)
The system responsible for cooling or heating water has its own simple checks.
1. Cold Water Is Too Warm (The Cooling System Check)
If the water is room temperature, the cooling compressor isn’t working correctly. For bottle coolers, the unit might be in a very hot room, overheating the system.
- Ventilation is Key: Ensure the back and sides of the unit have adequate airflow. Check the manufacturer’s guidelines; most need 4–6 inches of space around the unit to vent heat properly. If air can’t escape, the cooling efficiency drops to zero.
- Check the Thermostat: Locate the cold water dial (often blue or located near the cold spigot). Ensure it is set to a colder setting. Sometimes vibrations knock these dials out of adjustment.
2. Hot Water System Failure (For Hot/Cold Models)
If you have a hot water function and it suddenly stops producing heat, the first thing to look for is a dedicated safety switch.
- Heating Element Reset: Many hot water units have a small red or black button on the back that acts as a thermal safety cutout. If the heating element got too hot (perhaps due to low water or high ambient temperature), this button pops out to reset the circuit. Push it in firmly. If it trips repeatedly, you may have a failing heating element, which requires a professional parts replacement.
Cleaning and Maintenance for Prevention
The absolute best way how to fix water dispenser problems is to prevent them from happening! Regular cleaning ensures smooth operation and better-tasting water. This is where a little routine care shines.
Sanitizing the Reservoir and Spigots
Stagnant water in the reservoir can lead to biofilm buildup, which affects taste and can sometimes impede the flow mechanism near the spigot.
Tools You Will Need:
- Distilled White Vinegar or Unscented Bleach (A Food-Grade Solution)
- Clean Towels
- A Funnel and a Large Bucket
Sanitizing Steps (Bottle Coolers):
- Unplug the unit and empty any remaining water from both the hot and cold reservoirs.
- In a clean pitcher, mix about one quart of water with 1/4 cup of white vinegar or one teaspoon of bleach. (Always check your manual, but these are standard safe cleaners for water systems.)
- Using a funnel, pour this solution into the empty reservoir opening.
- Allow the solution to sit for 15 minutes to sanitize.
- Drain the solution completely through the cold spigot into a bucket. Repeat for the hot spigot if applicable.
- Rinse thoroughly by filling and draining the reservoir three times with fresh, clean water until you cannot smell any vinegar or bleach residue.
For refrigerator dispensers, focus on cleaning the external drip tray and washing the dispenser nozzle opening with a swab dampened with a mild soap solution, rinsing well afterwards.
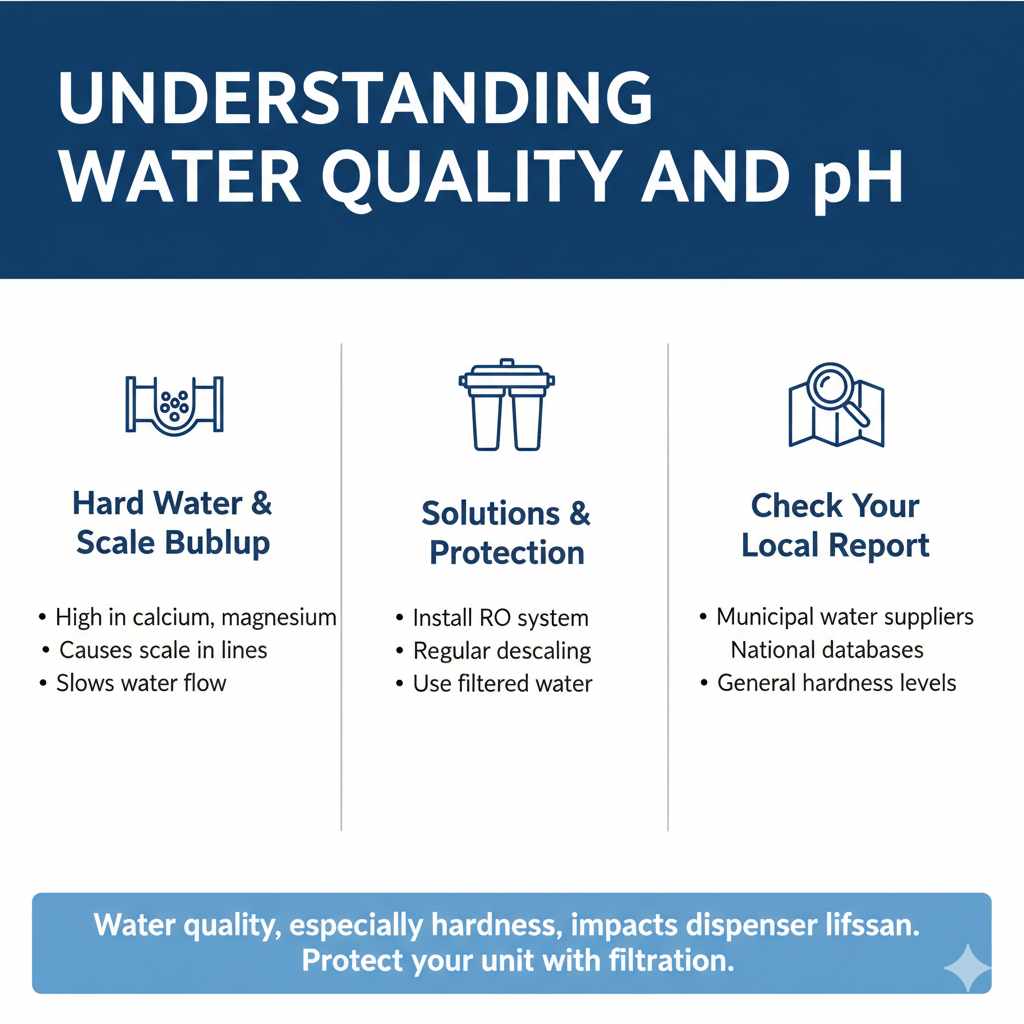
Understanding Water Quality and pH
The quality of the water you introduce into the system heavily influences its lifespan. If you use hard water (high in minerals like calcium and magnesium), you increase the risk of scale buildup inside the cooling lines, leading to slow flow. If you live in an area with known hard water issues, consider a reverse osmosis (RO) system connected to your refrigerator line to protect internal components. You can find local water quality reports often provided by municipal water suppliers or check national databases for general guidance on water hardness levels in your region.
When to Call a Professional Technician
While we aim to make this guide empowering for DIY projects, some issues signal a more complex internal failure. It is always wise to save money and time by calling a pro when you encounter the following scenarios:
| Serious Failure Symptom | Why You Need A Technician |
|---|---|
| Water Leaking Directly From the Base/Underneath | Indicates cracked seals, a ruptured internal hose, or a failed drain pan/pump, which requires opening the main housing. |
| Unit Trips the Home Circuit Breaker Repeatedly | Signals a short in the compressor or the heating element coils, a significant electrical hazard that needs specialized diagnosis. |
| Dispenser Works, But Water Tastes Metallic or Off (After Sanitizing) | Could mean contamination within the internal tubing that requires specialized flushing, or corrosion of interior metal parts. |
| The Compressor Runs Constantly (Refrigerator Model) | The sealed cooling system is failing, or the refrigerant charge is low—this is not a DIY fix. |
Remember, a technician specializing in refrigeration or appliance repair will have the specialized tools needed to safely access high-pressure or high-voltage components. Think of this as knowing when to admire a complicated piece of modern art versus trying to paint it yourself!
Frequently Asked Questions (FAQ) About Water Dispenser Repair
Q1: How long should I let my refrigerator dispenser thaw if the water is frozen?
A: Allow a minimum of 4 to 6 hours with the power off. For a complete, deep thaw, leaving the doors open overnight (8-10 hours) is the most reliable method to ensure all ice blockage near the tubes is gone.
Q2: My freestanding cooler is making loud gurgling noises. Is this normal?
A: Some bubbling and occasional gurgling when the compressor cycles on or off is normal, especially as water moves between chambers. However, constant, loud gurgling might indicate a severe airlock or a problem with the internal water pump. Check that the bottle seal is intact first.
Q3: Can I use bleach to clean my reusable water cooler reservoir?
A: Yes, but use it cautiously. A weak solution (about 1 teaspoon of bleach per gallon of water) is effective for sanitizing. Crucially, you must rinse the system three to four times afterward until no bleach odor remains to ensure safety.
Q4: Why does my refrigerator make ice, but the dispenser doesn’t dispense water?
A: This is a classic sign of a clogged or failed water inlet valve (which controls how water enters the fridge) or a blockage between the tank/valve and the dispensing lever. If the ice maker works, the main water supply is likely fine, pointing to a local clog.
Q5: What is the best way to clean the outside spigot area?
A: Use a soft cloth dampened with warm, soapy water. For hard-to-reach crevices around the paddle or lever, use half a plastic toothpick or a slightly dampened cotton swab to gently remove dust and sticky residue, making sure not to force anything.
Q6: How often should I replace the internal water filter in my fridge?
A: Most manufacturers recommend changing your refrigerator water filter every six months. Some newer models have indicator lights that tell you exactly when the flow rate has dropped enough to warrant a replacement.
Conclusion: Enjoying Your Restored Refreshment
Dealing with a faulty water dispenser can certainly feel disruptive, but we’ve covered the essential, proven steps to tackle most issues right in your kitchen. By systematically checking power, flow, and temperature, and prioritizing simple maintenance like thorough cleaning, you save yourself a service call and build valuable home repair confidence. Remember, the beauty of home maintenance is that small, consistent efforts keep large problems away. Take a moment to appreciate that perfectly chilled, effortlessly dispensed water—you earned that cool refreshment by taking charge!


