
Building a floor-to-ceiling bookcase can seem like a huge project. Many people want this kind of storage. They dream of a wall filled with books. But they worry about the effort. They wonder if it’s too hard for them. This guide breaks it down. You’ll see it’s achievable. We’ll cover planning, building, and finishing. You can create a stunning focal point for your home.
You can build a floor-to-ceiling bookcase with careful planning and basic tools. This project involves measuring, cutting, assembling shelves, and securing the unit to the wall. It’s a great way to add substantial storage and style to any room.
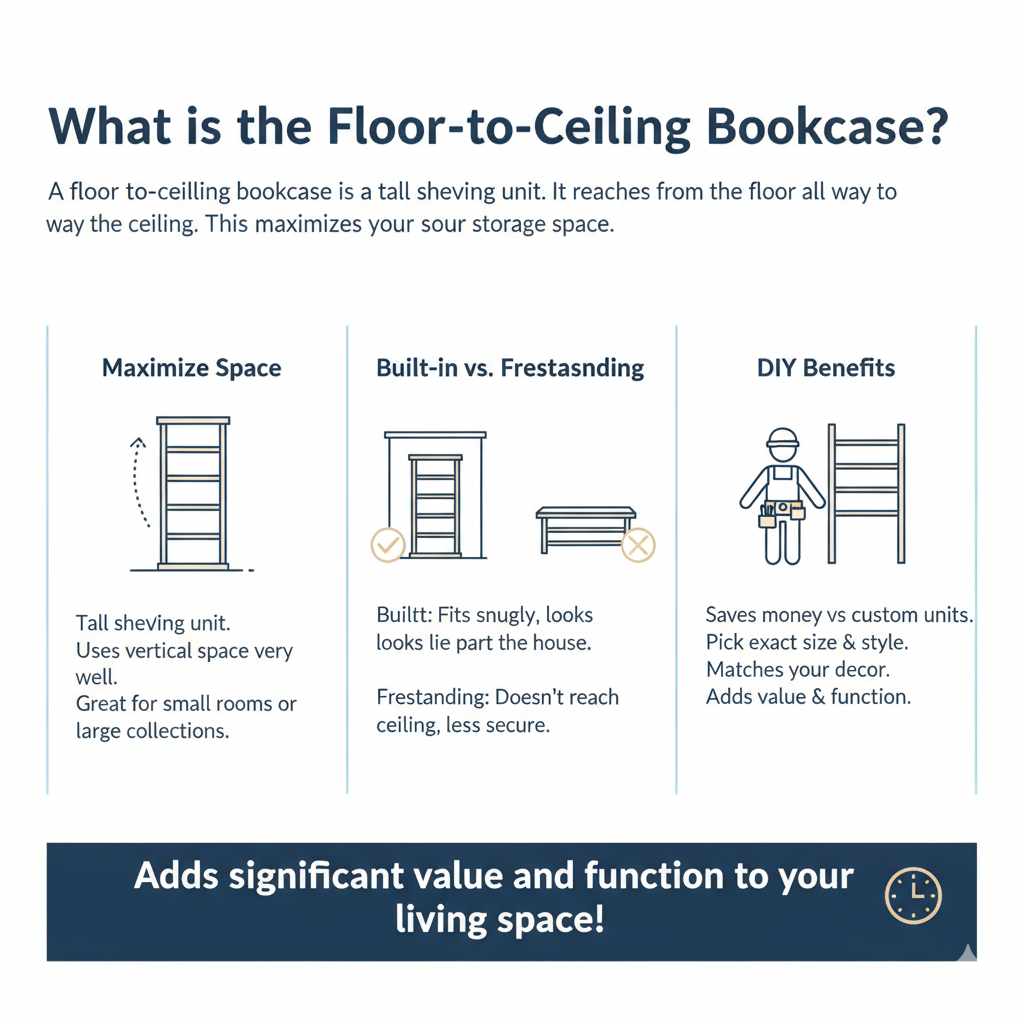
What is a Floor-to-Ceiling Bookcase?
A floor-to-ceiling bookcase is a tall shelving unit. It reaches from the floor all the way to the ceiling. This maximizes your storage space.
It uses vertical space very well. These bookcases are often built in. This means they fit snugly into a wall space.
They can look like they are part of the house. They are different from freestanding shelves. Freestanding units don’t reach the ceiling.
They also don’t always connect to the wall securely.
The main goal is to use every inch of wall height. This is great for small rooms. It’s also good for large collections of books or items.
These large units can be simple shelves. They can also have doors or cabinets at the bottom. Some have glass doors on top shelves.
This protects items from dust. Others are open for easy access. The design really depends on what you need.
Building one yourself can save a lot of money. Custom built-in units are very costly. DIY allows you to pick the exact size and style.
You can match it to your home’s decor. It’s a rewarding project. It adds significant value and function to your living space.
Why Build a Floor-to-Ceiling Bookcase?
Think about all the books you have. Maybe you love collecting art. Or perhaps you have many photos.
A tall bookcase gives you a place for it all. It keeps things tidy and organized. Instead of shelves scattered around, it’s all in one spot.
This makes your room look much cleaner.
It also makes a room feel grander. A wall of shelves draws the eye up. It makes ceilings seem higher.
This is especially true if the shelves are painted a light color. It can make a small room feel much larger. In a large room, it creates a cozy reading nook.
It adds a sophisticated touch. It’s like having your own personal library.
The ability to customize is another big reason. You choose the wood type. You pick the stain color or paint.
You decide on shelf spacing. This means it fits your books perfectly. No more wasted space above short shelves.
Or shelves too close together for big art books. You design it for your needs.
Finally, it’s a way to express yourself. Your bookcase tells a story about you. It holds your favorite things.
It’s a personal display. Building it yourself adds an extra layer of pride. It’s a functional piece of art in your home.
My Own Bookcase Story
I remember staring at a blank wall in my study. It was a huge, empty space. I had piles of books everywhere.
My desk was cluttered. My shelves were overflowing. I felt a bit stressed by the mess.
I wanted a dedicated place for my books. But I didn’t have a big budget for custom furniture.
I saw pictures of amazing built-in bookcases online. They looked so elegant. But the price tags were shocking.
Then I thought, “Could I build something like that?” I was a bit nervous. I hadn’t done a project this big before. I’d built a few simple shelves.
But floor-to-ceiling felt like a different level.
One rainy Saturday, I decided to just try. I grabbed a notepad and my tape measure. I measured the wall.
I sketched out a basic design. I saw that the main challenge was height. Getting materials up there seemed daunting.
Also, making sure it was strong enough was key. I felt a mix of excitement and a little bit of dread. But the desire for a beautiful, organized space pushed me forward.
Planning Your Bookcase Project
Good planning is the most important step. It sets you up for success. First, decide where the bookcase will go.
Measure the wall space very carefully. Note the width, height, and depth. Measure the distance from the wall to any baseboards.
Also, check for any light switches or outlets. You’ll need to work around them.
Think about the style you want. Do you want simple, clean lines? Or something more ornate?
Consider the room’s existing decor. You want it to fit in. What will you store on the shelves?
Books come in many sizes. Tools, photos, or decorative items have different needs too. This will affect how far apart your shelves are.
Choose your materials. Plywood is a common choice. It’s strong and relatively affordable.
You can use solid wood for a more premium look. But it costs more and is heavier. For the back of the bookcase, thin plywood or hardboard works well.
It adds stability.
Sketch out your design. Draw it with measurements. Plan the size of each shelf.
Decide on the overall width. How many vertical sections will you have? Plan how you will attach it to the wall.
This is crucial for safety. Make a list of all the tools you will need. You’ll likely need a saw, drill, screws, and measuring tape.
Bookcase Design Checklist
- Location: Choose the perfect wall.
- Dimensions: Measure width, height, depth precisely.
- Style: Match your room’s look.
- Contents: What will you store? Plan shelf heights.
- Materials: Plywood, solid wood, backing.
- Sketch: Draw your plan with all sizes.
- Tools: List everything you’ll need.
- Budget: Estimate costs for materials and supplies.
Don’t forget a budget. Materials can add up. Add a little extra for mistakes or unexpected needs.
It’s better to have too much than not enough.
Choosing Your Materials
The choice of wood is important. It affects the look, strength, and cost. For the main structure of the bookcase, plywood is a great option.
It’s stable and less likely to warp. Use good quality plywood. Things like birch or oak veneer plywood look nice.
They can be painted or stained. A ¾-inch thickness is usually strong enough.
You can also use solid wood boards. These look beautiful. Maple, oak, or pine are popular.
Pine is cheaper. Oak and maple are harder and more durable. Solid wood can be more expensive.
It can also be heavier. Make sure the wood is dry. Wet wood can warp as it dries.
For the back panel, ½-inch or ¼-inch plywood works well. Hardboard is another option. It’s thin and smooth.
It adds a lot of stability to the whole unit. This stops it from wiggling side-to-side.
Fasteners are also key. Use good quality screws. Wood screws work well.
Choose a length that goes through both pieces of wood. For example, if you’re joining two ¾-inch boards, you’ll want screws at least 1 ½ inches long. Wood glue is also a must.
It adds strength to all the joints. Use a good PVA wood glue.
You’ll also need finishing supplies. Sandpaper is essential for a smooth finish. You’ll need primer and paint, or stain and a clear topcoat.
Consider wood filler for any small holes or gaps.
Tools You’ll Need
Having the right tools makes the job easier. And safer. Here’s a list of common tools.
You might need a few more depending on your exact design.
- Measuring Tape: For accurate measurements.
- Pencil: To mark cuts and positions.
- Straight Edge or Level: To draw straight lines for cuts. A long level is very helpful.
- Circular Saw or Miter Saw: For cutting wood panels and boards. A miter saw is best for accurate, straight cuts.
- Jigsaw: Useful for cutting curves if your design needs them.
- Drill/Driver: For making pilot holes and driving screws.
- Drill Bits: Various sizes for pilot holes and countersinking.
- Screwdriver Bits: To match your screws.
- Clamps: To hold pieces together while gluing or screwing. Several are helpful.
- Orbital Sander or Sanding Block: For smoothing surfaces.
- Stud Finder: To locate wall studs for secure mounting.
- Safety Glasses: Always wear these when cutting or drilling.
- Dust Mask: To protect your lungs when sanding or cutting.
- Wood Glue: For strong joints.
- Putty Knife: For applying wood filler.
Essential Tools Summary
Cutting: Circular saw or miter saw.
Measuring & Marking: Tape measure, pencil, level.
Joining: Drill/driver, screws, wood glue, clamps.
Finishing: Sander, sandpaper, putty knife.
Safety: Glasses, dust mask.
If you don’t have some of these tools, see if you can borrow them. Or consider renting them. Buying them might be worth it if you plan more projects.
Step-by-Step Building Process
Let’s get building! This is a general guide. Your specific design might need slight changes.
1. Cut Your Wood Pieces
Use your plan to cut all the main pieces. This includes the sides, top, and bottom. Cut the shelves.
Also cut the back panel pieces. Measure twice, cut once. Accuracy here makes assembly much easier.
If you bought large plywood sheets, you might need help moving them. Many hardware stores will cut wood for you for a small fee. This can be a big help if you don’t have a large saw.
Sand all the cut edges lightly. This removes splinters and makes them smooth to the touch.
2. Assemble the Main Box
Start by building the outer frame. This is usually the two sides, the top, and the bottom. Apply wood glue to the edges where pieces join.
Then, screw them together. Pre-drilling pilot holes is very important. This stops the wood from splitting.
Use clamps to hold the pieces firmly while you screw. Make sure the corners are square. A carpenter’s square is very helpful here.
Once the main box is built, attach the back panel. Apply glue along the back edges of the box. Lay the back panel on top.
Secure it with screws or small nails. This adds a lot of strength. It stops the bookcase from twisting.
3. Install the Shelves
Now for the shelves. You can attach shelves directly to the sides. Or you can use shelf pins for adjustable shelves.
For fixed shelves, apply glue to the ends of the shelf. Position it inside the bookcase. Make sure it’s level.
Then screw it in place from the outside of the bookcase sides.
For adjustable shelves, you’ll need to drill a series of holes. Use a jig if you have one. This ensures the holes are straight and evenly spaced.
The holes go along the inside of the bookcase sides. You then insert shelf pins into these holes.
Shelf Installation Tips
- Fixed Shelves: Glue and screw from the outside. Ensure shelves are level.
- Adjustable Shelves: Drill evenly spaced holes using a jig for best results. Use shelf pins.
- Spacing: Plan shelf heights based on what you’ll store. Measure your tallest books or items.
- Strength: For very wide shelves, consider adding a front edge or a support underneath to prevent sagging.
Work from the bottom up. This gives you a stable base. Make sure each shelf is level before securing it.
4. Prepare for Installation
Before you move the bookcase to its spot, do any final sanding. Fill any screw holes or gaps with wood filler. Let it dry completely.
Then sand it smooth.
You need to find the wall studs. Use your stud finder. Mark the stud locations on the wall where the bookcase will go.
You need to screw the bookcase into these studs for safety.
The bookcase needs to be secured to the wall at several points. Plan where these will be. This could be the top, middle, and bottom.
Or along the back edges where they meet studs.
5. Install the Bookcase on the Wall
This is where having a helper is very useful. Carefully move the bookcase into position. It’s heavy.
Gently lift it. Don’t drag it across the floor.
Align the bookcase with your stud marks. Use a level to make sure it’s straight. Now, secure it to the wall.
Drill pilot holes through the back of the bookcase. Go into the marked stud locations. Use long screws.
Make sure they are long enough to go through the bookcase and well into the stud.
Screw it in at multiple points. This ensures it is very stable. A wobbly bookcase is dangerous.
Especially if you have kids or pets. Double-check that it feels solid and secure. It should not move at all.
6. Finishing Touches
Once the bookcase is securely attached, it’s time to finish it. If you’re painting, apply a coat of primer. Let it dry.
Then apply two coats of your chosen paint color. Sand lightly between coats if needed for a super smooth finish.
If you’re staining, apply the stain according to the product directions. Wipe off any excess. Let it dry completely.
Then apply a clear topcoat, like polyurethane. This protects the wood. It gives it a nice sheen.
You might need two or three coats of topcoat.
Take your time with the finishing. This is what makes the bookcase look professional. It really transforms the raw wood into something beautiful.
Finishing Steps
Sanding: Smooth all surfaces.
Real-World Context and Scenarios
Building a floor-to-ceiling bookcase isn’t just about the wood and screws.
It’s about how it fits into your life. Think about the room it’s going into. A living room might need a more elegant finish.
Perhaps a deep stain or a rich paint color.
A home office might benefit from a more functional look. Maybe a mix of shelves and drawers. Or a darker color to reduce glare.
In a child’s room, you might want rounded corners. And brighter, more playful colors. Safety is always the top concern here.
Consider the lighting in the room. Natural light can make the wood grain pop. But direct sunlight can fade finishes over time.
You might need to choose a more UV-resistant topcoat for sunny spots.
User habits also play a role. If you’re a fast reader who buys many books, you need lots of shelf space. If you display more decorative items, you might need wider, deeper shelves.
Or shelves designed for specific items like vinyl records or photos.
The actual construction can also be influenced by the home. Older homes might have uneven walls or floors. You might need to shim the bookcase to make it sit flush.
Newer homes often have standard stud spacing. This makes locating studs easier. Always check for plumbing or electrical wires behind where you plan to screw into the wall.
You don’t want to drill into anything important!
Room-Specific Considerations
- Living Room: Elegant finishes, rich colors.
- Home Office: Functional design, mixed storage, possibly darker tones.
- Child’s Room: Rounded edges, bright colors, focus on safety.
- Hallway: Slimmer designs, good for displaying art or photos.
The materials you use should also match the environment. High-humidity areas might need a finish that is more moisture-resistant. Solid wood can expand and contract.
Plywood is often more stable in changing conditions.
What This Means for You
So, what does building a floor-to-ceiling bookcase mean for you? It means you can create a beautiful, custom piece of furniture. It’s a project that requires patience.
But the results are incredibly rewarding. It’s not just about storage. It’s about creating a focal point in your home.
It’s about making your space more organized and beautiful.
When is this kind of project normal? It’s normal if you enjoy DIY. It’s normal if you have a specific need for a lot of storage.
It’s normal if you want to add value and style to your home. It’s a significant project, but totally doable.
When should you worry or seek help? If you are not comfortable with power tools, get help. If you have very complex architectural features in your room, maybe consult a professional.
Always prioritize safety. If the bookcase feels unstable at any point, stop and re-evaluate. Ensure it is securely fastened to the wall.
That’s the most critical part.
You can do simple checks. After it’s installed, push on it gently. Does it move?
Does it creak? If you can push it from the top, it’s not secure enough. You might need more screws or a different anchoring method.
Always use a level during installation. A crooked bookcase is not only unsightly but can also be less stable.
Quick Checks for Your Bookcase
- Stability Test: Gently push the top. It should not wobble.
- Level Check: Use a spirit level on shelves and sides.
- Anchoring Points: Ensure it’s screwed into wall studs at multiple points.
- Finish Quality: Inspect for drips, missed spots, or rough patches.
The main takeaway is that this project is achievable. It might take a weekend or two. But it’s a project that makes a big impact.
It adds personality and function to your home. Don’t be afraid to try.
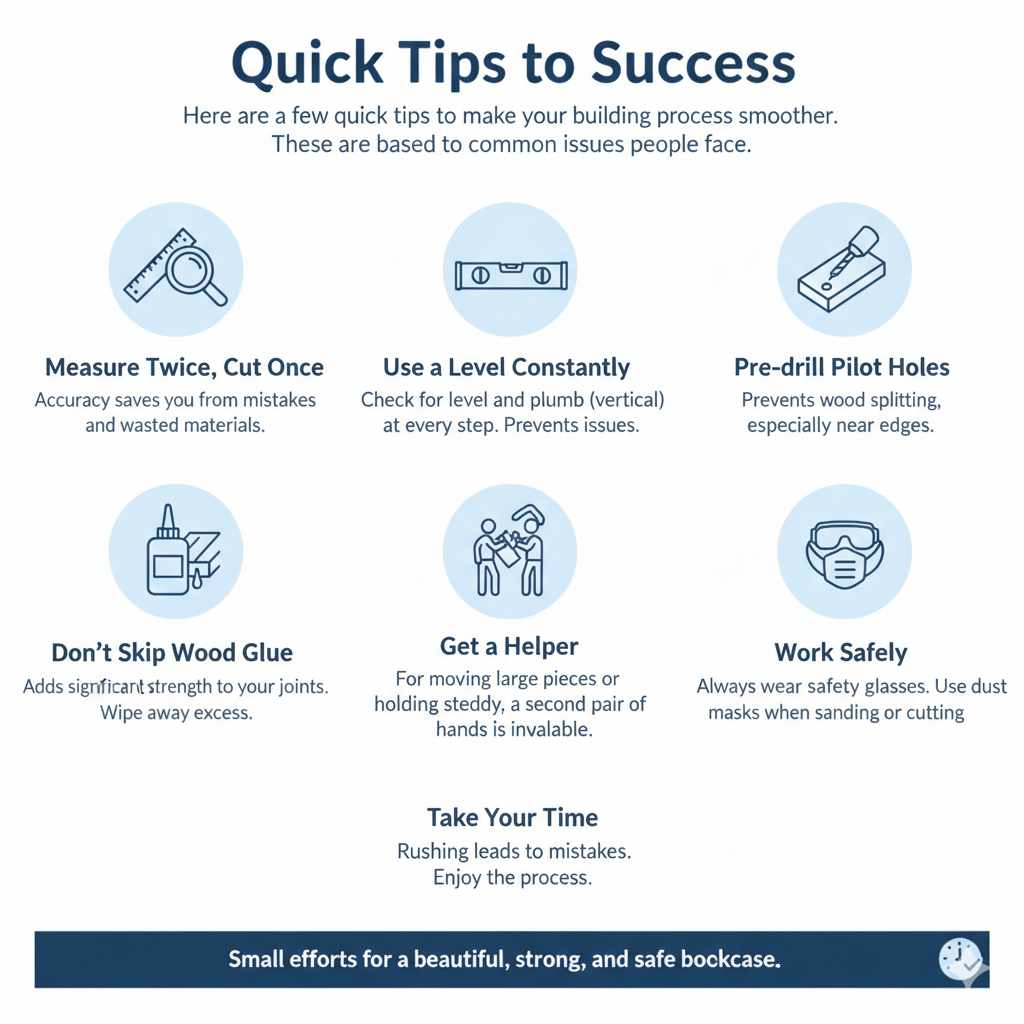
Quick Tips for Success
Here are a few quick tips to make your building process smoother. These are based on common issues people face.
- Measure Twice, Cut Once: This is an old saying for a reason. Accuracy saves you from mistakes and wasted materials.
- Use a Level Constantly: Check for level and plumb (vertical) at every step. A slightly off shelf can cause issues.
- Pre-drill Pilot Holes: This is critical. It prevents wood splitting, especially near edges.
- Don’t Skip Wood Glue: Glue adds significant strength to your joints. Wipe away excess glue before it dries.
- Get a Helper: For moving large pieces or holding things steady, a second pair of hands is invaluable.
- Work Safely: Always wear safety glasses. Use dust masks when sanding or cutting.
- Take Your Time: Rushing leads to mistakes. Enjoy the process.
These small things can make a big difference. They help ensure your bookcase is not only beautiful but also strong and safe.
Frequently Asked Questions
How do I make sure my bookcase is safe and won’t tip over?
The most important safety step is anchoring the bookcase securely to the wall studs. Use long screws that go deep into the studs. If you cannot find studs, use heavy-duty drywall anchors designed for significant weight.
For very tall or heavy bookcases, consider using anti-tip straps as an extra measure of safety.
What is the best material for shelves to prevent sagging?
For shelves that are longer than 30 inches, using ¾-inch thick plywood or solid wood is best. For even longer spans, consider adding a front edge trim piece made of solid wood glued and screwed to the front of the plywood shelf. This adds rigidity.
Alternatively, you can add a hidden support cleat underneath the shelf along the back edge.
Can I build a floor-to-ceiling bookcase without professional tools?
Yes, you can. While a miter saw makes cuts very accurate, a circular saw can also be used effectively with a straight edge guide. A good drill/driver is essential.
Many hardware stores offer cutting services, so you might only need to make a few final cuts yourself. Hand tools can be used for some steps, but power tools make it much faster and easier.
How do I calculate the spacing for my shelves?
Measure the tallest books or items you plan to store. Add an inch or two for clearance. For adjustable shelves, mark these heights on your plan.
If you’re building fixed shelves, measure and mark the exact spots on the side panels before cutting. Remember to account for the thickness of the shelf itself when calculating spacing.
What kind of finish is best for a bookcase?
This depends on your preference and the room. Paint offers many color options and can hide imperfections in the wood. Stains enhance the natural wood grain.
A clear coat like polyurethane protects the wood and adds durability. For high-traffic areas or homes with children, a tougher finish like a water-based polyurethane or a durable paint is recommended.
How much weight can a floor-to-ceiling bookcase hold?
A properly built and secured floor-to-ceiling bookcase can hold a significant amount of weight. The exact amount depends on the materials used, the thickness of the shelves, the spacing between supports, and how well it’s anchored to the wall. Shelves made from thick plywood or solid wood, with supports every 2-3 feet, can hold 50-100 pounds per shelf.
Conclusion
Building a floor-to-ceiling bookcase is a rewarding project. It transforms a plain wall into a beautiful storage solution. With careful planning and the right steps, you can achieve a stunning result.
Enjoy your new custom-built library!


