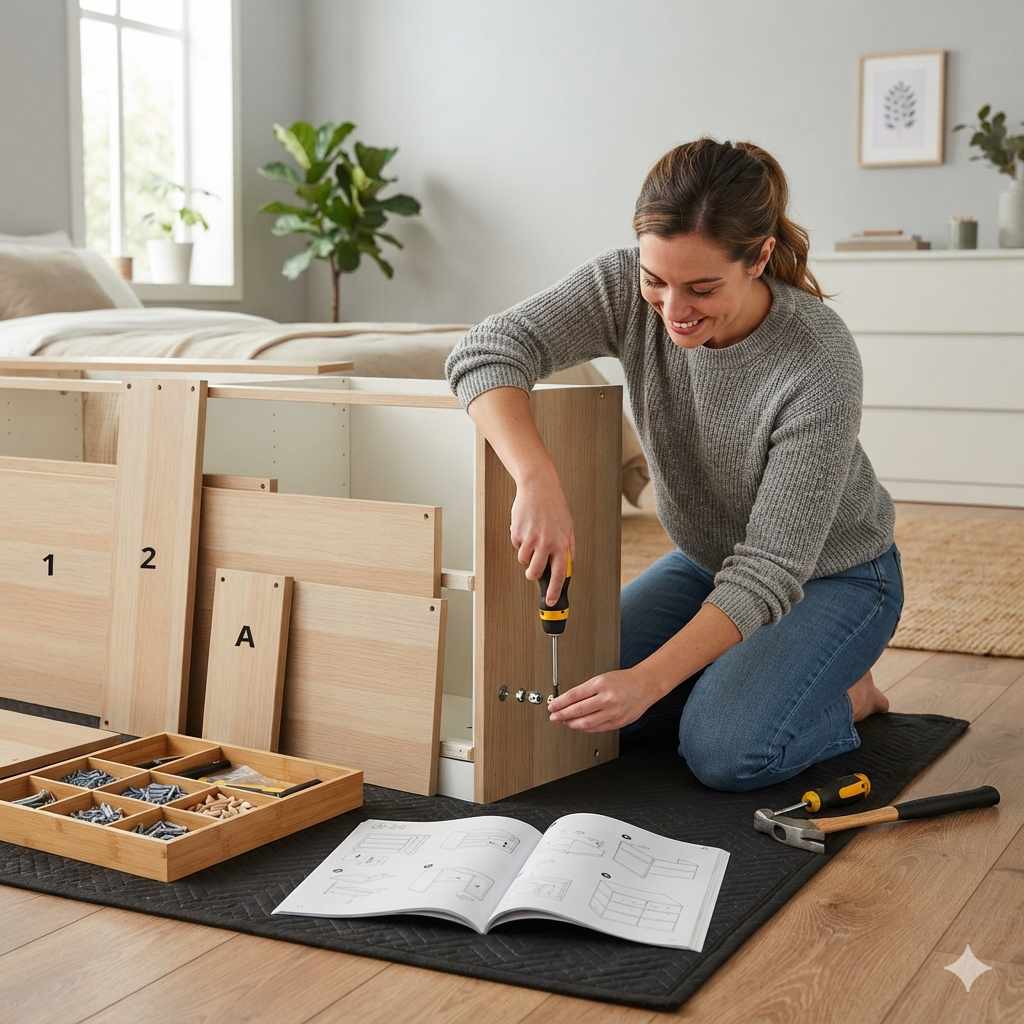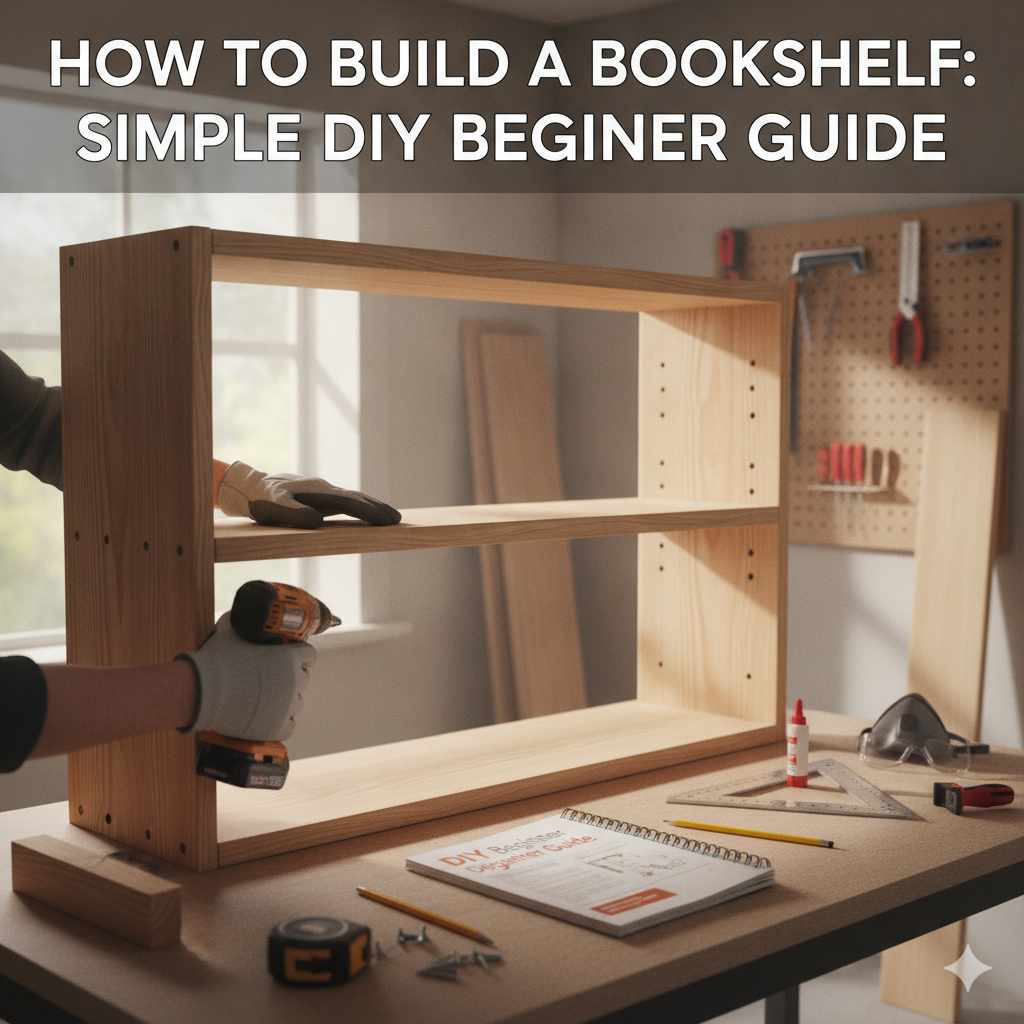
Building a bookshelf involves selecting materials, cutting wood pieces to size, assembling the frame and shelves, and finishing the structure. This guide offers simple instructions for beginners to create a functional and attractive bookshelf.
What Is a Bookshelf and Why Build One?
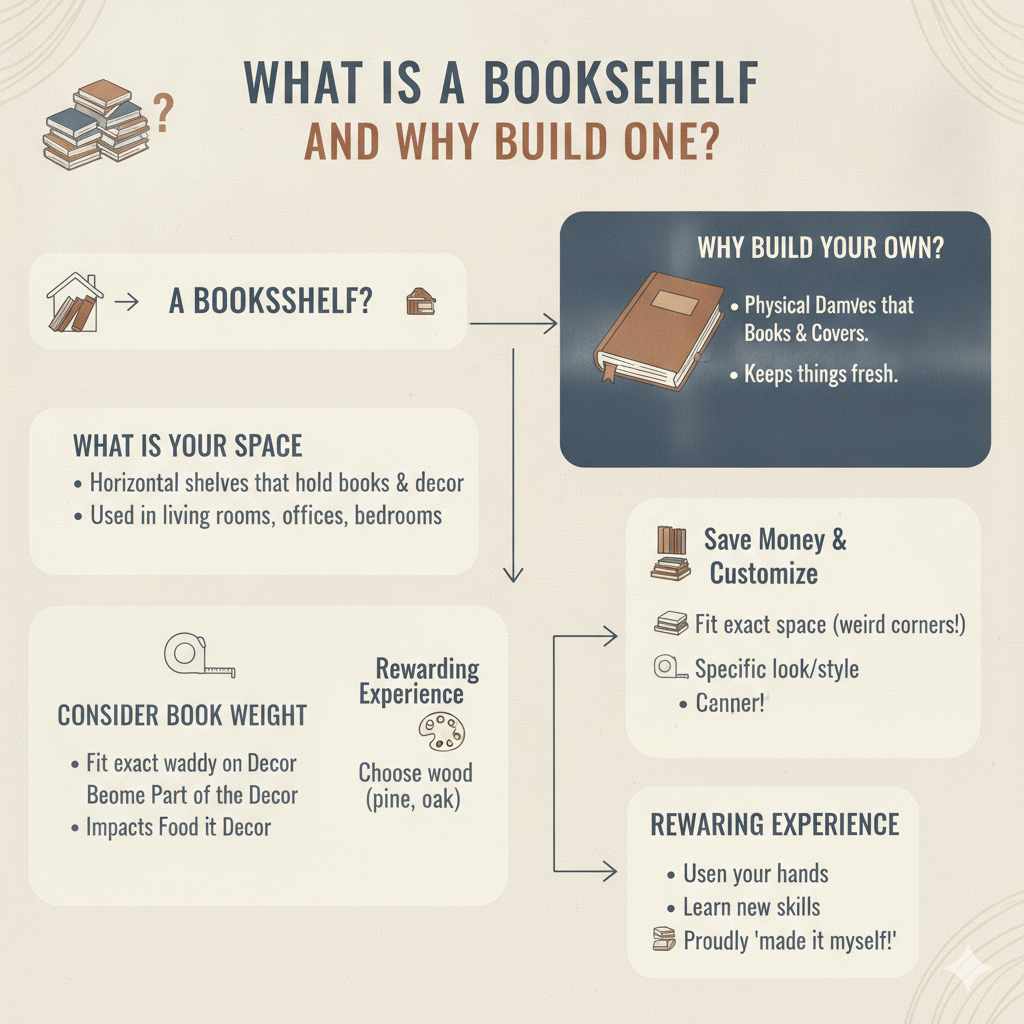
A bookshelf is a piece of furniture. It has horizontal shelves. These shelves hold books.
It can also hold other things, like decor. People use them in living rooms, offices, and bedrooms.
Why build your own? There are many good reasons. You can save money.
You can also make it fit your exact space. Maybe you have a weird corner that needs a special size shelf. Or perhaps you want a specific look that you can’t find in stores.
Building your own lets you choose the wood. You can pick a nice pine or a stronger oak. It’s also very rewarding.
You get to use your hands. You learn new skills. At the end, you have something you made yourself.
That’s a great feeling.
My First Bookshelf Story: A Lesson in Patience
I remember my very first attempt at building anything more than a birdhouse. It was for my growing collection of cookbooks. I’d seen these beautiful, simple pine shelves online.
I thought, “How hard can it be?” I grabbed some wood from the hardware store, a cheap saw, and a drill. My dad tried to give me advice, but I was too excited. I just wanted to get started.
I cut the wood. Or, I tried to. My lines were wobbly.
The cuts weren’t square. When I tried to put the sides together, one was a bit shorter than the other. It leaned.
I felt a wave of frustration, and honestly, a little panic. This was supposed to be easy! I almost gave up then and there.
But I took a deep breath. I looked at the crooked pieces. I realized I needed to slow down.
I needed to measure carefully. I needed to use a square to make sure my cuts were straight. It took longer than I expected.
But slowly, I got a wobbly, but upright, frame. Then came the shelves. They were also a bit uneven.
The whole thing wasn’t perfect. It sagged a little in the middle. But it held books.
And I learned more from that imperfect shelf than any book could teach me. It taught me about patience and precision.
Essential Tools for Your Bookshelf Build
Safety First: Always wear safety glasses. Gloves are good too.
Measuring: A tape measure is key. A speed square helps make straight lines and 90-degree angles.
Cutting: A hand saw works, but a circular saw or miter saw makes cuts much easier and straighter.
Joining: A drill with drill bits and driver bits is a must. Wood glue adds strength. Screws are strong fasteners.
Finishing: Sandpaper (various grits) smooths the wood. Paint or stain gives it color.
Planning Your Simple Bookshelf Design
Before you cut any wood, you need a plan. This is where you decide what your bookshelf will look like. For a beginner, a simple rectangular design is best.
Think about the size.
How tall do you want it? How wide? How deep should the shelves be?
Most books are about 8-10 inches tall. So, shelves with a height of 12 inches give you plenty of room. Most books are also about 5-6 inches deep.
So, shelves that are 8-10 inches deep work well.
For a basic build, let’s plan for a bookshelf that is about 3 feet tall and 2 feet wide. It will have three shelves. We will use 1×10 lumber.
This means the wood is about 3/4 inch thick and 9 1/4 inches wide. This depth is great for most books.
You’ll need two side pieces. These will be your height. Let’s say 36 inches tall.
You’ll need a top piece and a bottom piece. These will be your width. Let’s say 24 inches wide.
You will also need shelves. For three shelves, you’ll need three shelf pieces. These will also be 24 inches wide.
Wait, there’s a small detail. The side pieces go on the outside of the top and bottom. So, the top and bottom pieces need to fit between the side pieces.
If your side pieces are 3/4 inch thick, then your top and bottom pieces should be the total width minus two times the thickness of the side pieces. If you want the total width to be 24 inches, and your sides are 3/4 inch thick, then your top and bottom pieces should be 24 – (2 * 3/4) = 24 – 1.5 = 22.5 inches wide.
The shelves will also fit between the side pieces. So, the shelves will also be 22.5 inches wide. This is a common way to build and it looks nice.
It hides the ends of the shelves.
Let’s list the cuts for this simple design:
- Two (2) side pieces: 1×10 lumber, 36 inches long.
- One (1) top piece: 1×10 lumber, 22.5 inches long.
- One (1) bottom piece: 1×10 lumber, 22.5 inches long.
- Three (3) shelf pieces: 1×10 lumber, 22.5 inches long.
You’ll also need a back piece. This adds stability. You can use thin plywood, like 1/4 inch thick.
The size will be the full height by the full width. So, 36 inches tall by 24 inches wide. You can buy this size or cut it from a larger sheet.
Choosing Your Wood Wisely
For beginners, common pine boards (like 1x10s) are a great choice. They are affordable and easy to work with.
Look for straight boards with few knots. Knots can be weak spots. They can also make finishing harder.
Avoid warped or twisted wood. It will make your project much harder.
Gathering Your Materials and Tools
Now that you have a plan, it’s time to get your supplies. Think of this like gathering ingredients for a recipe. Having everything ready makes the building process much smoother.
Wood: Based on our plan above, you’ll need:
- Several pieces of 1×10 lumber. The total length needed is (2 36 inches) + (3 22.5 inches) + (1 * 22.5 inches) = 72 + 67.5 + 22.5 = 162 inches. This is about 13.5 feet. It’s always good to buy a little extra, maybe 15 feet total, in case of mistakes.
- A piece of 1/4 inch plywood for the back, at least 24 inches by 36 inches.
Fasteners and Glue:
- Wood screws. For 3/4 inch thick wood, 1 1/4 inch or 1 1/2 inch screws are good.
- Wood glue. A good quality wood glue is essential for strong joints.
Finishing Supplies:
- Sandpaper. Start with a medium grit (like 120) and finish with a fine grit (like 220).
- Paint, stain, or clear coat. Choose what you like for the final look.
- Brushes or rags for applying finish.
Tools you’ll need:
- Tape measure
- Pencil
- Safety glasses
- Speed square (highly recommended for accuracy)
- Saw (hand saw, circular saw, or miter saw)
- Drill and drill bits (one for pilot holes, one for countersinking if you want screws hidden)
- Driver bits for your screws
- Optional: Clamps can be very helpful to hold pieces together while gluing or screwing.
Take your time at the store. Lay out the wood. Check for straightness.
If you’re unsure, ask a store employee for help. They can often help you pick good boards.
Cutting Your Wood Pieces Accurately
This is where precision really matters. Even a small mistake here can cause problems later.
First, put on your safety glasses. Always wear them when cutting or drilling.
Use your tape measure and pencil to mark your cut lines on the wood. For the best accuracy, use your speed square. Line up the square with the edge of the board.
Draw a straight line across. This line is where you will cut.
If you’re using a hand saw, make sure the wood is secure. You can clamp it to a workbench or saw horses. Cut slowly and steadily on the waste side of your line.
This means the side of the line that won’t be part of your final piece.
If you’re using a power saw, follow its safety instructions carefully. A circular saw or miter saw will give you straighter, faster cuts. Again, cut on the waste side of your line.
Ensure your cut is as close to a 90-degree angle as possible. This means perfectly square.
Cut all your pieces according to the list we made earlier. Double-check each measurement before you cut.
After cutting, it’s a good idea to lightly sand the cut ends. This removes any splinters. It also makes them smooth for joining.
How to Use a Speed Square
A speed square is a triangle-shaped tool. It has markings on it.
To mark a straight line: Place the edge of the square against the edge of your wood. The edge of the square that is a straight line (not the angled one) should be against the wood’s edge. The edge that has the markings will be where you draw your pencil line across the board.
To check for square cuts: After you make a cut, place the speed square on the cut edge. Line up the edge of the square with the cut. See if the square’s lines meet the edge of the wood perfectly.
This shows if your cut is 90 degrees.
Assembling the Bookshelf Frame
Now comes the exciting part: putting it all together. We’ll start with the main box, which is the sides, top, and bottom.
Take one of your side pieces. Lay it flat on your work surface. We need to attach the top and bottom pieces to this side piece.
Remember, the top and bottom pieces (22.5 inches long) will fit between the side pieces (36 inches long).
Apply wood glue to the end of the top piece. Place this glued end onto the top edge of the side piece. Make sure the edge of the top piece is flush with the outside face of the side piece.
The top piece should be centered left-to-right on the side piece’s end. It should sit exactly on top of the side piece’s edge.
Now, you need to screw them together. This is where pilot holes are helpful. Pilot holes are small holes drilled before you put in the screws.
They prevent the wood from splitting. They also make it easier for the screws to go in straight.
Use a drill bit that is slightly smaller than your screw’s width. Drill two pilot holes through the side piece and into the end of the top piece. Make sure the holes are about an inch from the top and bottom edges of the top piece.
Space them evenly.
Apply glue to the other end of the top piece. Attach the other side piece (36 inches long). Again, drill pilot holes through this second side piece into the top piece.
Screw them together.
You should now have the top piece connected to both side pieces. The sides are standing up, and the top piece is across them.
Now, repeat this process for the bottom piece. Apply glue to the ends of the bottom piece (22.5 inches long). Position it at the bottom of the side pieces.
Make sure it’s flush with the bottom edge of the side pieces. Drill pilot holes and screw it in place from the outside of the side pieces.
You should now have a basic rectangular frame. It might not be perfectly square yet. This is where clamps can be very useful.
If you have clamps, you can gently pull the corners to make them 90 degrees. Then, tighten the screws.
Countersinking Screws for a Clean Look
If you want your screws to be hidden or flush with the wood surface, you can countersink them. This means creating a small cone-shaped hole around the pilot hole.
You can use a special countersink bit with your drill. Or, you can use a larger drill bit to lightly ream out the top of the pilot hole.
After drilling the pilot hole, use the countersink bit. Just a few seconds of drilling will create the recess. Then, when you drive the screw, its head will sit flush or slightly below the wood surface.
Adding the Shelves
With the main frame built, it’s time to add the shelves. These also fit between the side pieces, measuring 22.5 inches long.
Decide where you want your shelves. For our 36-inch tall bookshelf, placing them at equal distances works well. You’ll have the bottom piece, then a shelf, then a space, then another shelf, then a space, then the top piece.
Mark the position for each shelf. Measure up from the top of the bottom piece. Let’s say you want about 12 inches of space between shelves.
Mark a line on the inside of each side piece where the bottom of the shelf will sit. So, you’d measure up 12 inches from the top of the bottom piece and make a mark on both side pieces. Then measure up another 12 inches from that line and make another mark.
This gives you two shelf lines.
Make sure your marks are level. Use your speed square to draw a line across the inside of each side piece at these marks. This line shows where the bottom of the shelf will rest.
Now, apply wood glue to the ends of one of the shelf pieces. Slide it into place between the side pieces. Align the bottom of the shelf with the pencil line you drew.
Make sure it’s pushed all the way to the back.
To secure the shelf, you’ll screw through the side pieces into the ends of the shelf. Drill two pilot holes through the side piece and into the end of the shelf. Space them evenly.
Drive screws through the side pieces into the shelf. Repeat this for all three shelves. Make sure each shelf is as level and square as possible before you screw it in.
Shelf Support Options
For simple bookshelves, screwing shelves directly into the sides is common and strong.
Other options include:
- Shelf pins: These allow you to adjust shelf height. You drill holes in the sides and insert small metal or plastic pins.
- Cleats: Small strips of wood can be screwed to the inside of the side panels. Shelves then rest on these cleats.
For this beginner guide, we are using the direct screw method for simplicity and strength.
Attaching the Back Panel for Stability
The back panel is very important for a bookshelf. It stops the shelves from bowing out and keeps the whole unit from racking (wobbling side-to-side).
Lay your assembled bookshelf frame face down on a clean, flat surface. Ensure the frame is as square as possible. You can check this by measuring diagonally from corner to corner.
The two diagonal measurements should be the same.
Take your 1/4 inch plywood back panel. Position it onto the back of the bookshelf frame. It should cover the entire back opening.
Make sure the edges of the plywood are flush with the outside edges of the bookshelf frame.
Now, you’ll attach the plywood. You can use small nails or screws for this. Small finishing nails are common.
Use them every 6-8 inches around the perimeter of the back panel. Nail into the side pieces, the top piece, and the bottom piece.
Also, nail or screw through the back panel into the back edge of each shelf. This adds a lot of strength and prevents the shelves from sagging over time. Space these fasteners every 8-10 inches along the back of each shelf.
If you’re using screws, drill pilot holes first, especially into the thinner plywood. This prevents cracking.
Once the back panel is attached, your bookshelf structure is complete! It should feel much more solid now.
Sanding and Preparing for Finishing
This step makes a huge difference in how your finished bookshelf looks and feels. Take your time with sanding.
Start with a medium-grit sandpaper (like 120 grit). Go over all the surfaces of the bookshelf. Focus on the edges, corners, and any areas where the wood might feel rough.
Sand in the direction of the wood grain. This helps avoid visible scratches.
Pay special attention to the joints where pieces of wood meet. Sand them smooth so they blend together. Also, sand any pencil marks or glue residue.
After you’ve gone over everything with the medium grit, switch to a fine-grit sandpaper (like 220 grit). Sand all the surfaces again. This second sanding smooths out any minor imperfections left by the first sanding.
It makes the wood feel very smooth to the touch.
Once you’re done sanding, it’s crucial to clean off all the dust. Use a shop vacuum or a dry cloth to remove as much dust as possible. Then, wipe everything down with a slightly damp cloth or a tack cloth.
This picks up the fine dust particles that the vacuum might miss.
Let the bookshelf dry completely after wiping it down. You want a perfectly clean and smooth surface before you apply any finish.
Sanding Tips for Beginners
Always sand with the grain. This is the most important rule for a smooth finish.
Don’t skip grits. Moving from a coarse grit directly to a very fine grit won’t give you the best results.
Feather your sanding. When sanding a large area, gradually lighten your pressure towards the edges to avoid creating distinct sanding marks.
Clean as you go. Wipe away dust often. Dust is the enemy of a good finish.
Applying Your Finish: Paint or Stain
Now you get to give your bookshelf its final look. You can paint it, stain it, or apply a clear coat.
If you’re painting:
Choose your paint color. You can use latex paint or oil-based paint. Latex is easier to clean up.
Apply a coat of primer first. This helps the paint stick better and gives a more even color. Let the primer dry completely.
Apply your first coat of paint. Use a brush for corners and edges. A roller can cover large surfaces quickly.
Apply thin, even coats. Avoid applying too much paint at once, as it can lead to drips.
Let the first coat dry thoroughly according to the paint can instructions. Lightly sand any areas with drips or rough spots with fine-grit sandpaper. Wipe away the dust.
Apply a second coat of paint. You might need a third coat for full coverage, depending on the color.
If you’re staining:
Stain adds color to the wood while letting the grain show through. Choose your stain color. Test it on a scrap piece of the same wood first to see how it looks.
Apply the stain with a brush or rag. Work it into the wood. Let it sit for a few minutes (check the can for timing).
Then, wipe off the excess stain with a clean rag, again, wiping with the wood grain.
Let the stain dry completely. This can take several hours or even overnight.
After staining, you’ll want to apply a protective topcoat. Polyurethane or a clear varnish are good choices. Apply one or two thin coats, letting each coat dry and lightly sanding between coats with very fine sandpaper (like 320 grit) and wiping away dust.
If you’re using a clear coat only:
This is for a natural wood look. Apply a few thin coats of polyurethane or a similar clear finish. Sand lightly between coats and wipe away dust.
Always work in a well-ventilated area when finishing. Follow the product instructions carefully for the best results and drying times.
Quick Guide to Finishes
- Paint: Covers wood completely for a solid color. Great for a modern or bold look.
- Stain: Adds color while showing wood grain. Good for traditional or natural looks.
- Clear Coat (Polyurethane, Varnish): Protects wood and adds a sheen without changing color much.
- Oil Finishes (Tung Oil, Linseed Oil): Penetrate wood for a very natural, matte look. Require reapplication over time.
Real-World Context: Where Your Bookshelf Fits In
Think about the room where your new bookshelf will live. Is it a busy living room where it needs to look nice and sturdy? Or is it a quiet home office where function is key?
The environment matters. If it’s in a sunny spot, some finishes might fade over time. If it’s in a humid bathroom, you’ll need a moisture-resistant finish.
Consider your habits. Are you someone who likes to rearrange furniture often? A lighter bookshelf might be better.
Or are you a heavy reader who will fill it to the brim? Then you need to ensure it’s built strong.
The design of your home can also play a role. A rustic cabin might suit a distressed wood finish. A modern apartment might call for a sleek, painted look.
The simple design we’ve covered works well in almost any setting because it’s classic.
Most people miss the importance of the back panel. Without it, the whole unit can twist and turn. It’s the quiet hero of bookshelf stability.
Also, thinking about how you’ll load it is wise. Don’t overload shelves, especially if they are long. Weight distribution is key for longevity.
What This Means for You: Normal vs. Concerning
Once your bookshelf is built and finished, it’s normal for it to have a few minor imperfections. Small gaps where wood pieces meet, or slight unevenness in the finish, are often part of the charm of handmade items. These are not things to worry about.
What might be concerning? If the bookshelf leans significantly, or if you notice shelves starting to sag noticeably under light weight, that’s a sign something isn’t quite right. This could be due to cuts not being perfectly square, not enough screws, or a weak back panel.
A simple check is to push gently on the sides. Does it wobble a lot? If so, check your screws and the back panel.
Make sure all connections are tight and secure. If the shelves themselves seem to be bending, you might need to add more support or reduce the weight on them.
For our basic design, the back panel is your best friend for stability. If you feel the unit is a bit wobbly, ensure the back is well-attached. You can always add more screws or nails if needed.
If you ever need to move heavy items onto the shelf, consider using some strong shelf brackets that attach to the wall. This is a good safety measure, especially for taller units or if you have young children around.
Quick Fixes and Tips for Your Bookshelf
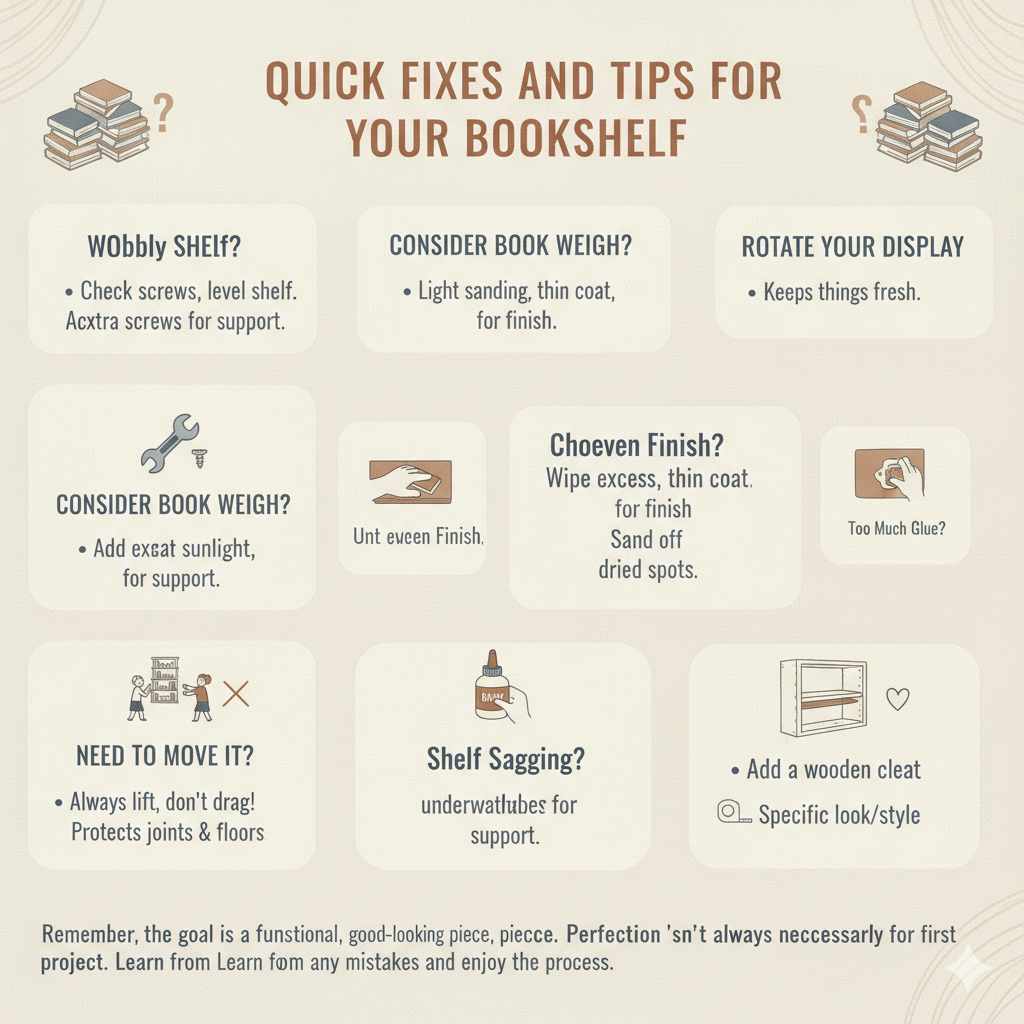
Even with the best intentions, small issues can pop up. Here are a few tips:
- Wobbly Shelf? Check if the screws are tight. Make sure the shelf is level. You might need to add an extra screw or two into the side panel for more support.
- Uneven Finish? Sometimes, a light sanding with very fine grit sandpaper and another thin coat of finish can even things out.
- Too much glue squeeze-out? Wipe excess glue immediately with a damp cloth. If it dries, it’s harder to remove. Small dried glue spots can be sanded off before finishing.
- Need to move it? Always lift your bookshelf. Don’t drag it, especially on carpet. Dragging can stress the joints and damage the finish or floor.
- Shelf Sagging? If a shelf starts to sag over time, you can try adding a simple wooden cleat (a thin strip of wood) underneath it, attached to the side panels.
Remember, the goal is a functional, good-looking piece. Perfection isn’t always necessary, especially for a first project. Learn from any mistakes and enjoy the process!
Frequent Questions About Building a Bookshelf
What is the easiest wood to use for a beginner bookshelf?
Pine is generally considered the easiest wood for beginners. It’s affordable, readily available, and easy to cut, sand, and finish. Avoid hardwoods like oak or maple for your first project as they are harder to work with.
How do I make sure my bookshelf is level and square?
Use a tape measure and a speed square to check all your cuts and assembly. Measure diagonally across the frame. The two diagonal measurements should be equal.
Also, use a level to ensure the shelves are horizontal and the sides are vertical.
How far apart should shelves be?
This depends on what you plan to store. For standard books, a shelf height of 10-12 inches between shelves is usually sufficient. For larger books or display items, you might need more space.
Measure your tallest items to be sure.
What size screws should I use?
For 3/4 inch thick lumber, 1 1/4 inch or 1 1/2 inch wood screws are generally a good choice. They are long enough to get a good grip without going all the way through both pieces of wood.
Do I really need a back panel?
Yes, a back panel is highly recommended for stability. It prevents the bookshelf from racking (wobbling side to side) and helps keep the shelves from bowing. It adds significant structural integrity to the entire unit.
Can I build a bookshelf without a power saw?
Yes, you can. A good quality hand saw can be used. It will take more effort and may require more care to get straight cuts.
A speed square is essential for marking straight lines to follow with your hand saw.
How do I attach shelves to the sides if I don’t want to screw through them?
You can use wooden cleats. These are small strips of wood screwed to the inside of the side panels at the desired shelf height. The shelves then rest on these cleats.
Another option is to use shelf pins for adjustable shelving, but this requires more precise drilling.
Conclusion: Your Handmade Bookshelf Awaits
Building your own bookshelf is a truly achievable project. You’ve learned about planning, cutting, assembling, and finishing. Remember the key is patience and careful measurement.
Don’t be afraid to take your time. Your finished bookshelf will be a source of pride and a testament to your new skills. Enjoy filling it with your favorite books and treasures!