
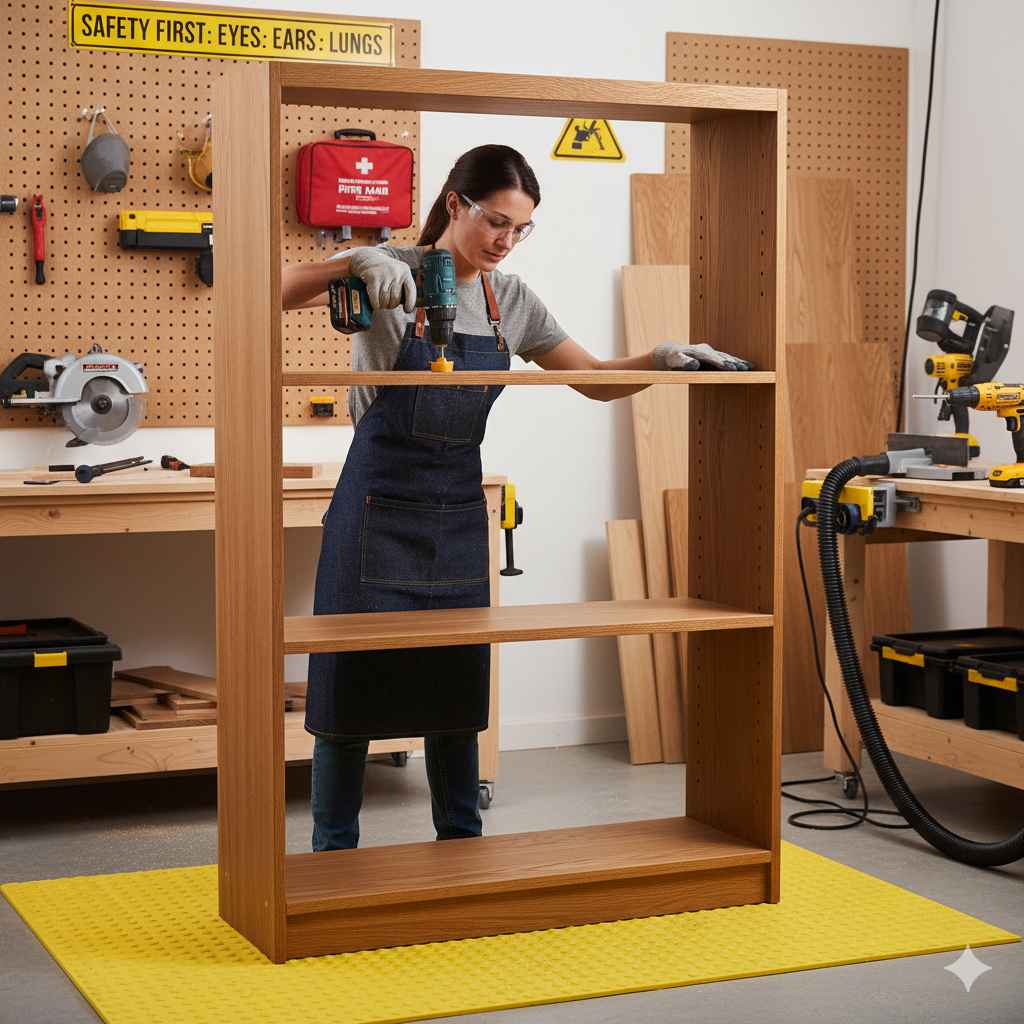
Crafting a bookcase safely means preparing your space, using the right protective gear (like safety glasses), choosing sturdy materials, and following precise measuring and cutting steps to ensure a stable final build. Safety first makes for a solid bookcase!
Welcome! Building something strong for your home, like a custom bookcase, feels great. But working with wood, power tools, and screws can feel intimidating if you are new to DIY. You might worry about cutting things wrong or tools slipping. Don’t let that stop you! Anyone can learn these steps. We are going to break down exactly how to craft a beautiful, sturdy bookcase while keeping safety the number one priority. By the time we are done, you will have a clear roadmap to build with confidence. Let’s look at exactly what you need before we start cutting wood.
Planning Your Safe Bookcase Build
Before you even touch a piece of wood, planning is your best friend for safety and success. A well-planned project rarely results in frustrating mistakes or risky workarounds. For a bookcase, planning covers design, material choice, and layout.
Step 1: Design and Dimensions – Keeping it Balanced
Your design dictates the safety of the finished product. A tall, narrow bookcase is much more likely to tip over than a low, wide one. We need to calculate size to fit your space and hold your books without falling.
Measure Your Space Carefully
Always measure twice, cut once! This old saying is a safety tip in itself—fewer mistakes mean less risky rework.
- Measure the intended height, width, and depth where the bookcase will live.
- Account for the baseboards or trim if the bookcase will sit flush against the wall.
- Remember to leave a little wiggle room (about half an inch) so it slides in easily.
Determine Shelf Span and Strength
Heavy books need strong support. If your shelves are too long (spanning too far without a middle support), they will sag or break over time. A sagging shelf is a collapsing hazard.
- For standard 3/4-inch plywood or solid wood, try to keep shelf spans under 36 inches wide for heavy loads like books.
- If you need a wider span, plan for a vertical divider in the middle to support the shelf from underneath.
Step 2: Gathering the Right (and Safe) Materials
The materials you choose affect how easy the project is to build and how safe it is once it’s loaded with books. We focus on sturdy wood and strong fasteners.
Wood Selection for Sturdiness
For a beginner, pre-sanded plywood or solid pine boards are excellent choices. Avoid soft woods like balsa, which won’t support much weight.
For the main carcass (the outside box) and shelves, look for:
- 3/4-inch Plywood (Cabinet Grade): Strong, resists warping, and is easy to paint or stain.
- Solid Wood Boards (e.g., Pine or Poplar): Beautiful, but can be slightly more expensive and may need more sanding.
Essential Fasteners and Adhesives
We need things to hold together under the constant weight of literature. Glue and screws are far superior to just nails for heavy-duty furniture.
| Component | Best Choice for Strength | Why It Matters for Safety |
|---|---|---|
| Adhesive | Yellow Wood Glue (like Titebond II or III) | Creates a bond stronger than the wood itself when clamped properly. |
| Screws | Coarse Thread Wood Screws (1 1/4″ to 2″) | Provides excellent grip; prevents joints from separating while under load. |
| Shelf Pins | Metal Pins with a Locking Collar | Adjustable shelves must not wiggle free when books are pulled out. |
Step 3: Essential Safety Gear – Non-Negotiable Protection
This is the most critical part of “how to craft a bookcase safely.” Think of your safety gear like your seatbelt in the car—you never skip it, even for a short trip. Power tools can cause serious harm quickly.
Here is your essential safety checklist:
- Safety Glasses or Goggles: Must meet ANSI Z87.1 standards. Wood dust and debris fly much further and faster than you think.
- Hearing Protection: Earmuffs or earplugs are necessary when using routers, table saws, or circular saws. Prolonged noise exposure damages your hearing permanently.
- Dust Mask or Respirator: Especially important when sanding or cutting MDF or treated lumber. Fine wood dust is harmful to your lungs.
- Appropriate Clothing: Tie back long hair, remove dangling jewelry, and wear closed-toe, sturdy shoes. Never wear loose clothing that could get caught in a spinning blade.

Preparing Your Tools and Workspace for Safe Building
A clean, organized workspace prevents tripping and keeps your focus exactly where it should be: on the cut or joint you are making. Treating your tools with respect is key to safe woodworking.
Setting Up a Clean Work Zone
Your garage, basement, or dedicated workshop needs to be set up for success. We are aiming for clear pathways and stable surfaces.
- Stable Work Surface: Use sawhorses or a sturdy workbench. Anything that wobbles while you are measuring or cutting is a major hazard.
- Good Lighting: You need to clearly see your pencil lines and the blade path. Shadows can hide mistakes.
- Clear Clutter: Keep scrap wood, tools not currently in use, and sharp objects off the floor. Tripping while carrying a long board is dangerous.
- Ventilation: If painting, staining, or gluing, ensure you have fresh air moving through the area.
Tool Safety Check: Before You Plug In
Just like checking your tire pressure before a road trip, you must check your tools before using them.
Always inspect your primary cutting tools:
- Circular Saw/Table Saw: Ensure the blade guard is working correctly and snaps back into place instantly. Check that the depth of the blade is set correctly (it should only extend about 1/8 inch below the material thickness).
- Drill/Driver: Make sure the battery is charged (or the cord is clear of the cutting path). Ensure the drill bit or driver bit is tightened securely in the chuck.
- Clamps: Have more clamps than you think you need. Nothing is safer than having two hands free because the material is securely fastened down.
For reliable wood safety standards, you can always reference resources like the Occupational Safety and Health Administration (OSHA) guidelines regarding tool operation, even though they focus on commercial settings, the basic physical safety principles apply at home.
The Cutting Process: Precision Meets Protection
Cutting the pieces accurately is essential for a solid, long-lasting bookcase. If the cuts aren’t square (perfect 90 degrees), the bookcase will lean, leaving gaps where stress accumulates—eventually leading to failure.
Marking Cuts Safely and Accurately
Mistakes happen when you rush the measurement.
- Use a Square: Always use a reliable carpenter’s square or speed square to mark your line. Draw the line firmly with a sharp pencil.
- Account for the Blade Kerf: The “kerf” is the width of the material removed by the saw blade. If you mark your cut line exactly on your measurement, the resulting piece will be too short. Many DIYers place the blade on the waste side of the marked line.
- Double Check: Measure the same dimension on both ends of the board before cutting.
Executing Cuts: Keeping Your Hands Away from Blades
This is where power tools demand your full attention and adherence to safety gear.
When using a circular saw (great for plywood sheets):
- Support the Material: Ensure the entire piece of wood you are cutting is fully supported by sawhorses or the ground, especially the off-cut side. Never let a piece hang freely, as this can pinch the blade.
- Use a Guide: For straight cuts, clamp a long, perfectly straight board (a “fence” or “straight edge”) parallel to your cut line. This prevents the circular saw from wandering, which is a significant cause of kickback and bad cuts.
- Let the Tool Reach Full Speed: Before the blade touches the wood, make sure the saw motor is running at its maximum RPM. Plunging the blade in slowly while it’s still spinning up increases the risk of binding.
- Push Through: Maintain a smooth, consistent feed rate. Don’t force the saw. Let the tool do the work.
If using a table saw (for more precise, repeatable cuts):
- Always use the push stick when the material is close to the blade. This keeps your hands far away from the spinning teeth.
- Never reach over a running blade. If a piece kicks back, reach for the power switch, not the wood.
Securing Shelves: Preventing Future Sagging
Properly installed shelves are crucial for long-term safety. We want to prevent shelves from bowing under the weight of hardcovers.
Fixed Shelves vs. Adjustable Shelves
| Shelf Type | Best Fastening Method | Safety Benefit |
|---|---|---|
| Fixed Shelves (Structural) | Glue and screws driven through the side panels (webbing). | Adds immense rigidity to the overall box structure; cannot fall out. |
| Adjustable Shelves | Metal pins firmly seated in pre-drilled holes. | Allows customization, but alignment is key for level support. |
For fixed shelves, use pocket holes or drive screws through the outside of the side panels into the shelf edges. Pre-drilling pilot holes slightly smaller than your screws is essential to prevent splitting the wood, which weakens the joint.
Assembly and Finishing: Securing the Structure
With all your pieces cut, assembly is where the structure comes together. Remember, even a small error in assembly can compromise the entire piece.
The Glue Up – Making Stronger Joints
In woodworking, screws hold things temporarily until the glue dries. Glue does the heavy lifting over time.
- Apply Evenly: Spread a thin, even layer of wood glue onto both adjoining surfaces. Wipe away any immediate squeeze-out with a damp rag—this makes finishing much easier later.
- Assemble and Clamp: Dry-fit the pieces first to ensure everything aligns. Then, apply glue, bring the pieces together, and immediately introduce clamps.
- Check for Square: While clamped, measure the diagonals of the box structure (from the top-left corner to the bottom-right, and top-right to bottom-left). If the two diagonal measurements are identical, the bookcase is perfectly square. Adjust clamps until this is achieved.
- Wait! Do not rush the glue curing time. Follow the manufacturer’s instructions, usually at least 30 minutes under clamp pressure, and 24 hours before heavy use or putting screws in the joint.
Adding the Back Panel for Stability
Especially for tall units, the thin back panel—often made of 1/4-inch plywood or hardboard—is vital. It turns the structure from a flimsy rectangle into a strong, rigid box by preventing racking (the tendency to lean side-to-side).
To attach the back panel safely and effectively:
- Ensure the main frame is perfectly square before attaching.
- Use small finish nails or staples, spaced every 6 to 8 inches along all edges (top, bottom sides, and any fixed internal shelving).
- Drive the fasteners straight in. If you strike a piece of wood at an angle with a hammer, it can glance off and cause injury. A pneumatic staple gun makes this easier and safer if you are comfortable using it.
Anchoring to the Wall – The Final Safety Layer
This step is absolutely mandatory, particularly if you have young children or live in an earthquake-prone area. Even perfectly built furniture can tip if leaned on suddenly.
A bookcase must be secured to a wall stud.
- Locate Studs: Use an electronic stud finder along the back wall where the bookcase will sit. Mark the center line of the studs lightly with a pencil.
- Secure the Top Rail: Use strong L-brackets or specialized anti-tip straps (often available from hardware stores or furniture safety sites). Attach one side to the back top edge of the bookcase frame.
- Drill and Fasten: Drill a pilot hole into the wall stud, then secure the bracket or strap firmly into the stud using long, heavy-duty screws.
Even if the bookcase seems heavy, always anchor it. It’s the ultimate safety precaution against accidental tipping.
Maintaining Your Built Bookcase for Long-Term Safety
Your job isn’t done when the last screw is in. Ongoing maintenance ensures your hard work remains safe for years to come.
Regular Inspection of Joints and Fasteners
Wood can shift slightly over time due to humidity changes. It’s wise to do a quick safety check twice a year.
- Check for loose screws on the exterior or where the back panel connects. Tighten only until snug; over-tightening can strip the wood threads.
- Gently push on the sides of the bookcase. If you feel any significant wobble or shimmying, those joints likely need reinforcement or new glue.
Weight Management and Shelf Loading
Never overload a shelf beyond what it was designed to hold. A good rule of thumb is to distribute weight evenly.
Place the heaviest books (like textbooks or large art books) on the lowest fixed shelves. This lowers the center of gravity, making the entire unit more stable. Lighter paperbacks can safely occupy the higher, adjustable shelves.
Dealing with Moisture and Environment
Wood expands and contracts with humidity. If your bookcase is in a damp basement, it might absorb moisture, potentially weakening the joints over decades.
If you notice any swelling or warp in the shelves, consider applying a protective sealant or finish (like polyurethane) to stabilize the wood and protect it from environmental changes. This moisture barrier also makes cleaning easier and safer.

FAQ: Beginner Questions About Building Bookcases Safely
Q1: What is the safest wood glue for a beginner to use on a bookcase?
A: Yellow standard wood glue (PVA glue) like Titebond II is the safest and easiest for beginners. It cleans up easily with water when wet and forms an incredibly strong bond once dry.
Q2: Do I really need safety glasses if I’m only using a hand saw?
A: Yes, always wear them. Even a hand saw can throw a splinter or dust directly into your eye, especially when cutting across the grain. Eye protection is never optional in woodworking.
Q3: How far apart should I place screws when attaching shelves for maximum safety?
A: For fixed structural shelves, place screws every 6 to 8 inches along the length of the joint. Always use pilot holes for screws near the edge of the wood to prevent splitting the material.
Q4: My bookcase wobbles—what is the safest way to fix it?
A: First, check if the bookcase is sitting on a perfectly level floor. If not, use thin, hard plastic or wooden shims under the bottom corners to level it. If the wobble remains, the structure likely needs a rigid back panel secured firmly to wall studs to stop it from racking.
Q5: Is it safe to use pocket holes on the main vertical sides of the bookcase?
A: Pocket holes are great for joining shelves to the sides, but for the main load-bearing joints where the top and bottom meet the sides, traditional screws driven through the side panels (or dowels/biscuits) combined with glue offer greater sheer strength for heavy loads.
Q6: What is the biggest safety mistake beginners make when cutting wood?
A: The biggest mistake is not using a fence or guide when using a circular saw. Freehand cutting with a circular saw often leads to curved cuts, binding, and increases the risk of tool kickback, which moves the tool unexpectedly toward the operator.
Q7: How high up should I anchor my bookcase to the wall for it to be truly safe?
A: The anchoring bracket or strap should be attached as high up on the bookcase structure as possible—ideally to the top rail. The higher the anchorage point, the less leverage an outside force has to pull the bookcase over.
Conclusion
Crafting a bookcase safely is as much about preparation and awareness as it is about skill. By planning your design carefully, choosing sturdy materials, wearing proper safety gear, and maintaining a clean, well-lit workspace, you greatly reduce the risk of injury and mistakes. Taking time to measure accurately, cut with control, secure joints with glue and screws, and anchor the finished bookcase to the wall ensures both personal safety during the build and long-term stability once it’s in use. Remember, a well-built bookcase is not just about appearance—it’s about strength, balance, and durability. When you follow safe practices from start to finish, you create a piece that protects your books, your space, and the people around it for years to come.


