Bookshelf Paint Problems: Why Paint Won’t Stick
If bookshelf paint peels, stays tacky, streaks, or won’t stick, the quickest repair is to match the failure to the shelf material, then sand, clean, prime, and repaint with the right system. Skip the cause, and you waste time, leave sticky shelves that collect dust, and risk another failed coat. This guide maps each symptom to its likely cause on wood, laminate, melamine, and metal, then gives the fastest repair for each one.
Bookshelf paint matrix


Use this table first. It separates symptom from material, which usually decides whether a light sand, a bonding primer, or a full strip is the fastest path. The redo time assumes the shelf is empty and the finish is dry enough to work on, not fully cured.
| Symptom | Likely cause | Bookshelf material | Fastest fix | Sand or strip? | Primer recommendation | Redo time estimate |
|---|---|---|---|---|---|---|
| Paint flakes at edges or corners | Poor adhesion on glossy finish or sharp edge wear | Laminate, melamine, veneer | Remove loose paint, scuff-sand, clean, then apply bonding primer and repaint | Sand; strip only if peeling is widespread | Bonding primer for slick surfaces | 1 to 2 days, plus cure time |
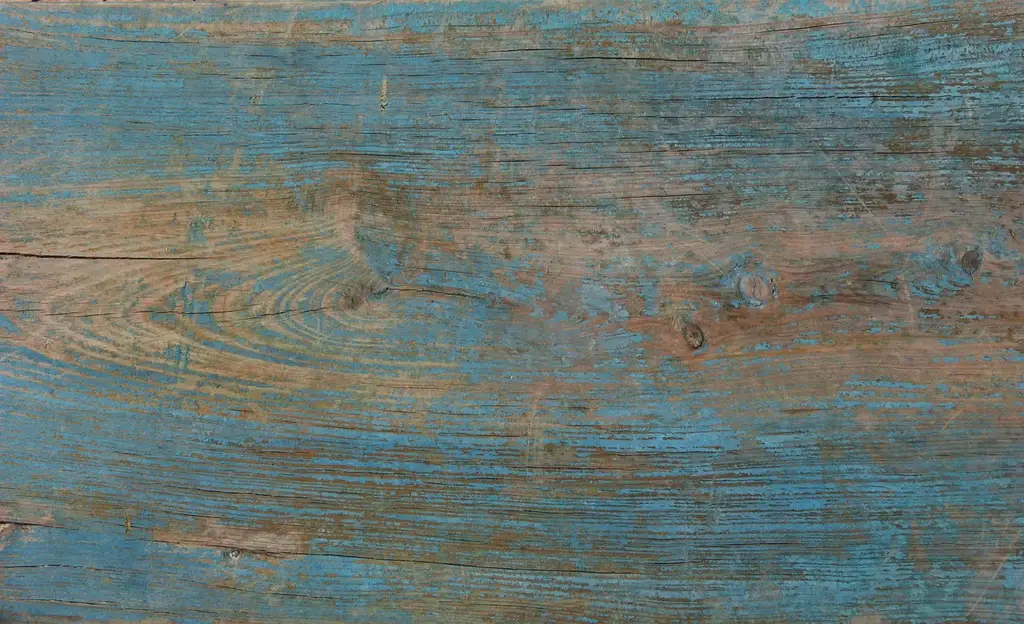
| Paint lifts in sheets | Wrong primer, grease, or unstable old finish | Solid wood, veneer, laminate | Scrape to a firm edge, sand to a sound base, prime, then repaint | Strip if the failure covers most of the shelf | Bonding primer over slick or unknown finish | 2 to 4 days |
| Paint stays gummy | Coat too thick, cool room, high humidity, or slow-drying paint | All materials | Improve airflow, wait for cure, and repaint thinly only if the film is damaged | Usually neither | Not the main fix; use the right topcoat | 1 to 7 days before full cure |
| Blotchy or streaky color | Uneven porosity, missed primer, or poor coverage | Wood, MDF, veneer | Sand lightly, spot-prime porous areas, then apply another thin coat | Sand, not strip | Stain-blocking primer if bleed-through appears | Same day to 2 days |
| Brush marks or roller texture | Wrong applicator, heavy coat, or paint starting to set while brushed out | All materials | Lightly sand smooth, adjust tool choice, then apply thinner coats | Sand | Primer only if surface prep was poor | 1 day plus cure time |
| Bleed-through or yellowing | Tannin or stain migrating through the coating | Solid wood, veneer, MDF | Seal with stain-blocking primer before repainting | Sand lightly; strip only if the old finish is failing | Stain-blocking primer | 1 to 3 days |
Why is the paint on my bookshelf not sticking?
Paint usually fails to stick because the surface is too glossy, dirty, or mismatched to the primer. On laminate and melamine, the slick factory coating blocks adhesion unless you scuff it or use a bonding primer. On wood and veneer, leftover wax, grease, silicone, or old finish can do the same thing.
Old finish and gloss left in place
A shiny surface gives paint little to grip. If the bookshelf still looks reflective after cleaning, sand until the sheen is gone or use deglosser on a compatible finish. On varnished wood, a light sand with 120-220 grit usually works; on laminate, a bonding primer usually matters more than heavy sanding.
Dust, grease, or silicone contamination
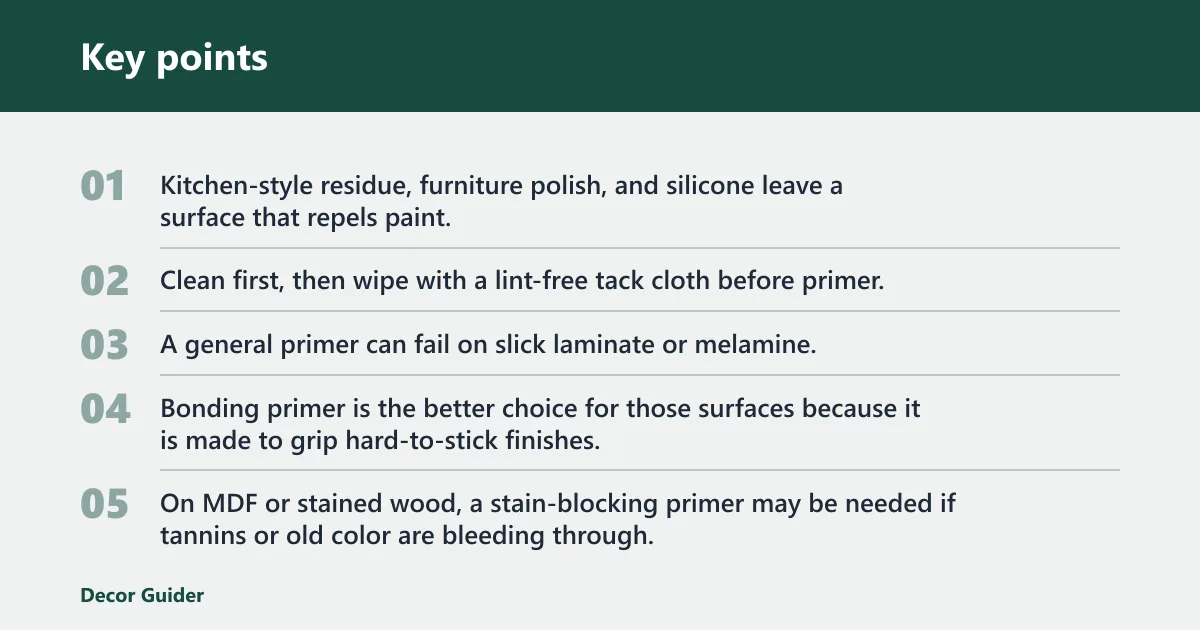
Kitchen-style residue, furniture polish, and silicone leave a surface that repels paint. Clean first, then wipe with a lint-free tack cloth before primer. Microfiber can remove dust, but it does not replace a true tack cloth after sanding because it can leave loose fibers or smear residue.
Wrong primer for the bookshelf material
A general primer can fail on slick laminate or melamine. Bonding primer is the better choice for those surfaces because it is made to grip hard-to-stick finishes. On MDF or stained wood, a stain-blocking primer may be needed if tannins or old color are bleeding through.
How do you fix peeling paint on a bookshelf?
Peeling paint means the failed layer has already separated from the surface, so the fix starts with removal, not more paint. Solid wood and MDF often respond to scraping, sanding, and priming. Veneer, laminate, and melamine need gentler edge repair, and widespread peeling often points to a strip-and-redo instead of patching.
Solid wood and MDF repairs
Scrape off loose paint until you reach firm edges, then sand the transition smooth. Fill chips, dents, and nail holes with wood filler, and let it dry fully before sanding flush. MDF edges absorb product fast, so seal them well with primer before repainting.
Veneer, laminate, and melamine repairs
Veneer can be thin enough that hard sanding cuts through it quickly. Laminate and melamine should be scuffed, cleaned, and primed rather than heavily sanded. If the peeling is only at shelf fronts or corners, spot repair is often enough. If large sheets lift, stripping or replacement is faster than endless touch-ups.
When stripping beats spot repair
If more than one side of the bookshelf is failing, a full strip may save time. That is especially true when the previous coating was incompatible with the current surface or when several paint layers are already lifting. Stripping makes sense when the peel keeps returning after a proper sand-and-prime cycle.
Do you need to sand a bookshelf before painting it?
Usually yes, but the amount depends on the surface. Sanding gives the new coating a dull, grippy base and removes loose edges. For glossy wood, veneer, laminate, and melamine, 120-220 grit is a common sanding range. For fragile veneer and edge banding, a lighter touch is safer than heavy pressure.
When 120-220 grit is enough
Use 120 to 180 grit to knock down old sheen and loose spots, then finish with 220 grit if you want a smoother base. Hand sanding works well on shelf edges and corners because it gives control. A sanding sponge helps on profiles and rounded trim, but pressure can still round over sharp shelf edges.
When deglosser can replace sanding
Deglosser can replace some sanding on glossy finishes when the goal is only to dull a sound topcoat. It is a liquid sanding alternative, not a cure for peeling paint or surface damage. Use it in a ventilated area, follow label safety directions, and do not skip sanding if the finish is cracked, loose, or uneven.
How to avoid edge rounding on shelves
- Start with flat faces. Sand the broad shelf panels first with light, even pressure. Keep the pad moving so you dull the finish without digging grooves.
- Reduce pressure on edges. Switch to folded paper or a sanding sponge on front edges and trim. This limits the chance of rounding off crisp lines.
- Check for dust and shine. After sanding, wipe with a tack cloth and inspect under angled light. Any remaining gloss usually needs more scuffing before primer.
Primer for wood, laminate, and MDF
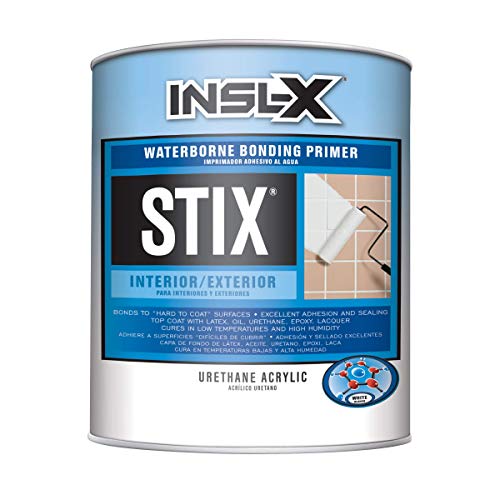
The best primer depends on what is underneath the paint. Bonding primer is the safest pick for laminate, melamine, and other slick finishes. Stain-blocking primer is useful when wood or MDF bleeds color. Most primers need drying time between coats, and rushing that step can cause peeling or soft paint later.
Bonding primer for slick finishes
Choose a bonding primer for laminate and melamine because those surfaces resist adhesion even after cleaning. It also helps on varnished wood that you do not want to strip fully. Apply a thin, even coat and let it dry as the label directs before topcoating, or the paint film can lift.
Stain-blocking primer for bleed-through
Use stain-blocking primer on wood, veneer, or MDF if tan, amber, or brown marks appear after sanding. It seals tannins, knots, and old discoloration so the topcoat stays even. If bleed-through is heavy, spot-prime the stained area first, then prime the rest of the shelf.
Drying time and recoating
Primer dry time is not the same as cure time. Many primers are often dry to recoat in about 1 to 4 hours, but full cure takes longer. If you repaint too soon, the topcoat can stay soft or show marks from the brush and roller. Check the label before adding another layer.
Why does paint stay tacky after drying?
Paint can feel dry to the touch and still stay tacky because dry time and cure time are different. Thick coats, cool air, high humidity, and certain enamel formulas all slow curing. The finish may need more time rather than another coat, especially if the film is smooth but still slightly sticky.
Dry time versus cure time
Dry time means the surface no longer feels wet. Cure time means the coating has hardened fully. A bookshelf painted with latex or acrylic may be ready for a second coat in about a few hours, but it can still need several days to cure before books and objects go back on the shelves.
Paint type and coat thickness
Latex and acrylic dry faster and are easier to use on bookshelves. Enamel often levels better and can resist scuffs well, but it may take longer to cure. Heavy coats trap solvents and moisture, which is why thin coats work better and are less likely to stay tacky.
Temperature, humidity, and airflow
Paint cures slower in cool, damp rooms and faster with steady airflow. Keep the room within the label’s recommended temperature range and avoid sealing the shelf in a closed space right after painting. A fan can help air move, but do not aim dust directly at the wet finish.
How to stop brush marks and streaks
Brush marks and roller texture usually come from the wrong tool, paint that is too thick, or overworking a coat as it starts to set. The cleanest finish comes from the right applicator on the right surface: a brush for edges, a foam roller for flat panels, and thin coats that are left alone once laid down.
Brush choice for edges and corners
Use a good-quality angled brush for shelf edges, inside corners, and trim. A fine synthetic brush works well with latex and acrylic paints, while a smoother enamel often benefits from a brush that leaves fewer visible lines. Load lightly and finish with a few long passes in one direction.
Foam roller use on flat panels
A foam roller is useful on wide, flat bookshelf sides and shelves because it leaves less texture than a thick-nap roller. A short nap can work too, but a large nap often adds too much texture on smooth furniture surfaces. Roll on, then tip off lightly with a brush if needed.
Sheen choice and final smoothness
Higher sheen paints show defects more easily than matte finishes. If you want a smoother-looking bookshelf, satin or semi-gloss often balances wipeability with fewer visible tool marks than high gloss. Suppose a 36-inch side panel shows brush ridges after the first coat; a light sand, then a thinner second coat, usually fixes it better than a heavy repaint.
Frequently asked questions
What primer works best on wood, laminate, or MDF bookshelves?
Bonding primer is the best fit for laminate and melamine because it grips slick surfaces better than standard primer. Stain-blocking primer is the better choice for wood or MDF when tannins or old color bleed through. For most shelves, let each primer coat dry fully before the next coat.
Why does bookshelf paint stay tacky after drying?
The coating may be dry on the surface but not cured underneath. Thick coats, humid air, low temperature, and some enamel formulas slow the process. Give it more time, improve airflow, and avoid stacking objects on the shelves until the paint has reached full cure, which can take days.
How many coats of paint does a bookshelf need?
Two thin topcoats are common for even color and coverage, especially over a primed surface. Dark colors, stains, and uneven substrates may need a third coat. One heavy coat is a poor substitute because it tends to sag, stay tacky, and show more brush marks.
Can I paint over varnished bookshelf surfaces?
Yes, if the varnish is sound and you prep it properly. Sand or degloss the surface, clean away residue, then use a bonding primer before painting. If the varnish is peeling, cracked, or very worn, spot repair may fail and a full strip can be the faster route.
How do I stop brush marks and roller texture on a bookshelf?
Use an angled synthetic brush for edges and a foam roller or short-nap roller for flat panels. Apply thinner coats, keep a wet edge, and stop brushing once the paint starts to set. If marks remain after drying, a light sand before the next coat usually improves the finish.
Why is the finish blotchy or streaky after painting a bookshelf?
Blotching usually means the surface absorbed paint unevenly or the primer missed porous spots. Wood, veneer, and MDF are common offenders. Sand lightly, spot-prime problem areas, and repaint with even pressure. If the streaking comes from a too-dry roller or brush, switch tools and apply a thinner coat.
Bookshelf repair checklist
This checklist keeps the fix short. Start with the surface type, then choose the least aggressive repair that solves the failure. If the bookshelf is laminate or melamine, do not treat it like bare wood.
- Identify the material. Confirm whether the shelf is solid wood, veneer, laminate or melamine, or MDF. That answer determines whether sanding, deglosser, or bonding primer matters most.
- Remove loose coating. Scrape peeling paint until only firmly attached film remains. Loose edges always telegraph through a new coat.
- Sand or degloss. Use 120-220 grit to dull the surface, or deglosser on a sound glossy finish. Keep sanding light near shelf edges to avoid rounding.
- Clean dust and residue. Wipe with a tack cloth after sanding and again before paint if needed. Dust left in corners can ruin adhesion and smoothness.
- Fill visible damage. Use wood filler for chips and nail holes, and caulk small gaps that should disappear under paint. Let each product dry before sanding flush.
- Prime for the surface. Use bonding primer on slick finishes and stain-blocking primer where bleed-through is likely. Let primer dry between coats as directed.
- Repaint in thin coats. Use latex or acrylic for easy use and quicker dry time, or enamel where a harder finish is wanted. Build coverage with two thin coats rather than one heavy coat.
Products related to this article
Sponsored / affiliate links. As an Amazon Associate I earn from qualifying purchases. I may earn additional commission from eligible campaigns.