Have you ever seen those comfy, stylish poufs and thought they looked hard to make? Many people feel that How to Make a Pouf at Home (Easy DIY Tutorial) might be too tricky for beginners. But guess what?
It’s actually quite simple with the right steps. You don’t need fancy tools or a lot of experience. This guide will show you exactly how to create your own pouf, step by step, making it fun and easy.
Get ready to add a personal touch to your living space!
Gathering Your Pouf Making Supplies
Creating your own pouf is an exciting project that lets you bring a unique piece of furniture into your home. Before you begin, having all your materials ready makes the process smooth and enjoyable. This section covers everything you’ll need, from the outer fabric to the stuffing that gives your pouf its shape and comfort.
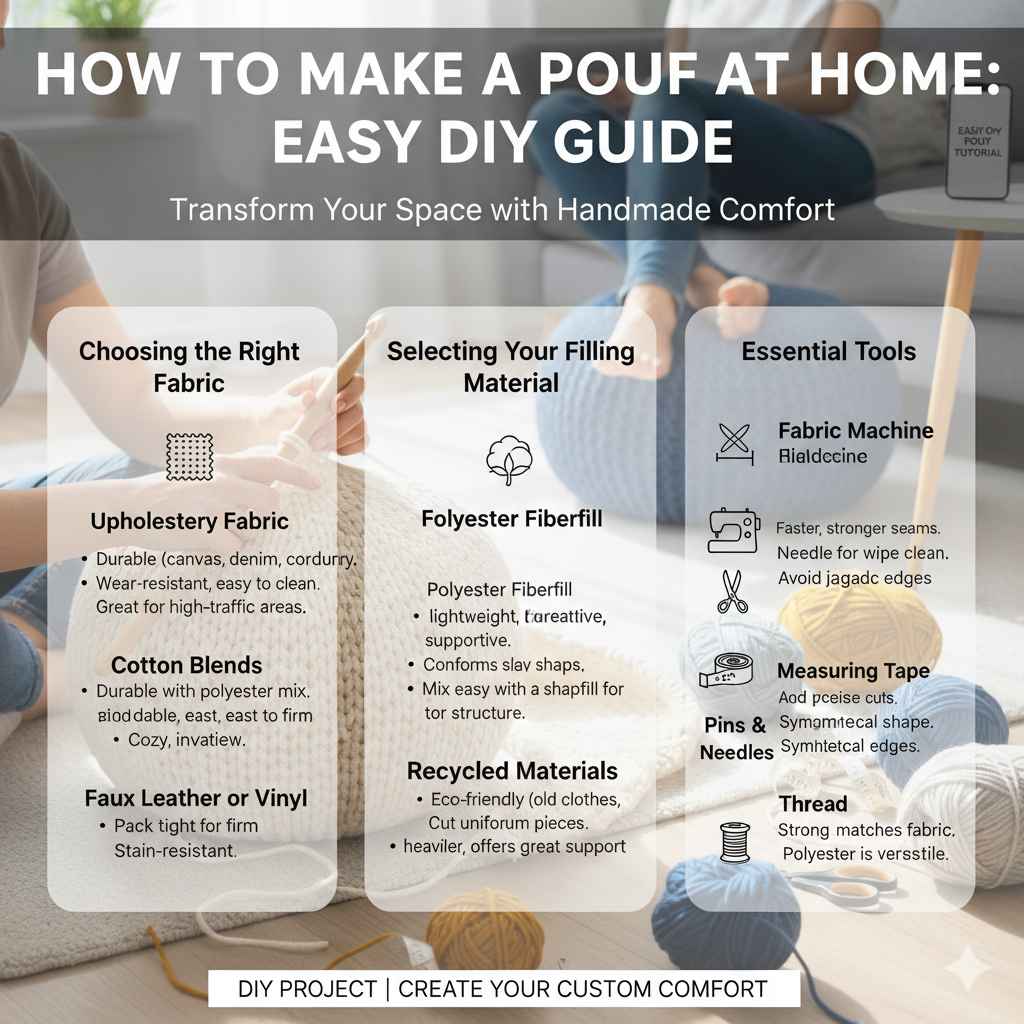
Choosing the Right Fabric
The fabric you select will define the look and feel of your pouf. For durability and a good appearance, sturdy materials are best. Think about how the pouf will be used. If it’s for a high-traffic area, you’ll want something tougher.
- Upholstery Fabric
Upholstery fabrics are designed to withstand wear and tear. They come in countless colors, patterns, and textures. Look for fabrics like canvas, denim, corduroy, or textured weaves.
These are durable and often easy to clean. For example, a strong canvas pouf can be perfect for a playroom or a casual living room, standing up well to daily use and occasional spills.
- Cotton Blends
Cotton blends offer a softer feel and are still quite durable, especially those with polyester mixed in. They are breathable and comfortable. A pouf made from a thick cotton blend can feel cozy and inviting.
Just be sure the blend is heavy enough to hold its shape.
- Faux Leather or Vinyl
If you want a more modern or sleek look, or if easy cleaning is a top priority, faux leather or vinyl is a great choice. These materials are very forgiving with spills and can be wiped clean in seconds. A faux leather pouf can add a touch of sophistication to any room.
Selecting Your Filling Material
The filling is what gives your pouf its structure and squishiness. The amount and type of filling will affect how firm or soft your pouf is.
- Polyester Fiberfill
This is a very common and affordable stuffing option. It’s fluffy, lightweight, and easy to find. You can buy it in large bags.
For a firm pouf, you’ll need a lot of it, and you’ll want to pack it in well.
- Foam Beads or Pellets
Small foam beads, similar to what is found in beanbags, provide a moldable and supportive fill. They conform to your shape when you sit on them. Using a combination of fiberfill and foam beads can offer both structure and comfort.
- Recycled Materials
For an eco-friendly option, consider using old clothes, towels, or fabric scraps. Make sure they are clean and cut into small, uniform pieces. This method requires more effort to ensure an even fill but is a fantastic way to reduce waste.
A pouf filled with fabric scraps might be slightly heavier but offers great support.
Essential Tools for Pouf Construction
Having the right tools makes the construction process much smoother and more accurate. These are the basics you’ll need to get started.
- Sewing Machine
While hand-sewing is possible, a sewing machine will significantly speed up the process and create stronger seams. Ensure you have a needle suitable for your fabric type.
- Fabric Scissors
Sharp fabric scissors are crucial for clean, precise cuts. Dull scissors can lead to jagged edges and make sewing more difficult.
- Measuring Tape or Ruler
Accurate measurements are key to creating a symmetrical and well-proportioned pouf.
- Pins and Needles
Use plenty of pins to hold your fabric pieces together before sewing. A good quality hand-sewing needle is also useful for any small repairs or finishing touches.
- Thread
Choose a strong thread that matches or complements your fabric. A polyester thread is a good all-around choice for most fabrics.
Designing Your Perfect Pouf Shape
The shape of your pouf influences its style and functionality. While the most common pouf is round, you can also create square or even custom shapes. For a beginner-friendly project, a simple round or square shape is recommended.
Creating a Basic Round Pouf Pattern
A round pouf requires a few simple pattern pieces. This design is classic and works well in almost any setting.
Pattern Pieces for a Round Pouf
You will need two large circles for the top and bottom of the pouf, and a long rectangular strip for the sides. The length of the rectangle will determine the circumference of your pouf, and its width will be the height.
- Top and Bottom Circles
Decide on the diameter you want for your pouf. A common size is about 20 inches (50 cm) in diameter. To create the circle pattern, you can trace around a large plate, a serving platter, or use a string and pencil compass to draw a perfect circle on paper or directly onto your fabric.
Remember to add about a 1/2 inch (1-1.5 cm) seam allowance all around. So, if you want a 20-inch pouf, you’ll cut circles that are 21 inches (52.5 cm) in diameter.
- Side Panel Rectangle
The width of this rectangle will be the height of your pouf. A typical pouf height is between 12 and 16 inches (30-40 cm). The length of the rectangle needs to be equal to the circumference of your circles.
The formula for circumference is pi (π) times the diameter. For a 20-inch diameter circle, the circumference is approximately 62.8 inches (20 x 3.14). Add your seam allowance to both ends of this length.
So, your rectangle would be around 63.8 inches long and 13 inches wide (for a 12-inch high pouf plus seam allowance).
Designing a Square Pouf Pattern
A square pouf is equally simple to create and can offer a more structured look.
Pattern Pieces for a Square Pouf
For a square pouf, you will need two square pieces for the top and bottom, and four rectangular pieces for the sides.
- Top and Bottom Squares
Choose the size of your square. For instance, a 20-inch by 20-inch square. Again, add your seam allowance to all sides.
So, you would cut two squares that are 21 inches by 21 inches.
- Side Panels
You will need four identical rectangles. The height of these rectangles will be the desired height of your pouf (e.g., 12 inches). The width of these rectangles will be the side length of your square top/bottom piece (e.g., 20 inches).
Add seam allowances to the sides that will be sewn to other pieces. For a 20-inch square pouf that is 12 inches high, you would cut four rectangles measuring 21 inches wide by 13 inches high.
Adding a Zipper or Closure
To easily fill and refill your pouf, it’s a good idea to add a zipper or another type of closure. A zipper is the most common and convenient option.
- Zipper Placement
For a round pouf, you can sew a zipper into the side panel. You might divide the side panel into two halves and sew a zipper between them. For a square pouf, you can place a zipper along one of the seams of the side panels or across the bottom square.
A 20-inch zipper is usually sufficient for a medium-sized pouf. Ensure the zipper is sturdy enough for upholstery.
- Sewing the Zipper
When sewing a zipper, it’s best to use a zipper foot on your sewing machine. This foot allows you to get closer to the zipper teeth for a neat finish. You will typically sew the zipper into one of the fabric pieces before joining all the pieces together.
For example, if you are putting a zipper in the side panel of a round pouf, sew the zipper along the edge of one half of the side strip before attaching it to the top or bottom circle.
Carefully pin the zipper to the right sides of the fabric edges. Stitch along the edge of the zipper tape, then open the zipper and attach the other piece of fabric to the other side of the zipper tape.
The Step-by-Step Pouf Construction Process
Now that you have your design and materials, it’s time to start building your pouf. Follow these steps carefully for a successful outcome.
Cutting Out Your Fabric Pieces
Lay your chosen fabric flat on a large surface. Use your patterns to trace the shapes onto the fabric. Double-check your measurements before cutting.
- Precise Cutting
Once traced, use your sharp fabric scissors to cut out all the pieces. Ensure your cuts are as straight as possible, especially for the side panel if you are making a square pouf. For round pieces, smooth curves are important for a neat finish.
Remember that the seam allowance you added to your pattern will be sewn into the seams. Don’t cut the seam allowance off.
Sewing the Side Panels Together
This step forms the body of your pouf.
- For a Round Pouf
If you’ve added a zipper, sew it into the side panel as described earlier. Then, take your long rectangular side panel and bring the two short ends together to form a loop. Pin them securely.
Sew along this seam with your chosen seam allowance. This creates a large fabric tube.
- For a Square Pouf
If your square pouf has a zipper in the side, sew it into one of the four side rectangles. Then, take the four side rectangles and sew them together end-to-end to form a square loop, leaving one seam open if you are not using a zipper in that location. Ensure all the corners align neatly.
Attaching the Side Panels to the Top and Bottom
This is where your pouf starts to take shape.
- Pinning the Pieces
Take one of your circle or square pieces (this will be the bottom). Place the side panel loop on top of it, with the right sides of the fabric facing each other. Align the raw edges of the side panel with the raw edge of the bottom piece.
Pin them together all the way around. This can be a bit tricky with curves, so take your time and use plenty of pins.
For a round pouf, you may need to gently ease the curved edge of the side panel to fit the edge of the circle. For a square pouf, align the edges at the corners and along the sides.
- Sewing the Seam
Using your sewing machine, stitch along the pinned edge, keeping your seam allowance consistent. Go slowly, especially around curves or corners, to ensure a neat seam. Backstitch at the beginning and end of your seam for extra strength.
- Attaching the Other Circle/Square
Now, take the remaining circle or square piece (the top). If you are not including a zipper in this piece, pin it to the other raw edge of the side panel loop. Again, ensure the right sides of the fabric are together and the raw edges are aligned.
Pin securely all the way around.
If you are using a zipper in the top or bottom piece, you would have sewn it into that piece first, and now you will be attaching the side panel to the open edge of that piece.
Sew this seam just as you did for the bottom piece. Leave a gap if you are not using a zipper for filling. This gap should be large enough to easily insert your filling material.
Turning and Filling Your Pouf
Once all the fabric pieces are sewn together, it’s time to turn it right side out and start filling.
- Turning Right Side Out
Carefully reach through the opening you left (or the zipper) and pull the fabric so that the right side is now facing outwards. Gently push out the seams and corners to make sure the shape is crisp and defined.
- Stuffing the Pouf
Begin adding your chosen filling material. If using fiberfill, stuff it in small handfuls, packing it firmly as you go. Distribute the filling evenly to avoid lumps.
For foam beads, you can pour them in.
The more tightly you pack the filling, the firmer your pouf will be. Continue adding filling until the pouf is firm and holds its shape well. Don’t overstuff it so much that it becomes rigid, but ensure there are no soft spots.
A common mistake is not using enough filling. It’s better to have a slightly overstuffed pouf that you can slightly compress than an understuffed one that collapses.
Closing the Pouf
The final step is to close the opening securely.
- Sewing the Opening Shut
If you have a zipper, simply zip it up. If you left a gap in the seam, you’ll need to close it by hand. Use a hidden stitch, also known as a ladder stitch or blind stitch.
This stitch is ideal because it’s almost invisible from the outside.
Fold the raw edges of the opening inwards to match the seam allowance. Pin the opening shut. Then, using a hand-sewing needle and thread, take small stitches, alternating between the folded edges of the fabric.
Pull the thread gently to draw the edges together, creating a nearly seamless closure.
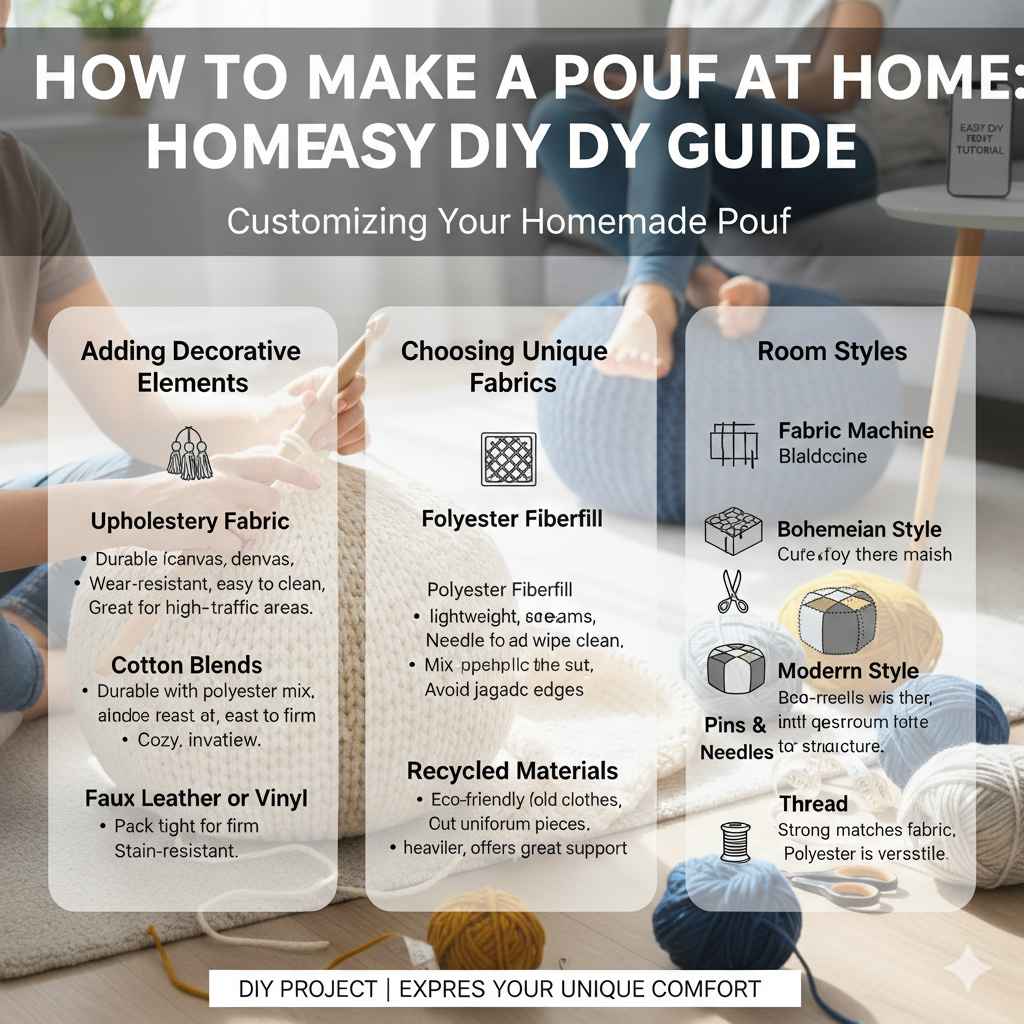
Customizing Your Homemade Pouf
Once you’ve mastered the basic construction, you can get creative with customizations to make your pouf truly your own. Adding embellishments or personal touches can elevate its style significantly.
Adding Decorative Elements
Embellishments can transform a simple pouf into a statement piece.
- Tassels and Pom-Poms
These are easy to make or buy and can be attached to the corners or sides of your pouf. For a round pouf, you can attach a large tassel to the very top center, or smaller ones around the base.
A few well-placed pom-poms can add a playful touch, especially for children’s rooms.
- Appliqué or Patches
If you’re feeling artistic, you can cut out shapes from contrasting fabrics and appliqué them onto the pouf. Iron-on patches are another simple way to add personality. Make sure any added elements are securely attached so they don’t come loose.
- Piping or Trim
Adding piping along the seams can give your pouf a more professional and finished look. You can buy pre-made piping or make your own by encasing a cord in a strip of fabric. Contrasting piping can highlight the shape of your pouf.
Choosing Unique Fabrics and Colors
Don’t be afraid to experiment with unusual fabrics or bold color combinations.
- Mixing Textures
Combine different fabric textures for visual interest. For example, a pouf with a corduroy body and a faux fur top can be very inviting. Ensure that the fabrics you choose are compatible in terms of weight and durability for sewing.
- Bold Prints and Patterns
A pouf can be a great way to introduce a vibrant print into a neutral room. Consider floral patterns, geometric designs, or even animal prints. Just make sure the scale of the pattern works with the size of your pouf and the room.
One common design involves using different fabrics for the top, bottom, and sides. This creates a dynamic and multi-dimensional effect. For instance, a plain color for the bottom, a patterned fabric for the sides, and a textured fabric for the top.
Considerations for Different Room Styles
Think about the existing decor of the room where the pouf will be placed.
- Bohemian Style
For a bohemian vibe, use textured fabrics like macrame, chunky knits, or natural fibers like jute. Embellish with tassels, fringe, or embroidered details. Earthy tones or vibrant, jewel-toned colors work well here.
- Modern Style
Clean lines and simple geometric shapes are key for modern decor. Use faux leather, smooth cottons, or textured weaves in solid colors or subtle patterns. Black, white, grey, and metallic accents are popular choices.
- Rustic Style
Opt for natural materials like linen, canvas, or even a faux sheepskin. Consider muted, earthy colors like browns, greens, and creams. Hand-stitched details or a slightly distressed look can enhance the rustic feel.
Frequently Asked Questions
Question: What is the easiest shape to make for a first pouf?
Answer: The easiest shape for a first pouf is usually a square or a simple cylinder, as these involve straight seams which are easier to manage than curves.
Question: How much filling do I need for one pouf?
Answer: The amount of filling needed varies greatly depending on the size of the pouf and how firm you want it. You will likely need several large bags of fiberfill or a substantial amount of beanbag filling, so it’s best to buy more than you think you will need.
Question: Can I use an old t-shirt to make a pouf?
Answer: Yes, you can use old t-shirts or other fabric scraps. However, for a sturdy pouf, it’s best to use thicker fabrics or to reinforce the t-shirt material by doubling it up. You will also need a significant amount of fabric scraps to create a firm filling.
Question: How do I make sure my pouf is firm enough?
Answer: To ensure your pouf is firm, pack the filling material in as tightly as possible. Distribute the filling evenly to avoid any soft spots. If using fiberfill, you might need to add more than you initially think.
Question: What kind of needle should I use for sewing a pouf?
Answer: For sewing the fabric panels together, a standard sewing machine needle (size 80/12 or 90/14) is usually sufficient for most upholstery fabrics. For hand-sewing, use a strong, sharp needle appropriate for the thickness of your fabric.
Conclusion
You’ve learned how to make a pouf at home with an easy DIY tutorial. This project is a fantastic way to add functional and stylish seating to any room. By following these steps, you can create a custom pouf that perfectly suits your taste and space. Enjoy your new handmade furniture!