
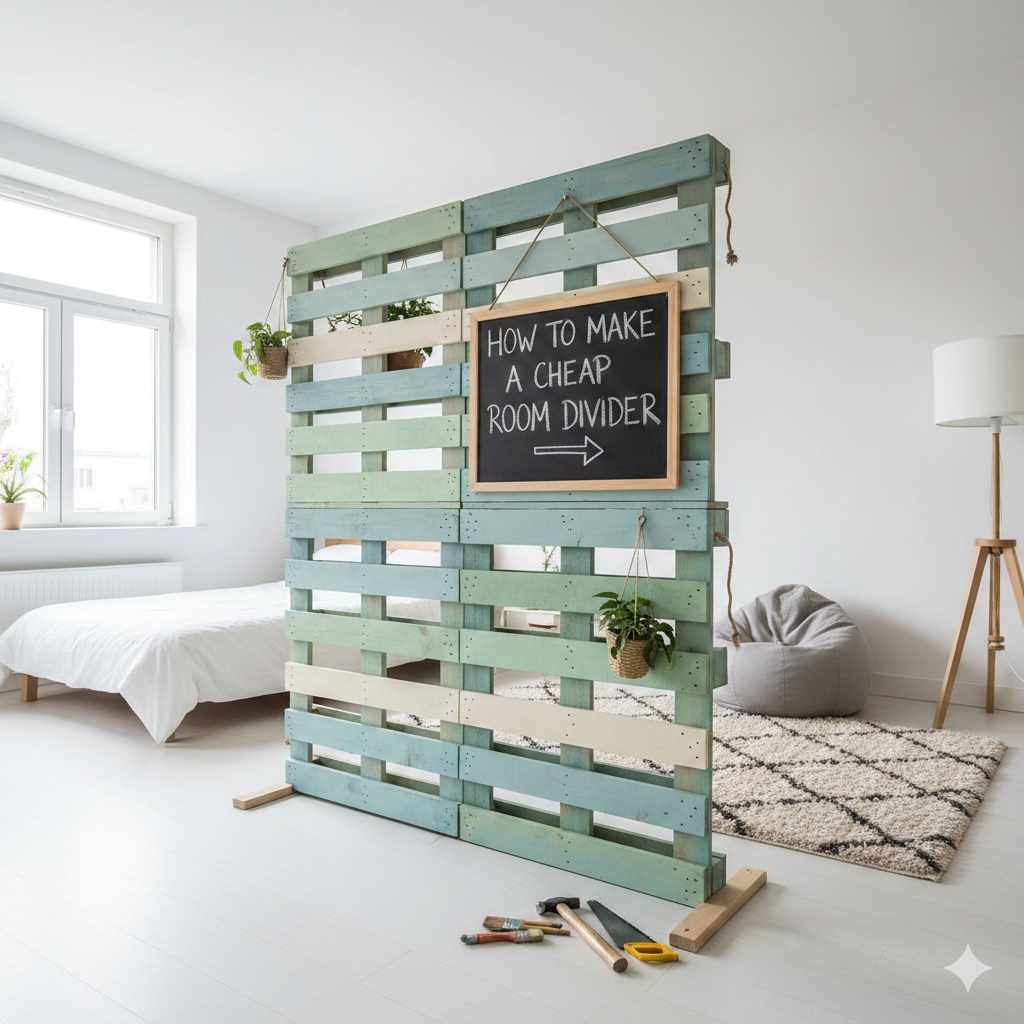
To make a cheap room divider, utilize smart DIY projects like hanging curtains from the ceiling, assembling simple bookshelf units, or creating lightweight screens using fabric stretched over PVC pipe frames. These methods offer instant privacy and style without breaking your budget.
Are you trying to juggle a studio apartment life or just need a little more privacy in a shared room? We get it! Creating personal space shouldn’t empty your wallet or require a contractor. Many people think room dividers are expensive, bulky furniture—but that’s not true. I’m Dustin, and just like making sure your ride runs smooth, setting up your living space right is vital for peace of mind. We are going to walk through super simple, surprisingly genius ways to create a functional, attractive room divider even if you have zero DIY experience. Get ready to transform your space affordably!
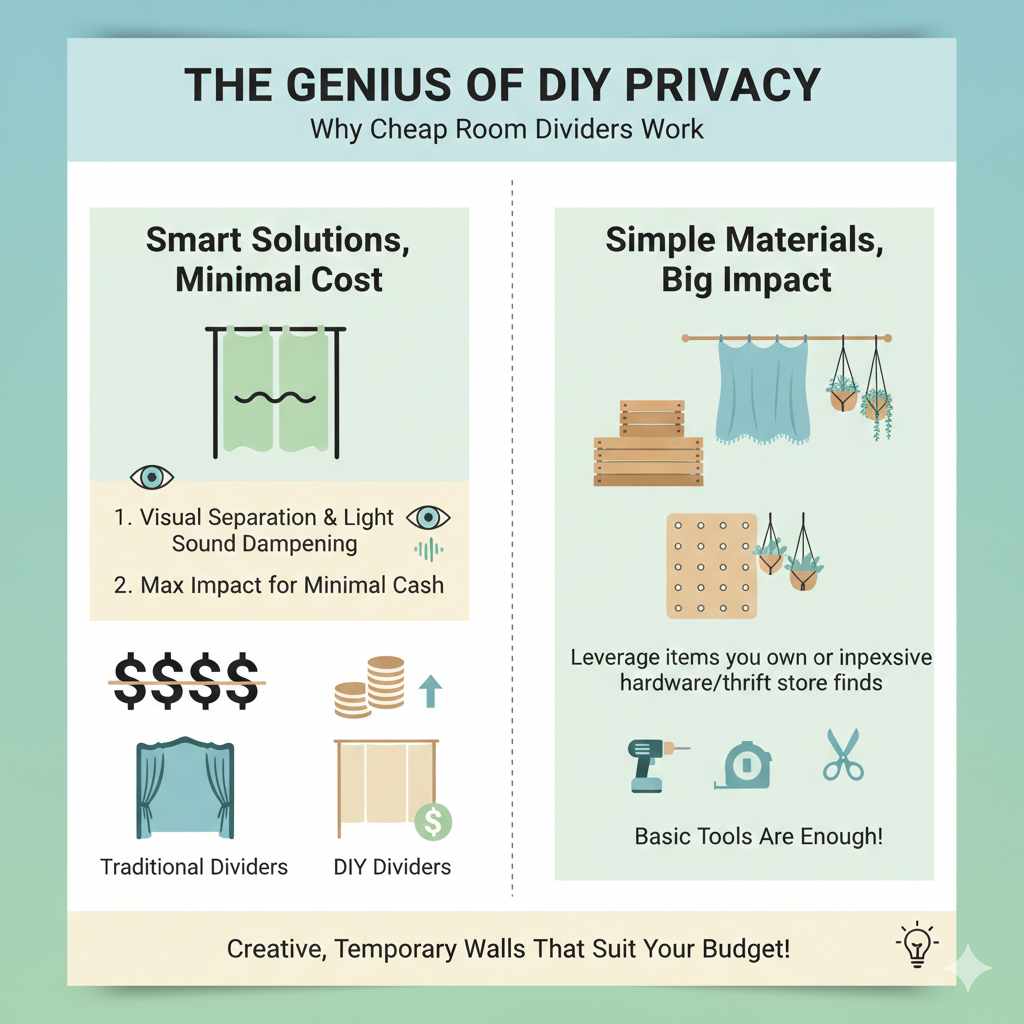
The Genius of DIY Privacy: Why Cheap Room Dividers Work
When you need to split a space, the goal is simple: visual separation and perhaps a little sound dampening. Traditional, pre-made room dividers (like large accordion styles or heavy wood screens) can cost hundreds. The secret to keeping it cheap is leveraging materials you already own or can buy for very little at hardware or thrift stores. This approach gives you maximum impact for minimal cash outlay. It’s about smart material choices, not complicated carpentry.
We’ll focus on solutions that require basic tools—maybe just a drill or a measuring tape—and rely on smart hanging or lightweight construction. Think of these as creative, temporary walls that suit your budget perfectly.
Option 1: The Easiest Divider – Hanging Curtains from the Ceiling
This is hands-down the most popular and flexible budget solution. It works best for creating boundaries in large open areas or sectioning off a sleeping nook. Since lightweight curtains don’t need heavy framing, the cost stays very low.
What You Need (The Shopping List)
- Curtains or fabric panels adequate for the span you need to cover.
- Ceiling mounting hardware (tension rods, cup hooks, or specialized curtain track systems).
- A drill or screwdriver (depending on hardware choice).
- Measuring tape.
Step-by-Step Setup: Installing a Curtain Divider
- Measure the Span: Decide exactly where you want the divider to run. Use the measuring tape to determine the width (side to side) and the ideal drop height. Aim to hang the curtain rod as close to the ceiling as possible to maximize height and make the room feel larger.
- Choose Your Mounting Method:
- Tension Rods (Best for short/temporary spans between two walls): If you are dividing a specific corner or alcove, a heavy-duty tension rod might work, but they can sag over long distances.
- Cup Hooks and Wire/Cord (Most Affordable): Screw small cup hooks into the ceiling joists (if accessible) or use high-quality anchors rated for the weight of your fabric. Run a strong picture wire or fishing line between the hooks.
- Ceiling Track System (Most Professional Look): These inexpensive plastic or aluminum tracks screw directly into the ceiling. This allows the curtain to glide back and forth smoothly. This is often the cleanest-looking budget option.
- Anchor Securely: This is crucial for safety! If you are drilling into drywall without hitting a stud or joist, you must use proper drywall anchors. For reliable support, check resources like The Engineering Toolbox on Anchor Loads to ensure you pick an anchor rated for the weight you’re hanging.
- Install Hardware: Attach your chosen hardware according to the manufacturer’s instructions. Double-check that everything is level before putting up the fabric.
- Hang the Fabric: Slide the curtains onto the rod or track. For best results, use ripple-fold curtains or simple grommet tops, as they hang the cleanest. If you are using straight panels, gather them neatly when they are open for the best aesthetic.
Pro Tip: Use lightweight, sheer, or semi-sheer fabric. Heavy drapes will require much more intense (and expensive) mounting hardware.
Option 2: The Functional Divider – Repurposed Bookshelves or Cube Storage
If you need a divider that is sturdy, offers excellent visual blockage, and provides storage, using inexpensive cube shelving units (like the famous particleboard cube organizers) turned on their side or standing tall is a genius hack. This method is fantastic because it turns a functional piece of furniture into a structural divider.
Pros and Cons of the Bookshelf Divider
| Pros | Cons |
|---|---|
| Excellent visual and sound buffering | Requires more upfront cost (even if buying used) |
| Built-in storage adds value | Heavy and requires dedication to placement |
| Very sturdy and stable | Less flexible for quick rearrangement |
Making it Cheap: Sourcing and Assembly
The key here is finding these units used. Check local classifieds or thrift stores for older, inexpensive laminate shelving units. Don’t worry if they are slightly scuffed; you can fix that!
- Clean and Inspect: Wipe down the unit thoroughly. Check all cams and screws to ensure the structure is sound.
- Secure for Stability: If you are standing it vertically (tall), you must anchor the top to the wall behind it if possible, especially in earthquake-prone areas or tall spaces. If placing it on its side, ensure the bottom (which is now the long base) is perfectly level.
- Enhance the Look (Optional): If the plain wood look isn’t exciting, use removable contact paper (marble or wood grain) to instantly upgrade the facade for a fractionally higher cost.
- Fill Strategically: To maximize the dividing effect, load the shelves with tightly packed books, storage bins, or decorative baskets on both sides. This adds visual weight and discourages people from looking through gaps.
This divider acts as a natural room anchor. It defines the space completely without needing any construction work into walls or ceilings.
Option 3: The Crafty Divider – PVC Pipe Screen Frames
For those who want something lightweight, movable, and fully customizable in terms of height and shape, building a frame from PVC pipe is incredibly cheap and surprisingly durable. This works well if you want to stretch fabric, rice paper, or even thin lattice over the frame.
Tools and Materials for Your PVC Frame
- PVC Pipes (1/2 inch or 3/4 inch diameter, depending on desired sturdiness).
- PVC Connectors (90-degree elbows, T-connectors as needed for support).
- PVC Cement (optional, for permanent joints—use sparingly if you want it to be semi-portable).
- Fabric, screening, or woven materials for covering.
- Zip ties or heavy-duty staples for attaching the cover.
Building Your Lightweight Frame
- Plan Your Dimensions: Decide how wide and tall your final screen needs to be. PVC pieces are easy to cut if you need custom sizes, but many craft stores sell pre-cut sections or you can buy the pipe by the foot.
- Assemble the Corners: Start by building the basic rectangle frame: two long vertical pieces connected by two short horizontal pieces using the 90-degree elbows. If your divider is taller than 5 feet and you plan to move it often, add a center vertical support connected by T-fittings for stability.
- Dry Fit First: Assemble everything without cement first to ensure all your cuts and angles work perfectly.
- Secure the Joints (if desired): If you want a very rigid screen, apply PVC cement to the inside of the fitting and the outside of the pipe end, then quickly push them together. Let it cure according to the product instructions.
- Attach the Covering Material: Lay your chosen fabric or screen material flat. Place the assembled PVC frame centered on top of it. Fold the edges of the material over the pipe frame and secure it tightly using heavy-duty staples (if using thin canvas) or small zip ties threaded through the pipe structure itself.
This method is perfect for creating a semi-private, airy barrier. For example, stretching colored sheer fabric or even repurposed window screening across the PVC provides light diffusion but clear separation.
Option 4: The Artistic Divider – Utilizing Pallets or Crates
If you fancy a rustic, reclaimed, or industrial look, wooden pallets or sturdy wooden crates can be transformed into stunning, solid room dividers. This option requires slightly more effort but often results in a high-impact look for almost zero cost if you can source free pallets.
Safety Note: When sourcing pallets, always look for the “HT” (Heat Treated) stamp. Avoid pallets marked “MB” (Methyl Bromide), as these chemicals are unsafe for indoor use. Always check standards set by organizations like the U.S. Environmental Protection Agency (EPA) regarding wood treatment before bringing any salvaged wood indoors.
Pallet Divider Steps
- Dismantle (If necessary): If using full pallets, you might need a pry bar and hammer to carefully separate the slats into usable boards. This is the hardest part!
- Create Two Sections: Build two identical rectangular frames using the salvaged wood slats. Attach the slats horizontally or vertically across the frame using screws. Leave very small gaps (about 1/2 inch) between slats for a semi-see-through effect, or butt them tightly for full privacy.
- Hinge Them Together: Lay the two finished sections next to each other, fold them inward (like folding a book), and use heavy-duty door hinges to connect them along one vertical edge. This creates a three-panel folding screen effect easily managed by one person.
- Finish: You can sand and stain the wood for a refined look, or leave it raw for a true rustic feel.
Using crates stacked two high and screwed together (like small modules) also creates a wonderfully chunky, industrial divider that provides lots of flexible storage niches.
Budget Material Guide: Where to Find Your Cheap Supplies
The secret to keeping this project cheap isn’t just in the design; it’s in how you source the materials. Get creative with where you look!
- Thrift Stores/Charity Shops: Excellent for old scarves, large blankets, or lightweight fabric curtains that can be repurposed.
- Habitat for Humanity ReStore: Fantastic source for inexpensive hardware, hinges, paint samples, and sometimes even leftover lumber or shelving components for pennies on the dollar.
- Online Marketplaces (Free Sections): Search “free” or “curb alert” for items people are ditching—often great for simple wooden frames that just need a fresh coat of paint or fabric covering.
- Hardware Store Remnants: Ask if they sell remnants of window screening, lightweight wire mesh, or fabric scraps from their window treatment or utility section.
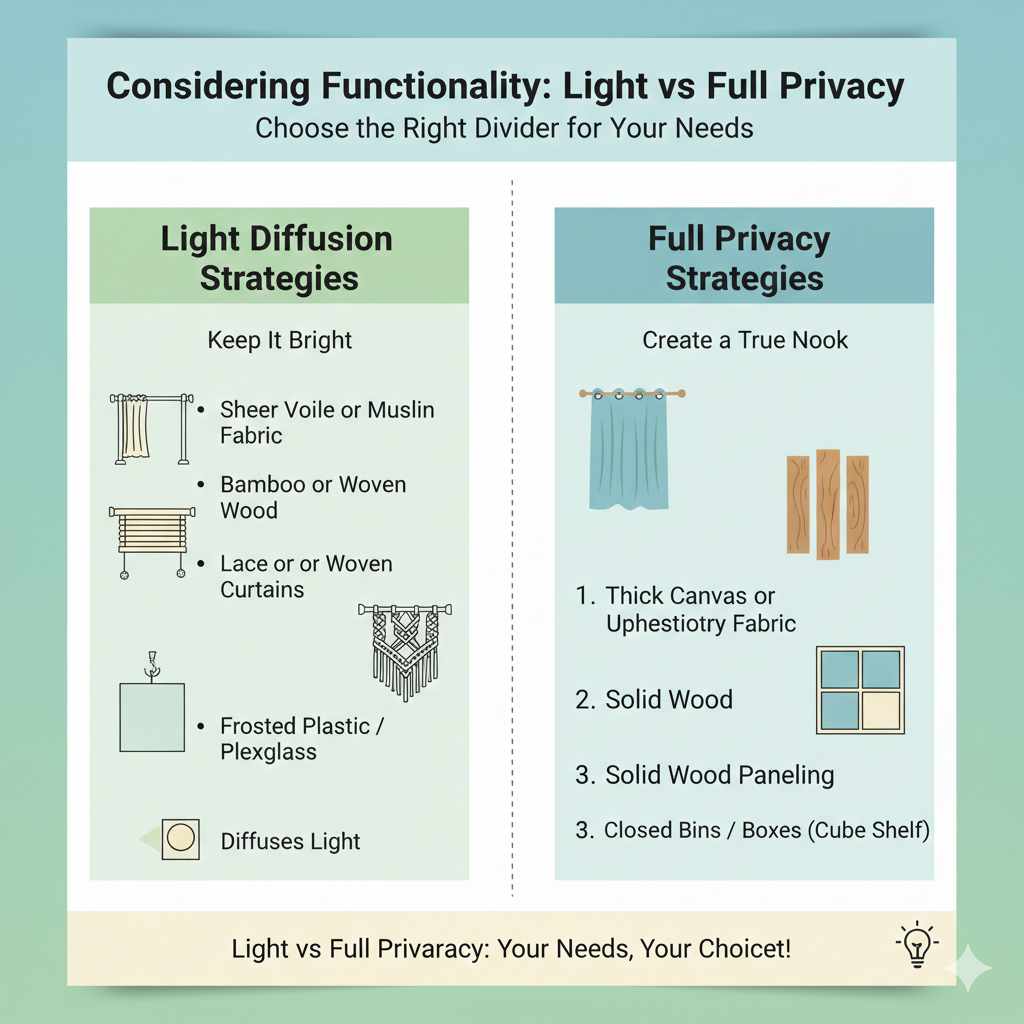
Considering Functionality: Light vs Full Privacy
When choosing your cheap divider method, think about how much light you need to pass through and how much privacy you actually require. Remember, a dark, closed-off section can make a small room feel much smaller.
Light Diffusion Strategies
If you want separation but prefer a bright room, choose materials that diffuse light rather than block it completely. These materials are often the cheapest:
- Sheer Voile or Muslin Fabric (great for PVC frames).
- Bamboo or Woven Wood Blinds (can be hung directly from the ceiling).
- Lace or Macrame curtains.
- Lightly frosted window film applied to a clear plastic/plexiglass sheet (which you could use as an infill panel for a wooden frame).
Full Privacy Strategies
If you need a true sleeping nook or office space, you need opaque materials. These work best with the rigid bookshelf or pallet methods:
- Thick Canvas or Upholstery Fabric.
- Solid Wood Paneling (if found free/cheap).
- Closed Bins or Boxes filling the lower half of a cube shelf.
FAQs for the Beginner Room Divider Builder
Q1: Will a cheap, DIY room divider feel flimsy or look tacky?
A: Not necessarily! The key is stability and scale. A properly anchored curtain track or a solidly assembled PVC frame looks intentional. If you choose nice-looking fabric or finish your wood well, people will think you bought it that way. Flimsiness usually comes from rushing the mounting step.
Q2: How do I choose the right height for my divider?
A: Generally, room dividers look best if they go nearly ceiling-height, as this draws the eye up and makes the entire room feel taller. However, if you are using a bookshelf or crate system, aim for at least 4 to 5 feet high to give a meaningful visual break.
Q3: Can I make a cheap room divider that moves easily?
A: Yes! The curtain method (Option 1) is the easiest to slide open and closed. If you use the pallet or PVC frame method, build it as a folding screen using hinges, as described in Option 4, so you can collapse it when guests are over.
Q4: Should I paint or decorate my budget divider?
A: Absolutely. A coat of paint can make cheap materials like PVC look expensive. For fabric dividers, consider stenciling a pattern onto the material before hanging it. A little color goes a long way in making a budget build look polished.
Q5: What is the safest way to anchor a divider to the ceiling?
A: The safest method involves locating ceiling joists if possible. If you must mount into drywall only, you need toggle bolts or heavy-duty self-drilling anchors rated for at least 25 lbs each. Always use more anchors or hooks than you think necessary for peace of mind.
Q6: Can I use tension rods for very long room sections, like dividing a whole living room?
A: For very long runs (over 6 feet), tension rods are risky. They tend to bow in the center, causing the curtain to bunch up. For longer spans, investing in a ceiling track system (which is still very affordable) that uses multiple anchor points will give you a much smoother, safer result.
Conclusion: Your New, Expanded Space Awaits
Building a cheap room divider isn’t just about saving money; it’s about smart, practical design choices that empower you to control your environment. Whether you chose the near-invisible elegance of ceiling-hung curtains, the functional sturdiness of repurposed shelving, or the lightweight customizability of a PVC frame, you now have the knowledge to execute a proven genius solution.
Remember, every great space starts with clear boundaries. These approachable methods ensure you get that crucial separation without the frustration of complicated instructions or high price tags. Take your time during the anchoring and measuring steps—that’s the real secret to a professional-looking DIY project. Go ahead, reclaim your space, and enjoy the newfound privacy and functionality you’ve created yourself!


