You’ve seen it happen: a beautiful shelf sagging in the middle, or worse, a bracket that pulled clean out of the drywall. The fix is rarely the shelf itself. It’s almost always the bracket. Buying a cheap metal L-bracket works, but it often looks like an afterthought. Building your own gives you control over the size, the finish, and the actual load capacity.
This guide isn’t just about cutting wood and driving screws. It’s about understanding why a bracket works so you can build one that holds up for decades. You’ll learn how to calculate the weight your shelf will carry, pick the right material, assemble a bracket with real structural integrity, and install it so it stays put. Whether you’re holding up a few paperbacks or a heavy stereo receiver, the same engineering principles apply.

MHMYDZ
12 Pack L12 x H 8" Black…
- Heavy Duty design, maxium support weight of 240lb for a pair of this shelf bracket. Designed to support 12 inches to 16 inches dee…
- Size:L 12" x H 8" x W 1", 3mm Thick. Package included: 12 x Brackets , 36 x long Screws, 36 x short Screws(Wood plank is Not inclu…
- sturdy and durable: Made from steel, these shelf angle supports offer a strong bearing force , All screws included – Screws needed…
As an Amazon Associate I earn from qualifying purchases.
You’ll walk away with a complete plan for a simple wooden bracket, plus variations for heavy-duty and floating shelf designs. No guesswork, just the math and the methods that actually matter.
If you’d rather not build from scratch, a quality steel option like the MHMYDZ heavy-duty shelf brackets (12-pack, 12″ x 8″) takes the guesswork out of the equation entirely. They’re rated for serious weight and come with all the screws you need, which is handy when you’re outfitting a garage or workshop quickly.
Why Build Your Own Shelf Brackets?
Custom brackets let you match the exact depth and style of your shelf. A standard 8-inch bracket might overhang a 6-inch shelf, or look too small under a 14-inch one. When you build it, you size the horizontal arm to the shelf, and the vertical leg to the wall. It’s a perfect fit every time.
There’s also the cost factor. A single decorative wood bracket at a home center can run $15 to $25. A 2×4 costs a few dollars and yields enough wood for several brackets. If you have scrap wood lying around, the cost drops to nearly zero, just the screws and finish.
But the real reason to build is strength. A properly designed wooden bracket with a glued and screwed joint is incredibly strong. It distributes the load through the wood grain and the wall fasteners, not just through a thin piece of bent metal. For a shelf that holds heavy items, this matters.
Planning Your Bracket: Weight, Wall Type, and Design
Before you cut anything, you need a plan. That plan starts with three questions: What’s on the shelf? What’s the wall made of? And how far apart will the brackets sit?
Calculating Weight Capacity Needs
Books are heavy. A standard paperback weighs about a pound. A hardcover can weigh 2 to 3 pounds. A full bookshelf can easily carry 30 to 40 pounds per linear foot. Decorative items like vases or picture frames are much lighter, usually 5 to 10 pounds per foot.
Here’s the simple formula: Total Weight = (Weight per Foot) x (Shelf Length). Then divide that by the number of brackets. That gives you the load per bracket.
So, a 36-inch shelf with books at 30 pounds per foot holds 90 pounds total. If you use two brackets, each one needs to support 45 pounds. That’s the minimum. You should always double that number for a safety factor. Design your bracket for 90 pounds per bracket in this case. Wood is strong, but it can have hidden defects like knots. The safety factor covers that.
Choosing the Right Material (Scrap Wood, 2x4s, Plywood)
Not all wood is created equal. Here’s the breakdown:
- 2×4 (SPF): The workhorse. Cheap, strong, and easy to find. The grain runs straight, which is good for load-bearing. It’s not the prettiest, but it takes paint well. This is your best default choice.
- Hardwood (Oak, Maple): More expensive and harder to cut, but it looks furniture-grade. You can use thinner pieces, like 1x4s, because hardwoods are stiffer. This is for visible, finished brackets.
- Plywood: Great for making brackets in layers. You can cut the shape out of 3/4-inch plywood, then glue two or three layers together for a thick, strong, and stable bracket. It won’t warp like solid wood can.
- Scrap Wood: Fine for light-duty shelves (under 20 pounds per bracket). Just inspect it carefully for large knots or cracks. A knot in the wrong place is a failure point.
| Material | Relative Cost | Strength | Best Use Case |
|---|---|---|---|
| 2×4 (SPF) | $ | High | Garages, workshops, painted shelves |
| Hardwood (1×4 Oak) | $$$ | High | Living rooms, stained finishes, visible brackets |
| 3/4″ Plywood (Layered) | $$ | Very High | Heavy loads, custom shapes, stable flat surfaces |
| Scrap Wood | Free | Variable | Light decor, temporary storage |
Essential Tools and Materials List
You don’t need a full cabinet shop for this project. Here’s what you’ll need:
- Miter saw or circular saw: For cutting the wood to length. A miter saw makes angled cuts easier.
- Drill/Driver: For pilot holes and driving screws.
- Wood glue: The primary bonding agent. Use a good exterior-grade PVA glue.
- 1-1/4″ and 2-1/2″ screws: For assembly and wall attachment.
- Sandpaper (80, 120, 220 grit): For smoothing edges.
- Wood stain and polyurethane (or paint): For the finish.
- Stud finder and level: For installation.
Step-by-Step: How to Build a Simple Wooden Shelf Bracket
We’ll build a classic triangular bracket from a 2×4. It’s strong, simple, and looks good painted black or white.
Cutting the Wood Pieces (Cut List Included)
For a bracket that supports a 10-inch deep shelf, you’ll need three pieces cut from a 2×4:
- Horizontal Arm: 10 inches long. This sits under the shelf.
- Vertical Leg: 8 inches long. This mounts to the wall.
- Diagonal Support: Cut at 45-degree angles on each end. The long side should measure about 11 inches. This connects the end of the arm to the bottom of the leg.
Set your miter saw to 45 degrees. Cut one end of the diagonal piece, then flip it and cut the other end. The two angled cuts should be parallel to each other.
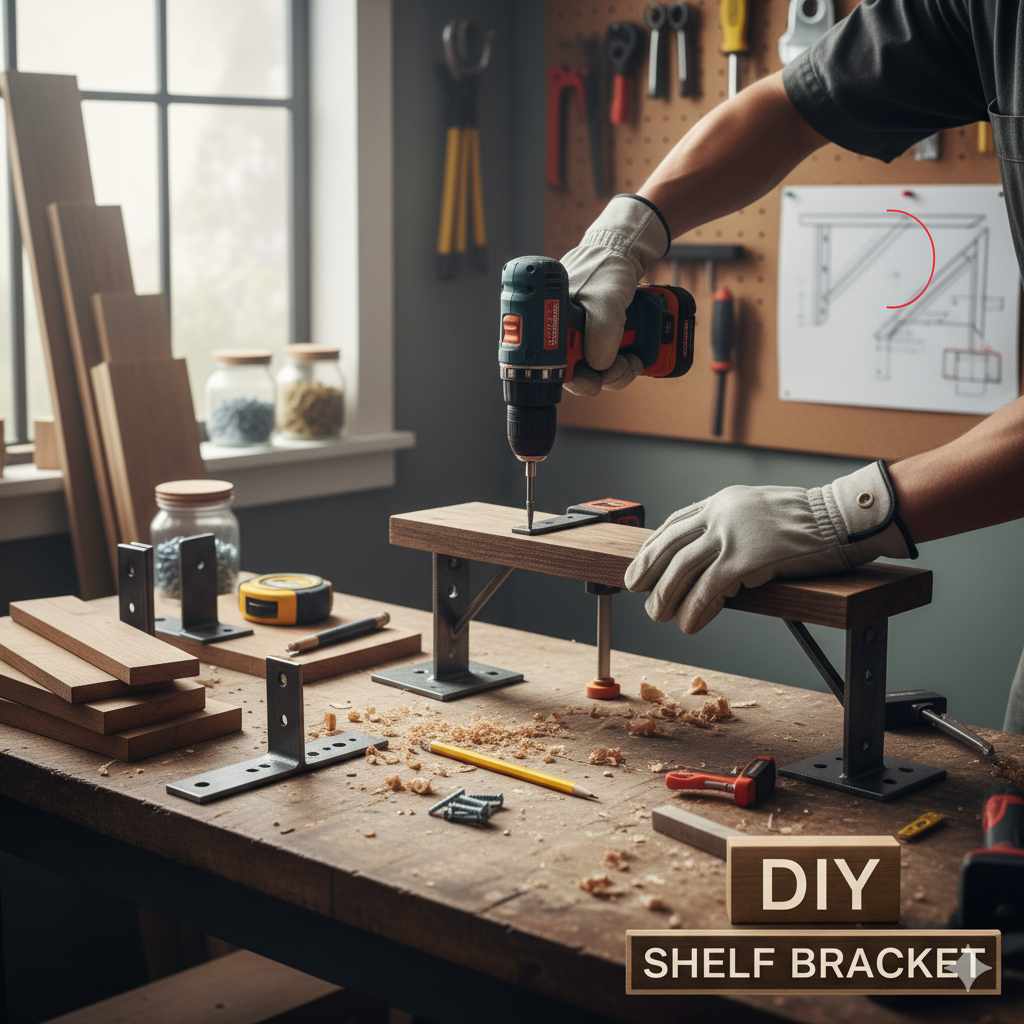
Assembling the Bracket (Screws vs. Pocket Holes)
You have two main options for joinery. The strongest method is a butt joint with glue and screws. Apply wood glue to the end of the horizontal arm where it meets the vertical leg. Clamp them together and drive two 2-1/2″ screws through the back of the leg into the arm. Do the same for the diagonal support, screwing through the leg and into the diagonal.
For a cleaner look, use pocket holes. A Kreg jig lets you drill angled holes so the screws hide on the underside or back of the bracket. This is a better choice if you’re staining the wood and don’t want to fill screw holes. The joint is just as strong.
Pro tip: Always drill pilot holes before driving screws into the end grain of the wood. This prevents the wood from splitting, especially near the ends of the 2×4.
Sanding and Finishing (Stain, Paint, and Seal)
Sand the assembled bracket with 120-grit, then 220-grit sandpaper. Focus on the edges and the corners where the pieces meet. A smooth surface takes finish better.
For a rustic look, apply a wood stain and let it dry completely. For durability, you must seal it. Two coats of polyurethane will protect the wood from moisture and scuffs. If you’re painting, use a bonding primer first, then a semi-gloss or gloss paint. The harder the finish, the better it holds up to dust and cleaning.
How to Build Heavy-Duty and Floating Bracket Variations
Need to hold up something heavier, like a workbench or a TV? Skip the 2×4 and use two layers of 3/4-inch plywood. Cut the bracket shape out of two pieces, glue them together, and clamp overnight. The result is a 1-1/2-inch thick bracket that is incredibly rigid. You can also add a second diagonal support for extra bracing.
For a floating shelf look, you don’t use a visible bracket at all. You build a cleat system. Cut a 2×4 at a 45-degree angle lengthwise, creating a wedge. Mount one half to the wall and the other half to the shelf. The shelf slides onto the wall wedge. This is a great way to hide the hardware and create a clean, modern line.
Installing Your Brackets and Shelf Securely
Building the bracket is half the battle. The other half is getting it on the wall so it doesn’t pull out.
Finding Studs and Marking Placement
Your bracket is only as strong as the wall anchor. For anything over 20 pounds, you must screw into wall studs. Use a stud finder to locate the studs in your wall. Mark them with a pencil.
Hold the bracket against the wall and level it. Mark the screw holes. Use a drill to make pilot holes through the drywall and into the stud. Use 3-inch or 3-1/2-inch wood screws to secure the bracket. The vertical leg should have at least two screws into the stud.
For bracket spacing, a good rule is to place brackets no more than 24 to 32 inches apart for a 1-inch thick shelf. If your shelf is thinner, or the load is heavy, tighten that spacing to 16 inches.
Fixing Common Installation Problems (Uneven Walls)
Walls are rarely perfectly flat. If the bracket wobbles against the wall, you need to shim it. Cut a thin piece of wood or use a plastic shim. Place it behind the bracket’s leg where the gap is, then drive the screw through the bracket and shim into the stud. This pulls the bracket tight and eliminates the wobble.
If the wall is out of plumb (leaning), you can’t easily fix that. Instead, level the bracket using a shim on the low side. The shelf will be level, even if the wall isn’t perfectly vertical. It’s a small compromise that looks better than a tilted shelf.
Cost Breakdown and Budget-Saving Tips
A single 2×4 costs about $4. A small bottle of wood glue is $5. A box of 1-1/4″ screws is $8. For under $20, you can build four or five brackets. That’s a fraction of the cost of buying them.
To save more, use scrap wood from other projects. Ask a local cabinet shop if they have offcuts. Often, they’ll give them away for free. Check the discount lumber bin at the home center for warped or blemished 2x4s that are still perfectly usable for brackets.
Common Mistakes to Avoid (And How to Fix Them)
Here are the three most common issues I see with DIY brackets:
- Not using wood glue: Screws alone will eventually loosen with the weight and vibration. Glue holds the joint rigid, so the screws never work loose. If you already built it without glue, disassemble it and start over, or add a metal mending plate across the joint.
- Overtightening screws: You can strip the wood or snap the screw head. Drive the screw until it’s snug, then stop. You don’t need to torque it down like a lug nut.
- Skipping the pilot holes: This is the #1 cause of split wood. A split bracket is a failed bracket. Always drill a pilot hole for any screw that’s within an inch of the wood’s end.
Frequently Asked Questions
How much weight can a wooden 2×4 shelf bracket hold?
A well-built 2×4 bracket with a glued and screwed joint, attached to a wall stud, can hold 100 to 150 pounds per bracket. The weak point is almost always the wall attachment, not the wood bracket itself. If you’re only using drywall anchors, that capacity drops to 50 to 75 pounds.
Can I use a shelf bracket without a stud finder?
You can, but you’re guessing. You can tap the wall and listen for a solid sound, but that’s unreliable. For a safer method, drill a small 1/8-inch test hole where you plan to mount. If you hit wood after the drywall, you’ve found a stud. If you hit air, move over an inch and try again. You’ll have a few small holes to patch, but it’s better than a collapsed shelf.
What’s the best finish for a shelf bracket in a humid room?
Use a waterproof finish like a marine-grade varnish or a polyurethane with a satin sheen. Apply at least three coats, sanding lightly between coats with 220-grit paper. This seals the wood against moisture and prevents warping in bathrooms or kitchens.
Are metal brackets always stronger than wood?
No. A thin, stamped steel bracket can twist and bend under heavy loads. A thick wooden bracket with a large triangular web is very rigid. Metal is stronger per inch of thickness, but wood wins in the shapes you can realistically build at home. The key is the design and the joint quality.
How do I hide the screws on a visible bracket?
Use pocket holes on the underside of the horizontal arm and the back of the vertical leg. When you mount the bracket, the screws are hidden by the shelf and the wall. You can also use wooden dowels to plug the holes, then sand them flush for an invisible repair.
Final Thoughts
Building your own shelf brackets is a satisfying weekend project that saves money and solves a real storage problem. The math is simple, the tools are basic, and the payoff is a shelf that holds its weight without sagging.
- Calculate your load first: weight per foot times shelf length, then double the result for safety.
- Use 2x4s for the best strength-to-cost ratio; use hardwood only when looks matter most.
- Always use wood glue plus screws. Never rely on screws alone.
- Drill pilot holes to prevent splitting, especially near the ends of the wood.
- Mount brackets directly into wall studs for any load over 20 pounds.
- Shim the brackets to fix uneven walls and keep the shelf level.
- Seal your finished brackets with polyurethane to protect them from moisture.
With these steps, you can build a bracket that outlasts the shelf it’s holding. For more detailed installation tips, check out this shelf hanging guide. If you’re planning a bigger project, you might also want to read about building a bookshelf wall or how to hide shelf brackets for a cleaner look.