How to Ease Adjustable Base Sync Problems Without Losing Your Mind
You bought an adjustable base for better sleep, and for weeks it worked perfectly. Then one night you hit the remote and nothing happens. The head won’t rise, the foot won’t move, and you’re left staring at a dark screen wondering if you need a service call. Most of the time, the problem isn’t the motor or the wiring. It’s the sync between the remote and the base’s control box.
This article walks through what actually causes ease adjustable base sync failures, how to fix them in under five minutes, and which pairing method works best for your setup. You’ll also learn why some remotes refuse to pair and what to do when the standard instructions don’t work.

PZL
PZL RF399A RF368B Replacement Adjustable Bed Remote…
- Note: If the remote control does not work, please check the following: 1) Ensure the batteries are installed correctly and do not…
- If pairing fails, please try another pairing method. It is not a universal adjustable bed remote. Please confirm your model number…
- Compatibility: New RF399A RF368B replacement remote control compatible with Sealy Ease 2.0/3.0/4.0, for Tempur-Ergo Ease 2.0/3.0/4…
As an Amazon Associate I earn from qualifying purchases.
If you’re dealing with a Sealy Ease 2.0, 3.0, or 4.0 base, or a Tempur-Ergo model with the same control system, the PZL replacement remote covers those bases directly. It’s a drop-in replacement for the RF399A and RF368B remotes, and it uses the same pairing procedure as the original. Keep reading to see exactly how to get it talking to your base.
The Sync Problem Nobody Warns You About
Adjustable bases use radio frequency (RF) remotes, not infrared. That means the remote doesn’t need line-of-sight to the base. It also means the remote and the control box need to be paired to each other. When they lose that pairing, the remote becomes a useless brick.
Why does pairing fail in the first place? Three reasons cover most cases:
- Battery issues — weak or incorrectly installed batteries cause intermittent signals that break the pairing.
- Child lock activation — many remotes have a lock mode that disables all buttons. If you accidentally triggered it, the remote looks dead.
- Power cycling confusion — the pairing procedure requires a specific sequence of power-off and power-on steps. Miss one, and the base never enters pairing mode.
Here’s the thing most people get wrong: they assume the remote is broken and order a new one. But the original remote might be fine. The base control box might have dropped the pairing after a power surge or a firmware hiccup. Before you spend money, try the reset steps below.
No, More Watts Doesn’t Mean Better Pairing
There’s a persistent myth that a stronger RF signal or a higher-wattage control box makes pairing easier. That’s not how RF pairing works. The remote and the control box exchange a unique digital code during pairing. Signal strength has nothing to do with whether that code matches.
Think of it like a garage door opener. You can have the most powerful remote on the market, but if it’s not programmed to your specific opener, it won’t do anything. The same logic applies to adjustable bases. A replacement remote needs to be paired to the control box, not just powered on.
So when you read reviews complaining that a remote “doesn’t work,” the odds are good the reviewer skipped the pairing step or used the wrong method for their base version. The RF399A and RF368B remotes look similar, but they use different pairing sequences. Using the wrong one will fail every time.
Pairing Method 1: The Battery Backup Box Route
This method works when your base has a visible battery backup box — usually a small rectangular unit attached to the frame or under the head of the bed. It’s the most common pairing method for Sealy Ease models.
- Locate the battery backup box. Press its button twice. A light on the box will illuminate.
- Remove the back cover of the remote to expose the PAIR button.
- Press and hold the PAIR button. The button will light up blue and start flashing.
- Keep holding until the PAIR button stops flashing. At the same moment, the light on the battery backup box will go out.
- Release the PAIR button. The remote is now paired.
That’s the entire process. It takes about thirty seconds. If the light on the battery backup box doesn’t come on after two presses, the box might be disconnected from the base power. Check the wiring before moving on.
Pairing Method 2: The Power Cord Cycle
Some bases don’t have a battery backup box, or the box is tucked away where you can’t reach it. In that case, use the power cord method. It’s slightly more timing-sensitive, so read the steps before you start.
- Remove the rear cover of the remote by sliding it down. Expose the PAIR button.
- Unplug the power cord from the wall outlet. Wait one full minute.
- Plug the power cord back in. The control box light will start flashing.
- Within 10 seconds of plugging it in, press and hold the PAIR button on the remote.
- The PAIR button will illuminate and flash. When it stops flashing, the control box light will also stop flashing.
- Release the PAIR button.
The 10-second window is the tricky part. If you fumble with the remote cover or hesitate, the control box exits pairing mode and you have to start over. Unplug the cord, wait, and try again. It’s not a failure — it’s just timing.
Comparing the Two Pairing Methods
| Feature | Battery Backup Box Method | Power Cord Cycle Method |
|---|---|---|
| Time required | About 30 seconds | About 90 seconds (including the 60-second wait) |
| Difficulty | Easy — no timing pressure | Moderate — 10-second window after power-on |
| Best for | Bases with a visible battery backup box | Bases without a backup box or when that box is inaccessible |
| Common failure point | Pressing the backup box button only once | Missing the 10-second pairing window |
| Requires power cord unplug | No | Yes |
Both methods achieve the same result. The battery backup method is more forgiving. If you have access to that box, use it first. Only fall back to the power cord cycle if the backup box isn’t available.
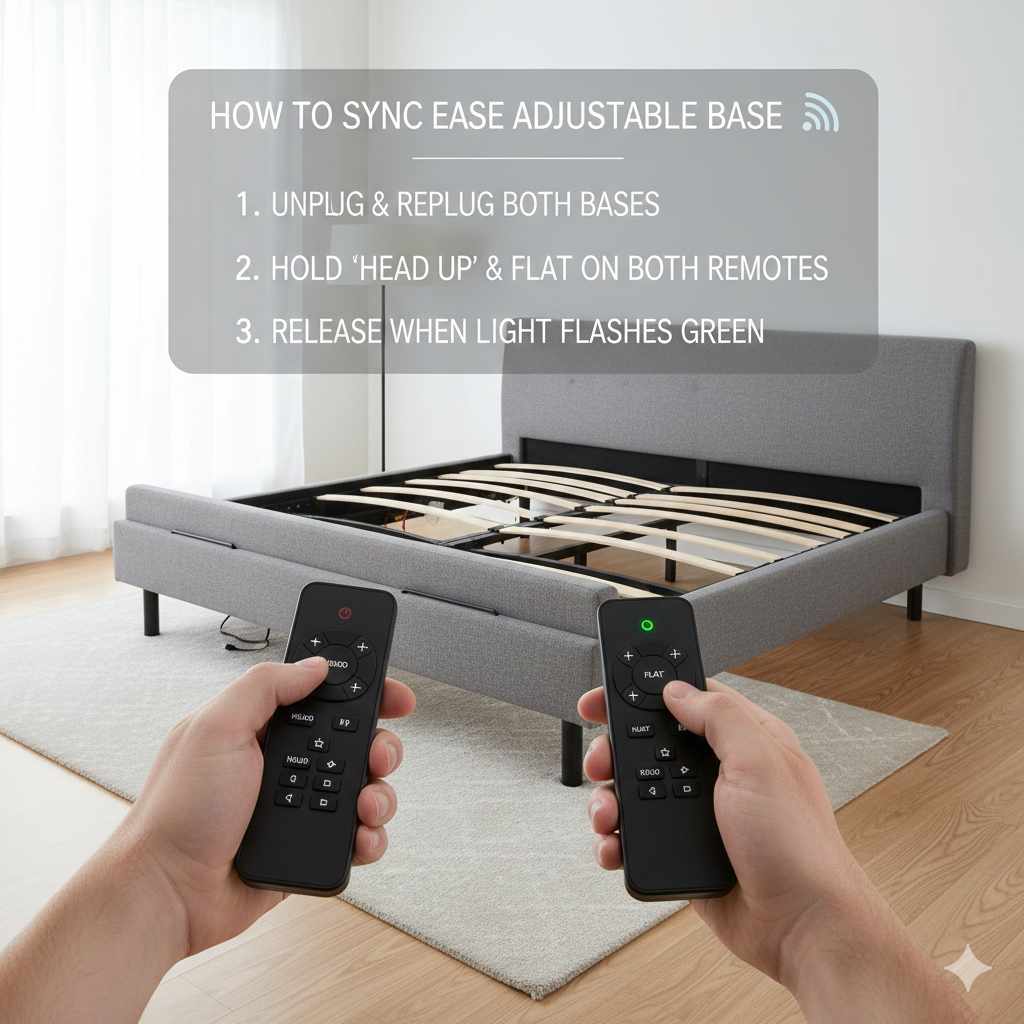
What to Do When Pairing Fails
You followed the steps exactly, and the remote still won’t sync. Before you throw it against the wall, run through this checklist.
Check the batteries. This sounds obvious, but it’s the most common cause. Remove the batteries, wait ten seconds, and reinstall them. Make sure the positive and negative ends match the diagram inside the remote. A reversed battery won’t power the remote, and it might not even light up the PAIR button.
Check the child lock. Different models deactivate the child lock differently. Some require holding the power button for five seconds. Others need a specific combination of buttons. If your remote has a lock icon on the screen, it’s active. Consult your base’s manual for the unlock sequence.
Power cycle the base. Unplug the base from the wall for one full minute. This resets the control box’s internal state. Then plug it back in and try pairing again. This clears any temporary glitch that might be blocking the pairing signal.
Try the other pairing method. If you used the battery backup box method and it failed, try the power cord cycle. Some control boxes respond better to one method than the other, even within the same model line. It’s not a universal remote, so the exact procedure matters.
If you’ve done all of this and the remote still won’t pair, the issue might be the remote itself. The reset process for Tempur-Pedic bases sometimes requires a specific sequence that differs from the standard pairing. Check your model number before ordering a replacement.
Why Replacement Remotes Sometimes Need a Different Pairing Method
You bought a replacement remote, and the instructions say it’s compatible with your base. But the pairing fails. What gives?
Replacement remotes from third-party brands like PZL are built to match the original’s RF protocol, but they may use a slightly different pairing sequence than the original remote. The original might have been paired at the factory. A replacement arrives unpaired, so it needs the full procedure.
Also, some bases have multiple control box revisions. A 2026 Sealy Ease 3.0 might use a different control box than a 2026 model, even though the remote looks the same. The PZL replacement covers the RF399A and RF368B remotes, but if your base uses a different control box revision, the pairing might not stick.
That’s why the product listing explicitly says to confirm your model number before ordering. It’s not a universal remote. It’s a specific replacement for specific bases. If you have a Sealy Ease 2.0, 3.0, or 4.0, or a Tempur-Ergo Ease with the JLDK.30.03.20 control box, it should work. Anything else is a gamble.
Five Questions People Actually Ask About Sync Problems
Why does my remote work sometimes and not other times?
Intermittent function almost always points to a weak battery or a loose connection inside the remote. Try fresh batteries first. If the problem continues, open the remote and check that the battery contacts aren’t corroded or bent. A remote that works only after you press hard on the case has a contact issue, not a sync issue.
Can I pair two remotes to the same base?
Many adjustable bases support multiple remotes, but you have to pair each one separately using the same procedure. The base doesn’t automatically recognize a second remote. Pair the first one, then repeat the process with the second. If the base only supports one remote, the second pairing will overwrite the first. Check your base’s manual for multi-remote support.
Does the remote need to be pointed at the base?
No. These are RF remotes, not infrared. The signal passes through mattresses, box springs, and walls. You can operate the base from the next room, as long as the remote is paired. If you have to point the remote at the base for it to work, the remote is using IR, which means it’s not the correct remote for this base.
How do I know if my base is in pairing mode?
Look for the light on the control box or battery backup box. In the battery backup method, the light illuminates after two presses. In the power cord method, the control box light flashes after you plug the base back in. If no light appears, the base isn’t entering pairing mode. That’s a power or wiring issue, not a remote issue.
Will a universal remote work with my adjustable base?
Probably not. Universal remotes for adjustable bases are rare, and they only work with bases that support a standard protocol. Sealy and Tempur-Ergo use proprietary RF codes. A universal remote won’t sync unless it’s specifically designed for your base model. Stick with a replacement that lists your exact model number.
What to Remember When the Sync Won’t Cooperate
- Try fresh batteries before anything else. Weak batteries cause more sync failures than any other issue.
- Check the child lock. A locked remote looks broken but isn’t.
- Unplug the base for one full minute to reset the control box before attempting a new pairing.
- Use the battery backup box method if you have access to it. It’s less timing-sensitive.
- If that fails, switch to the power cord cycle method. Some control boxes respond better to it.
- Confirm your base’s model number before ordering a replacement remote. Compatibility matters more than brand.
- If you’re still stuck after trying both methods, the control box itself might have failed. That’s a service call, not a pairing problem.
Sync issues are frustrating, but they’re usually fixable at home. The process takes less than two minutes once you know what you’re doing. And if you need a replacement remote, the adjustable base worth it guide covers whether upgrading or repairing makes sense for your situation. For a deeper look at the hardware itself, this teardown of an adjustable base shows what’s inside the control box and why pairing works the way it does.
Products related to this article
Sponsored / affiliate links. As an Amazon Associate I earn from qualifying purchases. I may earn additional commission from eligible campaigns.